Introduction
Finish bottles are easy to confuse and hard to store. Oils, varnishes, topcoats, and waxes come in similar bottles, their labels face whatever direction they landed in, and a bottle tipped on its side can leak past a cap that was never designed for side storage. When you reach for “the satin topcoat,” you too often pull the gloss, the oil, or the bottle whose label has stained unreadable.
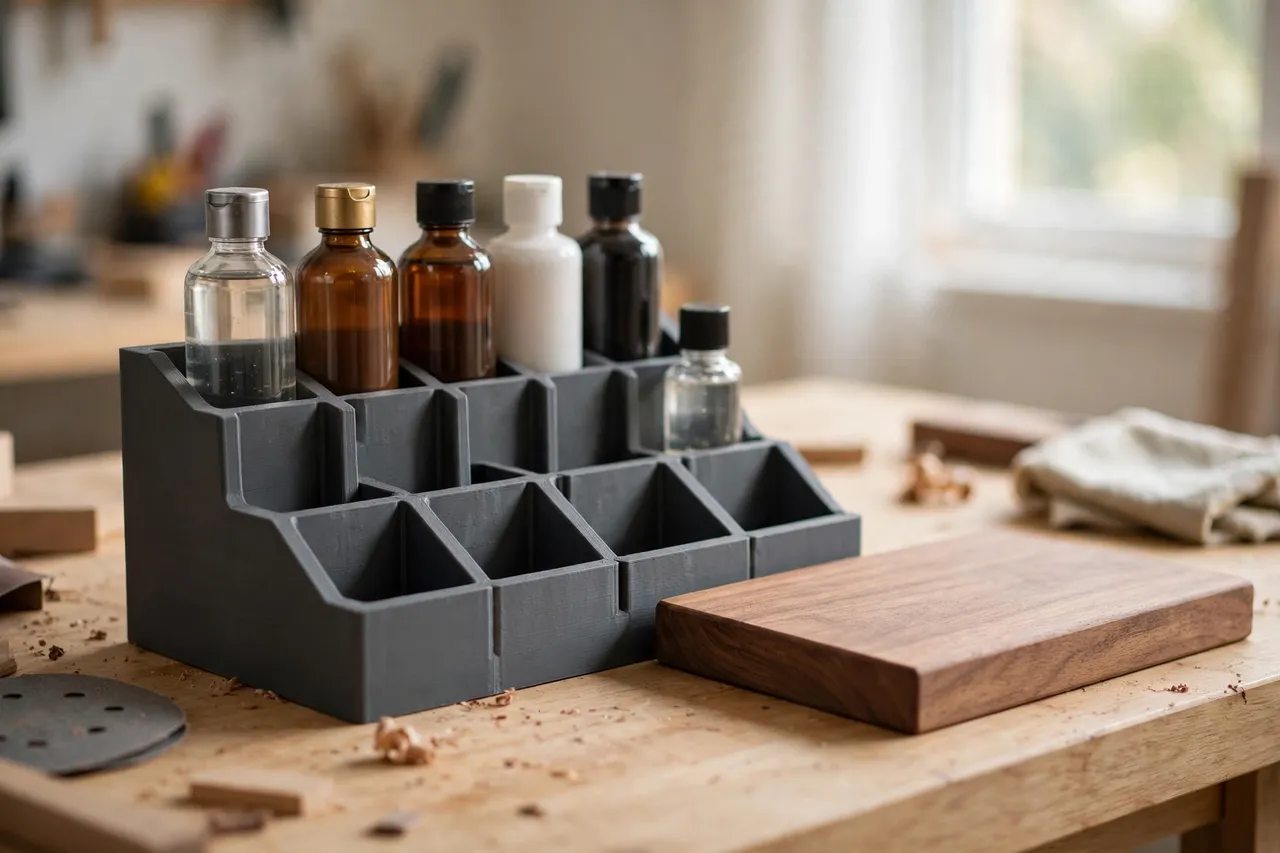
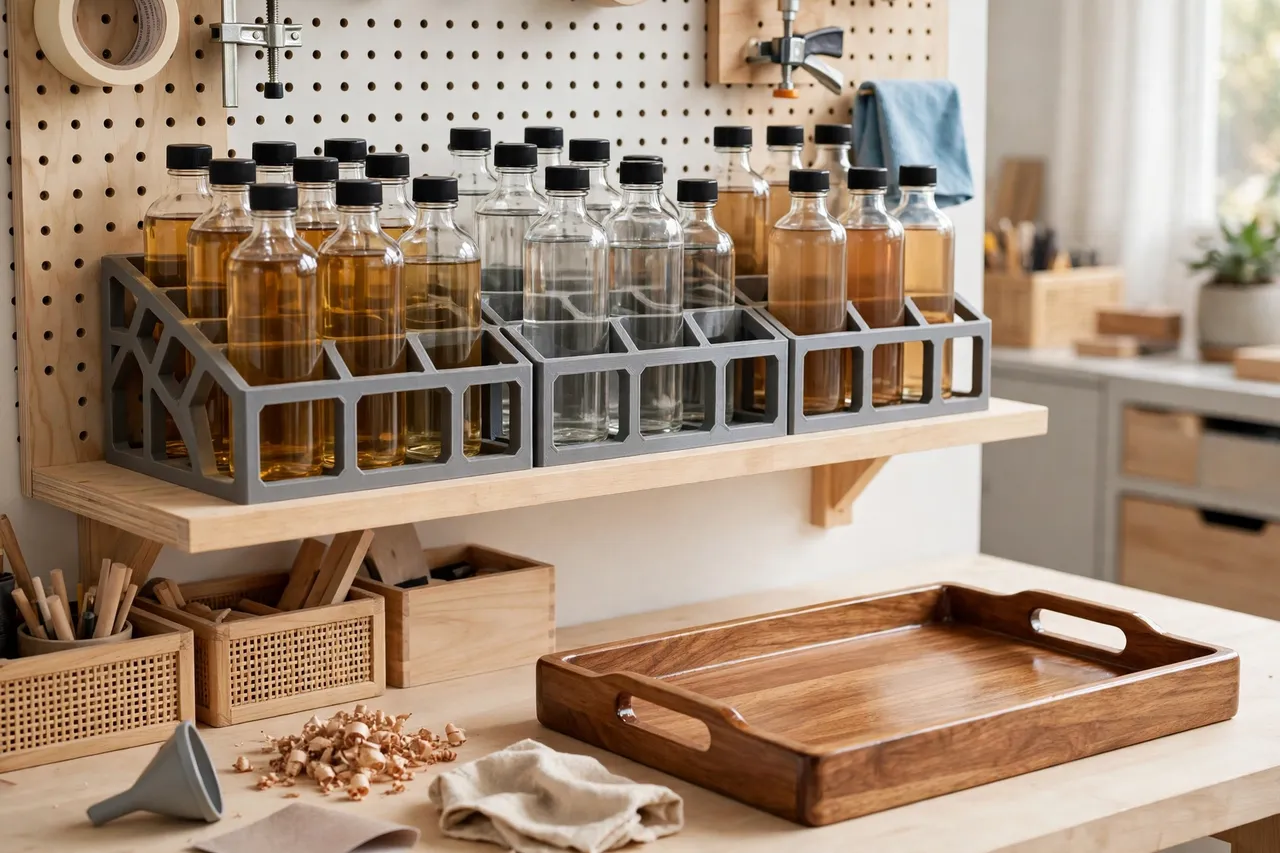
A 3D printed finish bottle rack sorts that out by type. It is a tray with bays or rings that hold each bottle upright, grouped — oils together, varnishes together, topcoats together — with a label on each bay telling you what lives there. You scan the section you need, pull the bottle, and put it back in the same bay when the job is done. The shelf stops being a guessing game.
This is a light-duty storage rack for sealed, finished product bottles. It holds bottles upright on a shelf. It is not a finishing bench, and it does not change how finishes should be handled: keep bottles sealed when stored, work in a ventilated space when you use them, and follow each maker’s instructions for application, drying, and cleanup. The rack organizes. The finishing starts when you take a bottle out of it.
The same sorted-by-type idea runs through “3D Printed Stain Can Rack: Stain Cans Upright and Labeled” and “3D Printed Oil Bottle Rack: Oil Bottles Upright and Ready” — every finish container upright, labeled, and grouped with its own kind.
What You Need
The rack is a printed tray with bays sized to your bottles, optionally with a drip tray beneath. It prints in one piece for small bottles, or in sections for a larger shelf rack.
Materials and tools
- A home 3D printer with a build area of roughly 150 mm in at least one direction
- PETG filament for a tougher rack that resists drips and garage heat, or PLA for light indoor use
- Your finish bottles, measured, with caps checked for a tight seal
- A tape measure or calipers, a pencil, and sandpaper or a small file
- A label maker or paint pen
PETG is the better default here: finish drips happen, garages get warm, and PETG handles both better than PLA. PLA works for a small indoor rack holding light bottles, but a leaking bottle can mark PLA permanently if the drip dries on it. Either way, print bay walls thick enough to survive being knocked when bottles are lifted in and out.
Suggested print settings
- Layer height: 0.20 mm for a good balance of speed and finish.
- Walls: 4 perimeters, so bay walls stay rigid under repeated use.
- Infill: 25 to 35 percent, grid or gyroid. Full finish bottles are heavier than empty ones.
- Top and bottom layers: 4 or more, for a flat base that sits steadily.
- Orientation: Print the rack flat, bays facing up, for the cleanest bays.
- Supports: A good design needs none.
Print a single test bay first and check that your largest bottle sits upright with a little clearance and your smallest bottle does not rattle. A short test saves a full rack reprint.
Design Considerations
Finish bottles vary in height as much as in diameter: tall varnish bottles, squat oil bottles, and wide wax tins all share the shelf. Design for the range you own.
1. Bay sizing
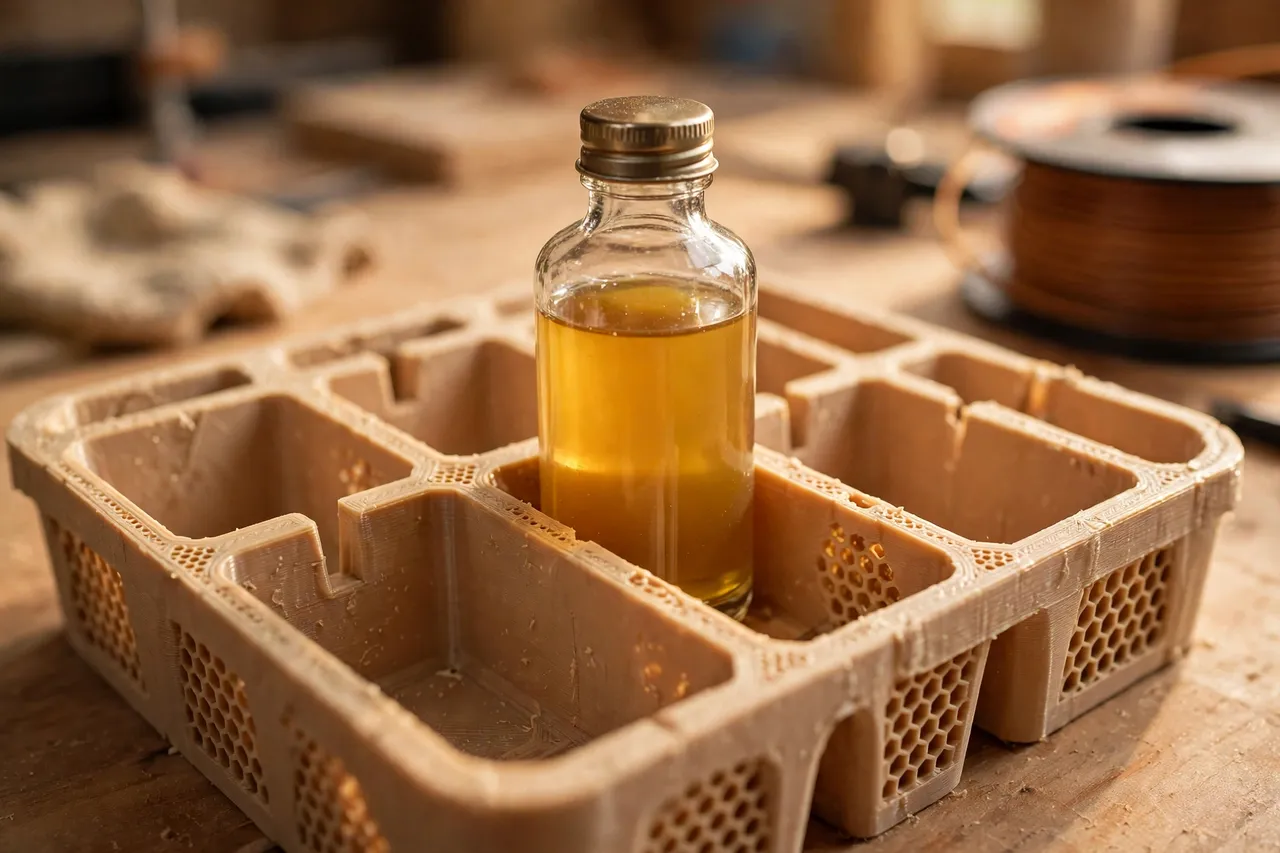
Measure the diameter of your largest and smallest bottles. Size bays to the largest, with about 2 to 3 mm of clearance, and add a removable reducer ring for smaller bottles that would otherwise wobble. Bays about 20 to 30 mm deep hold a bottle upright without swallowing it so far you cannot grip it. For very tall bottles, add a back rail or a taller rear lip on the rack, so a tall bottle cannot tip backward off the shelf.
2. Sorting by type
This rack’s whole point is sorting by type, so give each type its own section: oils, varnishes, topcoats, waxes, and any specialty finishes you use. Label each section, not just each bay, so the rack reads like a small store: you go to the oils section when you need oil, not to a mixed row where oil sits beside varnish. Keep different types in separate sections even if the bottles look alike — that is exactly when confusion happens.
3. Labels that survive the shelf
Label each bay and each section on the front edge, with the finish type and, where it matters, the sheen: “topcoat — satin,” “oil — natural.” Finish labels on bottles fade, stain, or peel, so the rack’s label is your backup. Write the type as it appears on the bottle’s own label, not a nickname you will forget in six months.
4. Drips and shelf protection
Finish bottles drip around caps, especially bottles that have been opened before. Add a shallow drip tray under the rack, or print the rack with a raised lip around its base, so a drip lands on plastic you can wipe, not on the shelf. If a bottle leaks badly, remove it, clean it up, and replace the cap or the bottle — a rack full of leaking bottles helps nobody.
5. Placement and safety
Keep the rack on a stable, level shelf, upright, out of direct sun, and away from heaters and any ignition source. Finishing products can be flammable, so store them as their makers direct, away from heat, and never near an open flame or a hot tool. Keep the rack out of reach of small children. This rack is storage, not child-proofing, and it does not replace safe storage habits for finishing products.
Step-by-Step: Printing and Assembly
- Gather your finish bottles and check that every cap seals tightly.
- Group them by type: oils, varnishes, topcoats, waxes, and specialties.
- Measure the diameter of your largest and smallest bottles.
- Sketch the rack layout: sections by type, bays within each section, and label positions.
- Model the rack with bays sized to your bottles, walls about 3 mm thick, and a base about 3 mm thick.
- Print a test bay and check bottle fit and grip.
- Print the full rack and any reducer rings, back rail, or drip tray.
- Clean up stringing and sand bay edges smooth so bottles slide in without catching.
- Label each section and bay before loading a single bottle, then load bottles upright, caps sealed.
Step-by-Step: Using It
- Go to the right section first. Need oil? Go to the oils section, not to a mixed row.
- Read the bay label, then the bottle label, and compare both before opening — bottles that look alike can be different sheens.
- Test on scrap before finishing the real piece, especially when switching sheens or types.
- Seal the cap fully after use. A half-sealed cap skins the finish over, dries it out, and invites leaks on the way back to the shelf.
- Return the bottle to its labeled bay the same day, so the next finishing job starts at the rack.
- Check the rack twice a year for dried-out, skinned-over, or leaking bottles, and dispose of dead stock properly rather than keeping it “just in case.”
Tips for Better Results
- Sort by sheen within type: satin topcoats together, gloss topcoats together, so you never grab the wrong sheen in a hurry.
- Keep a finish sample board beside the rack: a strip of wood with a labeled swatch of each finish, dried, for matching without opening bottles.
- Print the rack in a light color so dark bottles and their labels stand out.
- Leave one empty bay per section for the next bottle you buy.
- Store applicators with the rack, in their own slot — a brush or pad for each type, so oil never meets varnish on the same applicator.
Common Mistakes to Avoid
- Mixing types in one row. A mixed row defeats the rack’s purpose and guarantees a wrong-bottle moment sooner or later.
- Sizing bays from one bottle. Bottles vary by brand and size, and a rack sized to one bottle will grip some and drop others. Measure the range.
- Storing bottles on their sides. Side storage hides labels, invites leaks past the cap seal, and lets finishes skin unevenly.
- Ignoring a leaking bottle. One leaking bottle stains the rack, glues neighboring bottles in place, and ruins the shelf beneath.
- Storing finishes near heat. Heat degrades finishes, warps PLA, and — with flammable products — creates a real hazard. A cool, shaded shelf protects both the finish and the workshop.
Care, Storage, and When to Choose an Alternative
Wipe the rack and drip tray occasionally, and clean any drip before it dries. If a bay cracks, reprint that section or the whole small rack — bottle racks are cheap prints. Keep PLA racks out of sustained heat; PETG suits a garage better. Replace bottles that have skinned over or dried out rather than keeping them in labeled bays that a live bottle needs.
A manufactured shelf organizer or metal bottle rack is the better buy if you stock dozens of bottles for a trade, need a rack that survives daily commercial use, or store large cans that exceed what printed plastic should hold. Metal racks carry more weight and resist solvents better. For a home collection of a dozen or so finish bottles, a printed rack is cheaper, sorted to your exact types, and easy to reprint when the collection changes.
FAQ
How many bottles will one rack hold?
A rack roughly 300 mm by 150 mm with a single row holds six to ten typical finish bottles. Larger collections deserve two racks, or one rack per finish type, rather than one crowded rack.
Should bottles be stored upright?
Yes, always, for this rack: upright keeps the cap seal working as designed, keeps labels visible, and keeps finishes settling predictably. Side storage invites leaks and uneven skinning.
Will finish damage the printed rack?
A sealed bottle will not. A leaking bottle can stain PLA and PETG, which is why the drip tray matters and why leaking bottles should be removed promptly. Wipe drips before they dry.
Can I use the rack for stain cans too?
Small cans that fit the bays work fine, in their own labeled section, separate from the finish sections. Keep different product types in separate sections and label them clearly, so a stain never gets confused with a finish.
Conclusion
Finishes only help when you grab the right one — the right type, the right sheen, the right bottle. A printed rack, sorted by type, with bays sized to your bottles and labels facing out, turns a shelf of lookalike bottles into a visible, grab-and-go collection.
Print one to fit your shelf, sort your bottles by type, and the next finishing job will start with the right bottle in your hand, not a shelf full of guesses.