Introduction
Paint that looks mixed usually is not. The top of a stored can stirs to a smooth color in seconds, while the bottom still hides settled pigment and solids that change the shade, the sheen, and the coverage of everything you apply. A wooden stick makes it worse — it skims the middle, splashes the rim, and never really scrubs the bottom corners.
Splatter is the visible symptom of the same problem. A thin stick moved fast enough to actually mix creates a vortex that climbs, wobbles, and flicks paint onto the bench, the can label, and you. So people stir gently instead, and gently does not mix the bottom third at all.
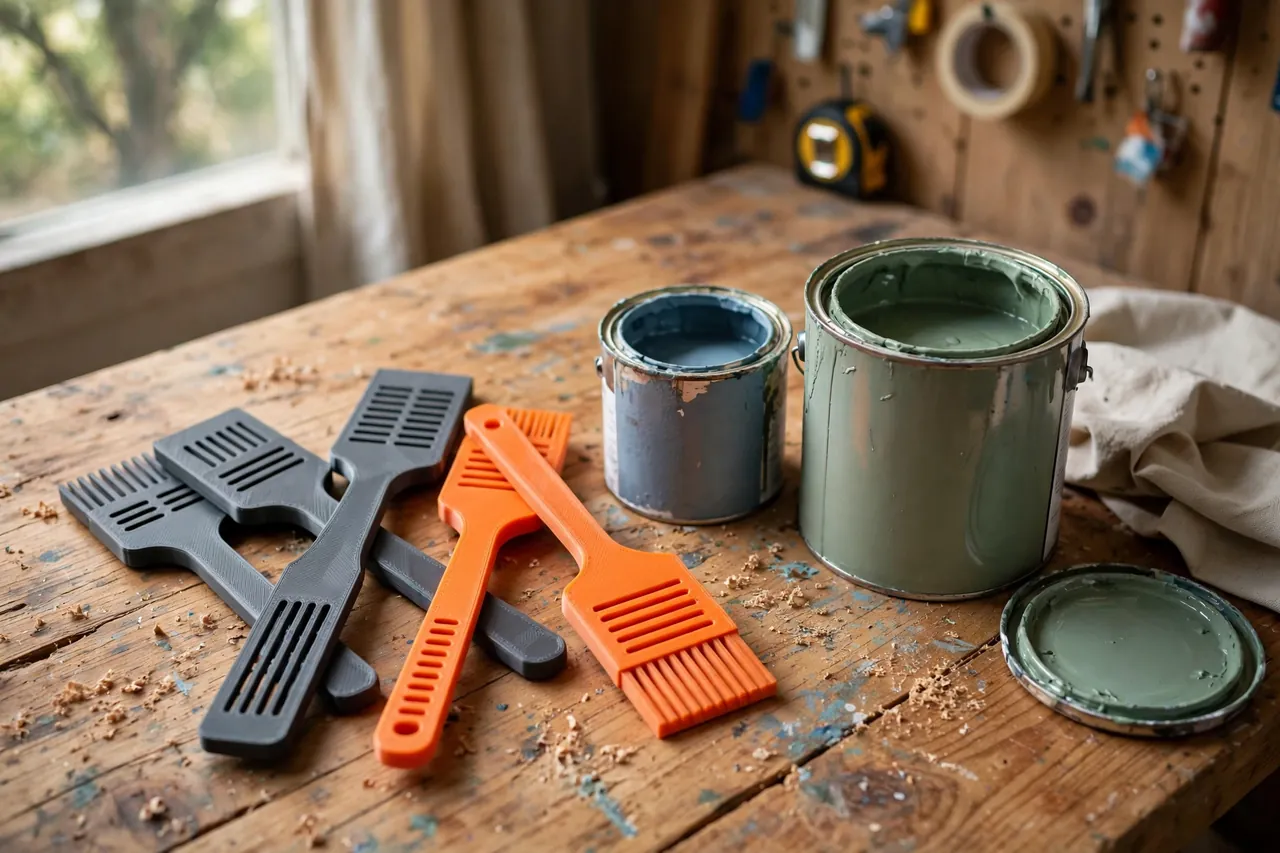
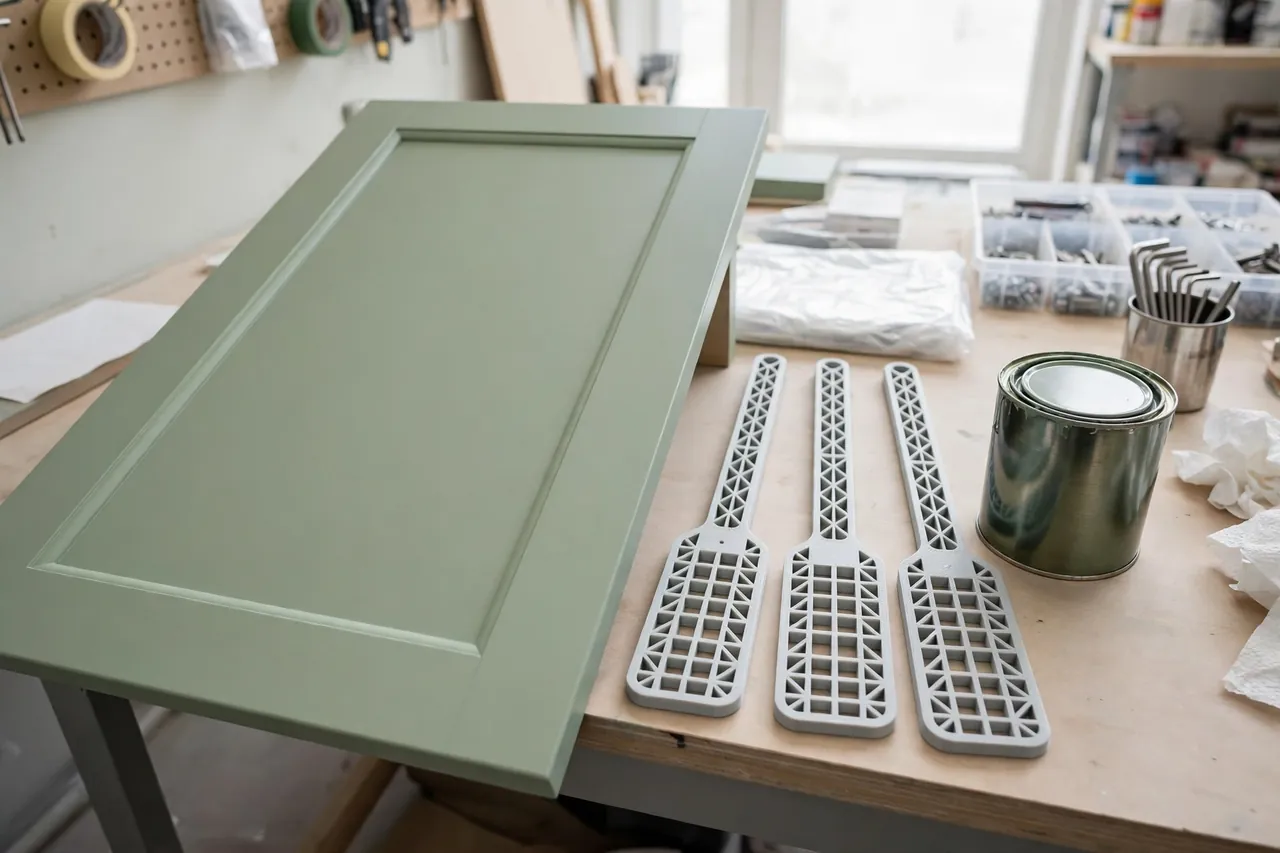
A printed paddle fixes the geometry. A wide blade with mixing holes folds paint from bottom to top without a violent vortex, a shaft sized to your can reaches the bottom corners, and an edge profile scrapes the can wall as you turn.
This guide covers designing, printing, and using original stirring paddles for paint and wood finishes only. That scope is deliberate and absolute, and the guide returns to it plainly: these paddles are workshop tools for coatings, and nothing else.
What You Need
Paddles are long, flat prints that reward a tidy bed and the right material for solvents in finishes.
Materials and tools
- A home 3D printer with a build area of roughly 250 mm in one direction, or a design split for smaller beds
- PETG filament — required for finish work, since it resists the solvents PLA tolerates poorly
- The actual paint cans you use most: sample pot, quart, and gallon, to measure depth and mouth width
- A ruler for can depth, and calipers for mouth diameter
- A cordless drill with a chuck that fits your paddle shaft, if you print a drill-driven version
- Drop protection for the bench, a rag, and a sealable container for rinse water or solvent per your coating
- Sandpaper in 220 grit to smooth blade edges
PETG is the only sensible keeper material here. Paint itself is gentle, but varnishes, shellacs, and many wood finishes carry solvents that cloud, soften, or crack lesser plastics over repeated use, and a paddle lives soaked in its work. PETG shrugs off workshop coatings, rinses clean, and keeps a smooth edge that does not shed into your finish.
Suggested print settings
- Layer height: 0.20 to 0.24 mm — paddles are utility parts, speed is welcome.
- Walls: At least 4 perimeters, particularly around the shaft-to-blade transition.
- Infill: 50 to 60 percent for the blade; the shaft benefits from higher density at its top third.
- Top and bottom layers: 4 or more for a smooth, non-porous working surface.
- Orientation: Print flat on the bed for a blade that will not delaminate under stirring torque.
- Supports: None for a flat paddle design.
Print one quart-size paddle first and mix a real can with it. Blade angle and hole size are easy to judge once paint is actually moving.

Design Considerations
You can model a paddle in any basic CAD program. It is a shaft and a blade, but the blade’s details decide whether mixing is thorough or theatrical.
1. Blade shape and mixing holes
A blade about 40 to 55 mm wide with a slightly rounded bottom edge scrubs the can floor without gouging the can. Drill the pattern in plastic, not metal: four to six holes of 8 to 12 mm through the blade create folding currents — paint jets through the holes as the blade moves, which mixes vertically instead of just swirling horizontally. Angle the blade a few degrees in your grip, or model a gentle twist, and each stroke lifts bottom paint upward.
Keep holes away from blade edges by at least 4 mm so the blade keeps its strength across hundreds of cans.
2. Sizing the shaft to the can
The blade must pass through the can mouth and reach the bottom with your hand or drill chuck still clear of the rim. For a quart can, a total paddle length around 250 to 280 mm works; gallons want 330 to 360 mm. Mark a depth line on the shaft at your can’s fill height — stirring above the surface is how splatter starts, and the line tells your hand where the paint actually is.
3. Edge and rim scrapers
A small hook or notch at the blade top can also lift and open can lids and scrape the rim channel — useful, provided it does not weaken the blade neck.
4. Hand paddle versus drill paddle
Hand paddles suit quarts, finishes, and any coating you want to treat gently, with a flat grip end that indexes in your fingers. Drill paddles suit gallons and thick primers, but they demand a stronger shaft and a slower trigger finger. Print both patterns; they share a blade design and differ mainly in shaft and grip.
Step-by-Step: Printing and Assembly
- Measure your cans. Record mouth width and internal depth for each size you actually own.
- Model the blade with mixing holes, a rounded bottom, and a wall-scraping side edge.
- Model the shaft to can depth plus hand clearance, with a hex top for drill versions or a flat grip for hand versions.
- Print the quart paddle in PETG, flat, with heavy walls at the neck.
- Smooth the edges with 220-grit paper so no print ridge can shed into a finish.
- Test-mix a stored can whose bottom has settled, stirring slowly and checking the bottom corners with the blade.
- Adjust hole size or blade width if the mix still stratifies, then print the remaining sizes as a matched set.
- Mark each paddle with its can size and reserve — paint or finish — using a paint pen on the grip.
There is no assembly, but label the set on day one. A paddle that has lived in varnish should never wander into a can of white trim paint.
Step-by-Step: Using the Paddles for Paint and Finishes
- Open the can on a protected surface and set the lid, clean side up, within reach.
- Lower the paddle to the bottom before moving it — start deep, not at the surface.
- Stir slowly in a folding pattern: sweep the bottom, lift along the wall, and cut across the middle, letting the holes do the vertical mixing.
- Scrape the wall and bottom corners with the blade edge every few circuits, where settled pigment hides thickest.
- Lift and check the blade. Paint should sheet off in one even color with no streaks of clear binder or dark pigment.
- For drill paddles, use the lowest speed and keep the blade submerged; a vortex that reaches the blade top is a splatter about to happen.
- Rest the paddle across the can rim to drip for a few seconds before moving it to your rinse container.
- Rinse or wipe immediately according to your coating’s cleanup, and dry the paddle before storing it flat.
Thorough mixing is what makes the pour clean too, and the technique pairs well with “Paint Can Pouring Spout: 3D Print a Snap-On Spout and Lid for Drip-Free Paint Jobs,” since evenly mixed paint pours and covers the way its maker intended.
Tips for Better Results
- Stir every can, every time, even one opened yesterday; settling starts immediately.
- Keep paint and finish paddles separate and color-coded to avoid ruining sheens.
- Slow down at the end to settle bubbles that fast stirring whipped in.
- Store paddles flat or hung, never soaking blade-down in solvent.
Common Mistakes to Avoid
- Stirring fast at the surface, which makes splatter and foam while the bottom stays unmixed.
- Using a blade too wide for the can mouth, forcing you to tilt and spill on entry and exit.
- Skipping the bottom corners, the exact place pigment settles hardest and color hides.
- Running a drill paddle at full speed, which can fling paint impressively far and aerate a finish.
- Returning a dirty paddle to a clean can later, seeding fresh paint with dried flakes.
Care, Storage, and When to Choose an Alternative
Clean paddles promptly — water for latex paints, the coating maker’s recommended method for finishes — and dry them fully before hanging the set together. Inspect blade edges for chips that could shed into finishes, and reprint any paddle whose surface turns rough or crazed from a harsh solvent.
One boundary deserves total clarity: these paddles are for paint and wood finishes only — never use a printed paddle for food or drink mixing, in the kitchen or anywhere else. Workshop paddles live among solvents and pigments and are not food-safe tools. Within their proper job, though, they beat a stick completely; for industrial coatings in five-gallon pails, step up to a long steel drill mixer, which handles that volume and viscosity without flexing.
FAQ
Do the mixing holes really make a difference?
Yes — they are the difference between swirling and mixing. Without holes, a blade mostly pushes paint around in a horizontal circle, and layers slide past each other. Holes create small vertical jets and folding currents, so bottom paint genuinely reaches the top in a dozen strokes.
Can I leave a paddle stored in the can?
Briefly, during a work session, it does no harm. As permanent storage, no: the blade holds drips against the lid seal, skins form around it, and the next opening starts with a mess. Rinse, dry, and hang the paddle, and reseal the can cleanly instead.
Will PETG hold up in varnish and shellac?
For normal stirring sessions followed by proper cleaning, yes — PETG handles common wood finishes well. It is not meant to soak in solvent for days, so clean up after the session and the paddle will last through many cans. If a paddle ever softens or roughens, retire it to paint duty or reprint it.
What size should I print first?
The quart size, if that is your usual can, or the gallon if you roll walls often. One well-tested size teaches you the blade proportions, and scaling the design to other cans afterward is a ten-minute model adjustment rather than a new project.
Conclusion
Good paintwork starts before a brush is loaded. A paddle that reaches the bottom, folds settled pigment back into the mix, and does it without painting your bench makes every coat afterward more even, more honest in color, and less work.
Print a quart paddle first, rescue your most settled can with it, and judge by the blade check: one even color, sheeting clean. Your finishes will show the difference on the first door you coat.
To keep those mixed cans organized between jobs, you may also enjoy our related guide, “3D Printed Paint Can Rack: Store Quart Cans Upright and Labeled,” and for holding brushes while coats dry, “3D Printed Paint Brush and Roller Holders: Keep Your Painting Tools Ready Between Coats” completes the painting corner.