Introduction
Bar clamps are the worst-shaped tools in the workshop to store. Long, top-heavy, with sliding jaws that wander and handles that snag, they defeat every casual system: leaned in a corner they domino, laid across a shelf they bury everything under them, and hung from one nail they swing and slowly walk their jaws down the bar.
The corner-lean does real damage over time. Clamps clatter together, jaw faces pick up dings, and bars collect little bends that later show up as a glue-up that will not pull square. And the mid-glue-up scramble — glue open, panels aligned, the long clamps somewhere behind the short ones — is a rite nobody enjoys.
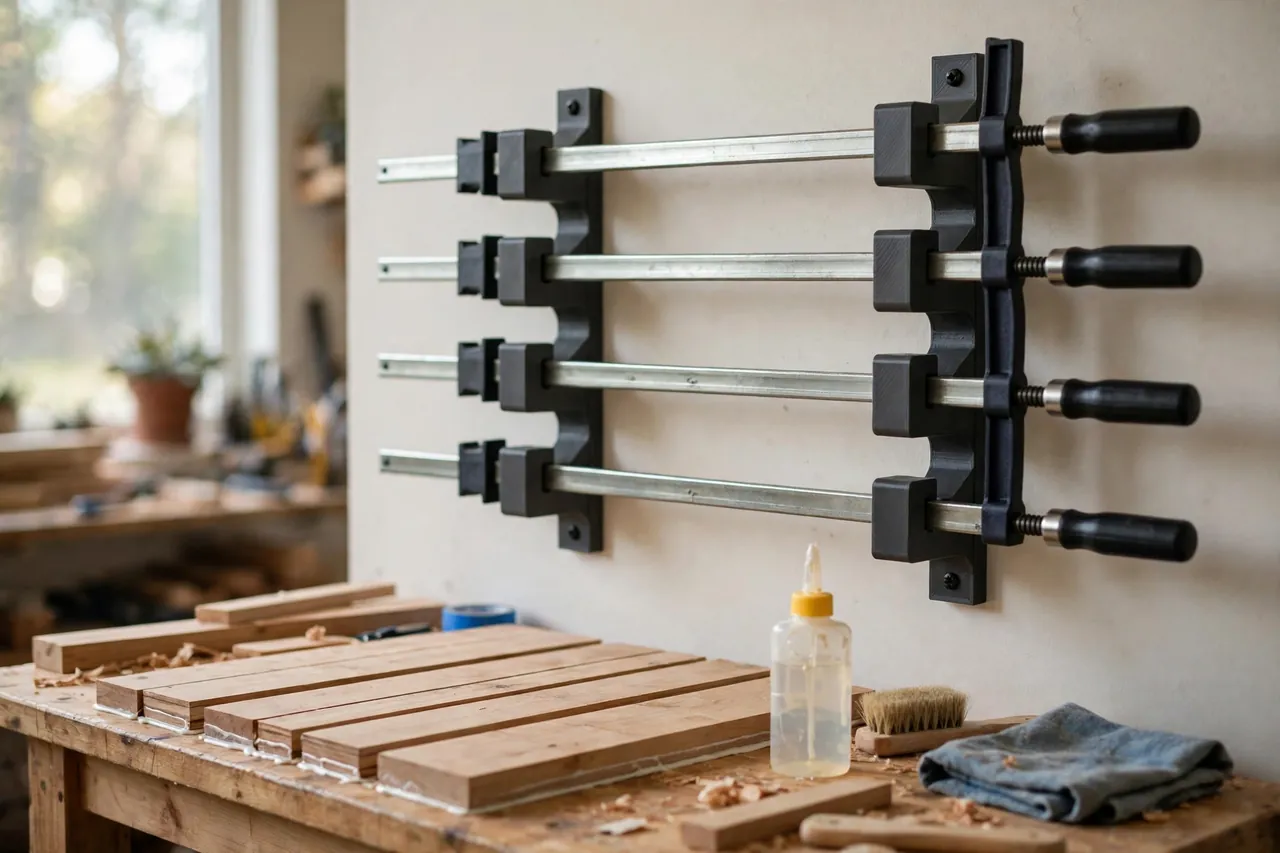
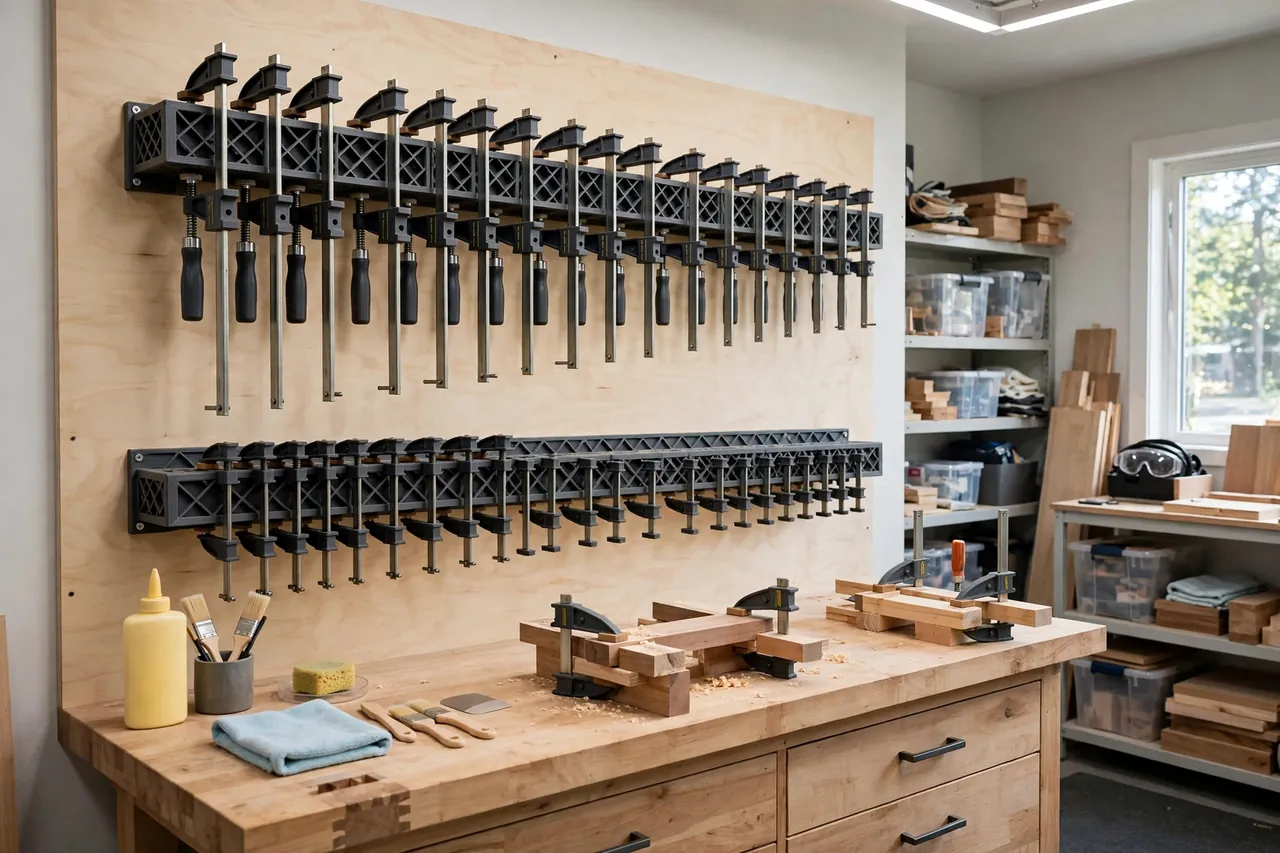
A 3D printed bar clamp rack hangs long clamps flat against the wall, bars horizontal, each clamp resting in two cradles at its own station. Sorted by length, handles aligned, a clamp lifts away cleanly with one hand and goes back just as easily when the glue has set.
This guide covers designing, printing, and mounting a rack for the bar and sash clamps you own. These are storage cradles for tools at rest — they carry a parked clamp’s weight against a wall, nothing more — and honest sizing and fixing are what make the system trustworthy.
What You Need
The rack is a set of paired cradle brackets on one or two horizontal rails, printed in multiples for your clamp collection.
Materials and tools
- A home 3D printer with a build area of roughly 160 mm in at least one direction
- PETG filament — the right default here — for cradles that flex a little instead of snapping
- Your actual bar clamps, every length, for bar profile and jaw measurements
- Calipers or a tape measure for bar width, thickness, and clamp weights
- A stout timber rail or board to mount the cradles on, spreading load across studs
- A small file or sandpaper for easing cradle edges
- Wall screws into studs, a drill, and your longest level for the rail line
PETG over PLA is a firmer recommendation than usual here: clamp cradles get knocked by steel bars daily, and PETG absorbs that life. A PLA test cradle is still the right way to settle dimensions before the real print run.
Suggested print settings
- Layer height: 0.20 mm, or 0.28 mm for faster cradle production once the design is settled.
- Walls: At least 4 to 5 perimeters — cradle arms carry steel and take hits.
- Infill: 40 to 50 percent, grid or gyroid; these are the hardest-working parts in this batch of organizers.
- Top and bottom layers: 4 or more, for a flat rail-mounting face.
- Orientation: Print cradles upright as mounted, so the cradle’s throat layers stack in compression under the bar.
- Supports: An open cradle profile needs none; keep the throat generously radiused.
Print one test cradle pair, hang your heaviest clamp overnight, and inspect for any creep or flex before printing the full set.
Design Considerations
You can model these cradles in any basic CAD program. Two cradles per clamp, a rail behind them, and spacing by length carry the whole design.
1. A cradle fitted to the bar profile
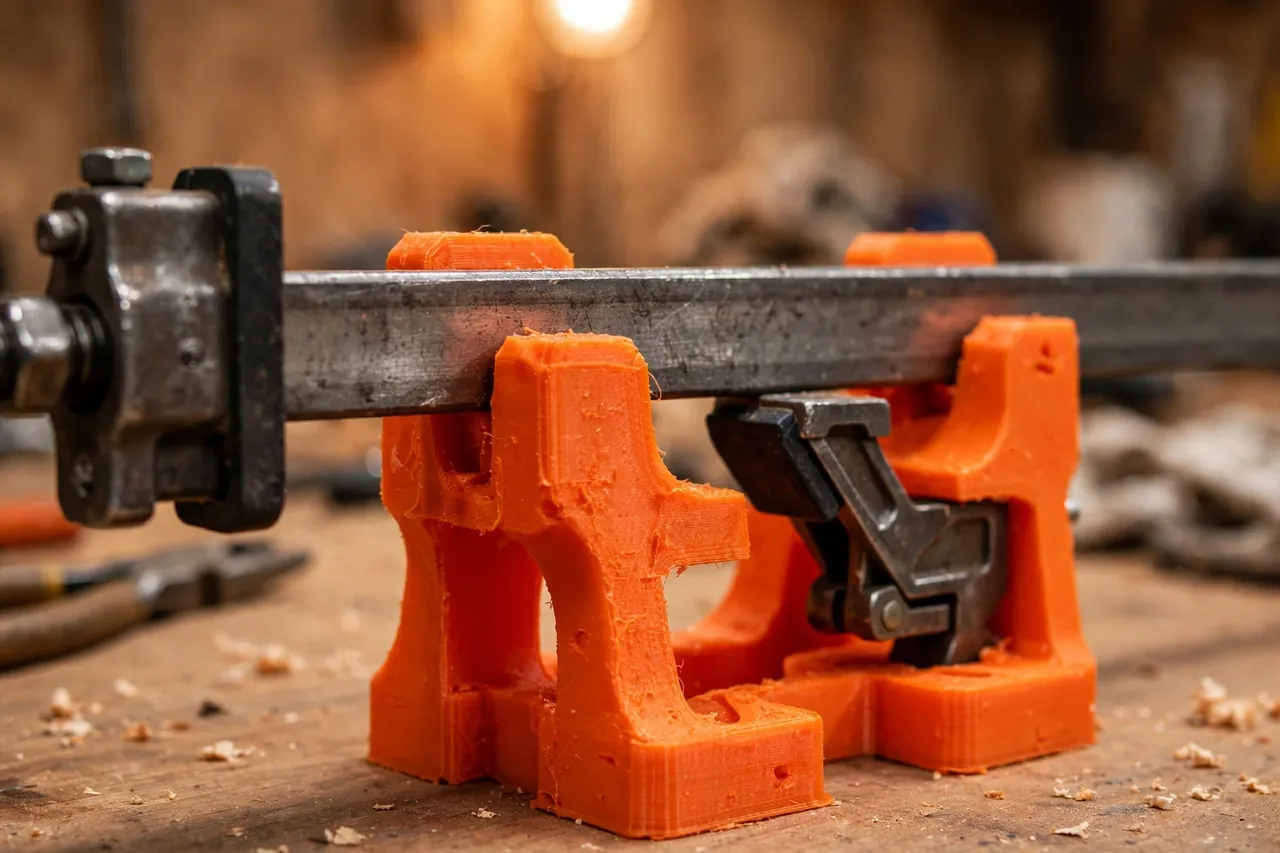
Bar clamps come on flat bars, I-section bars, and round pipe. Measure your bars — width and thickness at the least — and shape the cradle throat to suit, with about 0.5 to 1 mm of clearance so the bar drops in and lifts out without a wrestle. Support the bar close behind the fixed head at one end; the second cradle catches the bar further along, with the sliding jaw parked against it so the jaw cannot wander.
2. Spacing pairs for long, heavy tools
Space the two cradles of a pair widely — for a 900 mm clamp, roughly 500 to 600 mm apart — so a long bar cannot seesaw or lever itself free when bumped. Stations along the rail want 80 to 120 mm between clamps, enough for a hand to close around a handle without knocking the neighbor’s jaw off its setting. Grade the rail by length: longest clamps at one end, shortest at the other, handles all aligned at the same height.
3. A timber rail does the structural work
Be honest about the loads. A set of long steel clamps is genuinely heavy, and the right architecture is a stout timber rail screwed firmly into wall studs, with the printed cradles screwed to the rail. The plastic shapes the parking; the timber and the studs carry the weight. Never fix cradle brackets for long clamps into plaster or board alone, and never ask a printed cradle to carry more than the one clamp it was shaped for.
4. Handles and jaws face one way
Design stations so every clamp parks with its handle out and its screw thread clear of the wall. A consistent orientation means a mid-glue-up grab never meets a backwards clamp, and the sliding jaws all park against their cradles at the same point along each bar, which keeps the row looking — and working — like a system.
Step-by-Step: Printing and Assembly
- Measure every clamp — bar profile, bar length, and the weight of the heaviest one.
- Model one cradle with its radiused throat, a jaw stop face, and rail-mounting holes.
- Print a test pair and hang the heaviest clamp overnight, checking for flex, creep, or throat wear.
- Adjust if needed. A throat that marks the bar gets 0.5 mm more clearance and a rounder entry.
- Fit the rail — a level timber board screwed into studs along the chosen wall run.
- Print the full cradle set in PETG and screw the pairs to the rail at your graded spacings.
- Hang the clamps longest to shortest, jaws parked against their stops, handles aligned.
Start with one pair per clamp you own today, and leave rail space at the short end — clamp collections grow toward whatever space is offered.
Step-by-Step: Using the Rack
- Lift clamps out bar-first, one hand on the bar, the other guiding the head clear of its cradle.
- Park sliding jaws against their stops when returning a clamp, so settings survive storage and jaws stay put.
- Return each clamp to its own station after a glue-up, wiped of squeeze-out before it dries on the bar.
- Keep the grading honest. A short clamp parked in a long station steals the spot the long clamp needs; the rail’s order is the system.
- Take clamps down in pairs for panel work, straight from their stations to the bench, in order of length.
- Check cradles monthly. A throat that has worn shiny or a screw that has loosened gets attention before it drops a clamp.
Once the rail is up, glue-ups calm down noticeably: every clamp visible, in length order, at grabbing height.
Tips for Better Results
- Mark station lengths on the rail with a paint pen under each pair — 600, 900, 1200 — so returns land correctly even in a hurry.
- Align handles at one height across the row; a level handle line reads instantly and looks like the system it is.
- Add a lower rail for short clamps and spring clamps rather than mixing lengths on the main rail.
- Park the heaviest clamps nearest the rail’s stud fixings, where the timber is best supported.
- Keep one spare station at the short end; the next clamp you buy will thank you.
Common Mistakes to Avoid
- Fixing cradles straight into plasterboard. Long clamps are heavy; a timber rail into studs is not an optional extra.
- One cradle per clamp. A single support lets the bar pivot and the jaw slide; pairs keep long clamps flat and still.
- Throats sized from a catalogue bar dimension. Bar profiles vary by maker and age; measure the bars on your wall.
- Crowding stations together. Handles and sliding jaws need hand room, or every grab disturbs two neighbors.
- Parking clamps with wet glue on the bars. Dried squeeze-out in a cradle throat grinds at the next parking; wipe bars as they go back.
Care, Storage, and When to Choose an Alternative
Check cradle screws and rail fixings seasonally, brush dried dust and glue crumbs out of the throats, and reprint any cradle whose throat has cracked or worn sloppy — the set is modular by design, so one cradle swaps in minutes. Clamps themselves appreciate a wipedown and the occasional dry cloth along the bar before parking, which keeps the rack clean by extension.
For very heavy sash clamps in a trade workshop, welded steel racks earn their keep, and if you own only two short clamps, a pair of stout hooks honestly does the job. The printed system wins in the home workshop because it fits your bars, grades your lengths, and grows one station at a time. It teams naturally with the clamp care in our related guide, “3D Printed F-Clamp Pads and Soft Jaws: Protect Workpieces While You Clamp,” since clamps stored this well deserve pads that protect the work too.
FAQ
Can printed cradles really hold long steel bar clamps?
Yes, in the architecture described here: pairs of PETG cradles, printed solidly, screwed to a timber rail fixed into studs. The cradles share a resting load between two points; the rail and studs do the structural work. Test your heaviest clamp overnight on the first pair before printing the set.
What about pipe clamps with round bars?
Round-bar pipe clamps park happily in a cradle with a semicircular throat sized to the pipe, with the same pair spacing. Measure the pipe’s outside diameter and give the throat the same 0.5 to 1 mm of working clearance.
How many clamps fit on one rail?
As many as the graded spacing allows — commonly six to ten on a typical workshop wall run. Weight is rarely the limit once the rail is in studs; hand room between stations runs out first.
Should trigger clamps and spring clamps share the rail?
They can, on a lower or separate rail with cradles shaped for their bodies, but mixing them among the long bar clamps breaks the length grading that makes the main rail fast to use. Separate rails per family is the tidier system.
Conclusion
Long clamps stop being a storage problem the moment each one gets two fitted cradles on a solid rail: flat against the wall, graded by length, jaws parked, handles aligned. The corner thicket becomes a row you can read at a glance, even with glue on your hands.
Measure your bars, prove one pair under your heaviest clamp, and build the rail in an afternoon. The next glue-up will feel noticeably calmer.
For the glue-ups this rack serves, you may also enjoy our related guide, “Glue-Up Cauls: 3D Print Panel Cauls for Flat, Even Glue-Ups on Tabletops and Doors,” and for setting those panels square in the first place, see “DIY Corner Clamp: 3D Print a Right-Angle Clamp for Frames, Drawers and Cabinet Repairs,” which covers the corner end of the same work.