Introduction
Sanding sponges are brilliant for curves, edges, and detail work, and miserable to hold for long. You squeeze a soft block for twenty minutes, your fingers cramp, the sponge folds, and the pressure goes uneven. Flat areas get rounded, edges get dug in, and your hand gives up before the surface is ready.
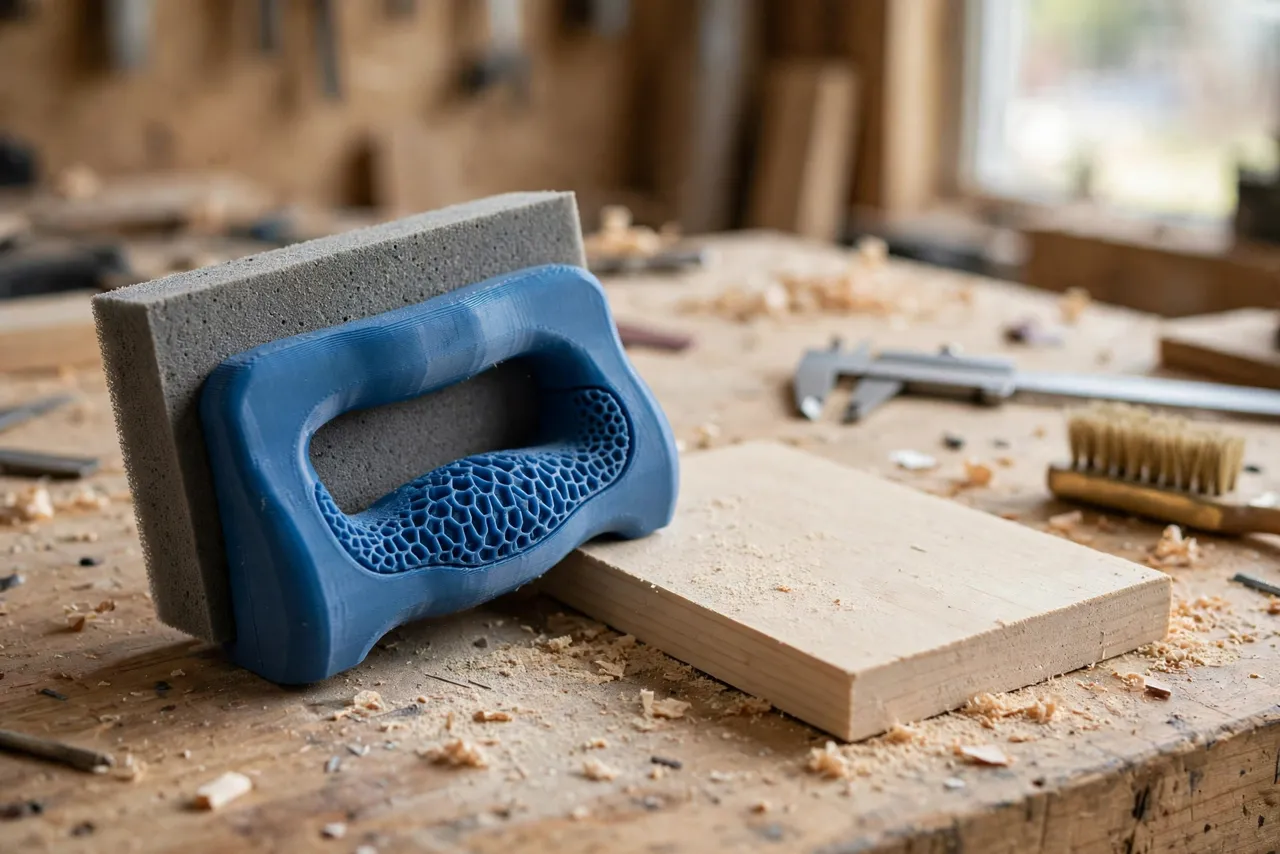
A 3D printed sanding sponge grip changes the job. It is a firm holder that grips the sponge, keeps it flat where it should be flat, and gives your hand a proper shape to hold. Your fingers stop doing the gripping, your palm does the guiding, and the sponge does what it was made for: following the surface evenly.
This guide covers designing, printing, and using a grip for common rectangular and contoured sanding sponges. Treat it as a sanding aid only — it holds a sponge, it does not replace choosing the right grit, sanding with the grain, or wearing the dust protection your job requires.
What You Need
The grip is a small, quick print. The main decision is which sponge sizes you use most, since the grip must fit them snugly.
Materials and tools
- A home 3D printer with a build area of at least 130 mm in one direction
- PETG filament for a tough grip, or PLA for a test
- Sanding sponges in the sizes you use, plus sandpaper for flat work if needed
- A wooden board, trim piece, or furniture part to practise on
- Fine sandpaper for smoothing the print, a small file, and a pencil
- A brush or vacuum for clearing dust, and dust protection as appropriate
PETG is the better keeper because it flexes slightly instead of cracking and survives being dropped on a concrete floor. PLA is fine for a test grip, but keep it out of heat and expect it to wear faster in daily use.
Suggested print settings
- Layer height: 0.20 mm for comfort and strength.
- Walls: 4 perimeters, so the grip walls do not flex under pressure.
- Infill: 40 to 50 percent, grid or gyroid.
- Top and bottom layers: 4 or more.
- Orientation: Print flat or on its side, whichever keeps the sponge pocket true.
- Supports: Only for overhanging clip features; a simple grip needs none.
Print a test grip first and check the sponge fit before printing a keeper.
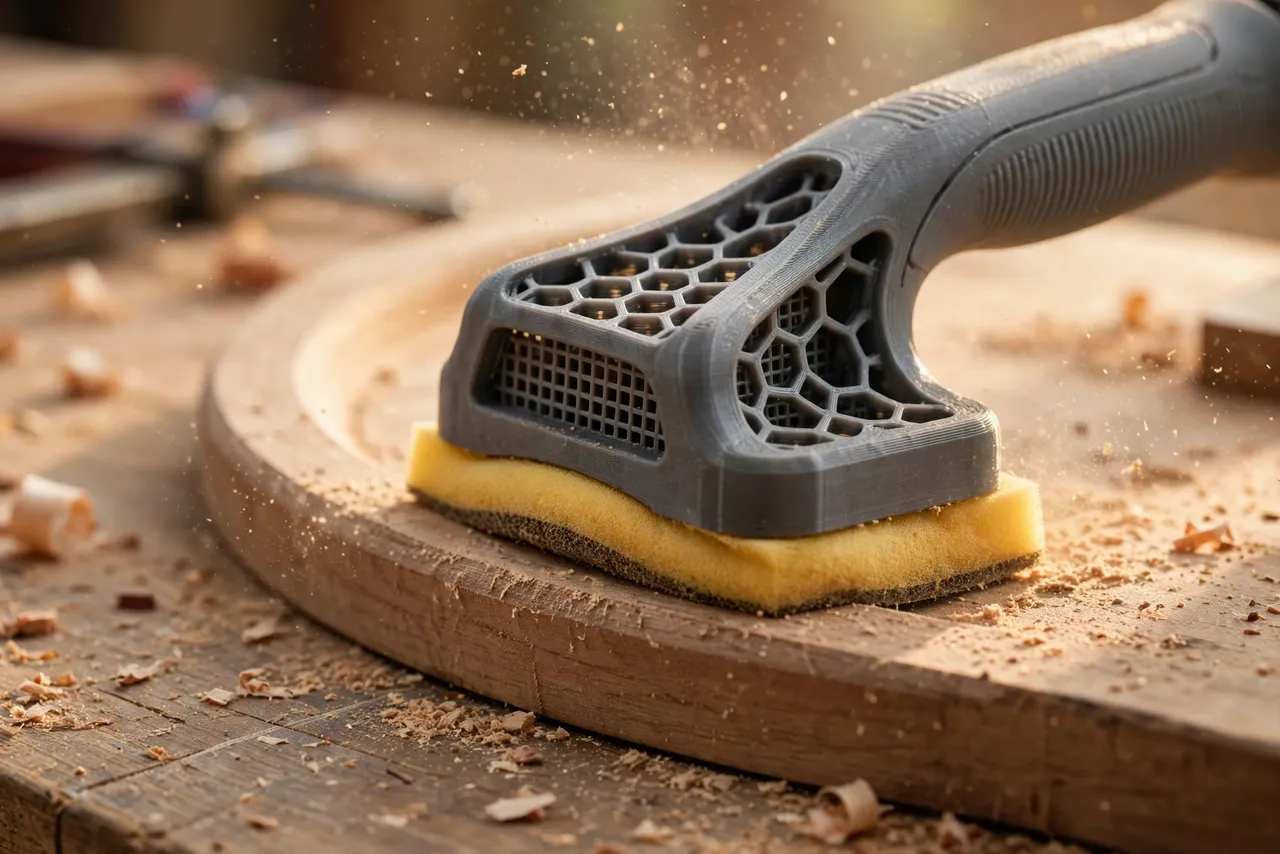
Design Considerations
A sponge grip must hold firmly without crushing the sponge, and it must feel good after twenty minutes, not just twenty seconds.
1. The sponge pocket
Measure your sponge: length, width, and thickness, both dry and slightly compressed. Model a pocket about 1 to 2 mm smaller in width than the sponge, so the sponge is gripped by friction, and about two-thirds of the sponge depth, so the working face stays exposed. Add small ribs or teeth inside the pocket walls to bite gently into the sponge without tearing it. A pocket that is too loose lets the sponge slide out mid-stroke; one that is too tight crushes it and ruins its flexibility.
2. Grip shape
Shape the top of the holder to your hand, not to the sponge. A rounded bar grip, about 100 mm long, suits flat sanding. A palm-shaped dome suits detail and curved work, where you guide with your palm rather than your fingers. Keep the grip low and centred over the sponge, so pressure lands evenly. Add shallow finger grooves or a textured top for grip, especially if your hands get dusty — and they will.
3. Flat and contoured versions
Print two versions if you sand both flat and curved surfaces. The flat version has a rigid base that keeps the sponge face perfectly level, ideal for boards and panels. The contoured version has a slightly flexible base, thinner in the middle, that lets the sponge follow a curve without folding. Mark each version clearly, since they look similar in a toolbox but behave very differently on a curved edge.
4. Edge protection
Add a small lip around the base to stop the sponge edge catching and tearing on corners. Keep the lip flush with the sponge face, not proud of it, or it will mark the work. Round every corner of the holder itself, so a slip does not gouge the wood you are sanding.
Step-by-Step: Printing and Assembly
- Measure your sponges. Record length, width, and thickness for each size you use regularly.
- Model the pocket slightly undersized for friction, with internal ribs and a flat or flexible base as needed.
- Add the grip, rounded, low, and centred, with finger grooves or texture.
- Print a test grip and fit a sponge. It should slide in firmly and stay put when you shake the holder.
- Clean it up. Sand sharp edges, clear the pocket ribs, and check the sponge face sits flat.
- Adjust if needed. If the sponge slips, tighten the pocket by 0.5 mm; if it crushes, loosen it by the same amount.
- Print the keeper in PETG, and print a second version for curved work if you need one.
There is no assembly beyond fitting a sponge.
Step-by-Step: Using the Grip for Even Sanding
- Choose the right grit. Start coarse enough to remove the old finish or roughness, then work through finer grits. A grip does not fix a skipped grit.
- Fit a fresh sponge. A worn sponge gives uneven results, however good the holder is.
- Sand with the grain on flat wood, using long, even strokes and light, steady pressure. Let the abrasive do the work.
- Follow curves gently. With a contoured grip, let the sponge follow the shape rather than forcing the holder flat against it.
- Check your progress often. Wipe or brush dust away and look in raking light for scratches, shiny spots, or missed areas.
- Change grits cleanly. Brush dust off the work and the sponge before moving finer, so coarse grit does not carry over and scratch a nearly finished surface.
Work in stages, and rest your hand when it needs it. A grip reduces cramp, it does not remove the need for breaks on a long job.
Tips for Better Results
- Keep several grips ready. One per common sponge size means no mid-job swapping.
- Use light pressure. Pressing hard wears sponges fast and digs hollows. Steady, light strokes give a flatter finish.
- Clean sponges between grits. Tap or rinse them as the maker directs, so old grit does not contaminate a fine finish.
- Mark grits on the grip. A paint pen mark matching the sponge inside stops you grabbing the wrong grit.
- Sand edges lightly. Edges sand through fastest; a few light passes beat one hard one.
Common Mistakes to Avoid
- Squeezing the sponge bare-handed for long jobs. That is the cramp this grip exists to prevent, and it also gives uneven pressure.
- Using a loose pocket. A sponge that slides gives patchy sanding and can fly off mid-stroke.
- Skipping grits. Jumping from coarse to fine leaves deep scratches that the fine grit cannot remove.
- Sanding against the grain. Cross-grain scratches show through stain and clear finishes.
- Pressing too hard on edges. Edges and corners need the lightest touch, or they round over and lose their shape.
Care, Storage, and When to Choose an Alternative
Brush dust out of the grip after use and store it with its sponges, away from heat. If the pocket wears loose, reprint the grip — the file is already proven. For heavy production sanding or powered sanding, manufactured sanding blocks and power sanders are the right tools. For hand sanding curves, edges, and detail work at home, a printed grip that saves your hand and keeps pressure even is hard to beat.
FAQ
Will one grip fit every sanding sponge?
No. Sponges vary in size, so measure yours and print grips for the sizes you use most. The design approach is the same, but pocket dimensions must match the sponge.
Is PLA strong enough, or do I need PETG?
PLA is fine for a test grip. PETG is the better keeper because it tolerates drops, flexing, and workshop temperatures better. Either way, thick walls and a snug pocket matter most.
Can I use this grip with sandpaper instead of a sponge?
It is designed for sponges. Flat sandpaper needs a flat block, which is a different tool — see our sanding block guides for that job. Forcing paper into a sponge grip gives poor results.
My sanding still looks uneven. What went wrong?
Check the sponge fit, your pressure, and your grit sequence. A loose sponge, hard pressure in one spot, or a skipped grit are the usual causes. Test on scrap, use light even strokes, and work through the grits in order.
Conclusion
Hand sanding should not hurt. A printed grip that holds the sponge flat, spreads pressure evenly, and gives your hand a proper shape turns a cramping chore into steady, even work.
Print grips for the sponge sizes you use, keep them with your abrasives, and your next sanding job will finish smoother — and your hand will thank you.
For flat sanding work, you may also enjoy our related guide, “Contour Sanding Blocks: 3D Print Custom Blocks for Curved Trim and Furniture Repairs,” and for keeping abrasives sorted, see “Sandpaper Organizer and Storage Box: 3D Print a Grit-Sorted System for Your Workshop.”