Introduction
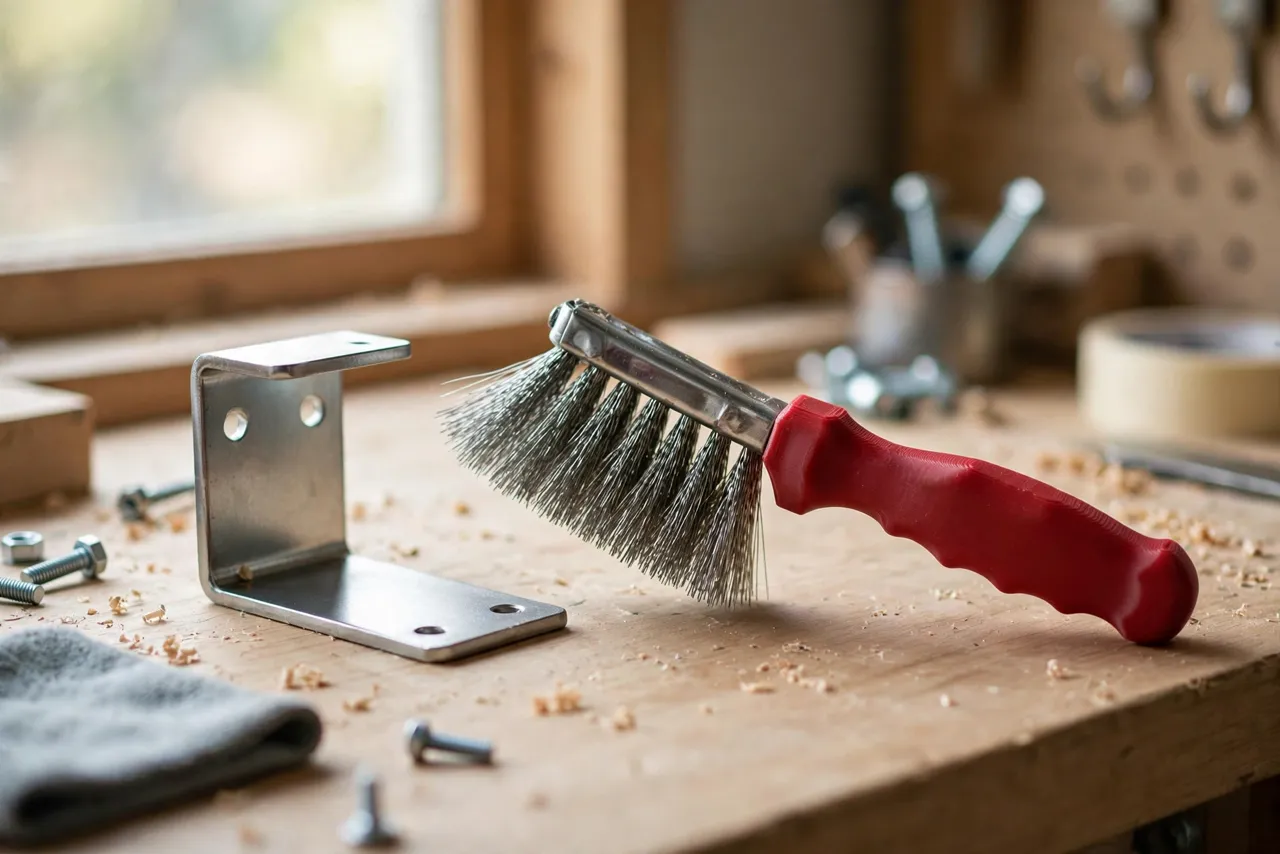
Wire brushes die from the handle, not the bristles. The steel wires keep cutting long after the wooden handle has cracked, the plastic grip has gone smooth, or the head has worked loose and started wobbling. Throwing away a brush with good bristles feels wasteful, and buying a replacement for a handle failure feels worse.
A 3D printed wire brush handle gives that brush a second life. You measure the brush head and its mounting, print a handle shaped to your hand, and bolt or slot it firmly onto the head you already own. The result is a brush that feels solid again, costs a little filament, and keeps a useful tool in service.
This guide covers measuring, designing, printing, and fitting a replacement handle for common hand wire brushes. Treat the handle as a grip only — it holds the brush head, it does not strengthen worn bristles, and if the bristles are shedding, bent flat, or missing in patches, replace the brush itself. Wear eye protection when wire brushing, since loose wires can fly, and test on scrap before working on a finished surface.
What You Need
The handle is a medium print, longer than a sponge grip but still within most home printers. The key measurement is the brush head, not the old handle.
Materials and tools
- A home 3D printer with a build area of at least 180 mm in one direction
- PETG filament for toughness, or PLA for a test fit
- Your wire brush, with the old handle removed, plus its screws or bolts if any
- Calipers or a ruler, a pencil, and fine sandpaper or a small file
- A screwdriver, and stainless or coated screws if the originals are rusted
- Eye protection, gloves, and a scrap metal piece for testing
PETG is the better keeper because it flexes instead of cracking under the scrubbing force wire brushing needs. PLA is fine for checking the fit, but do not trust it for heavy rust removal, where the handle takes real strain.
Suggested print settings
- Layer height: 0.20 mm, or 0.24 mm for a faster print.
- Walls: 5 perimeters, since the handle takes repeated pushing and pulling force.
- Infill: 50 to 60 percent, grid or gyroid, for a solid grip that does not flex.
- Top and bottom layers: 5 or more.
- Orientation: Print flat or on its side, whichever puts layer lines across the main bending direction, not along it.
- Supports: Only for overhanging grip features; a simple handle needs none.
Print a test handle first. A handle that fits loosely will wobble, and a wobbling wire brush is both ineffective and unpleasant to use.
Design Considerations
A wire brush handle must transfer force firmly to the bristles, stay comfortable when your hands are dusty, and attach so solidly that it never works loose mid-stroke.
1. Mounting to the brush head
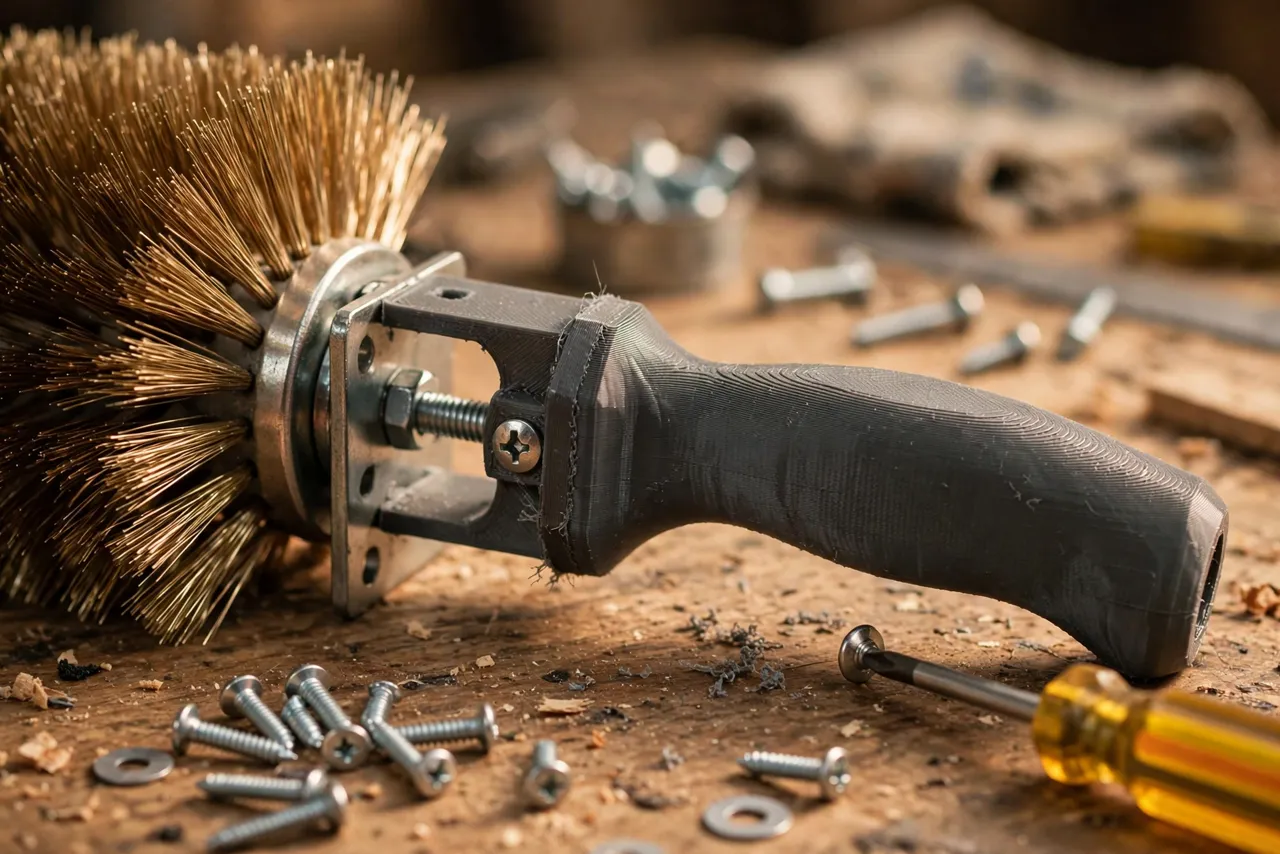
Start with the head: its length, width, thickness, and every hole, slot, or raised boss. Many hand wire brushes have a flat steel back with two screw holes, or a socket the handle slides into. Model a matching socket, plate, or clamp in your handle, with about 0.3 mm clearance for screws. Add counterbores so screw heads sit flush and never snag. If the original used a through-bolt, reproduce that: a bolted joint is far stronger than glue alone for a tool that gets pushed hard.
2. Grip shape and length
A wire brush handle should be about 200 to 250 mm long overall, long enough to keep your hand clear of the work and to give leverage, but not so long that it flexes. Shape it like a comfortable tool handle: rounded, about 28 to 32 mm wide and 20 mm thick, with a slight swell in the middle where your palm sits. Add shallow finger grooves or ribs for grip, and a hanging hole at the end. Avoid a perfectly round handle — it twists in the hand under scrubbing force.
3. Strength where it matters
The weak point is always the joint between handle and head. Reinforce it: thicken the handle around the mounting area, add a rib or gusset on each side, and use at least two screws or a bolt plus a locating pin. Print orientation matters here — layer lines running along the handle will split under bending, so orient the print so layers run across the stress. If in doubt, print a test handle and try to bend it by hand before trusting it on a job.
4. Comfort and safety
Round every edge generously. A sharp printed edge plus a dusty hand plus hard scrubbing equals blisters. Keep the grip texture shallow: deep grooves trap metal dust and rust particles. Add a small guard or flare where the handle meets the head, to stop your hand sliding forward onto the bristles.
Step-by-Step: Printing and Assembly
- Remove the old handle and clean the brush head, noting every hole, slot, and boss.
- Measure the head carefully: dimensions, hole spacing, and the shape of any socket.
- Model the replacement, with a matching mount, reinforced joint, and rounded grip.
- Print a test handle and check it against the head without fasteners first.
- Clean it up. Sand sharp edges, clear screw holes, and check the joint sits flat.
- Bolt it on. Use stainless or coated screws, tighten evenly, and check the head does not rock or twist.
- Print the keeper in PETG once the test fits solidly.
Recheck the screws after the first heavy use. Vibration and scrubbing can loosen a fitting that felt tight when new.
Step-by-Step: Using the Rebuilt Brush
- Inspect the bristles. If they are shedding heavily or bent flat, replace the brush. A new handle cannot rescue dead bristles.
- Put on eye protection. Wire brushing throws loose wires and particles, even on gentle jobs.
- Test on scrap. Try the rebuilt brush on a similar scrap piece to check the handle feels solid and the bristles cut evenly.
- Brush in one direction where possible, using steady strokes rather than violent scrubbing. Let the wires do the cutting.
- Clear debris often. Tap the brush or brush it against a scrap edge to clear clogged wires, which cut poorly and shed more.
- Clean and dry the brush after use, and store it hanging or flat, with bristles protected.
A rebuilt brush should feel like a new tool: solid, balanced, and comfortable. If it wobbles, twists, or flexes, stop and fix the joint before continuing.
Tips for Better Results
- Test the joint hard on scrap. A joint that survives scrap testing will survive the job.
- Use two fasteners, not one. A single screw lets the head pivot; two lock it in place.
- Keep the grip texture shallow. It gives grip without trapping metal dust.
- Hang the brush by its hole. Hanging keeps bristles straight and the handle easy to find.
- Replace screws when you replace the handle. Rusted screws are a false economy.
Common Mistakes to Avoid
- Designing from memory. Brush heads differ by brand; measure the head in your hand.
- Printing too thin at the joint. The joint takes all the force. Thicken it, rib it, and use thick walls.
- Printing in the wrong orientation. Layers along the handle split under bending. Orient across the stress.
- Ignoring worn bristles. A new handle on a dead brush wastes a print and gives poor results.
- Skipping eye protection. Wire brushing without it risks a loose wire in the eye, even on a small job.
Care, Storage, and When to Choose an Alternative
Brush metal dust off the handle after use, dry it, and store it hanging. If the handle cracks or the joint wears loose, reprint it from the proven file. If the bristles are worn out, buy a new brush — the handle design you have already proven can be adapted to the next head. For heavy industrial descaling or powered wire brushing, manufactured brushes and power tool attachments are the right choice. For home cleaning, rust removal, and surface prep, a printed handle on a sound brush head is practical, cheap, and satisfying.
FAQ
Will this handle fit any wire brush?
No. Brush heads and mountings vary, so measure yours and design to it. The approach works for most flat-backed hand brushes, but dimensions must come from the brush you own.
Is PLA strong enough, or do I need PETG?
PLA is fine for a test fit. PETG is the keeper material for scrubbing work, because it flexes instead of cracking. Either way, thick walls, high infill, and correct print orientation matter most.
Can I glue the handle on instead of bolting it?
Glue alone is not reliable for a tool pushed hard in both directions. Use screws or a bolt, with glue only as a supplement if you like. A bolted joint can also be removed when the bristles finally wear out.
My rebuilt brush still wobbles. What went wrong?
Usually the joint is loose, a single fastener is pivoting, or the mounting surface is not flat. Reseat the head, add a second fastener, tighten evenly, and test again on scrap before returning to the job.
Conclusion
A wire brush with good bristles and a broken handle is not a dead tool. Measure the head, print a solid, comfortable handle, bolt it on with two fasteners, and test it on scrap. The brush comes back to life for the cost of a little filament.
Print one for the brush you actually own, keep it clean and dry, and the next cleaning or prep job will start with a tool that feels right in the hand.
For keeping brushes and other hand tools organised, you may also enjoy our related guide, “3D Printed Wrench and Pliers Rail: Wall-Mounted Hand Tool Storage You Can Customize,” and for sharpening and maintaining edge tools, see “3D Printed Honing Guide Blocks: Set Exact Chisel and Plane Iron Angles Without Expensive Jigs.”