Introduction
Wooden hand screw clamps are among the most versatile clamps in a workshop. Their long jaws close parallel, grip odd shapes, and reach where metal clamps cannot. Their one weakness is the jaw face itself: bare wood on wood can slip on smooth stock, dent soft pieces, and pick up glue that later transfers to the next project.
Printed pads answer all three problems at once. A soft sleeve or cap over each jaw adds grip, cushions the work, and peels off glue easily. Because you print them to your clamp’s exact jaw size, they fit snugly and stay put, unlike folded rags that shift mid-glue-up.
As with every printed clamp accessory, keep expectations honest. These pads protect surfaces and improve grip on light and medium bench work. They do not strengthen the clamp, and for heavy clamping, overhead work, or anything safety-critical, the clamp’s own wooden jaws — or a manufactured clamp — are what you trust.
What You Need
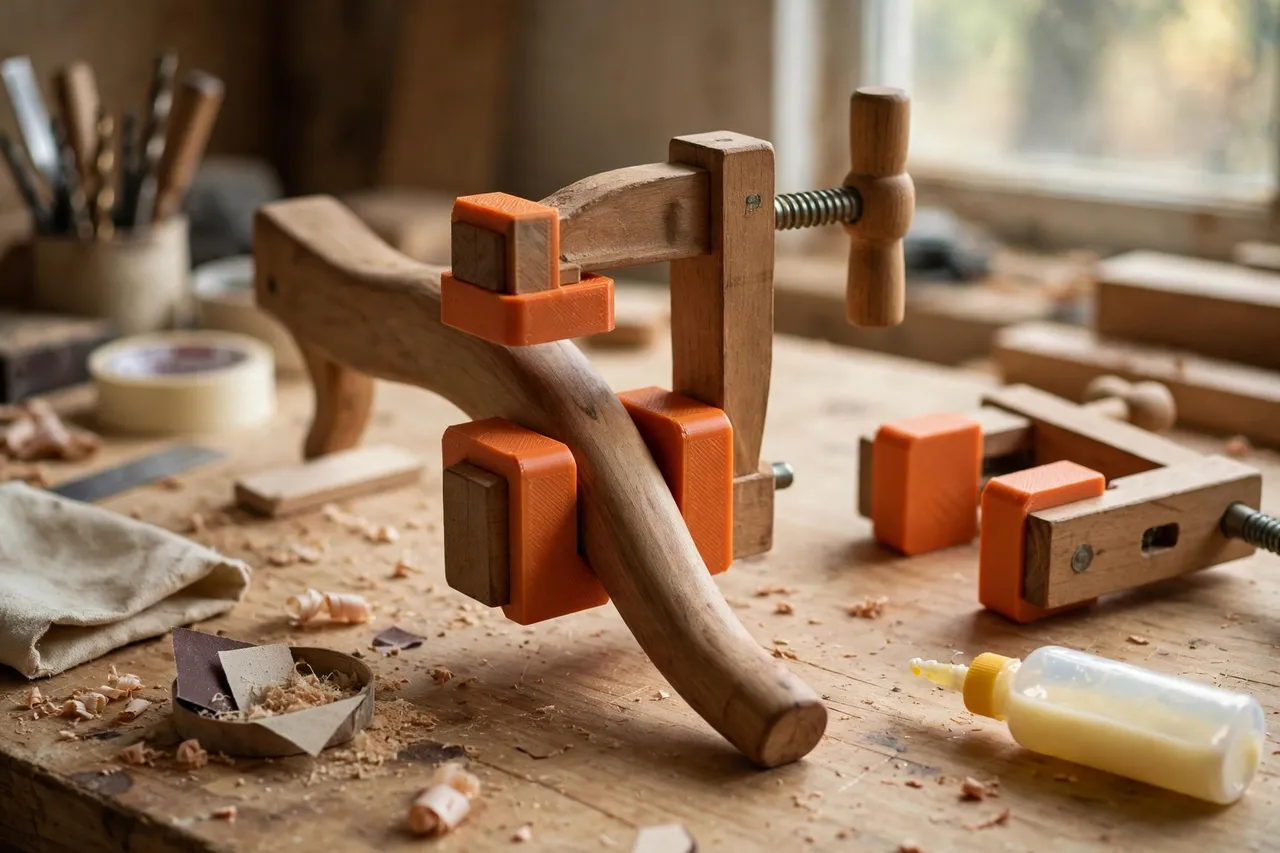
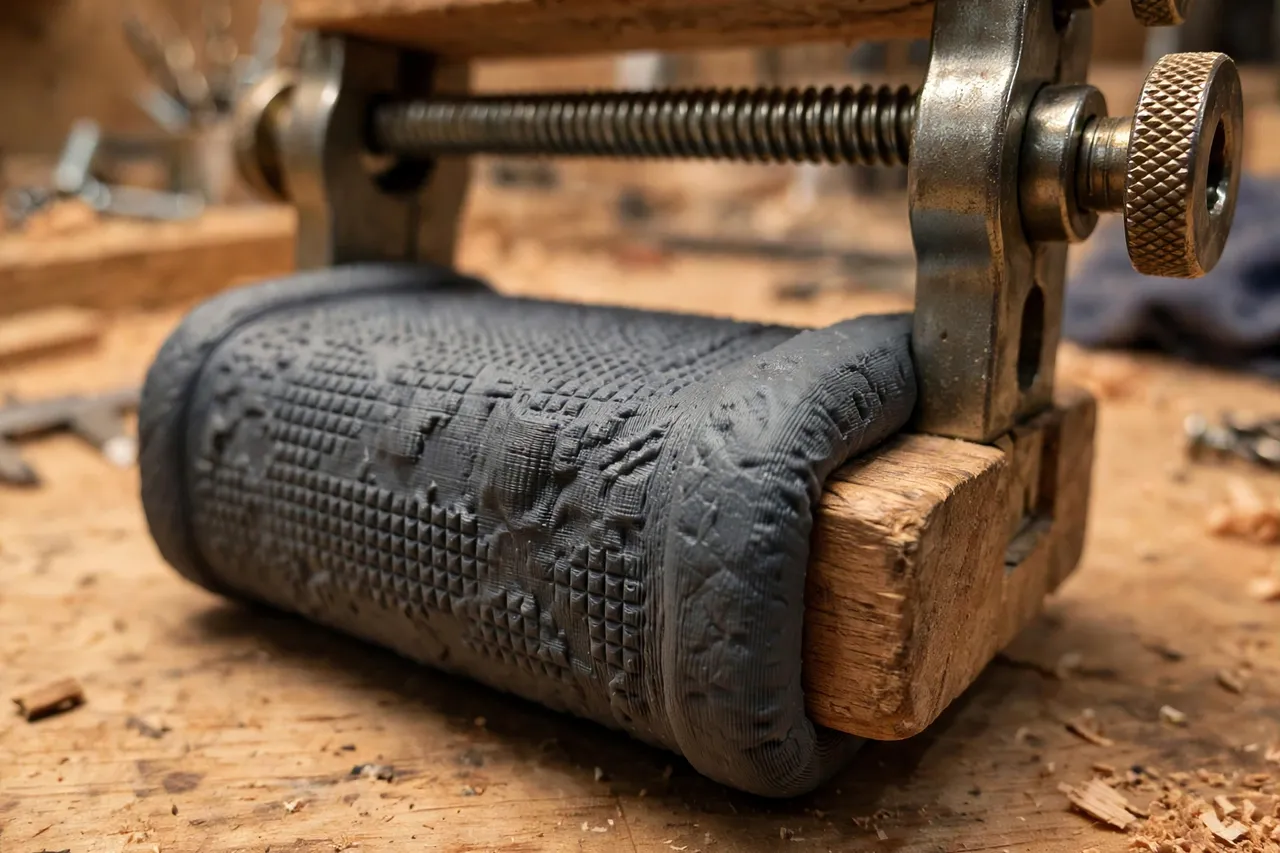
Hand screw pads are simple sleeve or cap prints, sized to your clamps.
Materials and tools
- A home 3D printer with a build area of roughly 150 mm in at least one direction
- TPU filament for soft, grippy pads, or PETG for firmer ones
- Your hand screw clamps, for measuring jaw width, thickness, and length
- Calipers or a ruler, a pencil, and sandpaper or a small file
- Scrap boards for grip and dent testing
TPU is the natural choice here: it grips like rubber, cushions softwood, and releases dried glue easily. PETG suits rougher work where a firmer face is fine.
Suggested print settings
- Layer height: 0.20 mm for TPU, 0.20 mm for PETG.
- Walls: 3 to 4 perimeters — the sleeve walls flex every time you fit them.
- Infill: 20 to 30 percent for TPU so it stays soft; 40 percent for PETG.
- Top and bottom layers: 4 or more.
- Orientation: Print sleeve-opening up, so the face prints cleanly.
- Supports: None for an open sleeve design.
Print one pad first and test the fit on your clamp before printing pairs.
Design Considerations
A hand screw pad is a sleeve that hugs the jaw. Four details make it work well.
1. The sleeve fit
Measure your jaw’s width and thickness, then size the sleeve about 0.3 to 0.5 mm larger inside so it slides on with a firm push but does not fall off. Add a closed end cap so the pad cannot slide past the jaw tip, and a small tab at the open end for easy removal. If your jaws taper, model the taper — a straight sleeve on a tapered jaw rocks.
2. The face
The working face is where the pad earns its keep. A fine crosshatch texture grips smooth boards; a smooth TPU face suits delicate or finished work. Keep the face thickness around 3 to 5 mm — thick enough to cushion, thin enough that the clamp still closes properly on thin stock.
3. Length and coverage
Full-length pads protect the whole jaw and grip long pieces evenly. Shorter pads, covering just the jaw tip, suit delicate edge work where you want to see the joint. Print both lengths if you do varied work; they swap in seconds.
4. Pairs and identification
Hand screw clamps are used in pairs, and pads should be too — one pad on each jaw, or the unpadded jaw becomes the one that dents. Print pads in pairs, and color-code by clamp size if you own several.
Step-by-Step
- Measure your jaws — width, thickness, length, and any taper.
- Model the sleeve with a closed end, a removal tab, and your chosen face texture.
- Print one test pad and slide it onto a jaw. It should need a firm push, not force.
- Check the grip by clamping a smooth scrap board; the pad should hold without slipping.
- Check for dents on a softwood offcut at normal clamping pressure.
- Adjust if needed. Too loose? Shrink the sleeve by 0.3 mm. Slipping face? Add texture or switch to TPU.
- Print full pairs for each hand screw clamp you use regularly.
- Do a real glue-up with pads fitted, and notice how much less you fuss with slipping rags and protective scraps.
Tips for Better Results
- Fit pads before you open the glue. Mid-glue-up fumbling wastes open time.
- Keep a spare pair near your clamps; pads are small and easy to misplace.
- Wipe glue off pads promptly. TPU releases dried glue well, but fresh glue wipes off easier.
- Use smooth-face pads on finished work and textured pads on rough stock.
- Store pads on the clamps so each pair stays with the clamp it fits.
- Try a pad with a slightly raised edge around the face perimeter. The rim acts like a shallow tray that keeps the workpiece from creeping sideways under pressure, which is especially handy when clamping tapered or rounded pieces that want to squirt out of the jaws.
- Keep the pad faces clean between jobs. A pad with dried glue bumps or embedded grit presses those imperfections straight into the next workpiece, so a quick brush or wipe before each glue-up is time well spent.
For other clamping jobs around the bench, “3D Printed Edge Clamps for Workbenches: Clamp Work to the Bench Edge” handles work at the bench edge, while hand screw pads handle the pieces themselves — the two cover most bench clamping between them.
Common Mistakes to Avoid
- Sizing from a catalog, not your clamp. Wooden jaw sizes vary by maker and age — measure the clamp in your hand.
- Printing a pad that is too tight. A sleeve that needs a mallet will split at the seam eventually.
- Padding only one jaw. The bare jaw still dents and slips.
- Making the face too thick. Overly thick pads change the clamp’s geometry and reduce its effective opening.
- Expecting pads to fix a worn clamp. If the screws are stripped or the jaws are badly warped, repair or replace the clamp — pads only protect surfaces.
Care, Storage, and Alternatives
Peel off dried glue, brush off dust, and store pads on their clamps or in a labeled bag per size. TPU pads can harden over years; PETG pads can crack if dropped. Reprinting a pair is quick and cheap, so retire worn pads rather than nursing them along.
Manufactured jaw pads and leather jaw covers are excellent for daily professional use. For the home workshop, printed pads matched to your exact clamps are faster to make, easier to replace, and simple to customize for odd jaw shapes.
FAQ
Will pads stop hand screw clamps from denting softwood?
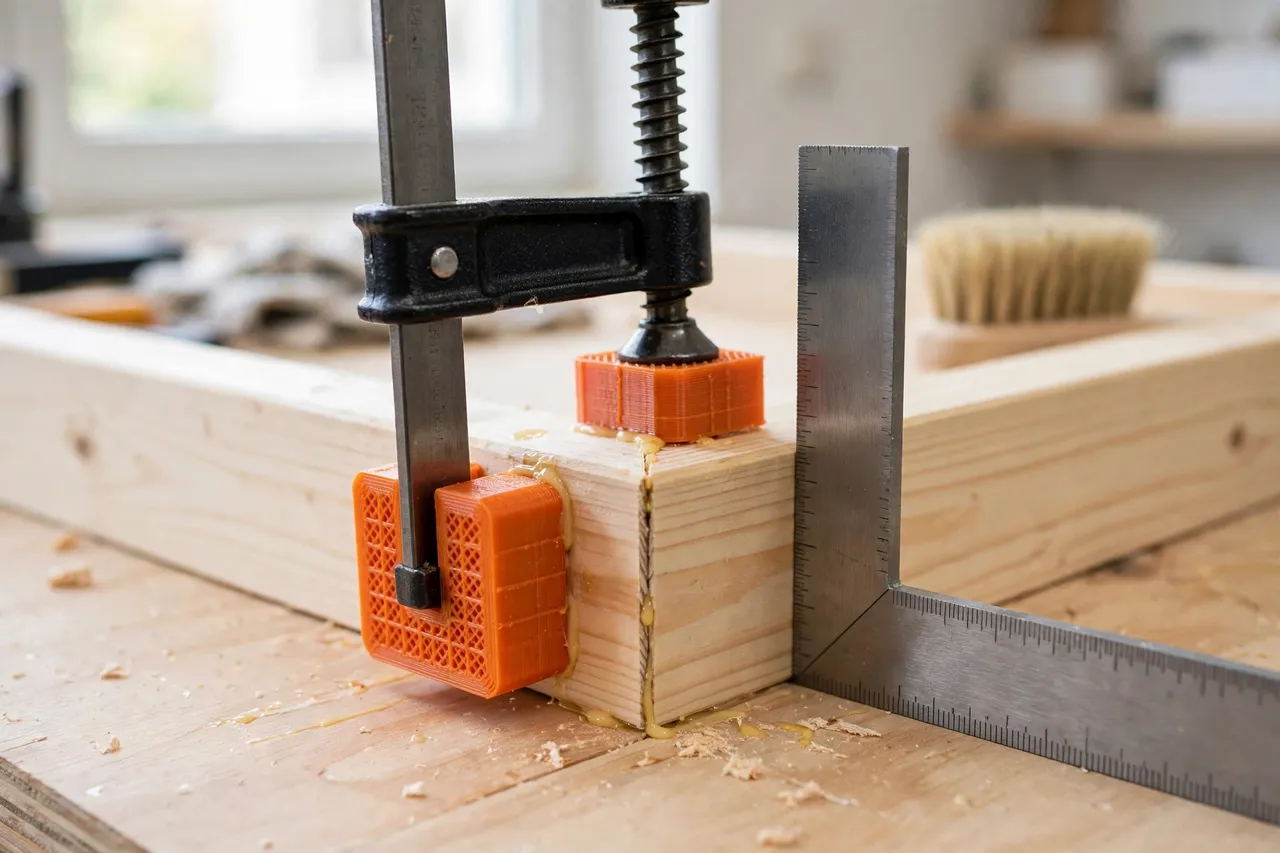
They greatly reduce denting by spreading pressure and cushioning the jaw, especially in soft TPU. Very soft woods can still dent under heavy pressure, so tighten only as much as the joint needs.
Do pads work on clamps with tapered jaws?
Yes, if you model the taper into the sleeve. A straight sleeve on a tapered jaw will rock and eventually split — take the extra minute to measure both ends of the jaw.
Can I leave pads on the clamps permanently?
You can, and many people do. Just check occasionally that glue has not built up under a pad, and remove pads for jobs where bare wood jaws are actually wanted, such as clamping very rough stock.
My pads slide off when I open the clamp wide. What went wrong?
The sleeve is too loose, or the closed end is missing. Shrink the sleeve slightly and make sure the end cap captures the jaw tip.
Conclusion
Wooden hand screw clamps deserve better than rags folded over their jaws. A pair of printed pads — soft, grippy, sized to your clamps — turns a good clamp into a great one for delicate and odd-shaped work, and it does it for the cost of a few grams of filament.
Measure one clamp, print one test pad, and then outfit the rest. You will reach for your hand screws more often once their jaws stop marring the work. For the matching idea at a larger scale, “3D Printed Pipe Clamp Feet and Pads: Feet That Keep Pipe Clamps Steady” brings the same surface-protecting logic to panel glue-ups.