Introduction
Pipe clamps are the workhorses of panel glue-ups: cheap, long, and strong. They also have one annoying habit — they roll. A round pipe on a flat bench wants to tip the moment you lean on it, and a clamp that rolls mid-glue-up can shift a panel, squeeze out glue unevenly, or leave a joint that dries out of square.
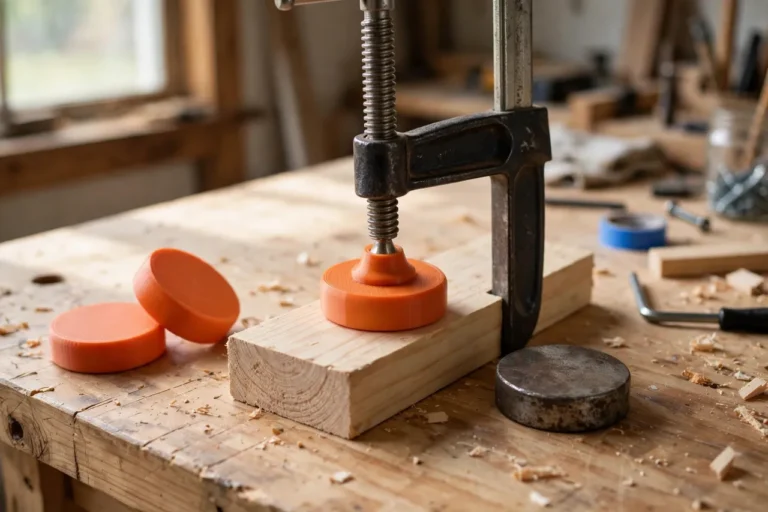
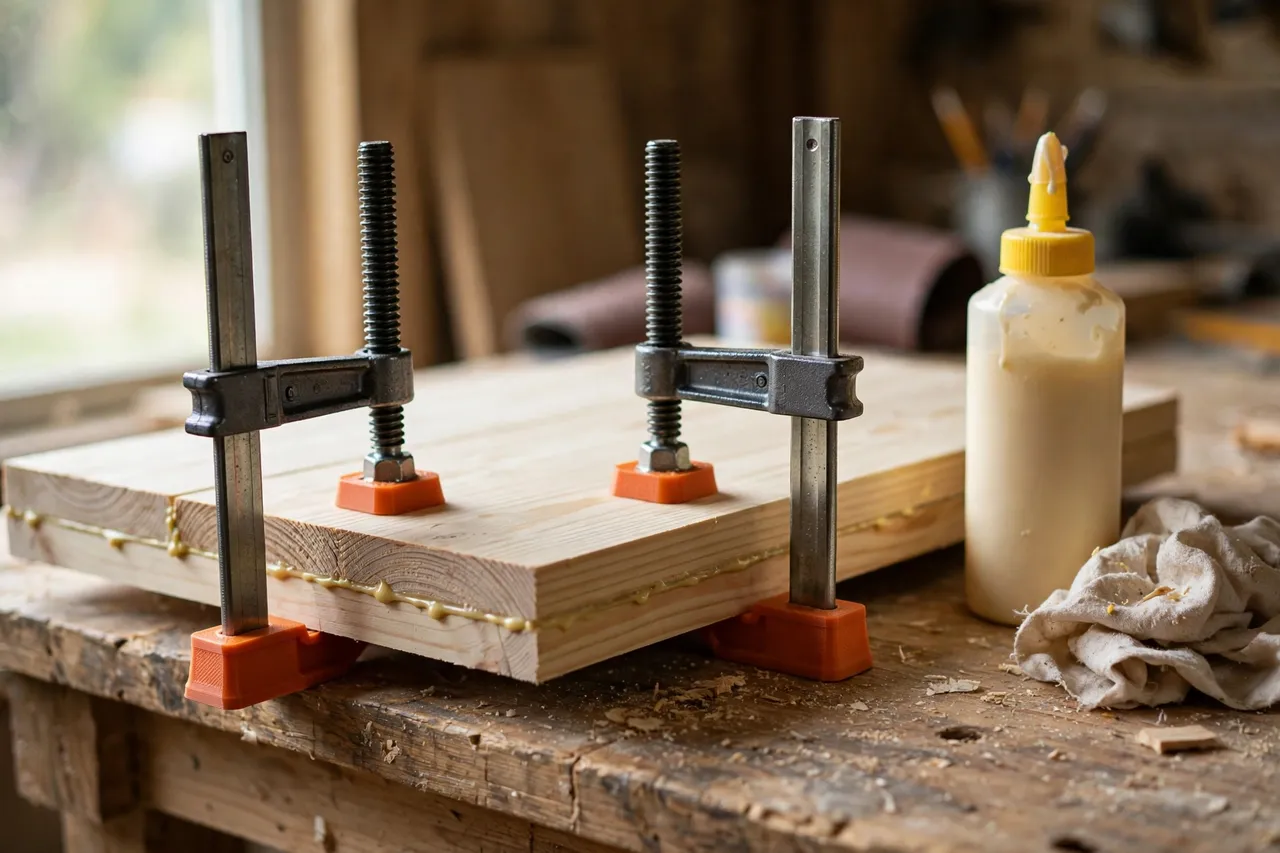
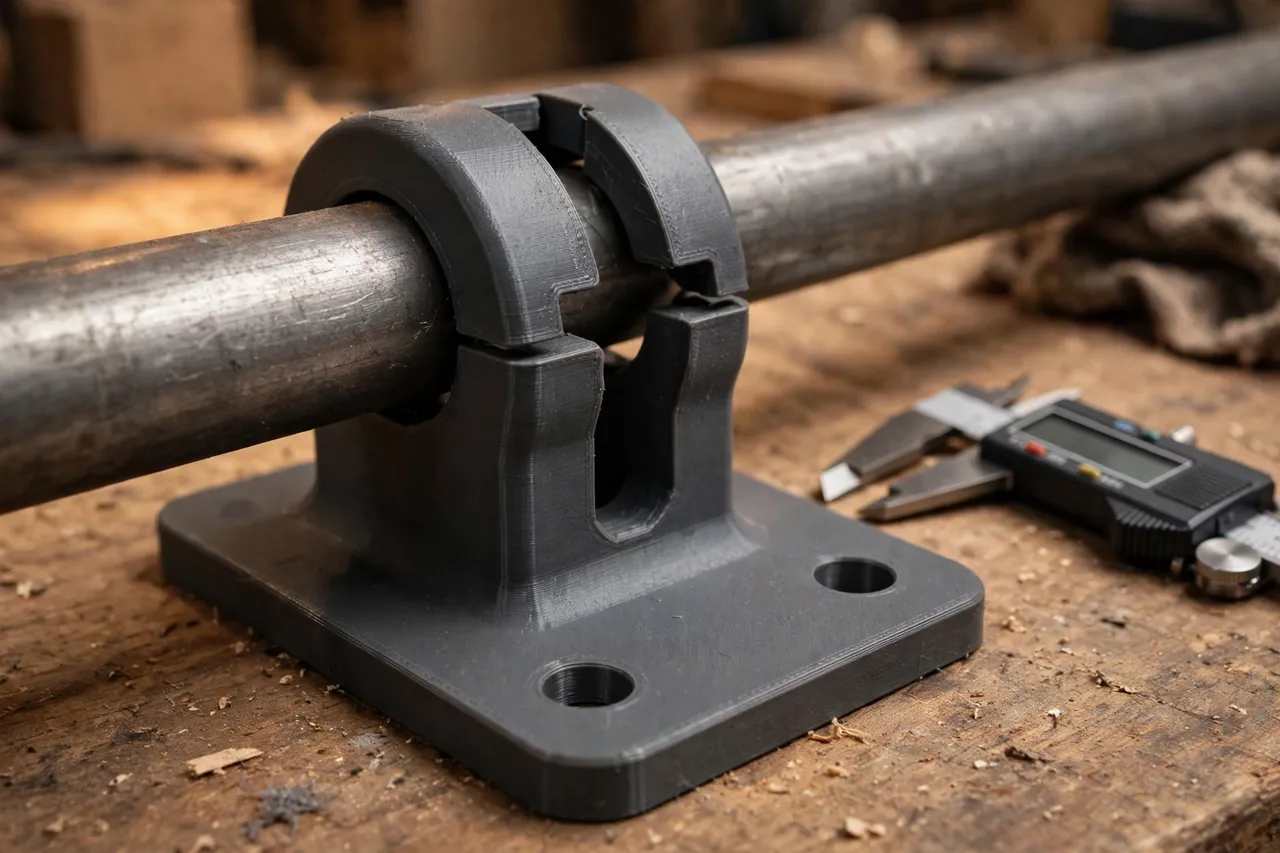
Printed feet solve that plain and simple problem. A foot clips onto the pipe and gives it a wide, flat base, so the clamp sits still while you position boards, tighten jaws, and check for square. Add a matching pad under the jaw, and you also protect soft wood from dents and keep glue squeeze-out off the metal.
These are light-duty helpers, not structural parts. They steady the clamp and guard surfaces; they do not carry the clamping load, and they never replace the steel clamp itself. For heavy glue-ups or anything overhead, the clamp and its own hardware do the real work — the printed parts just keep everything calm while you work.
What You Need
Pipe clamp feet are small, simple prints. Most of the job is measuring your pipe correctly.
Materials and tools
- A home 3D printer with a build area of roughly 120 mm in at least one direction
- PETG filament for tougher feet, or PLA for a first test set
- Your actual pipe clamps, so you can measure the pipe diameter
- Calipers or a tape measure, plus a pencil and sandpaper or a small file
- Wood glue, boards for a test glue-up, and a square for checking your work
PETG is the better keeper: it resists cracking when a foot gets stepped on or knocked off the bench, and it handles a warm garage better than PLA. PLA is fine for testing the fit before you commit.
Suggested print settings
- Layer height: 0.20 mm for a good balance of speed and fit.
- Walls: 4 perimeters — the clip channel takes repeated flexing.
- Infill: 40 to 50 percent, gyroid or grid, so the base stays rigid under the pipe’s weight.
- Top and bottom layers: 4 or more, for a flat, stable base.
- Orientation: Print base-down, with the clip channel opening upward.
- Supports: None needed for a well-designed open channel.
Print one foot first and test it on your pipe before printing a full set.
Design Considerations
A good foot has three jobs: grip the pipe, sit flat, and stay put. Keep the design simple and each job gets easier.
1. The clip channel
The foot grips the pipe with a C-shaped channel that snaps over it. Measure your pipe’s outside diameter — common pipe clamps use 1/2-inch or 3/4-inch pipe, but actual diameters vary, so measure the pipe in your hand, not the label. Size the channel about 0.2 to 0.4 mm larger than the pipe, with an opening slightly narrower than the diameter so it snaps on and stays. A small chamfer at the mouth of the channel helps it pop on without forcing.
2. The base
Make the base wide — at least twice the pipe diameter — and flat on the bottom. A base around 60 to 80 mm long gives a pipe clamp real stability. Add shallow ribs underneath for grip on a smooth bench, or a recess for a stick-on rubber pad if your bench is slick. Rounded corners keep the feet from catching on aprons and cords.
3. The jaw pad
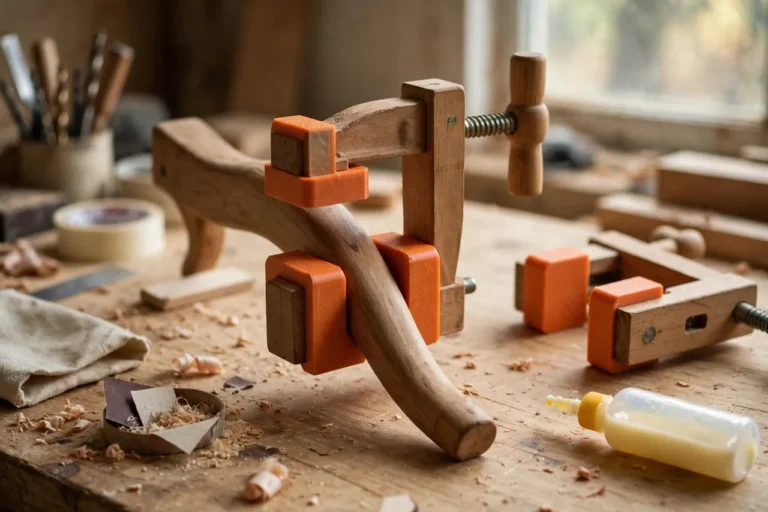
A separate pad that slips over or under the clamp jaw protects the workpiece. Keep it thin, about 3 to 5 mm, with a lip that hooks the jaw so it cannot slide off mid-tightening. For softwoods, a slightly wider pad spreads the pressure and prevents the jaw from leaving a dent line across a panel.
4. Sizing for different pipes
If you own both 1/2-inch and 3/4-inch clamps, print feet in different colors and mark the size on the side with a paint pen. A stepped channel that fits both sizes sounds clever but usually grips neither well — one dedicated size per pipe is the reliable route.
Step-by-Step
- Measure your pipe with calipers at two or three spots; pipes are not always perfectly round.
- Model the foot: a flat base, a C-channel sized to your pipe, and a small finger tab for removal.
- Model the jaw pad to match your clamp’s jaw face, with a retaining lip.
- Print one test foot and snap it onto the pipe. It should click on firmly and need a deliberate pull to remove.
- Clean up stringing and lightly sand the channel so it slides on smoothly.
- Adjust if needed. Too tight? Open the channel by 0.2 mm. Too loose? Shrink it by the same amount.
- Print the full set — two feet per clamp is the minimum; three steadies a long clamp.
- Fit the pads to the jaws and do a dry glue-up: lay boards in the clamps, tighten lightly, and check that nothing rocks.
- Glue for real. With the feet holding the clamps still, you can focus on alignment and square instead of chasing rolling pipes.
Tips for Better Results
- Put feet near both ends and the middle on long clamps; a single foot in the center still lets the ends seesaw.
- Keep the bench clear under the feet — a stray screw under a base tilts the whole clamp.
- Use pads on both jaws when gluing softwood, so dents do not appear on either face.
- Mark feet by pipe size if you own more than one clamp style; grabbing the wrong size mid-glue-up wastes open glue time.
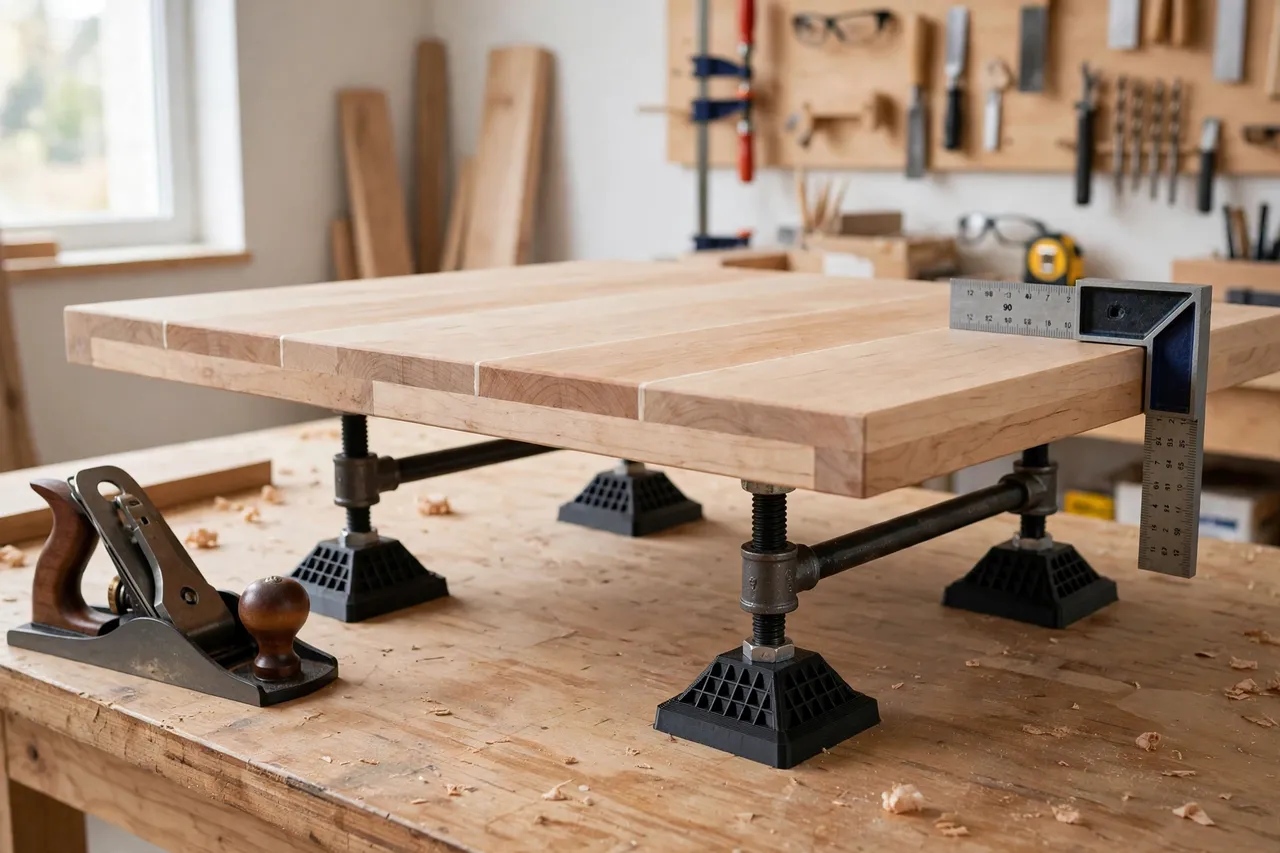
- Pair feet with a flat reference surface. Clamping a panel on feet over a dead-flat bench is how you get panels that stay flat.
If your bench setup also needs a way to hold work right at the edge, the approach in “3D Printed Edge Clamps for Workbenches: Clamp Work to the Bench Edge” pairs well with steady pipe clamps, since the edge clamp holds the panel while the pipe clamps hold the joint.
Common Mistakes to Avoid
- Designing from the pipe’s nominal size. A “3/4-inch” pipe is not 19.05 mm outside — measure it.
- Making the base too narrow. A foot barely wider than the pipe is barely better than no foot.
- Printing with low infill. A hollow-feeling foot flexes under the clamp’s weight and rocks anyway.
- Skipping the test fit. One test print saves a whole set of feet that snap on loosely or not at all.
- Using feet as a substitute for a flat bench. Feet steady a clamp; they cannot flatten a warped bench or a bowed board.
Care, Storage, and Alternatives
Brush off glue drips before they harden — dried glue on a base makes the foot rock. Store feet clipped to their clamps or hung on a peg so pairs stay together, and keep PLA feet out of hot cars and direct sun. If a clip channel cracks after many removals, reprinting a foot takes under an hour.
Manufactured rubber feet and commercial clamp pads exist and are worth it if you clamp daily or work with very heavy panels. For the home workshop, where clamps come in several sizes and odd diameters, a printed set matched to your exact pipes is faster, cheaper, and easy to replace.
FAQ
Will printed feet hold up under a heavy panel glue-up?
For typical home glue-ups — tabletops, shelves, cabinet panels — yes, provided the infill and walls are generous. The feet steady the clamp; the steel pipe and jaws still carry the clamping force. For very heavy hardwood slabs, use more feet per clamp and check that nothing flexes before the glue sets.
Do I need feet on every clamp?
Two feet per clamp is a good minimum, and three is better on clamps longer than about 1.2 meters. Short clamps used upright for edge work may not need feet at all.
Can I use PLA, or must it be PETG?
PLA works for testing and for light use in a cool shop. PETG is the better long-term choice because it flexes rather than cracking and tolerates heat better. Either way, thick walls matter more than the brand on the spool.
My foot keeps popping off the pipe. What went wrong?
Usually the channel opening is too wide or the pipe diameter was guessed instead of measured. Shrink the channel slightly, or add a small detent bump inside the channel that clicks past the pipe’s widest point.
Conclusion
A rolling pipe clamp turns a calm glue-up into a juggling act. A few printed feet and pads — sized to your actual pipes, printed solid, and fitted once — end that problem for good. Your clamps sit still, your panels stay flat, and glue-ups get noticeably less stressful.
Print a test foot this week, try it on your next panel, and you will wonder why you put up with rolling clamps for so long. For clamps of a different style, “3D Printed Clamp Pad Adapters: Pads That Fit Any Clamp” shows how one pad design can be adapted across the clamps you already own.