Introduction
Every workshop accumulates keys: padlocks for the shed and gates, cabinet and toolbox locks, the side door, the vehicle, the storage unit. Individually they are small. Together they are a daily source of delay, because a key left in a pocket, on a bench, or in a jacket is a key you have to hunt for when you are already in a hurry.
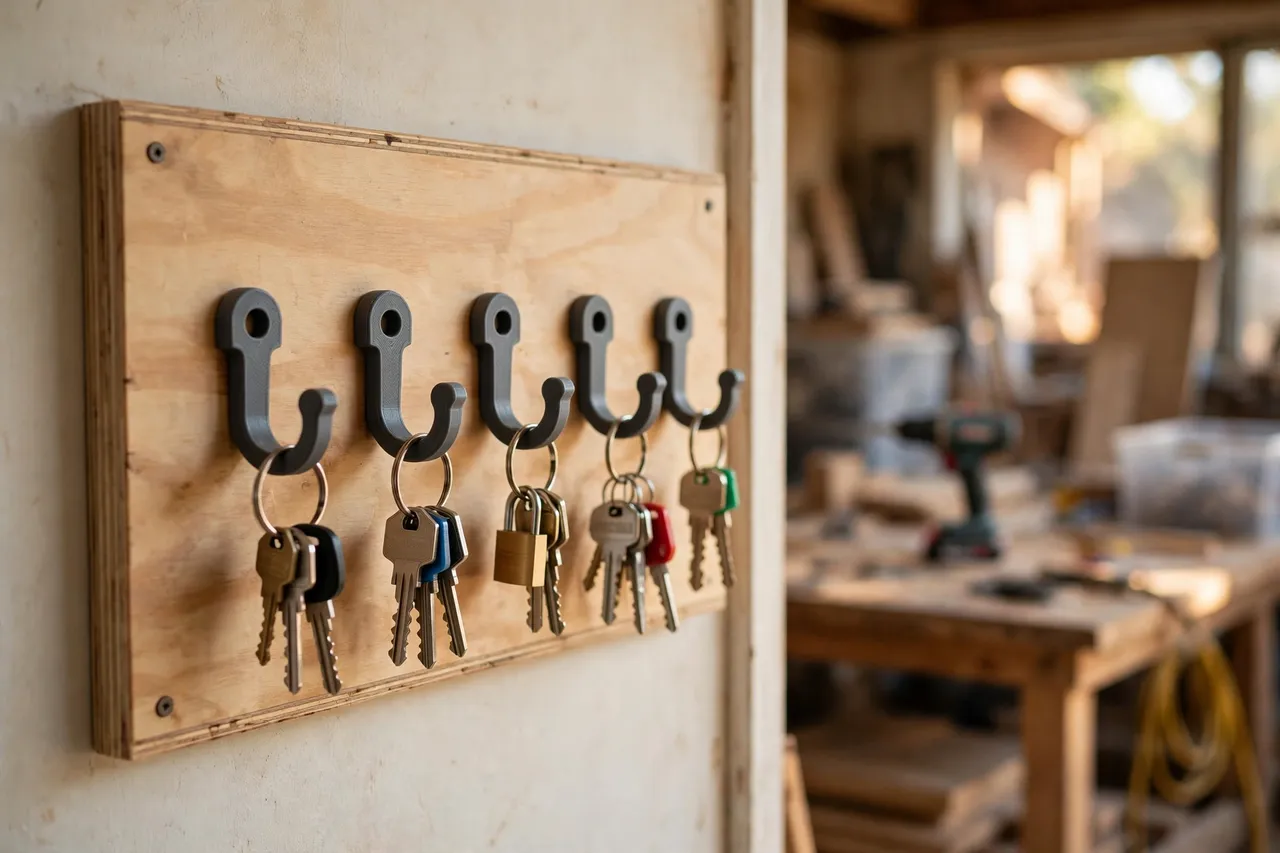
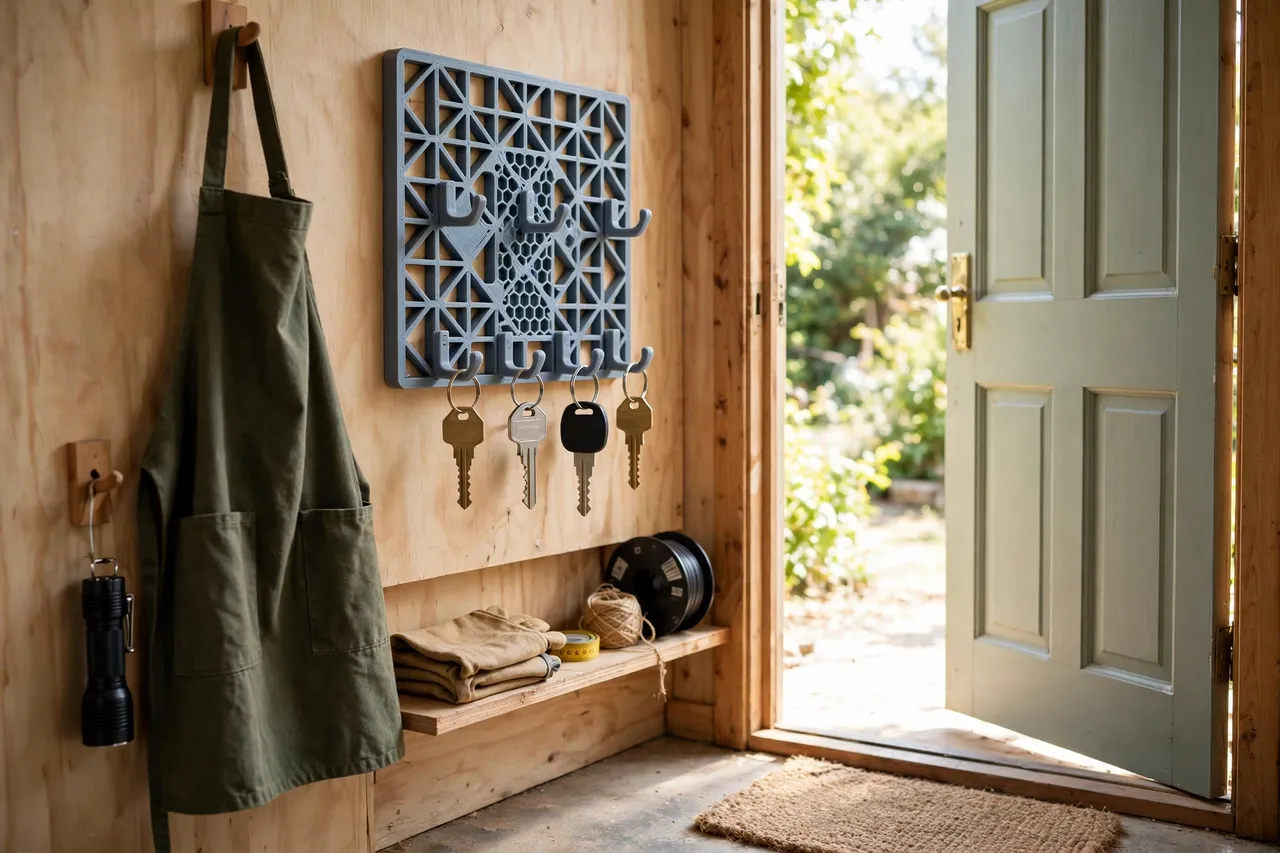
The classic solution — a board by the door with a hook per key — works, but only if the hooks suit key rings rather than coats. A 3D printed key hook board does exactly that. Small, rounded hooks spaced for rings, mounted on a board you can size to your key collection, placed where you always pass on the way in and out. It is a ten-minute print job that ends a recurring annoyance.
This guide covers designing and mounting a workshop key hook set. These hooks hold keys and light key rings only. They are not for heavy loads, tools, or bags, and they are not a security device — a key board by the door is convenient, not a safe, so keep truly sensitive keys elsewhere and think about who can see the board.
What You Need
Key hooks are among the smallest useful workshop prints. A single print run can produce a whole board’s worth of hooks.
Materials and tools
- A home 3D printer with a build area of roughly 80 mm in at least one direction
- PLA filament for indoor use, or PETG if the board will live in a garage or outbuilding
- A board to mount hooks on: plywood, MDF, or a pine offcut, sized to your key collection
- Wood screws for the hooks and for fixing the board to the wall, plus wall anchors for drywall
- A drill or driver, a pencil, a spirit level, and sandpaper or a small file
- Your key rings, counted and grouped, so spacing matches reality
PLA prints crisply and is fine for light keys indoors. PETG is the better choice for an unheated garage, where cold and summer heat cycle through the year.
Suggested print settings
- Layer height: 0.20 mm, or 0.16 mm for a smoother hook tip.
- Walls: 4 perimeters, so the small hook arm stays stiff.
- Infill: 40 to 50 percent, gyroid or grid.
- Top and bottom layers: 4 or more.
- Orientation: Print flat on the back plate, hook pointing up, so the arm prints solidly.
- Supports: Usually none for a simple upturned hook.
Print one hook and test it with your heaviest key ring before printing the full set.
Design Considerations
Key hooks look trivial, but spacing and tip shape decide whether rings stay put or slide off every time the door slams.
1. Hook size and tip
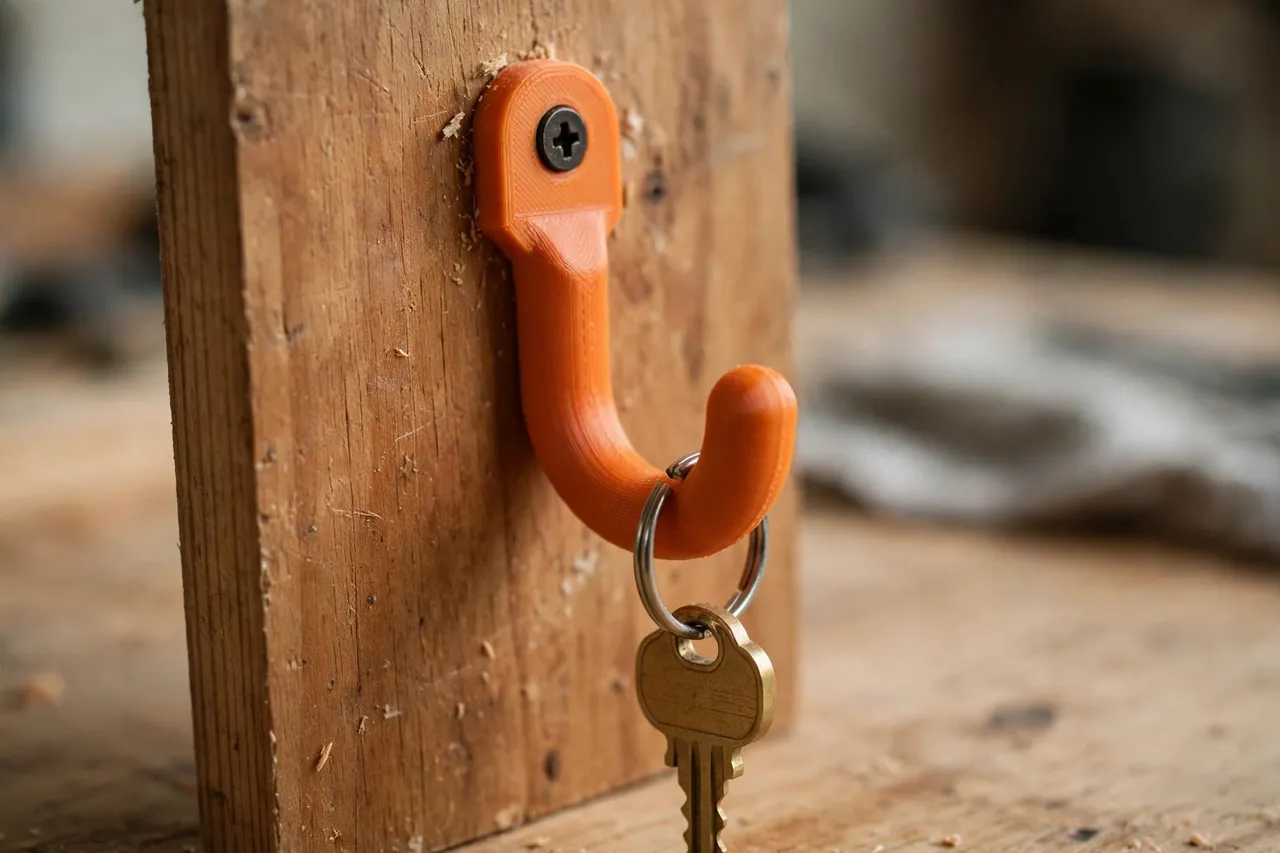
A key hook needs only 25 to 35 mm of standoff from the board and a small upturned tip, about 8 to 10 mm tall, to keep rings from walking off. Make the tip rounded, not pointed, so rings slide on and off without catching. Keep the arm thick enough — 6 to 8 mm — that it does not flex when a ring with several keys hangs from it.
2. Spacing for rings, not coats
Space hooks 60 to 80 mm apart so key rings hang without tangling. That sounds generous until you hang three padlock keys, a fob, and a tag together and realise how much space a real ring takes. Leave extra room at the ends of the board for future keys; a board that is exactly full on day one will be overcrowded within a month.
3. Back plate and fixings
Each hook needs a back plate with at least one, ideally two, screw holes. A single screw lets a hook pivot when you pull a ring sideways; two screws keep it square. Countersink the holes so screw heads sit flush and do not scratch keys. Alternatively, print hooks as part of a single long rail with shared screw holes every 150 mm — fewer fixings, cleaner look, and easier to level.
4. Labels without clutter
A small printed label holder or a painted number beside each hook turns a row of hooks into a system: shed, side gate, cabinet, toolbox, vehicle. Keep labels short and generic if the board is visible to visitors — “shed” is helpful, a full address or a safe combination never belongs on a key board.
Step-by-Step: Printing and Mounting
- Count and group your keys. Lay out every workshop key ring and decide which live on the board and which stay elsewhere for security.
- Size the board. Allow 70 mm per hook plus margins, and cut or choose a board to suit. Sand the edges.
- Model the hook. A back plate about 40 mm wide and 60 mm tall, an arm standing 30 mm proud, and a small upturned tip is a reliable starting point.
- Print one test hook. Hang your heaviest ring on it and tug sideways. If it flexes or pivots, thicken the arm or add a second screw hole.
- Clean up. Sand the tip and arm smooth so rings slide freely, and clear the screw holes.
- Lay out the hooks on the board. Mark positions with a pencil and a level, keeping spacing even.
- Fix the hooks to the board. Drill pilots and drive screws snugly, without cracking the plates.
- Mount the board by the door. Choose a spot at eye level, clear of the door swing, and fix into studs or with wall anchors. Check it is level before tightening fully.
- Hang the keys and test the routine. For a week, notice whether keys actually return to the board. If a set keeps ending up elsewhere, move its hook closer to where that key is used.
A board mounted at eye level beside the door, on the side you pass when leaving, gets used far more than one hidden behind it.
Tips for Better Results
- Print a spare hook or two. Hooks are tiny; spares cost almost nothing and save a reprint when one cracks.
- Use colour to group keys. One colour for outdoor locks, another for cabinets and toolboxes, and the system reads at a glance.
- Add one larger hook for a torch or a fob. A single bigger hook at the end of the row handles the bulky item that otherwise ends up on the bench.
- Keep the board away from windows. A key board visible from outside is an invitation, not just a convenience. Choose an inside wall by the door.
- Review the board twice a year. Remove keys for locks you no longer use, and add hooks before overcrowding starts.
This board pairs naturally with other by-the-door storage. You may also enjoy “3D Printed Apron Hooks: Hang Aprons Where You Work,” for the apron you grab in the same moment as the keys, and “3D Printed Headlamp Wall Hooks: A Parking Spot for Headlamps,” for another grab-and-go item that belongs beside the door.
Common Mistakes to Avoid
- Spacing hooks like coat hooks. Keys need less depth but more sideways room than coats. Crowded hooks tangle rings and slow you down.
- Using a single screw per hook. It pivots. Two screws, or a shared rail, keeps hooks aligned.
- Mounting the board behind the door. If you have to open the door to reach the keys, the system fails on the first hurried morning.
- Putting every key on the board. House keys, vehicle keys, and anything sensitive deserve better than a visible row by the workshop door. Keep the board for workshop locks.
- Forgetting the door swing. A board in the swing zone gets knocked, and keys end up on the floor. Check the arc before drilling.
Care, Storage, and When to Choose an Alternative
Dust the board occasionally and check screws every few months, especially on a board fixed to a door frame that vibrates. Replace any hook that cracks or loosens rather than living with a wobbly one — reprints are quick.
For heavier items, choose a different solution. A printed key hook is for keys. Tool bags, belts, and heavy equipment need metal hooks or brackets rated for their weight, fixed into studs. And for security, remember that no hook board replaces a locked cabinet or a safe for keys that must stay private. Used for ordinary workshop keys, though, a printed board is tidy, cheap, and genuinely habit-forming.
FAQ
How many hooks should I print?
Count your workshop key rings, add two spares, and that is your number. Most home workshops need between six and ten. A board with two empty hooks looks planned; a board with keys doubled up on every hook looks chaotic.
Will PLA hooks last in a cold garage?
PLA can become brittle in prolonged cold and soft in summer heat, so PETG is the safer garage choice. Indoors, PLA lasts well for light keys. If a hook ever feels brittle, reprint it in PETG.
Can I print the whole board as one piece?
Yes, for a small board. A single printed rail with five or six hooks uses fewer fixings and looks neat. For larger boards, individual hooks on a wooden board are sturdier and easier to rearrange.
What if my keys have large fobs or tags?
Give those hooks extra spacing and a slightly longer arm, so the fob hangs clear of its neighbours. One wide-spaced hook for the bulky set is better than forcing it between two tight ones.
Conclusion
Lost keys are not a memory problem. They are a storage problem, and a small board of printed hooks by the door solves it. Size the hooks for rings, space them generously, fix the board where you pass every day, and the daily hunt disappears.
Print a test hook, hang your heaviest ring, and mount the board this weekend. It is one of the smallest workshop upgrades you can make — and one of the first you will notice, every single day.