Introduction
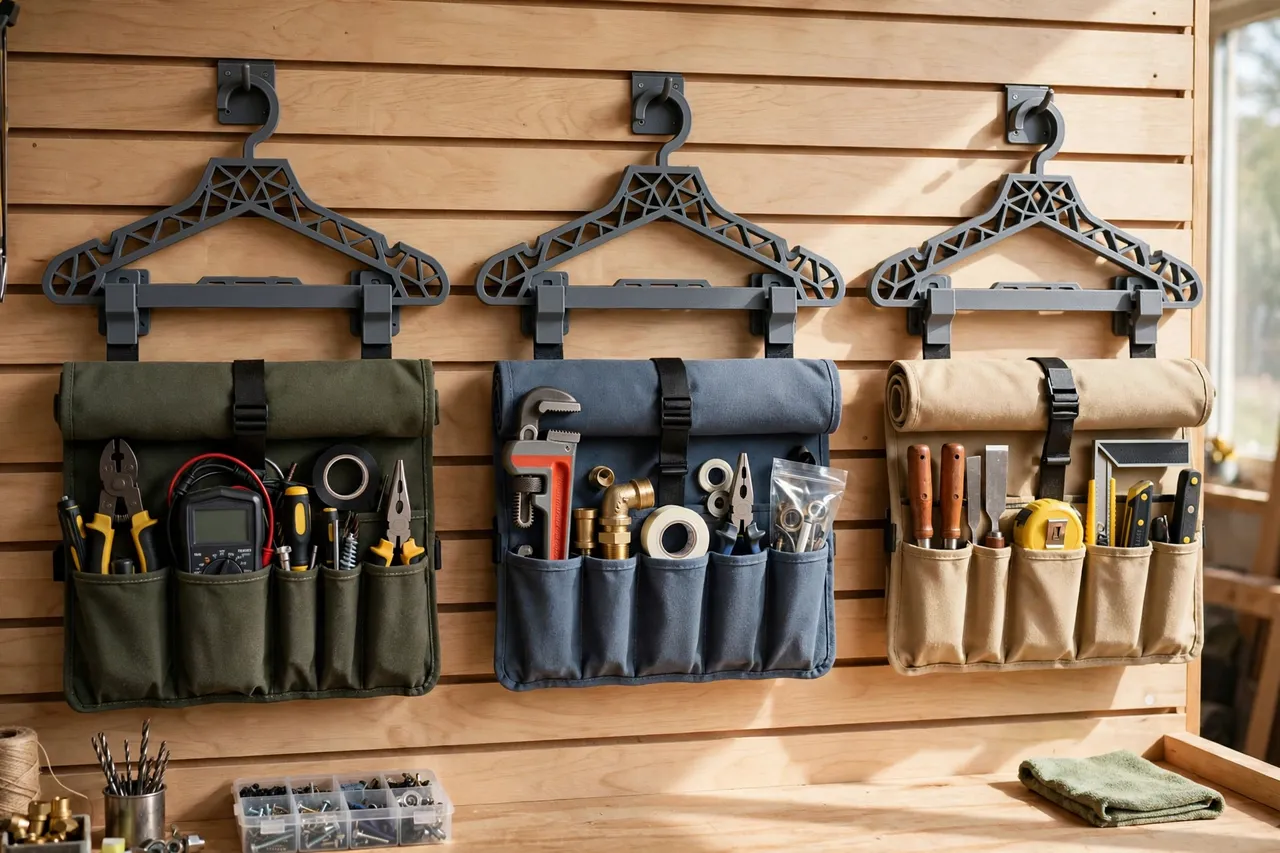
Tool rolls are brilliant storage — until you need to find one. Rolled up in a drawer, stacked on a shelf, or tossed in a toolbox, they all look alike, and unrolling three rolls to find the right spanner set wastes the time the roll was meant to save. Hanging them flat on the wall changes everything: you see the roll, you see its label, and you grab the right kit first time.
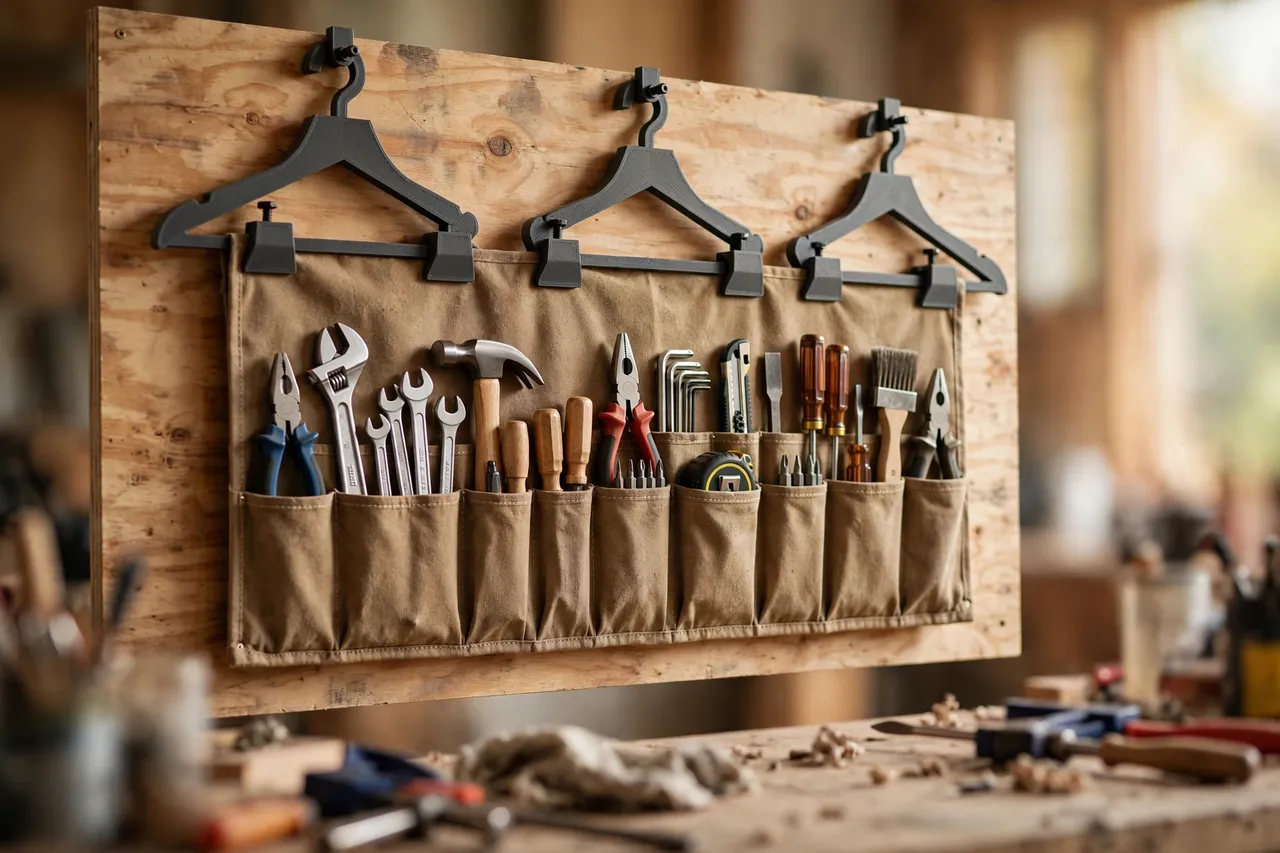
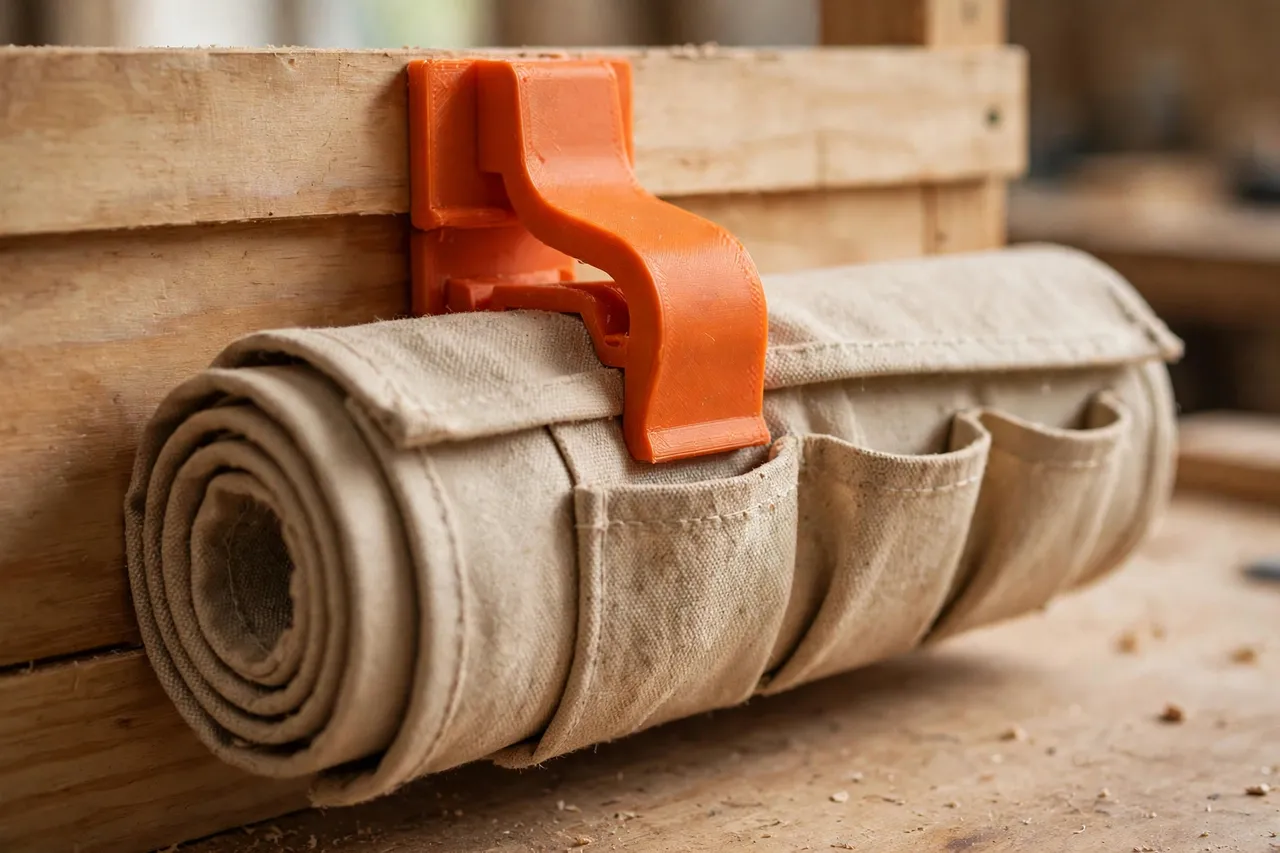
A 3D printed tool roll hanger makes this possible without buying a whole new storage system. It is a wall-mounted clip or hook pair that grips the top edge of a rolled kit and holds it flat against a board, so the roll hangs vertically, stays closed, and lifts off easily when you need it. This guide covers hangers for canvas and leather rolls of different sizes, with the same honest limits that apply to all printed wall storage: light kits only, fixed properly, never overhead, and never as a substitute for a rated bracket for heavy loads.
Tool rolls themselves vary enormously — a small electronics roll weighs almost nothing, while a full spanner roll can be surprisingly heavy. Size your hangers and fixings to the actual roll, and if a roll is heavy enough to worry about, choose a metal hook or a shelf instead.
What You Need
Tool roll hangers are straightforward prints, but they need to match your rolls’ width and weight.
Materials and tools
- A home 3D printer with a build area of roughly 120 mm in at least one direction
- PETG filament for hangers that will hold loaded rolls, or PLA for light rolls indoors
- Your tool rolls, measured flat and rolled, with their ties or straps noted
- A board to mount hangers on: plywood or a pine offcut, sized to your roll collection
- Wood screws, a drill or driver, a pencil, a spirit level, and sandpaper or a small file
- Wall anchors if fixing the board to drywall rather than studs
PETG is preferred for loaded rolls because it resists creep — the slow sagging that happens when plastic holds weight for months. PLA can work for light rolls, but check it periodically for bowing.
Suggested print settings
- Layer height: 0.20 mm, or 0.24 mm for chunky hangers.
- Walls: 5 perimeters, so the hanger arms stay stiff under a loaded roll.
- Infill: 50 percent, gyroid, for hangers that will hold weight long-term.
- Top and bottom layers: 5 or more.
- Orientation: Print flat on the back plate, arms pointing up, for the strongest arms.
- Supports: Usually none for simple hook hangers; a clip-style hanger may need light supports.
Print one hanger pair and test it with your heaviest roll before printing the full set.
Design Considerations
A tool roll hanger has to grip a soft, flexible roll without crushing it, and hold it flat without letting it unroll.
1. Two hangers per roll, not one
A single central hanger lets a roll twist and sag at the ends. Two hangers, spaced about two-thirds of the roll’s width apart, hold it flat and level. For very wide rolls, add a third central hanger. The hangers should grip the roll’s top edge, its hanging loop, or its tie strap — whichever is strongest on your roll — rather than pinching the tools inside.
2. Clip versus hook
Two styles work. An open hook lets you lift the roll off in one motion, which suits rolls you grab daily. A spring clip grips the roll’s top edge or loop more securely, which suits rolls hung in a busy workshop where they might be brushed. Hooks are faster; clips are more secure. Choose hooks for daily kits and clips for rolls that live on the wall for weeks at a time.
3. Weight and fixing
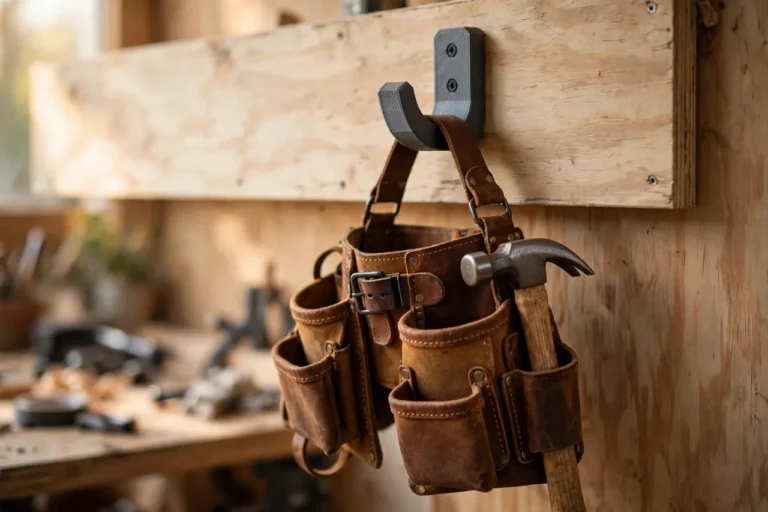
Weigh your heaviest roll. Light rolls under about 1 kg are fine on printed hangers fixed to a board screwed into studs. Heavier rolls — a full spanner or socket roll can exceed this — need either more hangers to spread the load or a manufactured metal hook. Never hang a heavy roll from drywall anchors alone, and never hang any roll above a seat or walkway where a fall could hurt someone.
4. Flat against the wall
The hanger should hold the roll close to the board, not dangling far out, so it does not swing when the door closes or catch on passing tools. A standoff of 20 to 30 mm is enough for most rolls. Keep the roll’s ties or straps fastened so tools do not slide out of the bottom while hanging.
Step-by-Step: Printing and Mounting
- Measure your rolls. Note each roll’s width when hung, its thickness when rolled, its weight, and how it hangs — loop, tie, or top edge.
- Size the board. Allow room for each roll plus gaps of at least 50 mm between rolls, and cut a board to suit.
- Model the hanger. A back plate with two screw holes and either an open hook or a spring clip, sized to grip your roll’s hanging point, is a solid starting point.
- Print one pair and test. Hang your heaviest roll on the pair. It should sit flat, stay closed, and lift off without a struggle.
- Clean up. Sand the gripping surfaces smooth so they do not wear canvas or leather, and clear screw holes.
- Lay out the board. Mark hanger pairs with a pencil and level, keeping spacing even and heights consistent.
- Fix hangers to the board. Drill pilots and drive screws snugly, without cracking plates.
- Mount the board. Fix into studs with screws long enough to bite solidly, checking level before final tightening.
- Hang the rolls and test the routine. For a week, notice whether rolls return to the wall. If a roll keeps ending up in a drawer, move its hangers closer to where that kit is used.
Label each roll’s spot lightly, either on the roll or on the board, so the right kit returns to the right hangers.
Tips for Better Results
- Group rolls by job. All electrical rolls together, all spanner rolls together, and the wall reads like an index rather than a random row.
- Print hangers in one colour. Matching hangers make different rolls look like a set, even when the rolls themselves differ.
- Keep daily rolls at hand height. Rolls you grab every day belong where you can reach them without a step. Rarely used rolls can go higher.
- Fasten ties before hanging. A roll hung with loose ties slowly unrolls from the bottom. Tie it, then hang it.
- Check for sag monthly. Printed plastic creeps under sustained load. If a hanger starts to bow, reprint it thicker or switch that roll to a metal hook.
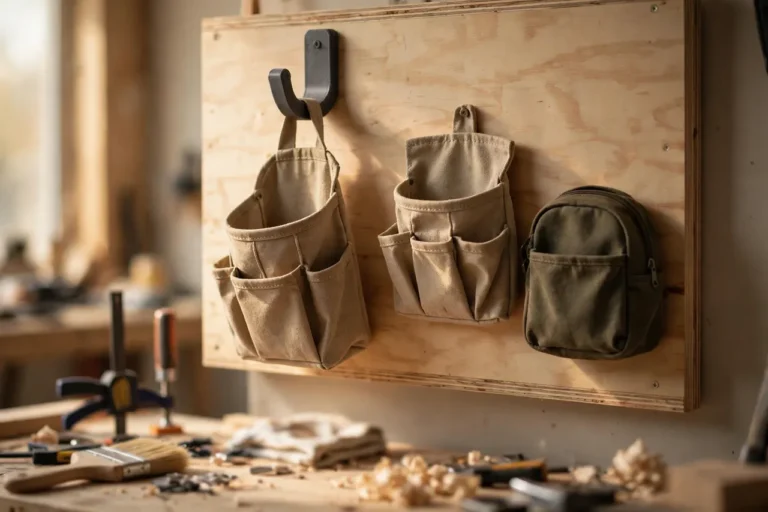
For the rest of the wall, you may also enjoy “3D Printed Tool Pouch Hooks: Hooks for Pouches and Bags,” which handles the pouches that do not roll, and “3D Printed Hand Saw Wall Hooks: Hang Hand Saws by Their Handles,” for another flat-against-the-wall storage idea.
Common Mistakes to Avoid
- Using one hanger for a wide roll. It twists, sags, and eventually slides off. Two hangers, minimum, for any roll wider than about 200 mm.
- Gripping the tools instead of the roll. Hangers should grip the roll’s edge, loop, or strap — not pinch spanners or screwdrivers through the fabric.
- Underestimating roll weight. Weigh the roll, do not guess. A roll that feels light in the hand can still creep a thin printed hanger over months.
- Hanging rolls where they swing. Near a door swing or a draught, rolls sway and unroll. Choose a calm wall.
- Forgetting to tie the roll. An untied roll hung vertically will slowly spill its tools. Tie first, hang second, every time.
Care, Storage, and When to Choose an Alternative
Dust hangers occasionally, check screws and hanger arms every few months, and replace any hanger that bows or cracks. Store spare hangers flat, out of heat, so a replacement is always ready.
Choose metal hooks, a shelf, or a cabinet for heavy rolls, for rolls hung where a fall could cause harm, or for professional daily use where a hanger must last for years without inspection. Printed hangers are excellent for home workshop rolls within their weight limits, and their custom fit is something a generic hook cannot match.
FAQ
How many hangers does each roll need?
Two for most rolls, three for very wide or heavy ones. Space them evenly so the roll hangs flat rather than sagging in the middle or twisting at the ends.
Will hanging a roll damage the tools inside?
Not if the roll is tied and the hangers grip its edge or loop rather than pinching tools. Check that no tool presses hard against a hanger arm, and reposition hangers if one does.
Can I hang leather rolls the same way as canvas rolls?
Yes, with smooth hanger surfaces. Sand gripping faces well so they do not scuff leather, and avoid sharp printed edges. A foam strip inside a clip hanger adds protection for fine leather.
What if my roll has no hanging loop?
Grip the top edge or the tie strap with a clip-style hanger, or add a simple fabric loop to the roll itself. A small sewn loop turns any roll into a hangable one.
Conclusion
Tool rolls save space, but only wall hangers save time. Hung flat, labelled, and grouped by job, rolls become a visible index of your kits rather than a pile of lookalike bundles. A pair of printed hangers per roll, fixed to a board on studs, does the job neatly — provided you respect the weight limits and tie the roll before hanging it.
Measure your widest and heaviest rolls, print one hanger pair, test it for a week, and then hang the whole collection. Your drawers will thank you, and so will the next job that starts with the right kit in hand.