Introduction
Tool pouches and small bags are the workshop’s in-between storage: too big for a drawer, too soft for a shelf, and too useful to bury in a cupboard. They end up on benches, on the floor, or draped over chairs — and the tools inside them become just as hard to find as if they had no pouch at all.
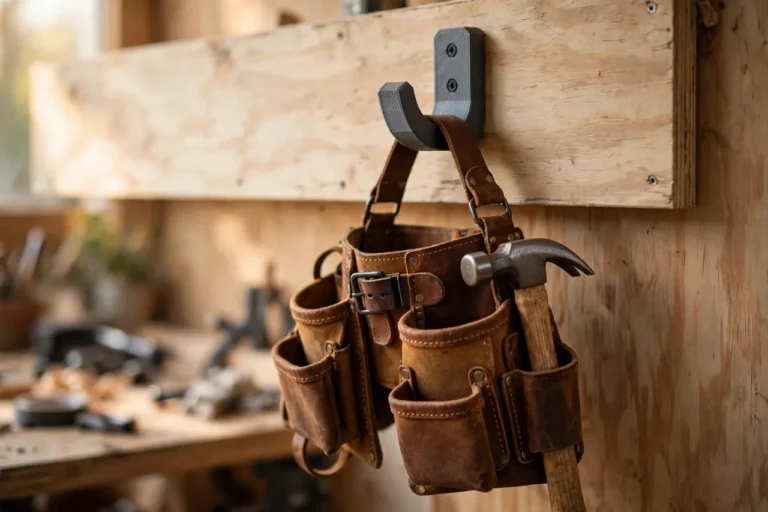
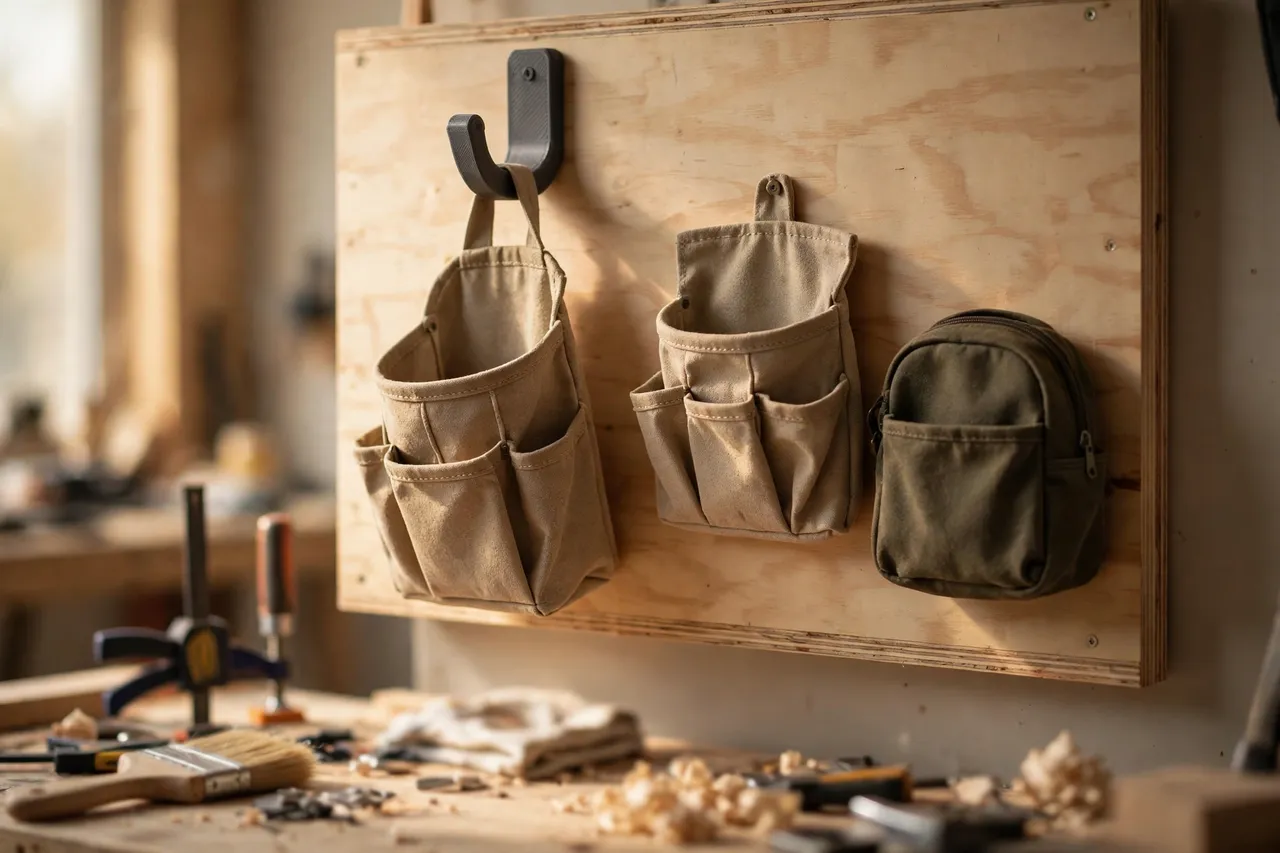
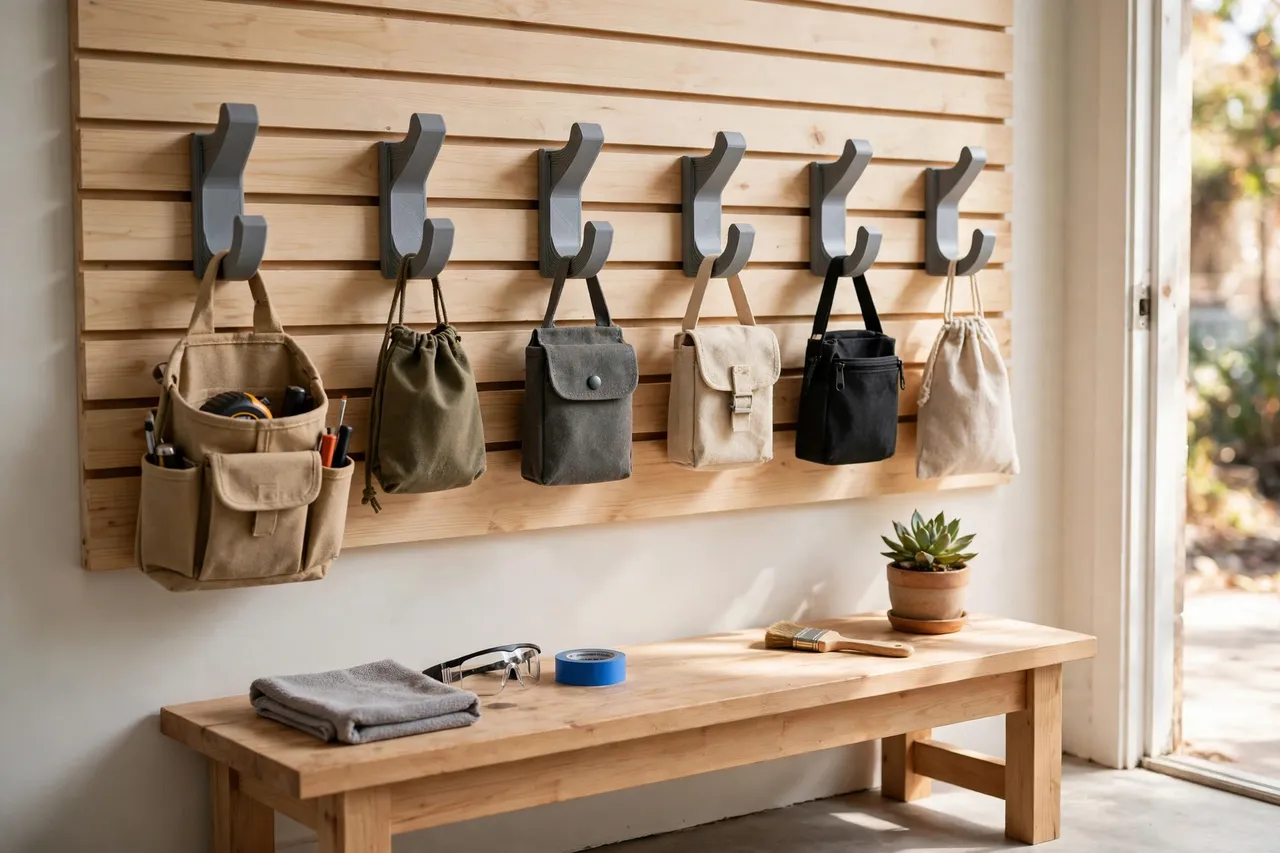
A 3D printed pouch hook gives each pouch a wall home. It is a wide, rounded hook that takes the pouch’s loop, handle, or strap, holds it clear of the wall, and lets you lift the whole kit off in one motion when the job calls. Mounted in a row by the bench or the door, pouch hooks turn a pile of bags into a visible, grab-and-go kit wall.
As with all printed wall storage, the limits are part of the design. These hooks suit light to medium pouches — a hand-tool pouch, a small parts bag, a drill accessory pouch — fixed to a board screwed into studs. They are not for heavy loaded bags, they are not load-rated, and they are not for anything hung overhead or above a seat. Weigh the pouch, size the hook to it, and choose metal when the weight demands it.
What You Need
Pouch hooks are chunky, simple prints. The work is in measuring loops and handles, not in complex modelling.
Materials and tools
- A home 3D printer with a build area of roughly 120 mm in at least one direction
- PETG filament for hooks that will hold loaded pouches, or PLA for light pouches indoors
- Your pouches and bags, with their loops, handles, and straps measured
- A board to mount hooks on: plywood or a pine offcut, sized to your pouch row
- Wood screws, a drill or driver, a pencil, a spirit level, and sandpaper or a small file
- Wall anchors if fixing the board to drywall rather than studs
PETG is preferred for loaded pouches because it flexes slightly instead of snapping and resists creep under sustained weight. PLA suits light, rarely moved pouches in a cool room.
Suggested print settings
- Layer height: 0.20 mm, or 0.24 mm for large hooks.
- Walls: 5 perimeters, so the hook arm stays stiff under a loaded pouch.
- Infill: 50 percent, gyroid, for hooks that will hold weight long-term.
- Top and bottom layers: 5 or more.
- Orientation: Print flat on the back plate, hook arm pointing up, for the strongest arm.
- Supports: Usually none for a simple upturned hook with a gentle curve.
Print one hook and test it with your heaviest pouch before printing the row.
Design Considerations
Pouches hang by different things — a fabric loop, a leather handle, a webbing strap, a metal ring — and the hook must suit the hanging point, not just the pouch.
1. Wide, rounded arms
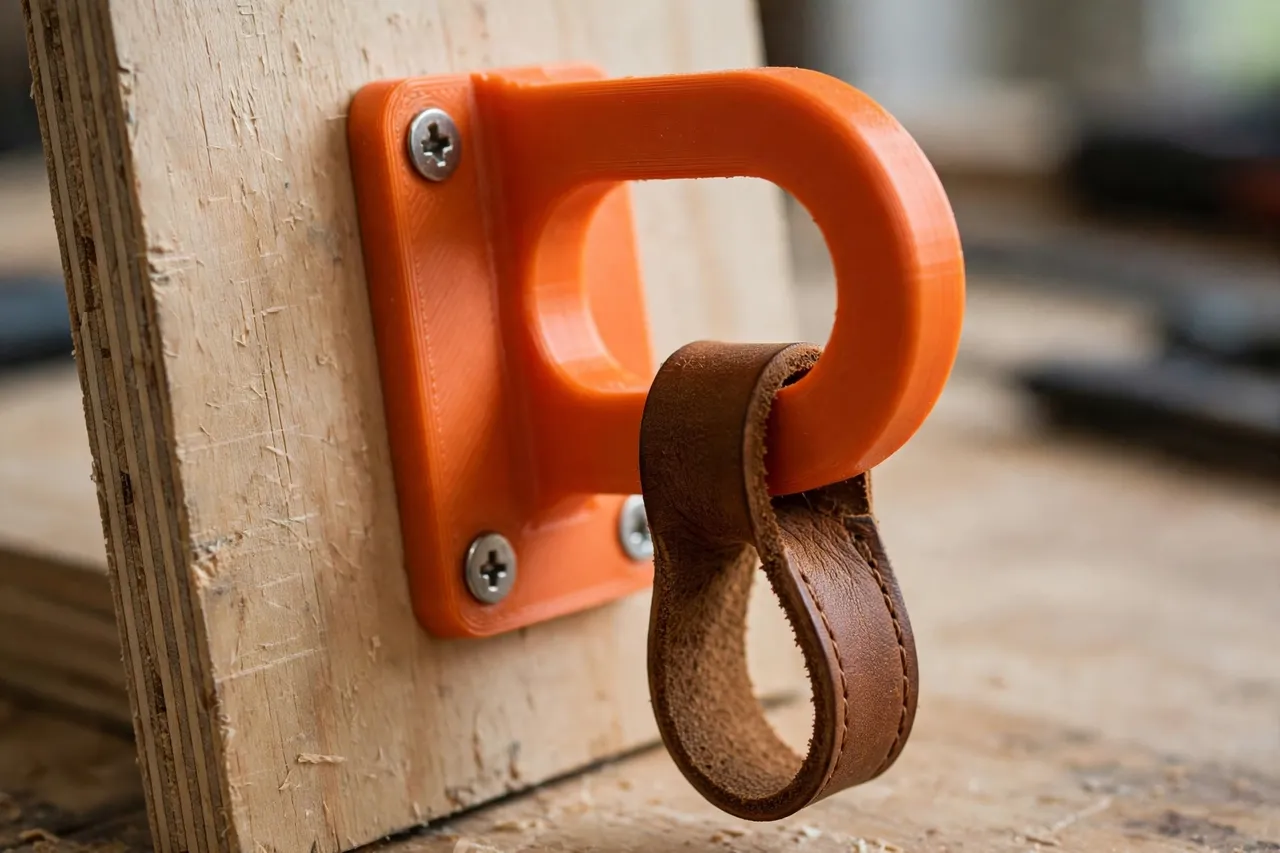
A pouch loop or strap is typically 25 to 50 mm wide, and a narrow hook concentrates all the weight on a small patch of fabric, wearing it out. Give the hook arm a width of at least 35 mm and a fully rounded profile, so the strap rests in a smooth curve rather than over a sharp edge. A small upturned lip at the tip stops the loop sliding off when the pouch is brushed.
2. Standoff from the wall
A loaded pouch is bulky. The hook needs 60 to 80 mm of standoff so the pouch hangs clear of the wall and does not press its tools against paint or plywood. That clearance also makes it easy to lift the pouch off without scraping the wall. Keep the arm thick — 10 mm or more at its thinnest point — so it does not flex under a loaded pouch.
3. Spacing for bulk
Pouches are wider than key rings and bulkier than rolls. Space hooks 200 to 300 mm apart, depending on pouch width, so neighbouring pouches do not overlap and hide each other. Leave extra room at the ends for a future pouch; a row that is exactly full on day one will be overcrowded within a month.
4. Weight, honestly assessed
Weigh each loaded pouch. Light pouches under about 1.5 kg are comfortable on printed hooks fixed to a board on studs. Heavier pouches — a fully loaded electrician’s pouch, for example — need either multiple hooks sharing the load, a metal hook, or a shelf. Never hang a heavy pouch from drywall anchors alone, and never hang any pouch where a fall could hurt someone below.
Step-by-Step: Printing and Mounting
- Lay out your pouches. Note each pouch’s hanging point, its width, and its loaded weight.
- Size the board. Allow generous spacing per pouch plus margins, and cut a board to suit. Sand the edges.
- Model the hook. A back plate about 70 mm wide and 90 mm tall, a wide rounded arm standing 70 mm proud, a small upturned lip, and two countersunk screw holes is a reliable starting point.
- Print one test hook. Hang your heaviest pouch on it for a day. Check for flex, for the strap sliding, and for the hook pivoting.
- Clean up. Sand the arm smooth so it does not wear straps, and clear the screw holes.
- Lay out the row on the board. Mark hook positions with a pencil and level, keeping spacing generous.
- Fix hooks to the board. Drill pilots and drive screws snugly, without cracking plates.
- Mount the board. Fix into studs with screws long enough to bite solidly, at a height where pouches hang clear of the bench but within easy reach.
- Hang the pouches and test the routine. Use the pouches for a week and notice whether they return to the wall. If a pouch keeps ending up on the bench, move its hook closer to where that kit is used.
A row mounted by the door or at the end of the bench, where you naturally grab a kit on the way to a job, gets used far more than one hidden behind a cupboard.
Tips for Better Results
- Print hooks in one colour for a tidy row. Matching hooks make a mixed collection of pouches look deliberate.
- Add a small hook below for a tape or marker. A pouch paired with its most-used small tool becomes a complete grab-and-go station.
- Label the board lightly. A pencil mark or small tag under each hook — electrical, plumbing, general — helps the right pouch return to the right spot.
- Keep heavy pouches low. The lower a pouch hangs, the shorter any fall and the easier it is to lift off. Reserve high hooks for light pouches.
- Check straps regularly. A worn loop or frayed handle is the weak point, not the hook. Replace worn straps before they fail.
For the rest of the kit wall, you may also enjoy “3D Printed Tool Roll Hangers: Hang Tool Rolls Flat on the Wall,” for the rolls that share the wall with pouches, and “3D Printed Apron Hooks: Hang Aprons Where You Work,” for the apron you grab alongside the pouch.
Common Mistakes to Avoid
- Using a narrow hook for a wide strap. It wears the strap and lets the pouch twist. Match arm width to strap width.
- Spacing hooks like key hooks. Pouches need far more sideways room. Crowded pouches overlap, hide each other, and end up back on the bench.
- Ignoring loaded weight. An empty pouch feels light; a loaded one does not. Weigh pouches loaded, not empty, when judging a hook.
- Mounting on drywall alone for heavy pouches. A board on studs spreads the load. Drywall anchors alone do not, for anything heavier than a light pouch.
- Hanging pouches where they block a walkway. A row of bulky pouches in a narrow passage gets bumped constantly. Choose a wall with clearance in front of it.
Care, Storage, and When to Choose an Alternative
Wipe hooks clean, check screws every few months, and replace any hook that bows, cracks, or loosens. Inspect pouch straps at the same time — the hook and the strap are a system, and either can fail.
Choose metal hooks, a shelf, or a cabinet for heavy loaded bags, for pouches hung where a fall could cause harm, or for professional daily use where hardware must last for years without close inspection. Printed hooks are excellent for home workshop pouches within their weight limits, and their wide, rounded arms are kinder to straps than many generic metal hooks.
FAQ
How much weight can a printed pouch hook hold?
It depends on the print and the fixing, but as a practical guide, a thick PETG hook with five walls and 50 percent infill, screwed to a board on studs, comfortably holds light to medium pouches up to about 1.5 kg. Heavier pouches belong on metal hooks or a shelf.
Will the hook wear out my pouch straps?
Not if the arm is wide and rounded and sanded smooth. A narrow or sharp-edged hook will wear fabric over time, so round every edge the strap touches and check straps periodically.
Can one hook hold two pouches?
It can, if both are light and their loops fit without crowding. In practice, one pouch per hook stays tidier and makes each kit faster to grab. Doubling up is a sign you need another hook, not a clever saving.
What if my pouch has no loop or handle?
Add one. A short webbing loop sewn or riveted to the pouch turns it into a hangable kit. Alternatively, use a clip-style hanger that grips the pouch’s top edge — but test retention carefully before trusting it.
Conclusion
Pouches only organise tools if the pouches themselves are organised. A row of wide, rounded printed hooks, fixed to a board on studs and spaced for real pouches, turns a bench pile into a kit wall you can read at a glance and grab from in one motion. Weigh the pouches, size the hooks to their straps, and keep heavy bags on metal.
Print one hook, hang your most-used pouch, and see how quickly the bench clears. Then print the row — and enjoy a workshop where every kit has a home on the wall.