Introduction
Furniture feet take a hard life. They slide, catch, wear down, and eventually need replacing, and the leg they screw into is often still perfectly sound. The problem is that replacement feet do not share one thread standard. One leg has a metric stud, another has an older imperial thread, and the feet available in the shop match neither. Replacing the whole leg, or the whole piece of furniture, over a thread mismatch is hard to justify.
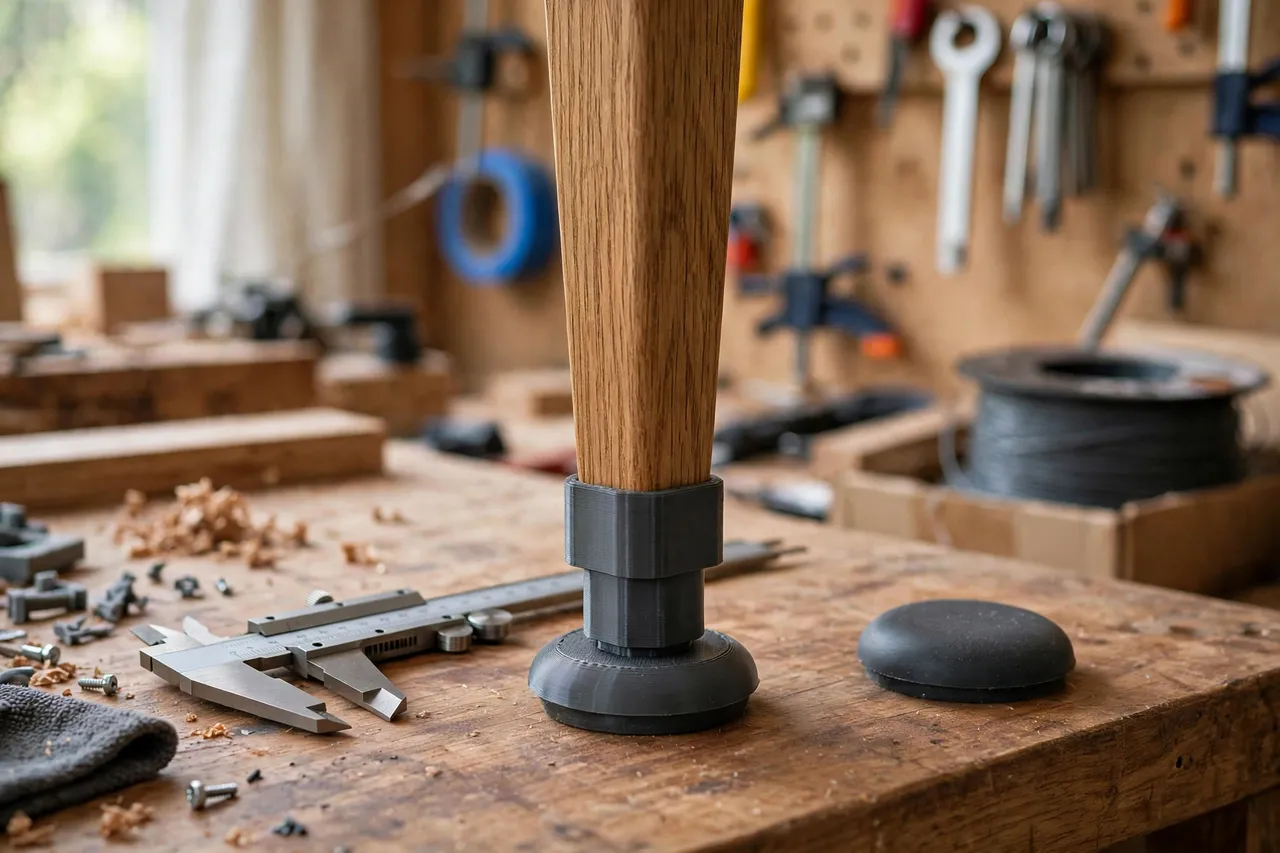
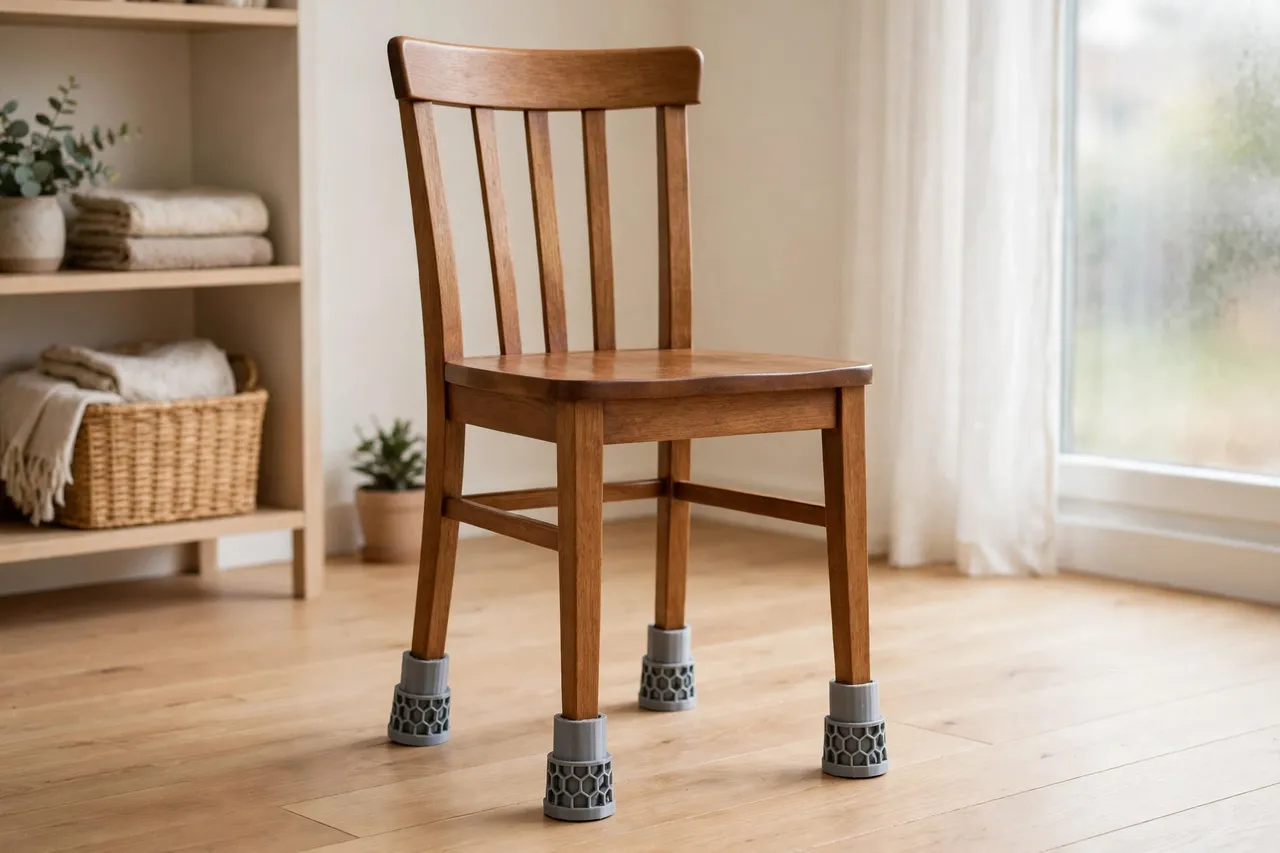
A printed thread adapter bridges that mismatch. It is a short coupling with one thread on the inside and a different thread, or a socket, on the other end, letting a new foot fit a threaded leg it was never made for. These are light-duty fitment parts for household furniture: they hold a foot in place, keep the piece level, and let the foot be changed again later. They are not structural repairs. They do not strengthen a cracked leg, carry heavy loads beyond normal furniture use, or replace a leg that is itself damaged.
This guide covers measuring leg threads, designing an adapter that fits, and testing it so the furniture sits level and steady.
What You Need
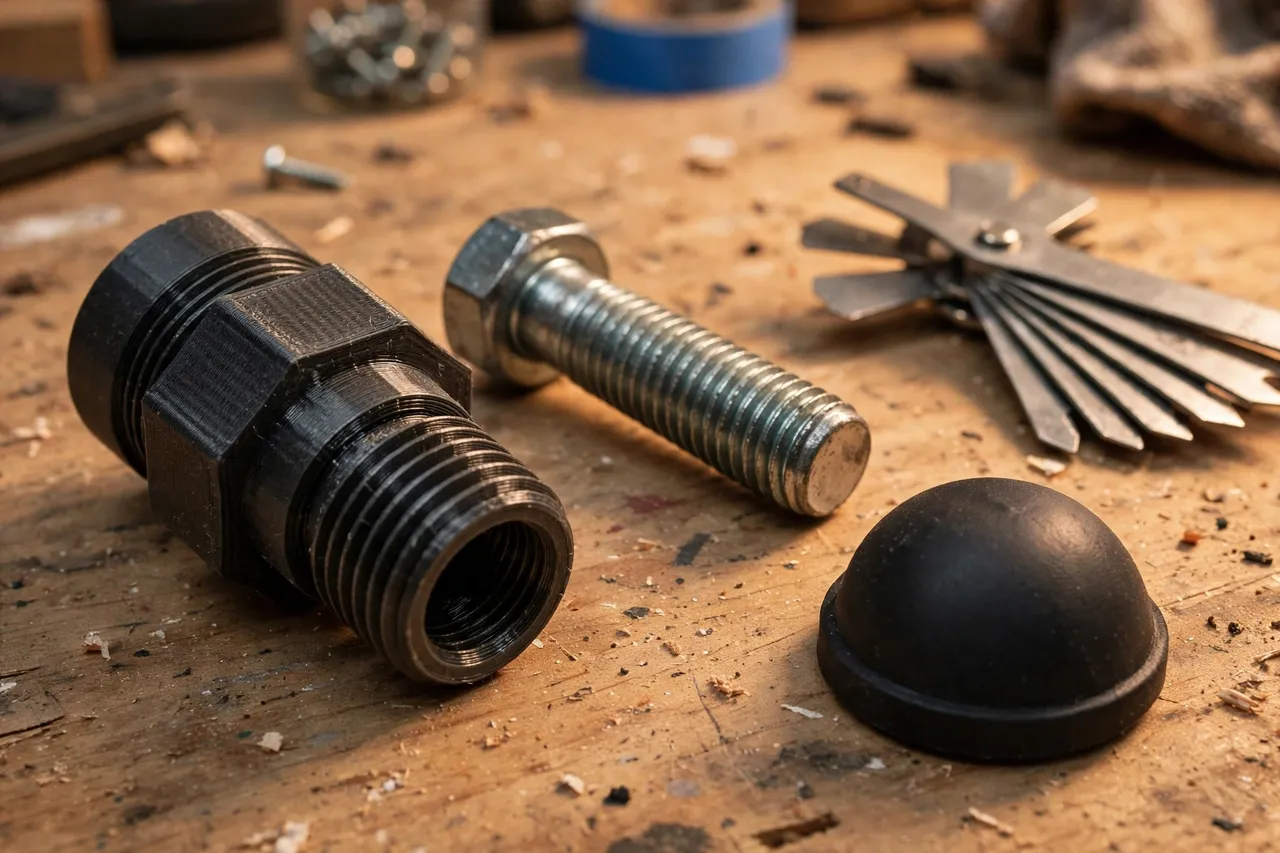
Thread measuring is the heart of this project. A guess here wastes every print that follows.
Materials and tools
- A home 3D printer with a build area of roughly 100 mm in at least one direction
- PETG filament for the keeper, or PLA for a test fit
- The furniture leg and the replacement feet you want to fit
- Calipers, a ruler, and a thread gauge if you have one
- Sandpaper or a small file, and a pencil for marking
- A level or a flat floor area for testing
PETG is preferred for the keeper because it resists cracking under the repeated small movements of furniture feet better than PLA. PLA is fine for checking thread fit before the final print.
Suggested print settings
- Layer height: 0.16 to 0.20 mm; finer layers give cleaner threads.
- Walls: 5 perimeters, so the threaded walls stay strong.
- Infill: 50 percent, grid or gyroid.
- Top and bottom layers: 4 or more.
- Orientation: Print with the axis vertical for round threads.
- Supports: Usually none for a straight coupling.
Print threaded parts slowly, and expect to test-fit more than once. Threaded prints reward patience.
Design Considerations
Furniture leg adapters are small, but four details decide whether they work.
1. Measure both threads properly
First, work out whether the leg has a protruding stud or a threaded socket, and whether the foot has the opposite. Measure the major diameter with calipers, and find the pitch by counting threads over 10 mm or by matching a thread gauge. Note the thread direction too; most furniture threads are right-handed, but checking takes seconds and saves a useless print. If either side is not threaded but a push-fit socket, measure its inside diameter instead.
2. Give the adapter enough thread engagement
A thread adapter needs enough engaged length to hold firmly without stripping. Aim for at least 8 to 10 mm of engagement on each threaded side, and more for larger feet. A very short adapter with only two or three engaged threads will wobble and strip under normal use. Keep the overall adapter length modest, roughly 20 to 35 mm, so the leg does not grow noticeably longer and the furniture does not sit oddly.
3. Keep the foot seating flat
The foot must seat flat against the adapter’s end face, and the adapter must seat flat against the leg. A tilted foot makes furniture rock. Model flat, square seating faces on both ends, and add a small shoulder so the foot tightens against a definite face rather than bottoming out inside a bore. If the furniture must stay level, fit adapters to all legs that need new feet, and measure the finished height of each leg after fitting.
4. Match the adapter to the furniture’s use
These adapters suit light household furniture: chairs, small tables, stools, and cabinets that are moved normally and loaded normally. They are not suitable for heavy items, for furniture that is dragged regularly, or for any leg that is cracked or split. If the leg itself is damaged, repair or replace the leg; an adapter cannot make a broken leg sound.
Step-by-Step: Printing and Fitting the Adapter
- Identify the leg fitting (stud or socket) and the foot fitting, and note thread direction.
- Measure major diameter and pitch on both sides, using a thread gauge if available.
- Model the adapter with the leg-side thread on one end and the foot-side thread or socket on the other.
- Include flat seating faces and a shoulder for the foot to tighten against.
- Print a test version in PLA at 0.16 mm layers.
- Clean up the print, removing stringing from threads and lightly sanding seating faces.
- Test the fit dry. The adapter should thread onto the leg smoothly and the foot should thread on firmly.
- Adjust by small amounts. If a thread binds, open that bore by 0.2 mm; if it is loose, tighten it by the same amount.
- Print the keeper in PETG and repeat the dry fit.
- Fit all feet and level-check. Set the furniture on a flat floor, check for rocking, and adjust foot positions until it sits steady.
If one leg rocks after fitting, check whether that adapter is seated fully or whether the leg lengths now differ. A thin felt pad under one foot is a fine temporary leveller, but a persistent rock usually means one adapter is not seated or one thread is still loose.
Tips for Better Results
- Print a full set plus a spare. Feet wear unevenly, and a spare adapter avoids a reprint later.
- Label adapters by furniture piece. Threads that look alike may differ by a fraction of a millimetre.
- Tighten by hand only. Pliers can crack a printed thread and over-tighten the foot.
- Check feet after moving furniture. Dragging can loosen a foot; a quick twist restores it.
- Replace worn feet promptly. A worn foot concentrates load on the adapter and shortens its life.
Readers fixing furniture fittings often also find 3D Printed Chair Leg Insert Adapters: Adapt Legs for Glides useful for legs that take push-in glides rather than threaded feet, and 3D Printed Knob Screw Adapters: Screws That Fit Thick Doors shows the same thread-stepping idea applied to door hardware.
Common Mistakes to Avoid
- Guessing thread pitch. This is the single most common failure; measure it properly.
- Making the adapter too short. Too little thread engagement means wobble and stripped threads.
- Forcing a tight thread. If it binds, stop and reprint looser; forcing it cracks the adapter or damages the leg thread.
- Ignoring finished height. Adapters add length, so fit all legs that need feet and re-level the piece.
- Using an adapter on a damaged leg. A cracked or split leg needs repair or replacement, not an adapter.
- Over-tightening with tools. Hand-tight is enough, and it protects both the adapter and the leg.
Care, Storage, and When to Choose an Alternative
Check feet and adapters whenever furniture is moved or cleaned. Wipe dust from threads, retighten by hand if needed, and reprint any adapter that shows cracking, stripped threads, or persistent looseness. Keep spares with the furniture’s other small parts, labelled by piece.
Choose a manufactured foot or a replacement leg when the leg thread itself is stripped, the leg is cracked, the furniture is heavy, or no printed thread can be made firm without force. For ordinary household furniture with sound legs and a simple thread mismatch, a printed adapter is a neat, low-cost fix.
FAQ
Will one adapter fit every threaded leg in the house?
No, because furniture threads vary by maker and era. Print one adapter per leg and foot combination, label them, and keep a spare set. Each print is short and inexpensive.
Is PLA strong enough for furniture feet?
PLA works for a test fit and for very light, rarely moved pieces. PETG is the better keeper because it resists cracking and handles the small repeated movements of furniture feet better over time.
My adapter threads on but the furniture still rocks. Why?
Check seating first: is the adapter fully seated on the leg, and is the foot fully seated on the adapter? Then check finished leg heights. If one leg is now longer than the rest, that leg’s adapter or foot combination needs adjusting.
Can I use these adapters on outdoor furniture?
Outdoor use is harder on printed parts, with sun, rain, and temperature swings. A PETG adapter may serve for a season in sheltered conditions, but for exposed outdoor furniture a manufactured metal foot and adapter is the more durable choice.
Conclusion
A thread mismatch should not condemn a good piece of furniture or a sound leg. Measure both threads carefully, print a short PETG adapter with proper engagement and flat seating faces, and test the finished piece for level and stability. The result is a steady chair or table, new feet where they were needed, and a repair that costs almost nothing.