Introduction
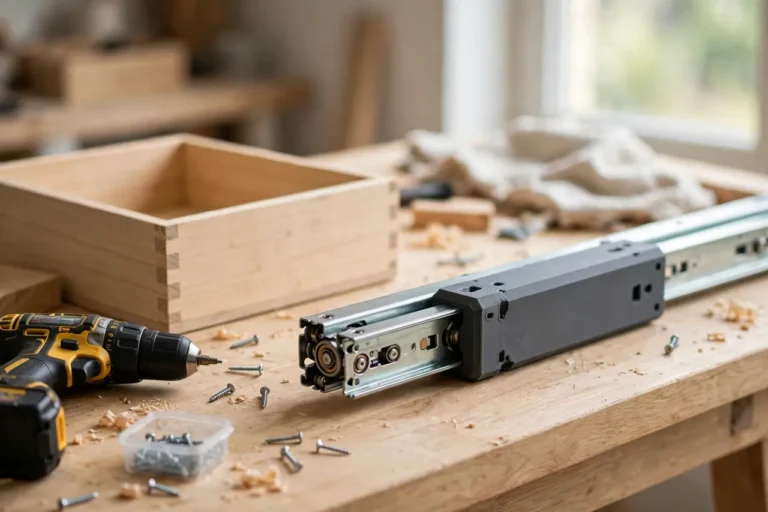
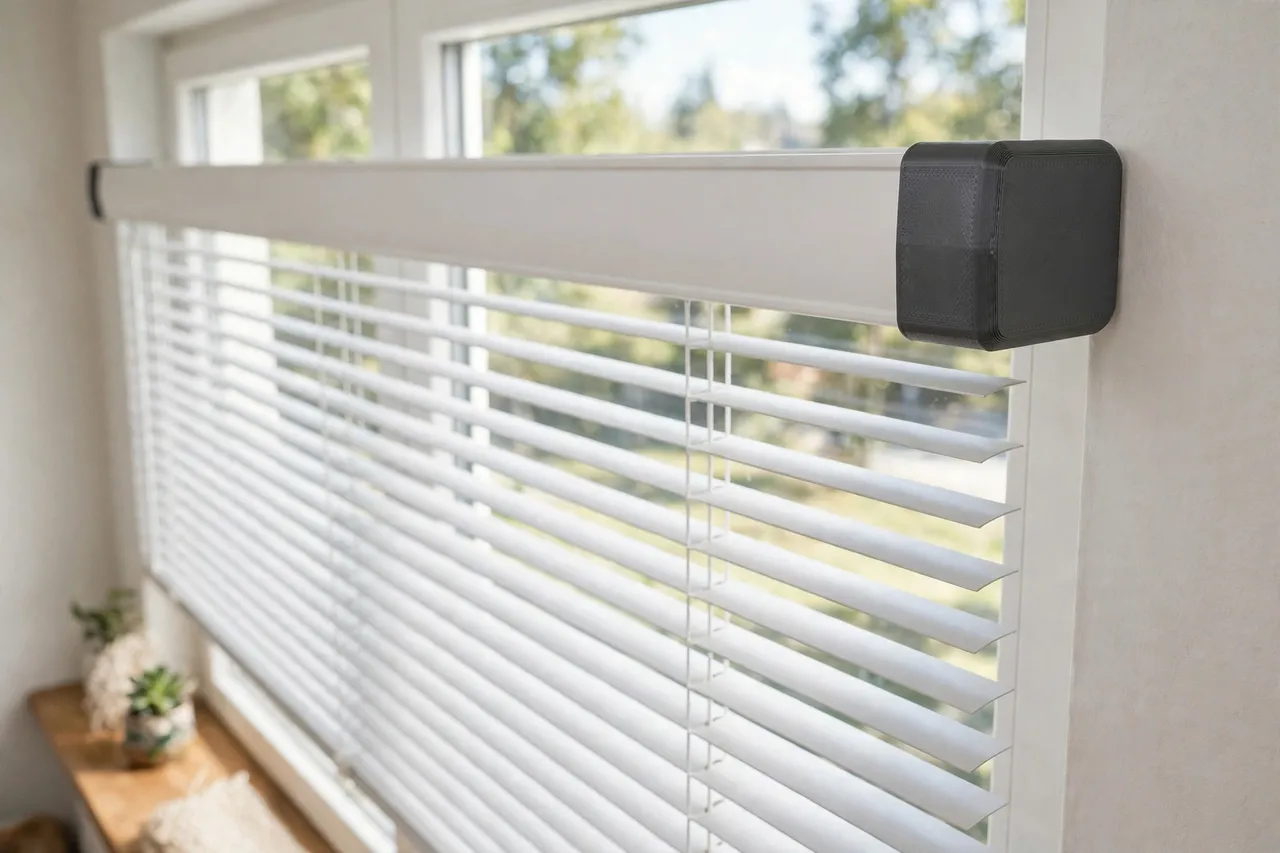
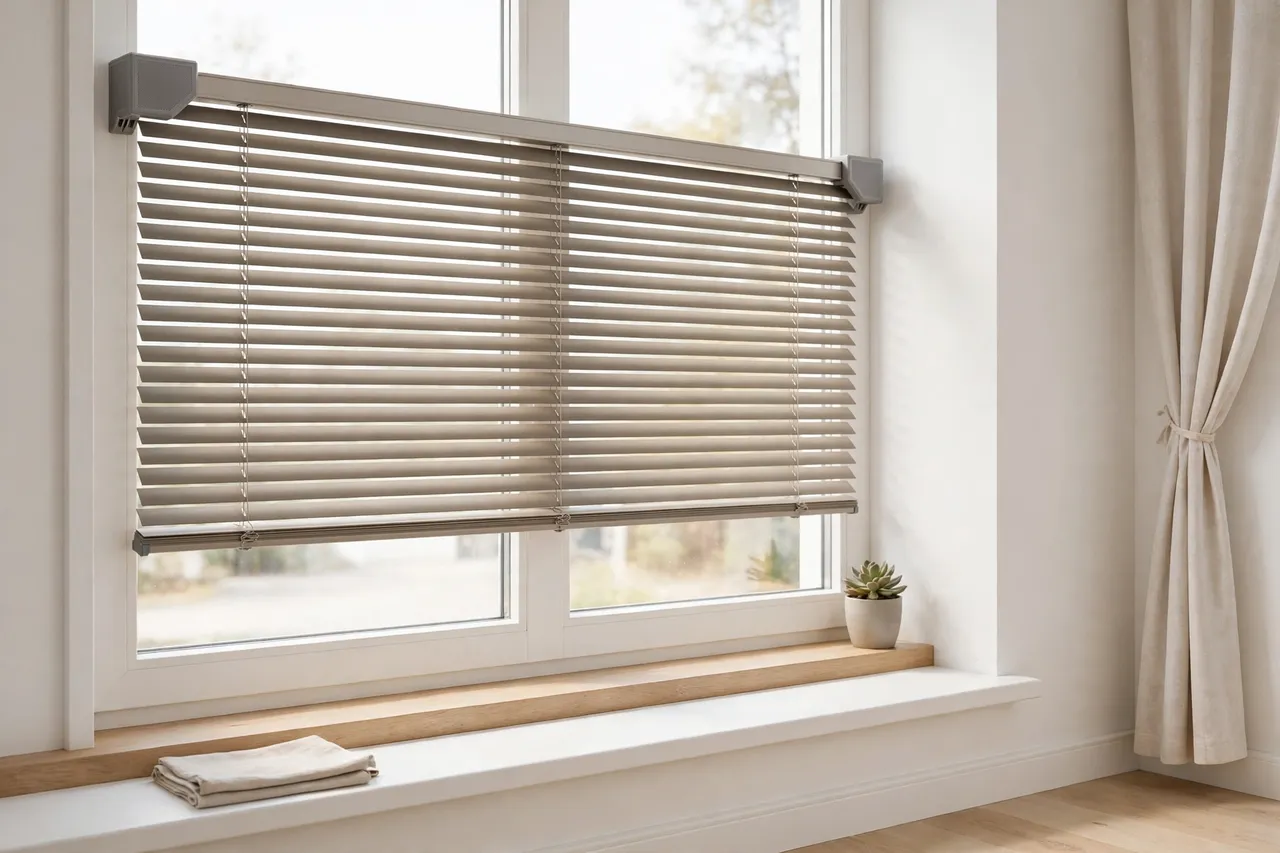
Blind headrails are finished with small end caps that close the open ends of the rail, tidy the appearance, and keep the internal fittings covered. When an end cap breaks or goes missing, the replacement is often the problem: headrails vary in width, depth, and profile, and the cap in the shop may be made for a different rail. The blind itself may work perfectly, yet it looks unfinished and gathers dust in an open rail end.
A printed end cap adapter solves that fit problem. It is a small sleeve or plug that lets an end cap made for one rail size fit a rail of a different size, or that forms the finished cap itself in the rail’s own profile. These are cosmetic fitment parts only: they close and finish the end of a headrail, and they carry no load beyond staying in place. They are not structural parts, and they do not repair a damaged headrail, a broken operating mechanism, or a faulty bracket.
This guide covers measuring headrail profiles, designing an adapter that fits neatly, and testing it so both ends of the blind look finished and tidy.
What You Need
Headrail profiles are measured in millimetres, and a neat fit depends on measuring the profile, not just the width.
Materials and tools
- A home 3D printer with a build area of roughly 100 mm in at least one direction
- PETG filament for the keeper, or PLA for a test fit
- The blind headrail and the end caps you want to fit
- Calipers and a ruler
- Sandpaper or a small file, and a pencil for marking
- A step stool for fitting and checking at window height
PETG is preferred for the keeper because it holds its shape in warm, sunlit windows better than PLA and resists cracking when caps are pressed in and out. PLA is fine for a test fit.
Suggested print settings
- Layer height: 0.20 mm, or 0.16 mm for fine profile details.
- Walls: 4 perimeters, so thin cap walls stay strong.
- Infill: 40 percent, grid or gyroid; end caps do not need heavy infill.
- Top and bottom layers: 4 or more, for a smooth visible face.
- Orientation: Print with the open end facing up where possible, so the visible face prints cleanly.
- Supports: Usually none for a simple plug or sleeve; add them only for an overhanging lip.
Print one test cap first. Headrail profiles differ in small ways, and a test fit reveals them before you print a matching pair.
Design Considerations
Blind headrail adapters look simple, but the profile is everything.
1. Measure the headrail profile, not just its size
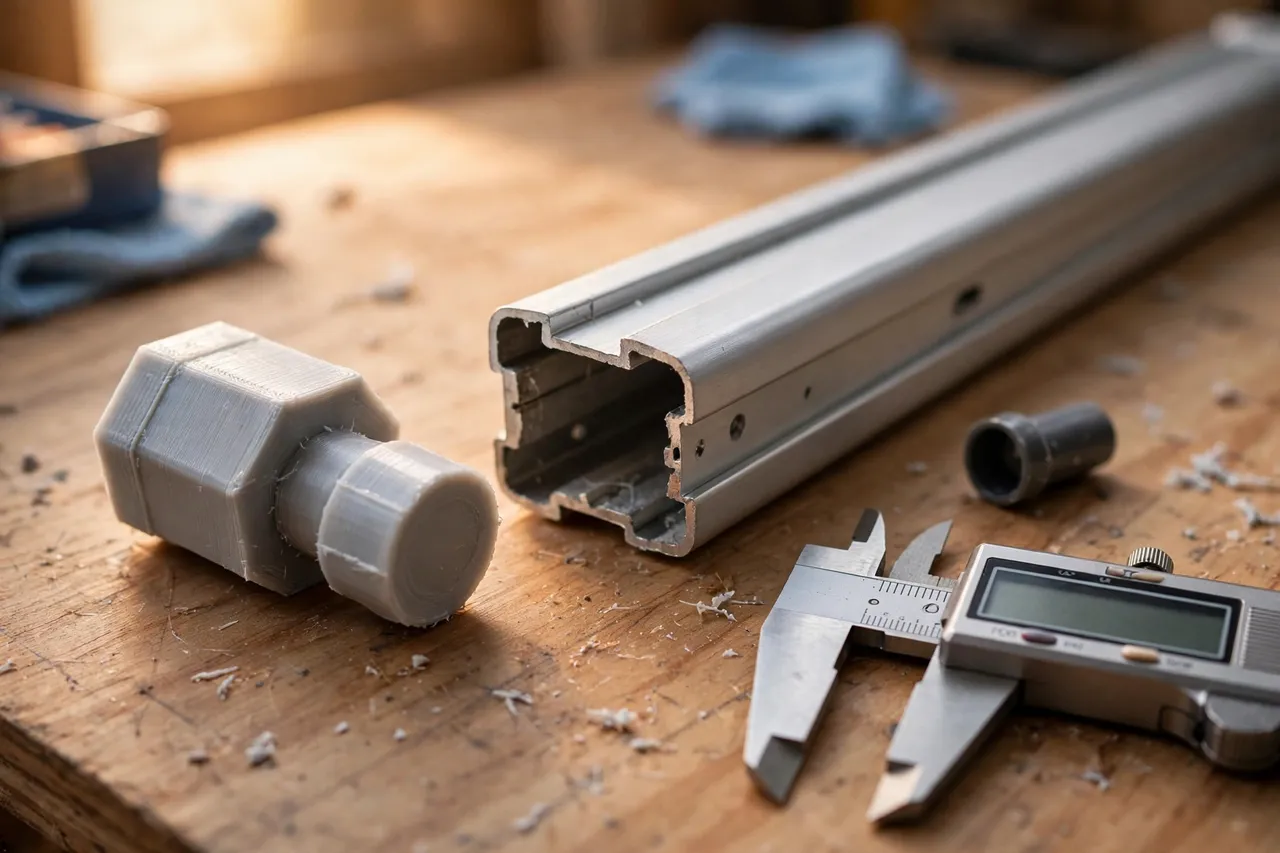
Measure the rail’s outside width and depth, and sketch its cross-section: is it rectangular, rounded on the front, or channel-shaped? Measure the inside dimensions too if the adapter will plug into the rail, and note any internal ribs or rolled edges the adapter must clear. Measure both ends of the rail, since rails can vary slightly along their length and caps must fit the ends as they actually are.
2. Choose a plug, a sleeve, or a full cap
A plug adapter fits inside the rail end and presents a smaller socket or face for a cap made for another size. A sleeve adapter fits over the outside of the rail end and carries the cap on its outer face. A full replacement cap is modelled directly to the rail’s profile and needs no separate cap at all. Choose the form that matches what you have: a spare cap to adapt, or nothing at all. In every form, keep the visible face flat and flush with the rail’s end, so the finished blind looks intentional rather than patched.
3. Keep the fit snug but removable
End caps are removed again when blinds are cleaned or serviced, so the adapter must grip firmly without glue. Aim for a snug friction fit, about 0.2 mm of interference on a plug, or a matching snug fit on a sleeve. Add a small finger notch or lip on the visible face so the cap can be pulled off later without tools. Avoid barbs that make removal destructive, and avoid a fit so loose the cap falls out when the blind is operated.
4. Match colour and finish
Because end caps are visible, appearance matters more here than for most adapters. Print in a colour close to the rail, or paint the finished cap with a suitable paint after a light sanding. A neat, colour-matched cap disappears into the blind; a bright, mismatched one draws the eye to exactly the place you wanted to tidy.
Step-by-Step: Printing and Fitting the Adapter
- Measure the rail profile — outside width and depth, inside dimensions, and cross-section shape — at both ends.
- Measure the spare cap you want to adapt, if you have one, including its plug or socket size.
- Sketch the cross-section on paper before modelling, noting ribs and rolled edges to clear.
- Model the adapter as a plug, sleeve, or full cap to suit what you have.
- Add a finger notch or lip on the visible face for later removal.
- Print a test version in PLA.
- Clean up the print, sanding the visible face smooth and clearing any rough edges.
- Test the fit dry. The adapter should press in firmly by hand and sit flush with the rail end.
- Adjust by 0.2 mm and reprint until the fit is snug without force.
- Print the keeper pair in PETG, colour-matched if possible, and fit both ends, checking that both sit flush and level.
If one end fits and the other does not, re-measure the second end. Rails vary, and a pair of adapters sometimes needs slightly different sizes.
Tips for Better Results
- Print both ends as a pair. Matching caps look far tidier than one adapted cap and one original.
- Print a spare pair. End caps are small and easy to lose during cleaning.
- Sand the visible face lightly before painting, so paint grips and the finish looks smooth.
- Check the fit after the blind is operated. Raising and lowering the blind vibrates the rail; a cap that loosens needs a slightly tighter fit.
- Label spares by rail size. Headrails that look alike may differ by a millimetre or two.
Readers finishing window hardware often pair this project with 3D Printed Curtain Rod Diameter Adapters: Fit Rods to Any Bracket, which solves the matching problem for curtain rods, and with 3D Printed Shelf Bracket Adapters: Fit Brackets to Any Standard for the next household fitment job.
Common Mistakes to Avoid
- Measuring width only. The profile shape matters as much as the size; a rectangular cap will not fit a rounded rail.
- Making the fit too loose. A loose cap falls out during normal blind operation.
- Making the fit too tight. Forcing a plug can split a thin rail end or crack the adapter.
- Forgetting the finger notch. A cap with no way to grip it is hard to remove for cleaning.
- Adapting a damaged rail. A bent, split, or crushed rail end needs repair or replacement, not a cap.
- Ignoring colour. A mismatched cap draws attention; colour-matching takes minutes and looks far better.
Care, Storage, and When to Choose an Alternative
Check end caps when blinds are cleaned. Press any loose cap back in, wipe dust from the visible faces, and reprint any adapter that has cracked, warped in sunlight, or gone loose. Keep spare pairs labelled by rail size with the blind’s other small parts.
Choose a manufactured cap or a replacement headrail when the rail end is damaged, the operating mechanism inside the rail is faulty, or no printed fit can be made snug without force. For sound headrails with a simple size or profile mismatch, a printed end cap adapter is a tidy, low-cost finish.
FAQ
Will one adapter fit every blind in the house?
Probably not, since headrail profiles vary. Print one pair per blind, label spares by rail size, and keep them together. Each cap is a short print.
Is PLA strong enough for a blind end cap?
PLA works for a test fit and for blinds in cool, shaded rooms. PETG is the better keeper because sunlit windows get warm, and PETG holds its shape and fit better over time.
My cap fits but sits proud of the rail end. Why?
Usually the adapter is slightly too long, or an internal rib is stopping it seating fully. Check the plug depth against the rail’s internal depth, clear any rib interference, and reprint slightly shorter if needed.
Can I print a full replacement cap instead of adapting a spare?
Yes. If you have no spare cap, model the cap directly to the rail’s profile with a flat visible face and a finger notch. That is often the neatest solution, since the cap is made for that exact rail.
Conclusion
An open, unfinished blind headrail does not mean a new blind. Measure the rail’s profile carefully, print a short PETG plug, sleeve, or full cap that sits flush and grips firmly, and finish both ends as a matching pair. The result is a blind that looks complete again, from a part that prints in minutes and costs almost nothing.