Introduction
Scissors are among the most-used tools in any workshop, and among the worst stored. In a drawer they tangle with tape, string, and other handles; their blades open, nick each other, and dull; and the pair you want is always underneath the three you do not. On a bench they slide around and get buried under project parts.
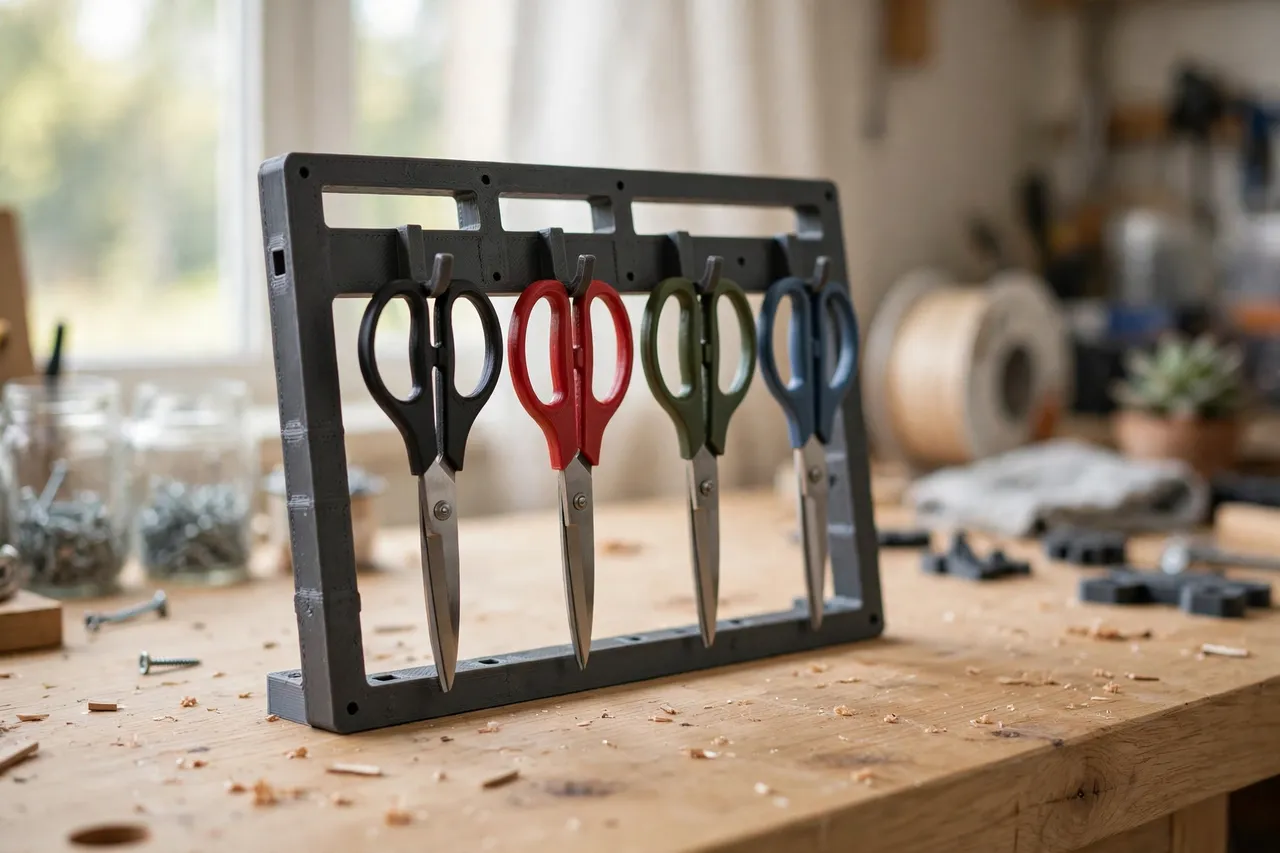
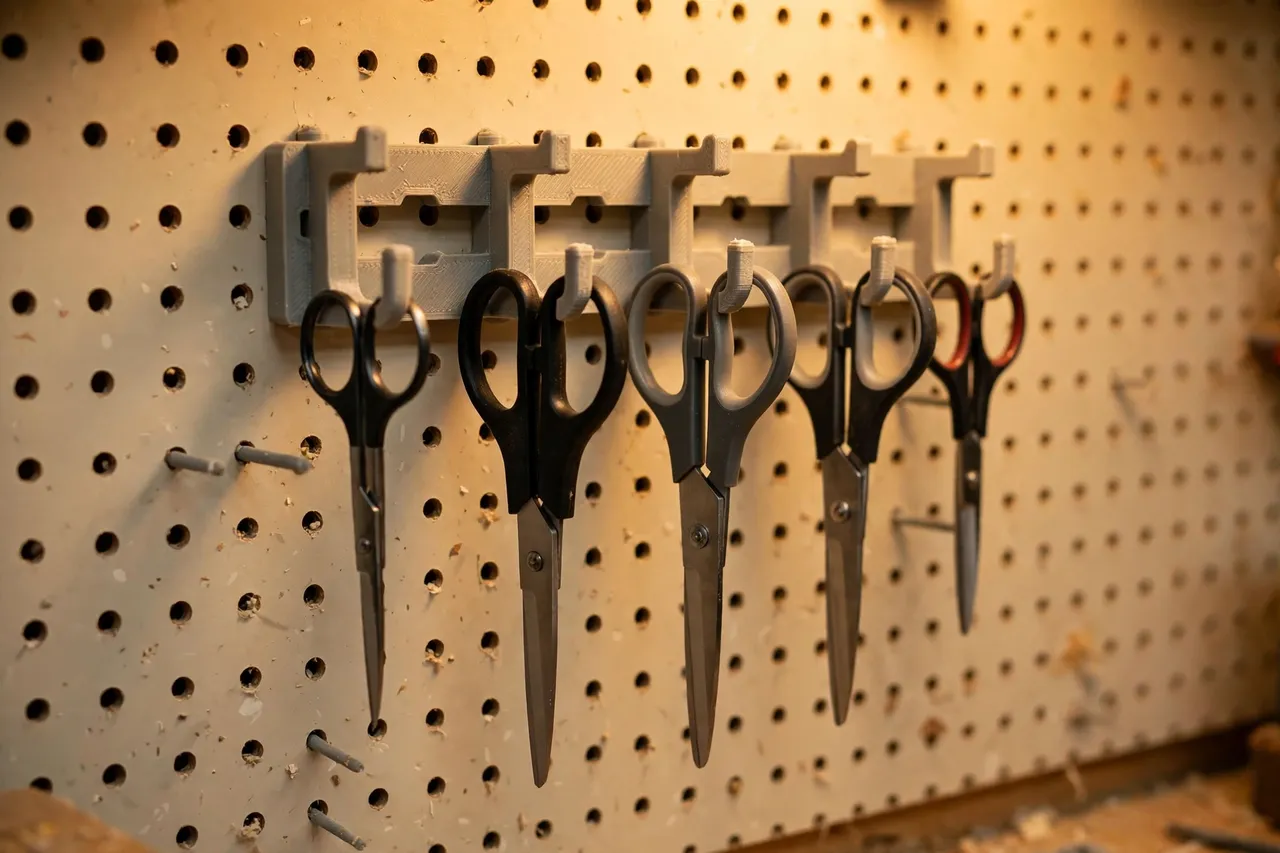
A 3D printed scissor rack solves this by hanging each pair separately, blades closed and pointing down, handles up and easy to grip. You see every pair at once, grab the right one first time, and return it to the same hook without thinking. Because you print it, you can space the hooks for your actual scissors — from small craft scissors to heavy-duty workshop shears — instead of forcing them into identical slots.
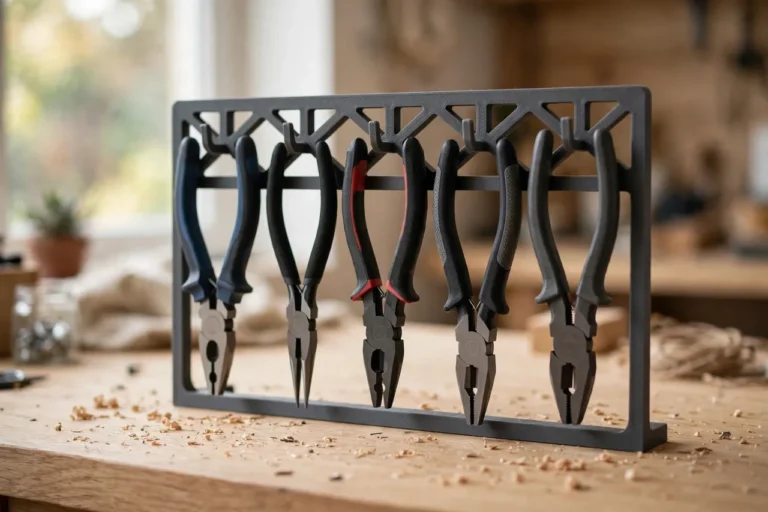
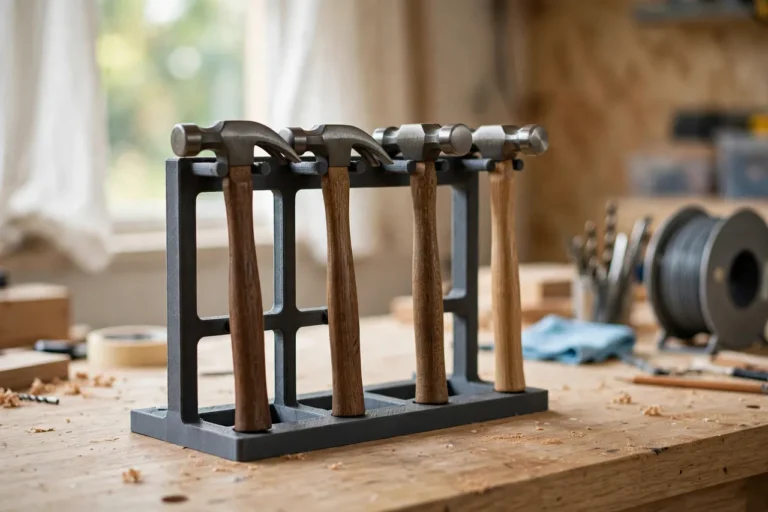
This guide covers a light-duty wall or bench rack for ordinary workshop scissors. It is storage only: it does not sharpen scissors, hold them under cutting force, or carry heavy tools. The same hung-and-separated approach works for other handled tools, as in “3D Printed Pliers Rack: Pliers Hung in a Row” and “3D Printed Hammer Rack: Hammers Hung by Their Heads.”
What You Need
Scissors are light, so this is a forgiving print — but hook shape matters, since a hook that is too shallow drops scissors and one that is too deep makes them hard to remove.
Materials and tools
- A home 3D printer with a build area of roughly 180 mm in at least one direction
- PLA filament for an indoor rack, or PETG for a warm garage or a rack that gets daily hard use
- Every pair of scissors you want to store, for measuring handle size and overall length
- A tape measure or calipers and a pencil
- A wall screw and wall plug if you plan to hang the rack
- Sandpaper or a small file for cleanup
PLA is perfectly adequate for scissors, which are light. Choose PETG if the rack will hang in a hot garage or if you own heavy shears that will test the hooks daily.
Suggested print settings
- Layer height: 0.20 mm, or 0.24 mm for a faster print on chunky hooks.
- Walls: 3 to 4 perimeters, especially on hooks that carry weight sideways.
- Infill: 25 to 40 percent, grid or gyroid.
- Top and bottom layers: 4 or more, for a flat back plate.
- Orientation: Print the back plate flat, and hooks upright where possible so layer lines run along the hook rather than across it.
- Supports: Keep hook curves gentle so the rack prints support-free.
Print one test hook and try it with your smallest and largest scissors before printing the whole rack.
Design Considerations
A scissor rack looks simple, and it is — but three details decide whether it works daily or gathers dust.
1. Hooks that hold, but release easily
Each pair hangs by one handle loop over a hook, or by both loops over a pair of pegs. A single-hook design is simpler and faster to use: slip one handle loop over the hook and the scissors hang blades-down. The hook needs a gentle upward curl at the end — enough to stop scissors sliding off when bumped, but not so deep that you have to lift and twist to remove them. Test this with real scissors: a hook that works for slim craft scissors may be too shallow for heavy shears, and vice versa.
2. Blades closed and separated
Scissors should always hang blades closed. Open blades in a rack snag sleeves, catch on neighboring tools, and dull faster. Spacing matters too: give each pair at least 30 to 40 mm of horizontal room so blades do not knock against each other when you take one pair down. If you own very long shears, give them an end position with extra clearance so their blades hang free below the rack without hitting a shelf.
3. Wall or bench, at the right height
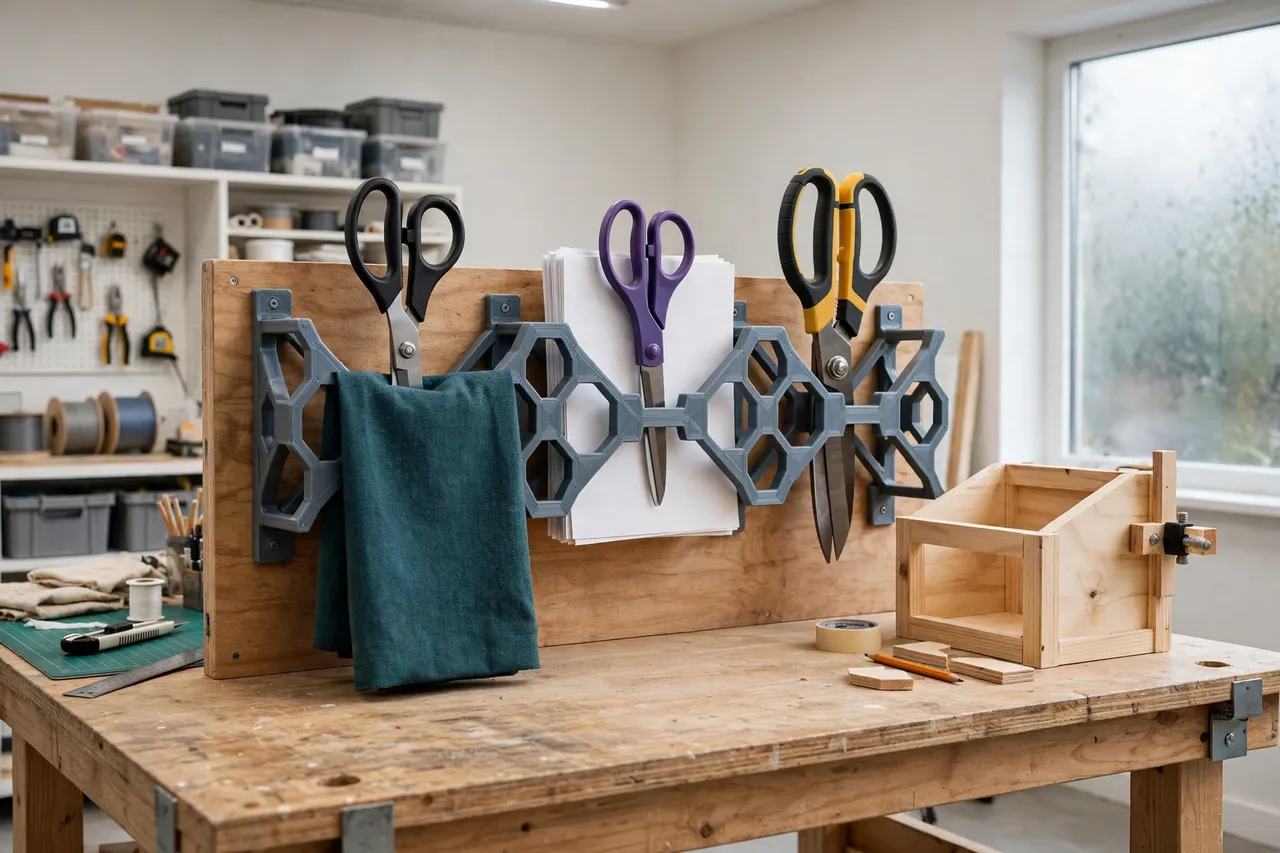
A wall rack near your main bench, at a height where you can reach handles without stretching, is ideal for scissors you use constantly. A bench rack — a small standing block with hooks or slots — suits a single workstation or a shared bench where wall space is limited. Either way, hang or place the rack where you actually cut things. A scissor rack in a storage corner will not get used; one beside the bench will, dozens of times a week.
4. Sorting by job
You probably own scissors for different jobs: paper and craft, fabric, heavy workshop cutting, and perhaps fine trimming. Group them on the rack by job, and label the sections if you share the workshop. That way nobody grabs fabric scissors for cardboard, and your good pair stays good. Leave one spare hook for the next pair you buy — a full rack with no spare hook is a rack that starts a drawer pile again.
Step-by-Step: Printing and Assembly
- Gather every pair of scissors you own. Check drawers, sewing kits, and toolboxes so the rack fits the real set.
- Measure each pair: handle loop size, overall length when closed, and weight for the heaviest pair.
- Choose wall or bench and sketch the layout with spacing that keeps blades apart.
- Model the rack: a back plate with mounting holes for a wall version, hooks sized to your handle loops, and a spare hook.
- Print a test hook and check it with your smallest and largest scissors.
- Adjust if needed. A hook that drops scissors needs a deeper curl; one that traps them needs a shallower one. Adjust and retest.
- Print the full rack and clean it up. Sand hook ends smooth so they do not scratch handles or snag.
- Mount or place the rack level and solid, then load scissors blades-closed, one pair per hook.
A test hook takes minutes. Do not skip it — hook feel is the whole product here.
Step-by-Step: Using It
- Close the blades before hanging. Every time, without exception — open blades in a rack are a snagging and dulling problem.
- Hang one pair per hook, handle loop over the hook. Do not stack two pairs on one hook; they tangle and hide each other.
- Grab by the handles, lift up and off. Do not pull sideways or drag blades across the rack.
- Return scissors right after use. Scissors left on the bench migrate to drawers within days. The rack only works if returns are immediate.
- Keep job groups together. Paper scissors in their section, fabric scissors in theirs, so the right pair is always the obvious one.
- Wipe blades occasionally before returning. Adhesive residue from tape and glue dulls cutting and transfers to the next material if left on the blades.
Within a week, reaching for scissors becomes a single motion: look at the rack, pick the pair, hang it back. That is the whole payoff, and it is surprisingly large for such a small project.
Tips for Better Results
- Keep a small oil cloth near the rack. A quick wipe keeps pivot screws smooth and blades free of rust in a damp workshop.
- Mark your good pair. If one pair is reserved for fabric or fine work, label its hook so nobody borrows it for cardboard.
- Do not hang scissors by their blades. It sounds obvious, but blade-hung scissors dull fast and are awkward to remove. Handles up, blades down, always.
- Add a small shelf or cup below the rack for a seam ripper or thread snips. Tiny cutting tools vanish without a home of their own.
- Test on scrap first. When cutting a new material, test on an offcut — a sharp pair still cuts the wrong material badly if it is the wrong pair for the job.
Common Mistakes to Avoid
- Printing hooks too shallow. Scissors that fall off when the bench bumps are worse than scissors in a drawer. Give hooks a real curl.
- Crowding the hooks. Pairs that touch dull each other and tangle. Space generously, even if it means a slightly longer rack.
- Storing scissors open. Open blades catch, nick, and dull. Closed, every time, is a rule worth keeping.
- Mounting with weak fixings. Even light scissors add up on a full rack. Screw a wall rack into a stud or solid plugs.
- Letting the rack fill with pairs you never use. Retire broken or redundant pairs, and keep the working set on the rack.
Care, Storage, and When to Choose an Alternative
Dust the rack occasionally and check hooks for cracks, especially if you hang heavy shears. A cracked hook should be reprinted before it drops a pair — this is a five-minute fix if you kept the model file. Keep PLA racks out of direct heat.
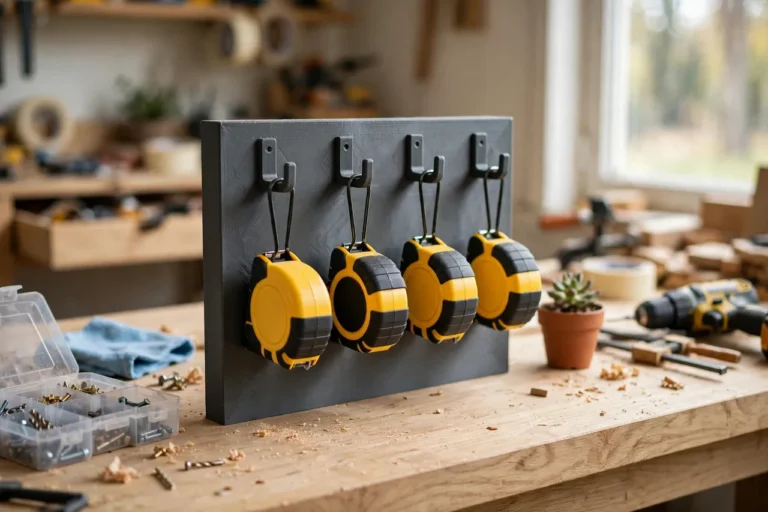
A manufactured magnetic strip or a drawer insert is sometimes the better choice. If you store scissors in a kitchen drawer alongside other tools, a fitted drawer insert may suit that space better. For a workshop wall or bench where several pairs live side by side and get used daily, a printed hook rack that shows every pair at once is the more practical option — and it complements the wider bench tidiness in “3D Printed Tape Measure Rack: Measures Hung in a Row.”
FAQ
Will one rack fit craft scissors and heavy shears together?
Yes, if you size hooks by group. Slim hooks for craft scissors and sturdier, wider hooks for shears in the same rack, with extra spacing for the heavy pair, work well together.
Should scissors hang blades up or blades down?
Blades down, handles up. That keeps blades closed and protected, handles easy to grip, and nothing sharp pointing at a reaching hand.
Is PLA strong enough for a scissor rack?
For ordinary scissors, yes, with 3 to 4 walls and well-shaped hooks. For heavy shears used daily, PETG and solid wall fixings are the safer choice.
What if I buy a new pair later?
Leave a spare hook in the design and keep the model file. Adding a hook or printing a small extension rack is a quick job.
Conclusion
Scissors should be the easiest tool on the bench to find, not the one you dig for. A printed rack with one hook per pair, blades closed and down, turns a tangled drawer into a visible, grab-and-go row. Measure your handles, print a test hook, and hang the rack where you cut.
Once every pair has its hook, the drawer pile stops growing — and your scissors stay sharper for longer, too.