Introduction
Pliers are the tools you reach for without thinking — gripping, bending, cutting wire, holding a nut while you tighten it. And like most frequently used tools, they end up in a drawer where they tangle, clank, and hide. Combination pliers nest inside needle-nose pliers, cutting pliers wedge under everything, and the pair you need is always the one at the bottom of the pile.
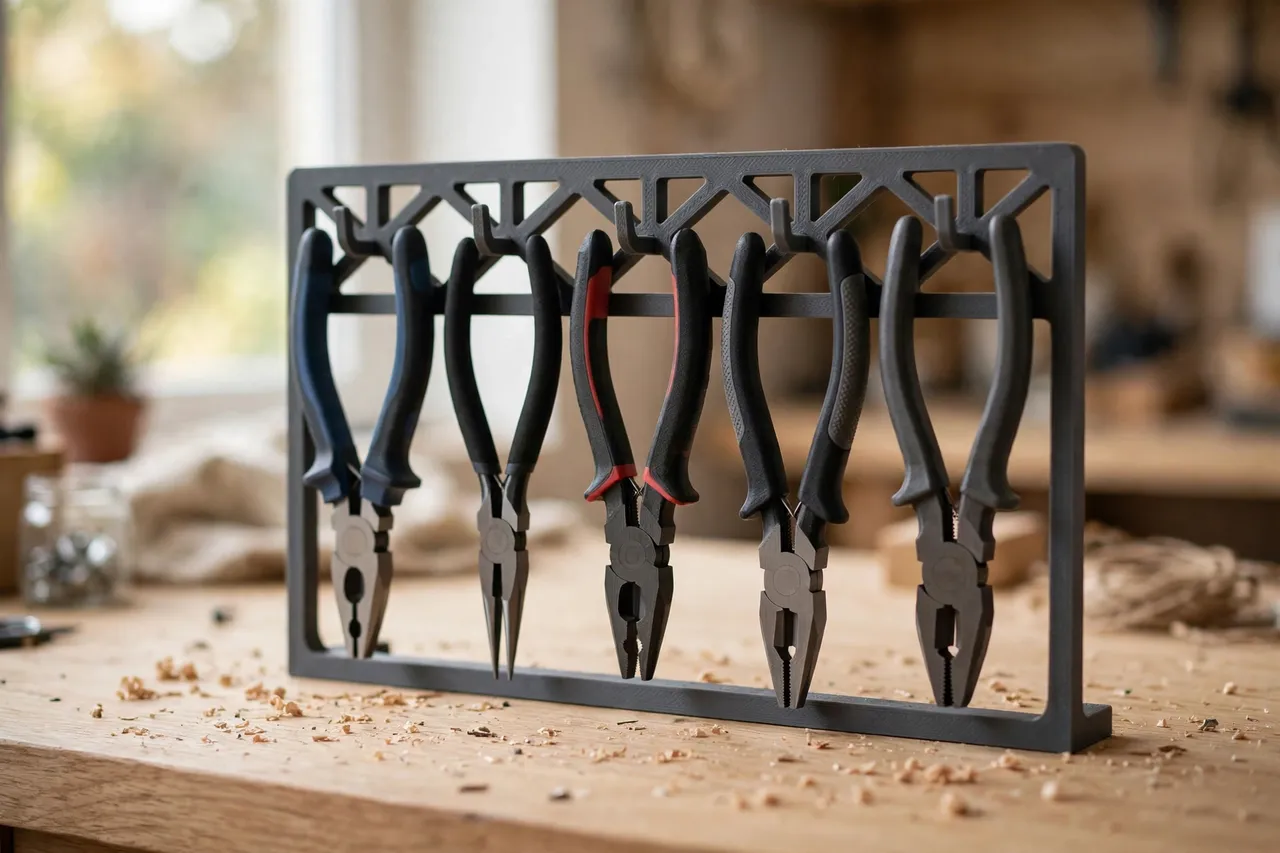
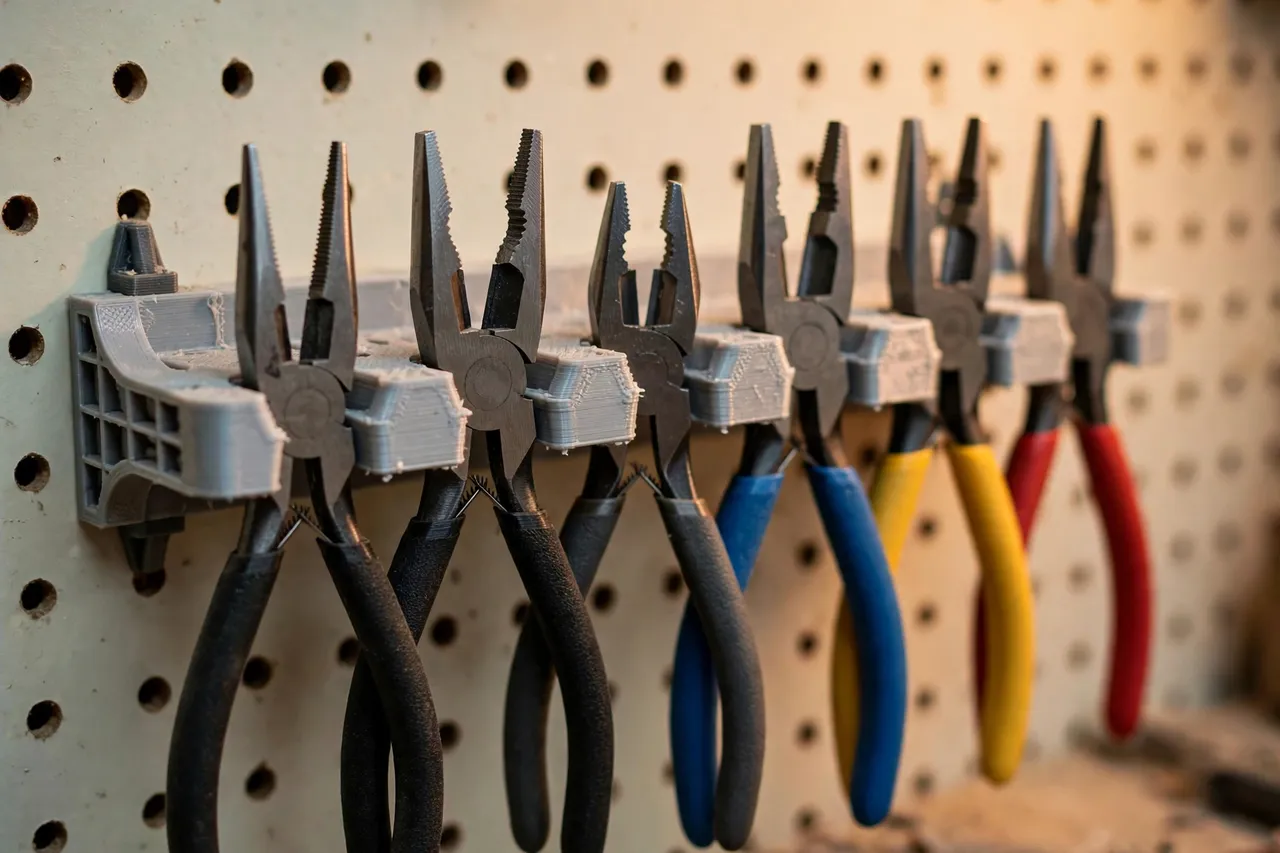
A 3D printed pliers rack hangs each pair separately in a row, jaws down and protected, handles up and ready to grip. You see the whole set at once, pick the right jaw shape first time, and return each pair to its own slot. Because you print it, you can size the slots for your actual pliers — slim needle-nose, broad combination, and chunky linesman pliers all have different profiles, and a generic rack rarely fits them all.
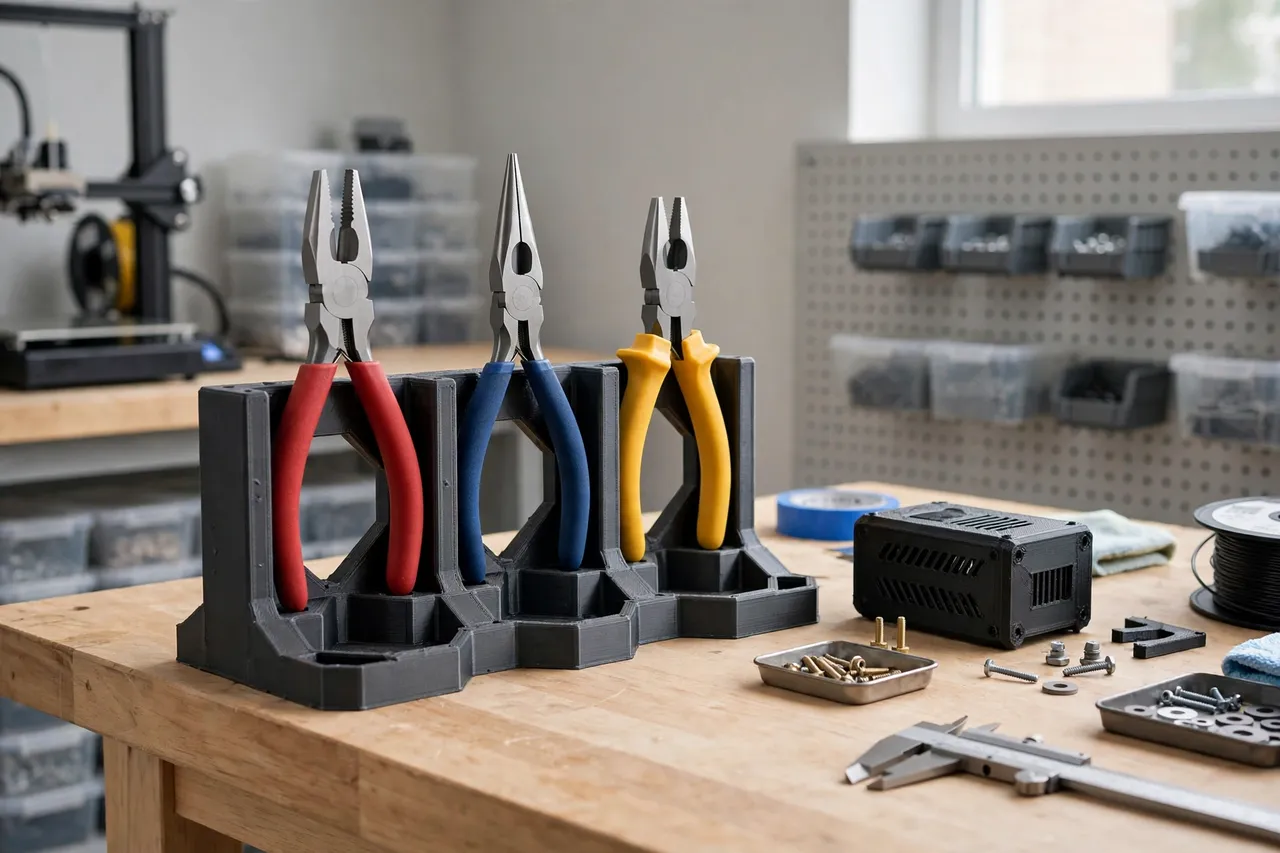
This guide covers a light-duty wall or bench rack for ordinary hand pliers. It is storage only: it does not hold pliers under working force or carry heavy tools. The same hung-in-a-row logic works for other handled tools, as in “3D Printed Scissor Rack: Scissors Hung and Ready” and “3D Printed Hammer Rack: Hammers Hung by Their Heads.”
What You Need
Pliers are heavier than scissors, so this rack needs sturdier slots and solid mounting — but it is still a simple print of a back plate and a row of slots or hooks.
Materials and tools
- A home 3D printer with a build area of roughly 200 mm in at least one direction, or a design that prints in two sections
- PETG filament preferred for a tougher rack, or PLA for a light bench rack indoors
- Every pair of pliers you want to store, for measuring jaw width, handle size, and length
- A tape measure or calipers and a pencil
- A wall screw and wall plug if you plan to hang the rack
- Sandpaper or a small file for cleanup
PETG is the better default for pliers, since a full rack of steel pliers is a real load and the rack will be used daily. PLA is acceptable for a small bench rack holding three or four lighter pairs.
Suggested print settings
- Layer height: 0.20 mm for a good balance of speed and finish.
- Walls: 4 perimeters on slot walls and the back plate, since pliers pull sideways when removed.
- Infill: 30 to 40 percent, grid or gyroid.
- Top and bottom layers: 4 or more.
- Orientation: Print the back plate flat, with slots upright where possible.
- Supports: Keep slot shapes open at the top so the rack prints support-free.
Print one test slot for your widest pliers and one for your slimmest before printing the whole rack.
Design Considerations
Pliers differ in three ways that matter for a rack: jaw shape, handle thickness, and overall length. Design for all three.
1. Slots that cradle, not pinch
Each pair should sit in its own slot that cradles the jaws or the pivot area, with the handles protruding for gripping. A U-shaped or V-shaped slot works well: the pliers drop in jaws-down, the pivot rests on the slot, and the handles stay above for a clean grip. Avoid slots that pinch the jaws tightly — they make removal a two-handed wrestle and can mark jaw faces. Clearance of 1 to 2 mm around the jaws, with the pivot supported, is the sweet spot.
2. Jaws protected and separated
Pliers should hang jaws-down and apart, so cutting edges and gripping faces never knock against each other. Space slots at least 30 mm apart, more for broad linesman pliers, so you can remove one pair without dragging it across its neighbor. If you own cutting pliers with fine edges, give them an end slot with extra clearance — their edges dull fastest from contact with other steel.
3. Handles up, easy to grip
The handles are how you use the rack, so they must be easy to grab. Handles should protrude at least 60 to 80 mm above the slot, with room between neighboring handles for your fingers. If handles crowd each other, you will move two pairs to get one — and the rack will slowly stop being used. Slim needle-nose pliers need narrower slots but the same handle clearance as larger pairs.
4. Wall or bench, and load
A wall rack near the bench, screwed into a stud or solid plugs, is ideal for a full set of pliers. A bench rack suits three or four pairs at a single workstation. Either way, remember the load: a rack of six steel pliers is heavier than it looks, and wall fixings matter more than filament choice. If the rack is longer than your build plate, print it in two sections and bolt them together — that is stronger than a single thin, long print in many cases.
Step-by-Step: Printing and Assembly
- Gather every pair of pliers you own. Include needle-nose, combination, cutting, and any specialty pairs hiding in tool rolls.
- Measure each pair: jaw width and length, pivot width, handle thickness, and overall length when closed.
- Choose wall or bench and sketch the layout with spacing that keeps jaws apart and handles grippable.
- Model the rack with slots sized to your groups, a back plate with mounting holes for a wall version, and a spare slot.
- Print a test slot for your widest and slimmest pairs and check the fit.
- Adjust if needed. A slot that pinches needs opening; one that lets pliers lean into neighbors needs narrowing or deeper support.
- Print the full rack, or two sections bolted together, and clean up slot edges so they do not mark handles.
- Mount or place the rack level and solid, then load pliers jaws-down, one pair per slot.
Test slots are cheap insurance. A rack that fits your real pliers is one you will use for years; a rack sized from memory is one you will replace.
Step-by-Step: Using It
- Sort pliers by job when loading. Gripping pliers together, cutting pliers together, needle-nose together, so you find a type by position.
- Drop each pair jaws-down into its own slot, pivot resting, handles up. Never stack two pairs in one slot.
- Grab by the handles, lift straight up and out. Avoid dragging jaws sideways across the rack or neighboring pliers.
- Return pliers right after use. Pliers left on the bench become the next drawer pile. Immediate returns keep the rack honest.
- Wipe jaws occasionally before returning. Metal filings, adhesive, and grit on jaw faces transfer to the next job if left there.
- Check the rack monthly. Tighten wall screws, clear dust from slots, and retire any pair with a broken jaw or a pivot that will not hold.
After a few weeks, you will stop hunting for pliers entirely. You will look at the row, see the jaw shape you need, and pick it up — which is a small but real speed gain on every job.
Tips for Better Results
- Label slots by pliers type. Combination, needle-nose, cutting, and linesman labels save a second look, especially when you share the workshop.
- Keep cutting pliers at the end. Their fine edges benefit most from extra clearance, and an end position gives it to them naturally.
- Add a small parts tray beside the rack for wire offcuts and nuts. Pliers work often produces small bits that otherwise scatter across the bench.
- Do not hang pliers by a single handle hole. It looks tidy but lets pliers swing and knock. A cradling slot is steadier and kinder to jaws.
- Test on scrap first. When gripping or cutting a new material, test on an offcut — the right pliers still damage a workpiece if used with too much force in the wrong spot.
Common Mistakes to Avoid
- Sizing every slot the same. Slim pliers rattle in wide slots and broad pliers jam in narrow ones. Size by group.
- Letting jaws touch in storage. Jaw faces and cutting edges dull each other on contact. One pair per slot, with real spacing, prevents this.
- Mounting a loaded rack on weak fixings. A full pliers rack is heavy. Screw into something solid.
- Crowding handles. If you cannot grip one pair without moving another, the rack is too tight. Space handles generously.
- Storing pliers open. Open pliers take twice the slot width and snag everything. Closed, jaws-down, every time.
Care, Storage, and When to Choose an Alternative
Brush dust from slots, wipe handles occasionally, and keep the rack dry — damp air rusts pivot joints faster than use wears them. If a slot cracks under a heavy pair, reprint that section in PETG with thicker walls. A rack that travels to job sites may be better as a tool roll, since open slots spill when a bag tips.
For a home bench or wall where pliers live in one place, a printed rack sized to your set is hard to beat for visibility and speed — and it pairs naturally with the handled-tool storage in “3D Printed File Rack: A Rack for Every File.”
FAQ
Will one rack fit needle-nose and linesman pliers together?
Yes, if you size slots by group. Narrow slots for needle-nose pliers and wider, deeper slots for linesman pliers in the same rack, with spacing to match, work well together.
Should pliers hang jaws up or jaws down?
Jaws down, handles up. That protects jaw faces, keeps handles easy to grip, and stops pliers from snagging when you remove a neighbor.
Is PLA strong enough for a pliers rack?
For a small bench rack with a few lighter pairs, yes. For a full wall rack of steel pliers, PETG with 4 walls and solid fixings is the safer choice.
What if I buy a new pair later?
Leave a spare slot in the design and keep the model file. Printing a small extension section is a quick job.
Conclusion
Pliers should be visible, separated, and ready to grab — not tangled in a drawer. A printed rack with one cradling slot per pair, jaws down and handles up, delivers exactly that. Measure your pliers, print a test slot, and hang the rack where you work.
Once every pair has its place in the row, you will reach for the right pliers first time, every time — and the drawer pile will not come back.