Introduction
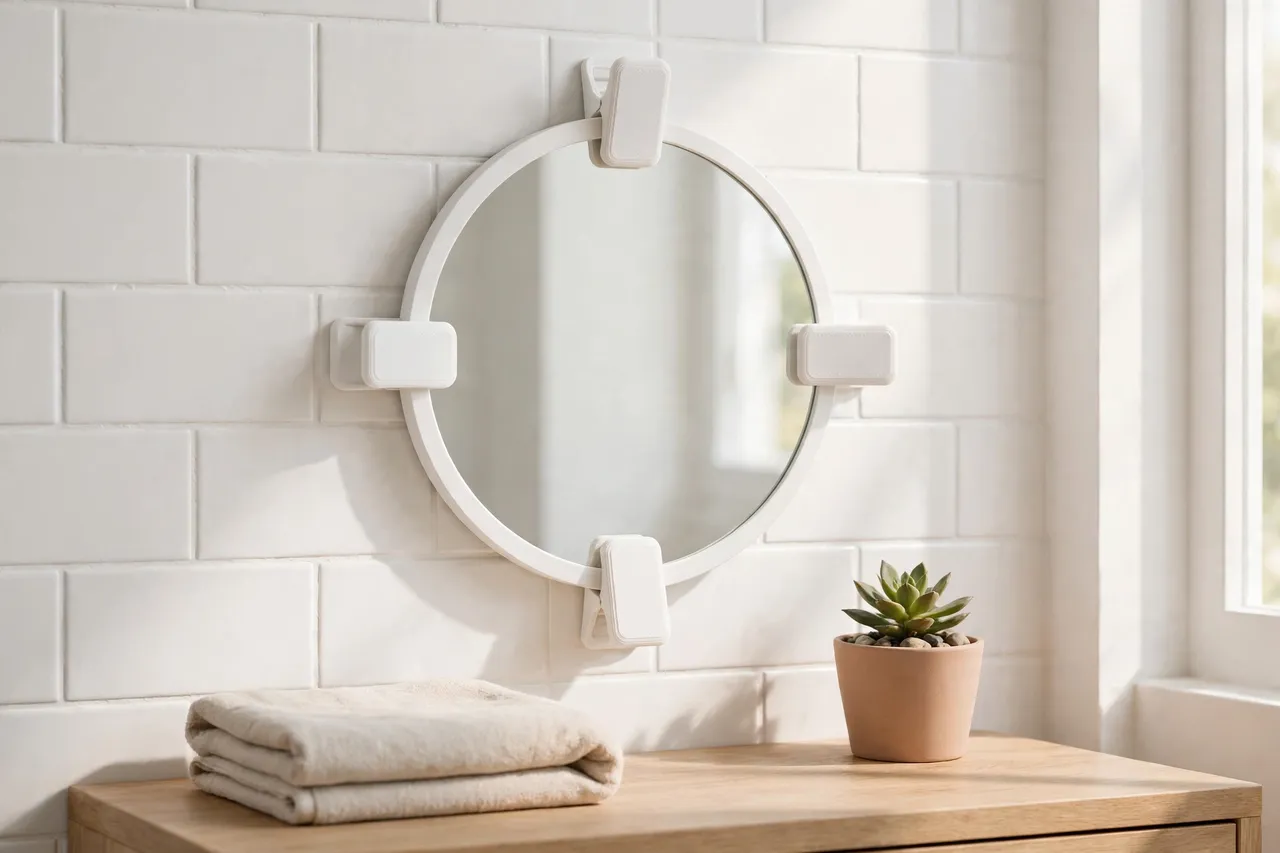
Small mirrors are everywhere in a home: above a hallway console, inside a wardrobe door, beside a bathroom sink. They are usually held by clips — small brackets that grip the mirror’s edge and screw to the wall. When a clip breaks or goes missing, the mirror sags, rattles, or sits crooked, and finding a matching replacement clip in the right size is surprisingly fiddly.
Printing your own mirror clips fixes the sizing problem at its root. You measure the mirror’s thickness, print clips that grip it exactly, and mount them with proper wall anchors. The clips cost pennies, take under an hour to print, and can be made in a color that disappears against your wall.
One honest limit comes first, and it matters more here than in most printed-hardware projects: these clips are for small, light mirrors only, mounted with proper wall anchors. A large or heavy mirror — a full-length mirror, a heavy framed mirror, or anything over a few kilograms — needs manufactured mirror hardware rated for its weight, and ideally a French cleat or a proper hanging system. Printed clips are not a substitute for that. Keep this project to the small mirrors, and it is a genuinely useful repair.
What You Need
This is a quick print, but the measuring step deserves care. A clip that is a fraction too tight can chip a mirror edge, and one that is too loose will not hold.
Materials and tools
- A home 3D printer with a build area of roughly 100 mm in at least one direction
- PETG filament for strength and a little flex, or PLA for a first test
- The mirror you want to mount, plus a tape measure or calipers
- Wall screws and wall anchors matched to your wall type
- A cordless drill, a small drill bit, a screwdriver, and a spirit level
- A pencil, painter’s tape, and sandpaper or a small file for cleanup
- Safety glasses and gloves for handling mirror edges
PETG is the better keeper material: it flexes slightly instead of snapping, which is exactly what you want in a clip that grips glass. Handle mirrors with care throughout — support the glass, never let it rest on an edge, and wear gloves if the edges are unpolished.
Suggested print settings
- Layer height: 0.20 mm, or 0.16 mm for a smoother visible face.
- Walls: 4 perimeters minimum, since the clip lip is thin and does the gripping.
- Infill: 40 to 50 percent, grid or gyroid.
- Top and bottom layers: 4 or more.
- Orientation: Print flat, wall-facing side down, for the flattest mounting face.
- Supports: Usually none, if the lip is designed as a simple overhang under 45 degrees.
Print one test clip first and check it against the mirror edge before printing a full set.
Design Considerations
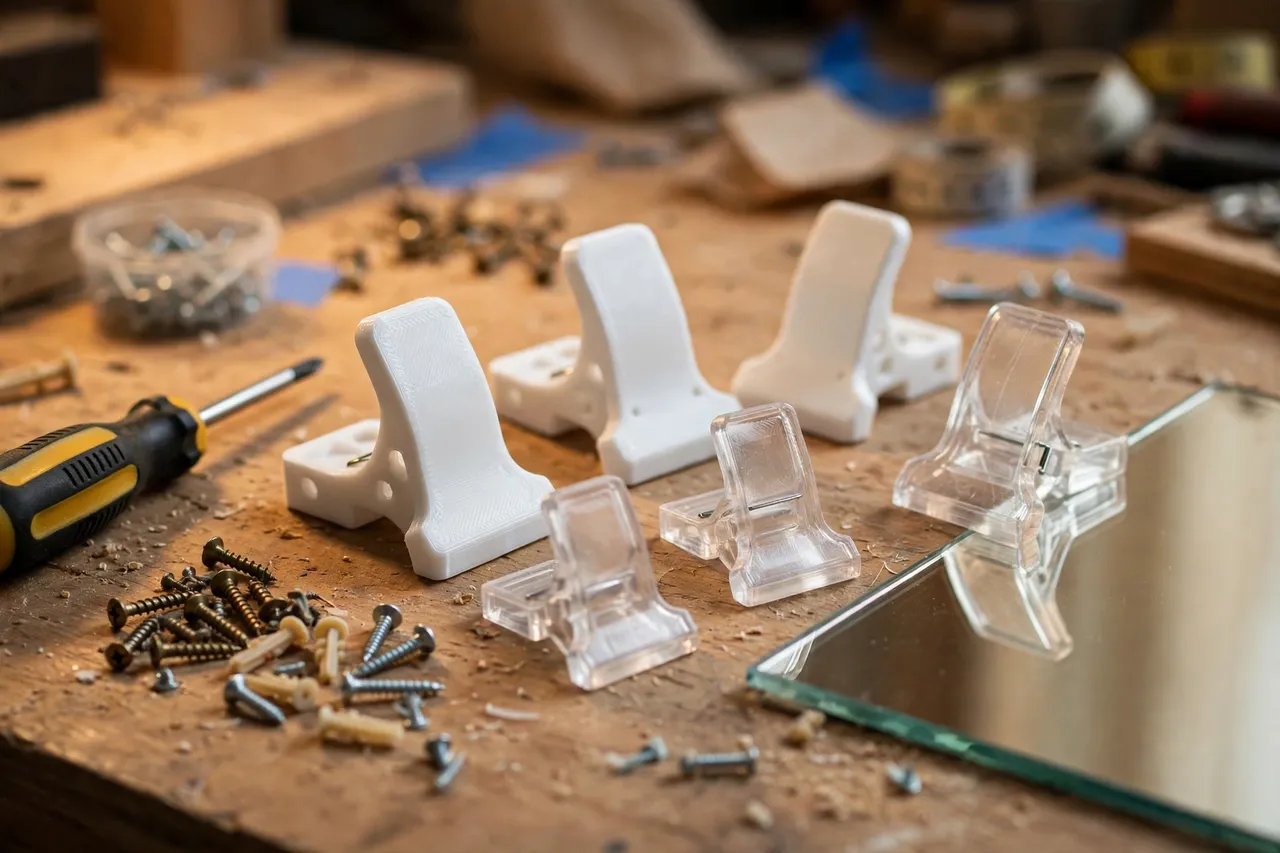
A mirror clip is a small J- or L-shaped bracket: one leg screws to the wall, and a lip folds over the mirror’s face to hold it in place. Four clips — two at the bottom carrying the weight, two at the top stopping it tipping forward — are the standard arrangement for a small mirror.
1. Matching the mirror thickness
Measure the mirror’s thickness with calipers, including any frame or backing board it carries. The clip’s channel must be about 0.3 to 0.5 mm wider than that thickness: snug enough to grip, loose enough to slide on without forcing. Forcing a tight clip onto glass is how edges chip, so err slightly loose and let the screws do the holding.
2. The lip and the face
The lip that folds over the mirror’s face should be 8 to 12 mm deep — enough to hold firmly, small enough to look discreet. Round its outer edge so it does not catch cleaning cloths. A small pad of felt or soft adhesive foam inside the lip protects the mirror’s face and backing from scratches and stops rattling. This is a small detail that makes the finished mount feel professional.
3. Screw placement
One screw per clip is normal for small mirrors, placed through the wall leg. Keep the screw hole clear of the mirror’s edge by at least 10 mm so the drill and driver never come near the glass. Counterbore the hole so the screw head sits flush and the clip sits flat against the wall.
4. Bottom clips carry, top clips retain
Design the bottom pair with a slightly deeper seat — a small ledge the mirror’s bottom edge rests on — so the mirror’s weight sits in the clips rather than hanging from the top pair. The top clips then only stop the mirror tipping forward. This division of labor is how manufactured mirror clips work, and it keeps a small mirror stable for years.
Step-by-Step: Printing the Clips
- Measure the mirror. Thickness at the edge, plus height and width for clip placement.
- Weigh it honestly. If it feels heavy in the hand or is large, stop here and buy manufactured hardware instead.
- Model the clip, with wall leg, screw hole, channel, and lip, plus a small bottom ledge for the lower pair.
- Print a test clip and slide it onto the mirror edge. It should grip without force.
- Clean up the print. Sand the channel lightly and round any sharp edges that touch glass.
- Adjust if needed. Too tight? Widen the channel by 0.2 mm. Too loose? Narrow it slightly.
- Print the full set — four clips, or six for a wider mirror — from the same file.
Step-by-Step: Mounting a Small Mirror
- Mark the bottom line. Decide the mirror’s height, level a line on the wall, and mark the two bottom clip positions.
- Fit the bottom clips. Drill pilot holes, fit anchors suited to your wall, and screw the bottom clips in place. Use a level across them.
- Seat the mirror. Lower the mirror into the bottom clips, keeping it supported the whole time. Never let go of a mirror resting only in clips.
- Mark the top clips. With the mirror seated and level, mark the top clip positions through their screw holes.
- Remove the mirror, fit the top clips, then reseat the mirror and check it is level and secure.
- Test gently. Press the mirror lightly at the corners. It should not rock, rattle, or shift.
If the wall is plasterboard, anchors are non-negotiable — a screw alone in board will pull out under even a light mirror’s weight over time.
Tips for Better Results
- Add felt pads. A tiny felt pad inside each clip protects the mirror and silences rattles.
- Print a spare pair. Clips are small; printing two extra now saves a reprint later.
- Color-match the wall. White clips on a white wall all but disappear; a contrasting color looks deliberate if you prefer visible hardware.
- Use a paper template. Mark clip positions on painter’s tape on the wall before drilling, so you can step back and check the layout.
- Check the level twice. A mirror that is a degree off level is obvious every time you look at it.
Common Mistakes to Avoid
- Using printed clips on a heavy mirror. This is the big one. If the mirror is large or heavy, printed clips are the wrong tool — use manufactured hardware rated for the weight.
- Forcing a tight clip onto glass. Glass edges chip. If a clip does not slide on easily, widen the channel and reprint.
- Skipping wall anchors. Plasterboard and hollow walls need anchors, full stop.
- Mounting with only two clips. A mirror held at two points can pivot. Four clips, or six for a wide mirror, is the minimum sensible set.
- Drilling near the glass. Keep the drill and driver well clear of the mirror edge, and remove the mirror from the wall before drilling top-clip holes.
Care, Storage, and When to Choose an Alternative
Dust the clips when you clean the mirror, and check the screws once a year — a quick snug-up is all the maintenance they need. If a clip ever cracks, reprint it; the file is already sized to your mirror.
Printed clips are the right choice for small, light mirrors: hallway mirrors, wardrobe-door mirrors, small bathroom mirrors. For anything large, heavy, or valuable, choose manufactured mirror clips or a cleat system rated for the mirror’s weight, and have a second person help with the lift. The cost difference is small; the safety difference is not.

FAQ
How heavy a mirror can printed clips hold?
Only small, light mirrors — a few kilograms at most, well anchored. There is no safe printed-clip rating for a heavy mirror, so if you have to ask whether yours is too heavy, it probably is, and manufactured hardware is the answer.
Will the clips scratch my mirror?
Not if you sand the channel smooth and add a felt or foam pad inside the lip. Sharp printed edges and bare plastic against glass are what cause scratches, so finish the clips before mounting.
Can I use printed clips on a frameless mirror?
Yes — frameless mirrors are actually the easiest case, since the clip grips the glass edge directly. Just measure the glass thickness carefully and keep the channel slightly loose.
What if my wall is tiled?
Drill with a tile bit at low speed and fit anchors made for tile and the wall behind it. Mark positions on painter’s tape first so the bit does not wander on the glaze.
Conclusion
For a small, light mirror, a set of printed clips is a fast, cheap, and satisfying fix: measured to your mirror, colored to your wall, and mounted with proper anchors. Respect the weight limit, take care with the glass, and the mirror will sit straight and secure.
If matching hardware around the house is your current theme, you may also enjoy our related guide, “3D Printed Curtain Rod Brackets and End Caps for a Clean, Sturdy Window Upgrade,” which uses the same measure-and-print approach for window hardware. And for another wall-mounted project with the same anchoring discipline, “Solar Light Wall Mounts: 3D Print Brackets for Patios, Fences and Pathways” shows how printed brackets handle outdoor walls.