Introduction
A towel ring is one of those small bathroom fixtures you notice only when it fails. The ring wobbles, the bracket cracks, or the whole thing pulls loose from the wall after one too many enthusiastic towel grabs. Replacement hardware from the store rarely matches the ring you already own, and buying a whole new set just for a broken bracket feels wasteful.
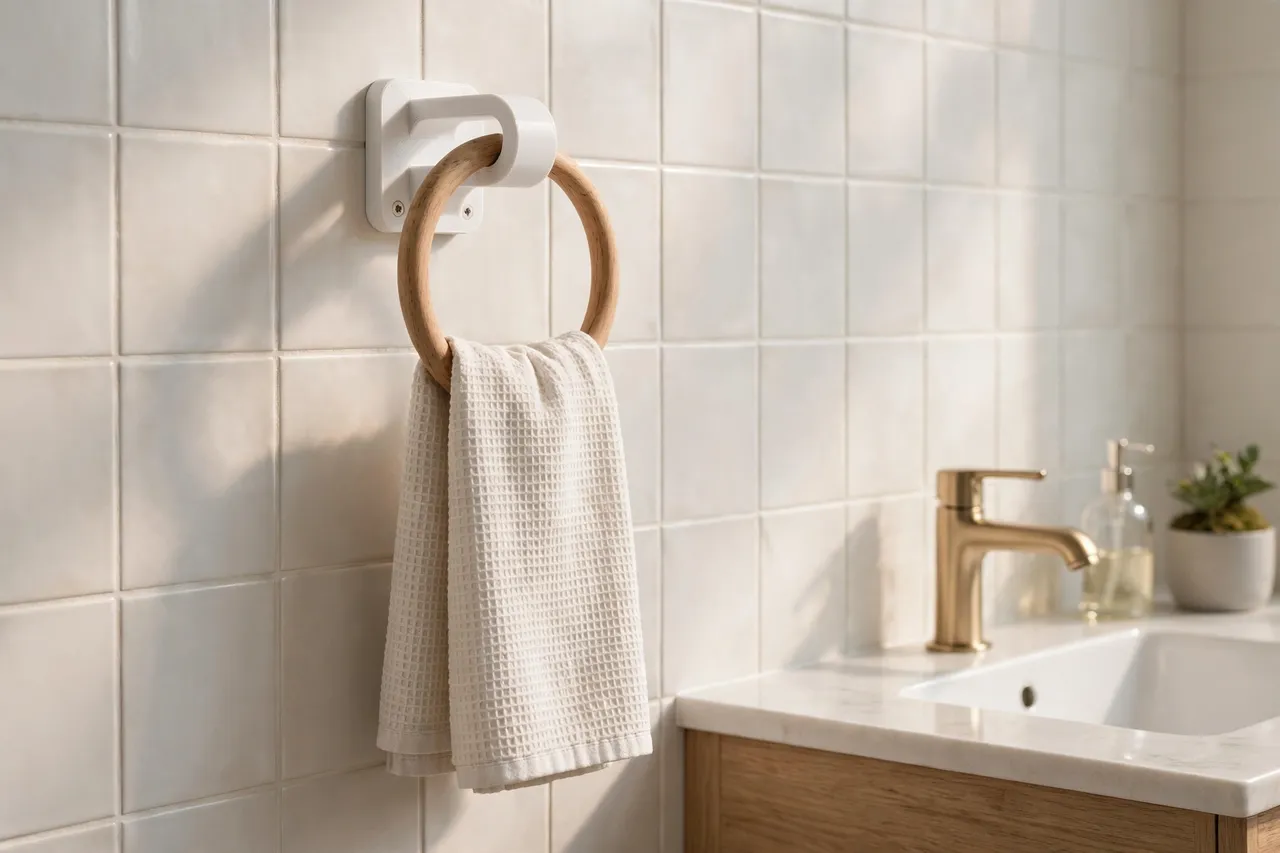
Printing your own towel ring brackets solves the matching problem neatly. You design the bracket around the ring you actually have — its diameter, its shape, and the wall it will live on — instead of shopping for a bracket that almost fits. The result is a bracket that holds the ring snugly, sits flush against the wall, and looks like it belongs in the room rather than like an afterthought.
This guide walks through designing, printing, and mounting a pair of brackets for a standard towel ring. The brackets carry a towel, not a person: they are light-duty bathroom hardware, and they should be mounted with proper wall anchors so they stay put through years of daily use.
What You Need
This is a small, beginner-friendly print. The two brackets fit on even a modest printer, and the whole project takes an afternoon from measuring to mounting.
Materials and tools
- A home 3D printer with a build area of roughly 120 mm in at least one direction
- PETG filament for bathroom humidity, or PLA if the bathroom stays dry and well ventilated
- The towel ring you want to mount, plus a tape measure or calipers
- Wall screws and wall anchors matched to your wall type
- A cordless drill, a small drill bit, a screwdriver, and a spirit level
- A pencil, painter’s tape, and sandpaper or a small file for cleanup
PETG is the better choice here. Bathrooms are humid, and PETG handles moisture and warmth far better than PLA, which can soften and creep over time in a steamy room. If you only have PLA, print with generous walls and keep the bracket away from direct shower spray.
Suggested print settings
- Layer height: 0.20 mm for a good balance of speed and surface finish.
- Walls: 4 perimeters minimum — the screw boss and ring socket do the real work.
- Infill: 40 to 50 percent, grid or gyroid, for a bracket that resists flexing.
- Top and bottom layers: 4 or more, so the wall-facing surface stays flat.
- Orientation: Print with the wall-facing side down, so the mounting face is as flat as possible.
- Supports: Only if your socket design overhangs; a well-designed open socket needs none.
Print one test bracket first and check the fit against your ring before printing the second.
Design Considerations
A towel ring bracket has three jobs: grip the wall, grip the ring, and look tidy doing both. Keep the design simple and each job gets easier.
1. The wall plate
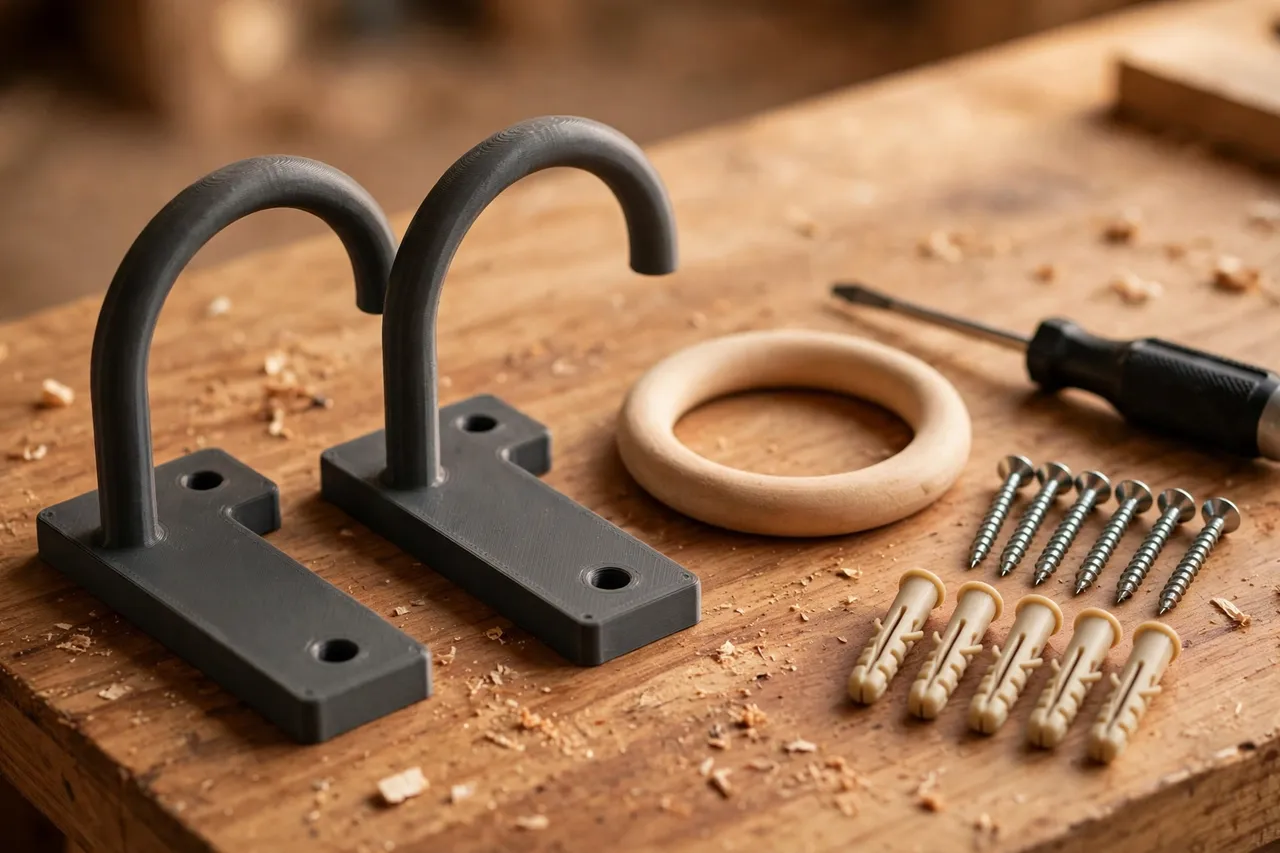
The wall plate is the flat back of the bracket. Make it at least 50 mm tall and 40 mm wide so it spreads the load and covers old screw holes from a previous bracket. Round the corners slightly for a finished look. Two screw holes, spaced vertically, resist the twisting force of a towel being pulled sideways far better than a single screw. Countersink or counterbore the holes so screw heads sit flush and do not scratch the ring.
2. The ring socket
The ring itself is usually a round bar, often 8 to 12 mm in diameter, bent into a circle or a D shape. The bracket needs a socket that cradles it: a U-shaped or C-shaped opening that the bar snaps or slides into. Measure the bar diameter with calipers and add about 0.3 mm of clearance. For a snap-fit C socket, make the opening slightly narrower than the bar so the ring clicks in and stays; for a slide-in design, add a small set-screw hole or a cap piece that closes the socket after the ring is seated. A snap-fit is simpler and works well for light towel rings.
3. Stand-off from the wall
A towel ring needs clearance so a towel can hang freely without bunching against the wall. Aim for the ring center to sit 30 to 40 mm out from the wall surface. Build this distance into the bracket arm: a short arm from the wall plate to the socket. A gentle curve or gusset under the arm adds strength without bulk and keeps the bracket looking designed rather than improvised.
4. Finishing for a bathroom
Bathroom hardware gets splashed. A smooth print with light sanding and, optionally, a coat of spray paint rated for plastic gives a wipeable surface that resists water spots. Print in a color that matches your other fixtures — white, matte black, or brushed-look gray all work — or paint to match. Keep the design free of deep crevices where water and grime can collect.
Step-by-Step: Printing the Brackets
- Measure your ring. Bar diameter, and the shape of the section the bracket will hold.
- Measure your wall. Note whether it is tile, plasterboard, or masonry, since that decides your anchors.
- Model the bracket, with wall plate, arm, and socket, and two countersunk screw holes.
- Print a test bracket and check the ring snaps in with a firm click, not a loose rattle.
- Clean up the print. Sand the socket lightly so the ring slides in without scratching, and clear any stringing from the screw holes.
- Adjust if needed. Too tight? Open the socket by 0.2 mm. Too loose? Shrink it slightly or add a thin inner sleeve.
- Print the second bracket from the same file, so the pair matches exactly.
Step-by-Step: Mounting the Brackets
- Choose the height. A towel ring usually sits about 100 to 110 cm above the floor, within easy reach of the sink.
- Mark the position. Hold the bracket against the wall, level it, and mark both screw holes with a pencil through the holes.
- Drill pilot holes and fit wall anchors suited to your wall. On tile, use a tile bit and drill slowly to avoid cracking; on plasterboard, use anchors rated for the wall, not just screws into the board.
- Screw the bracket in place, snug but not so tight that you crack the print.
- Seat the ring. Snap or slide it into the socket and check it sits level and does not rock.
- Hang a towel and test. Pull the towel the way you normally would. The bracket should not flex or shift.
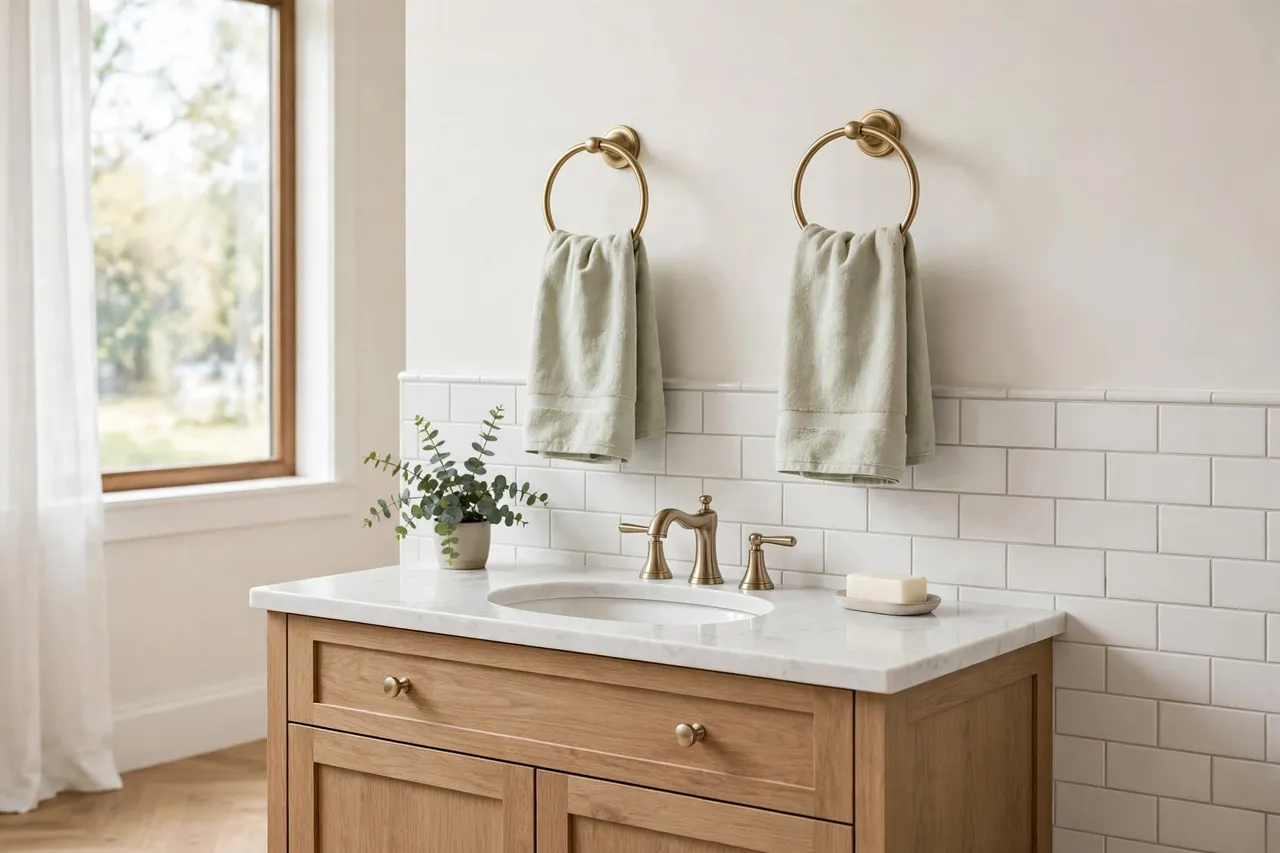
If you are mounting a pair of brackets for one ring, measure the distance between them from the ring itself, and use a level across both brackets before drilling the second one.
Tips for Better Results
- Match the pair. Print both brackets in one job, or from the same file and filament, so color and fit are identical.
- Use a paper template. Trace the wall plate and screw holes onto paper to mark the wall without juggling the bracket and a pencil.
- Add a small gusset. A triangular rib under the arm is the cheapest strength upgrade a bracket can get.
- Keep spare brackets. Printing a third bracket now costs minutes and saves a reprint later if one ever cracks.
- Check the towel drop. Make sure the towel hangs clear of the sink edge and any nearby fixture before you drill.
Common Mistakes to Avoid
- Screwing into plasterboard with no anchor. A towel ring gets pulled daily; bare screws in board will work loose within weeks.
- Designing from a guess. Measure the ring bar with calipers. A socket sized from memory is almost always wrong.
- Printing too thin. Two perimeters and 15 percent infill make a bracket that flexes every time a towel is grabbed.
- Ignoring the tile. Drilling tile with a masonry bit at full speed cracks it. Slow, steady, and the right bit matter.
- Mounting at the wrong height. Too high and short users struggle; too low and the towel drags on the counter. Measure from the floor, not by eye.
Care, Storage, and When to Choose an Alternative
Wipe the brackets with a damp cloth when you clean the bathroom. If a bracket ever feels loose, check the wall anchors before blaming the print — anchors are the usual culprit. Keep the print file and a spare bracket with your other bathroom spares.
A printed bracket is right for standard towel rings and normal daily use. If your ring is unusually heavy — solid brass, for instance — or the wall is in poor condition, a manufactured metal bracket with heavy-duty anchors is the safer choice. Printed plastic is a light-duty fixture, and it should be treated as one.
FAQ
Will a printed bracket hold up in a humid bathroom?
Yes, if you print in PETG with solid walls and keep it out of direct shower spray. PETG resists moisture far better than PLA. In a very steamy bathroom, give the bracket a coat of plastic-safe spray paint for an extra wipeable seal.
Can I print a bracket for a ring I already own?
That is the whole point. Measure the ring’s bar diameter and model the socket to fit it. This is the advantage over store brackets, which only fit the ring they shipped with.
What if my wall is tiled?
Drill with a tile bit at low speed, without hammer action, and use anchors made for tile and the wall behind it. Mark through a piece of painter’s tape to stop the bit wandering on the glaze.
My ring keeps popping out of the socket. What went wrong?
The socket is too loose, or the opening is too wide for a snap fit. Shrink the socket by 0.2 to 0.3 mm, or switch to a closed socket with a small cap or set screw that locks the ring in place.
Conclusion
A towel ring bracket is a small print with an outsized daily payoff: no more wobbling ring, no more mismatched hardware, and a fixture that fits your ring and your wall exactly. Measure carefully, print in PETG with solid walls, anchor properly, and the job is done in an afternoon.
If you are tidying the whole bathroom, you may also enjoy our related guide, “Light-Duty Shelf Brackets: When 3D Printed Brackets Make Sense — and How to Print Them Strong,” which covers the same bracket principles at a larger scale. And if matching hardware is your theme, “Custom Drawer Pulls and Cabinet Knobs: 3D Print Matching Replacement Hardware for Old Furniture” shows how to coordinate printed fixtures across a room.