Introduction
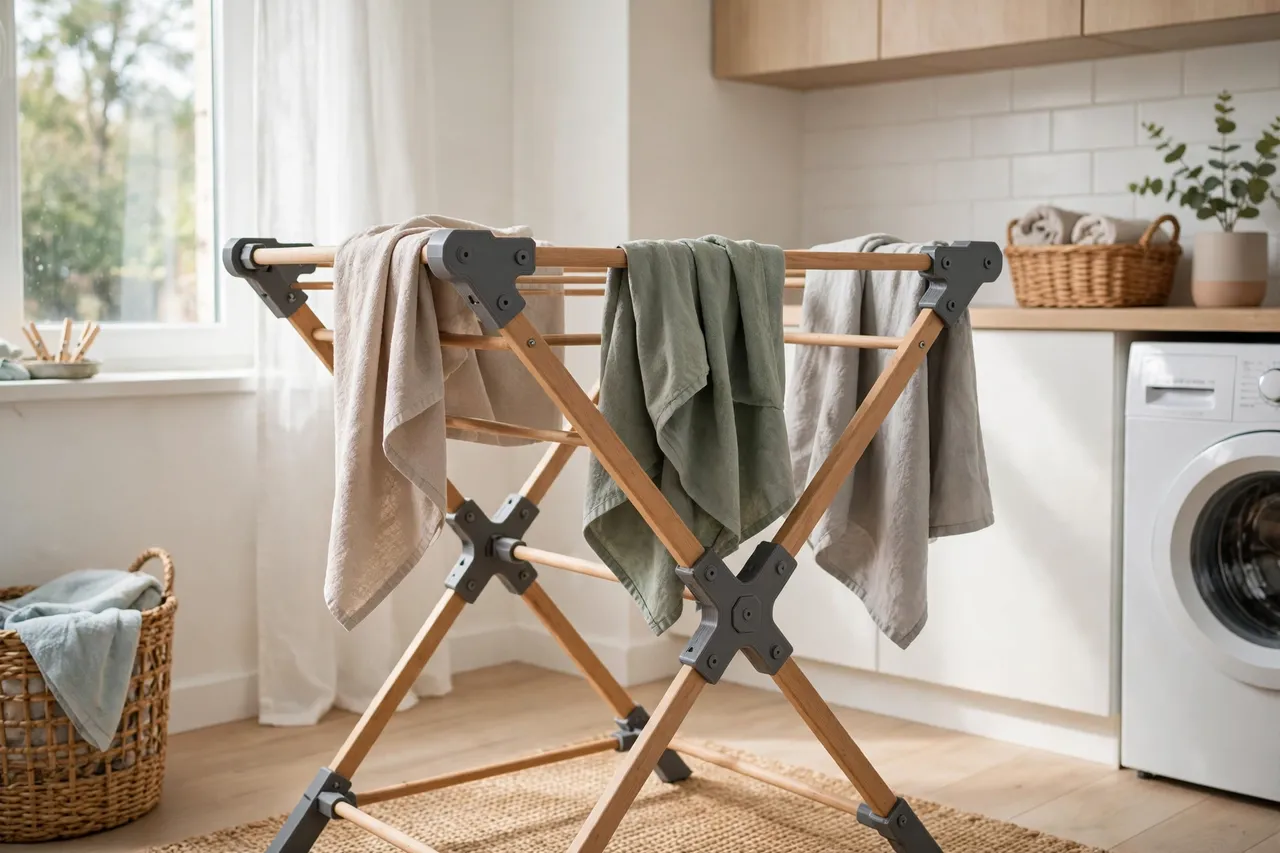
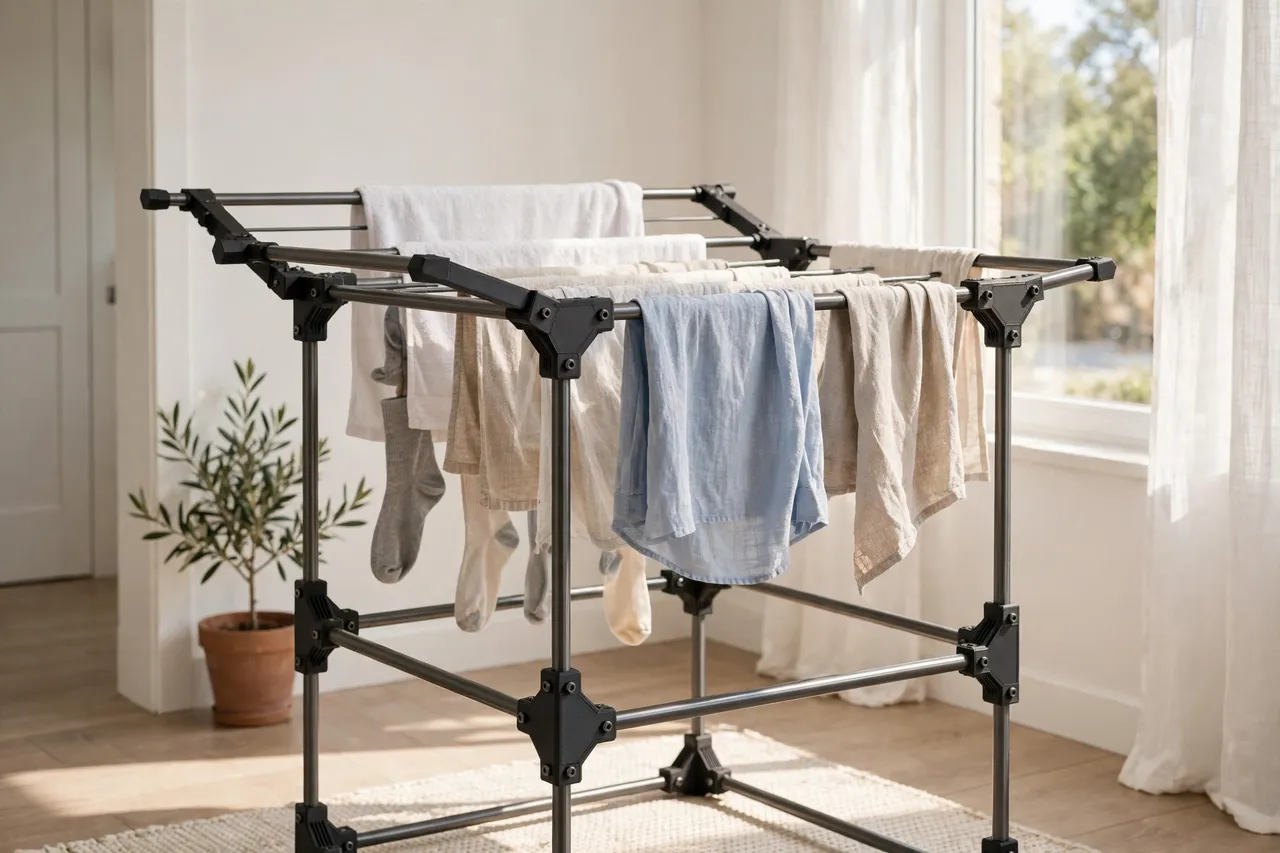
A drying rack usually dies at its connectors. The wooden or metal rails are fine, but the small plastic joints that hold them together crack, split, or go missing — and then the rack wobbles, folds unevenly, or collapses under a load of wet towels. Replacing the whole rack for a broken joint feels wasteful, and finding a matching spare joint for an older rack is often impossible.
Printing replacement connectors solves this neatly. You measure the rails you actually have, print joints that fit them, and reassemble the rack. The rack does not need to be load-bearing in any structural sense — it holds laundry, and a connector that fits snugly and flexes a little will outlast the brittle original.
This guide covers the common connector types for folding drying racks: corner joints, T-joints, and hinge knuckles. Measure your rack, print a test joint, and you can usually bring a retired rack back into daily service in an afternoon.
What You Need
Connectors are small, precise prints. Accuracy matters more than size here, so measure carefully and test-fit before printing a full set.
Materials and tools
- A home 3D printer with a build area of roughly 120 mm in at least one direction
- PETG filament for toughness and a little flex, or PLA for a first test
- The drying rack and its rails, plus a tape measure or calipers
- A screwdriver, small screws or pins if your joints use them, and sandpaper or a small file
- A pencil for marking rail positions
PETG is the better keeper material: connectors get flexed every time the rack folds, and PETG tolerates that repeated flexing far better than PLA, which can crack at stress points over time.
Suggested print settings
- Layer height: 0.20 mm, or 0.16 mm for tight-fitting joints.
- Walls: 4 perimeters minimum — joint walls are thin and carry the load.
- Infill: 40 to 50 percent, grid or gyroid.
- Top and bottom layers: 4 or more.
- Orientation: Print with the rail socket opening upward where possible, so socket walls print cleanly.
- Supports: Only for hinge knuckles with enclosed pin holes; most open sockets need none.
Print one test connector first and check it against the real rails before printing the rest.
Design Considerations
A drying rack connector joins two or three rails at a fixed angle, or lets them pivot. The design depends on which joint you are replacing, but the principles are the same.
1. Measure the rails, not the old connector
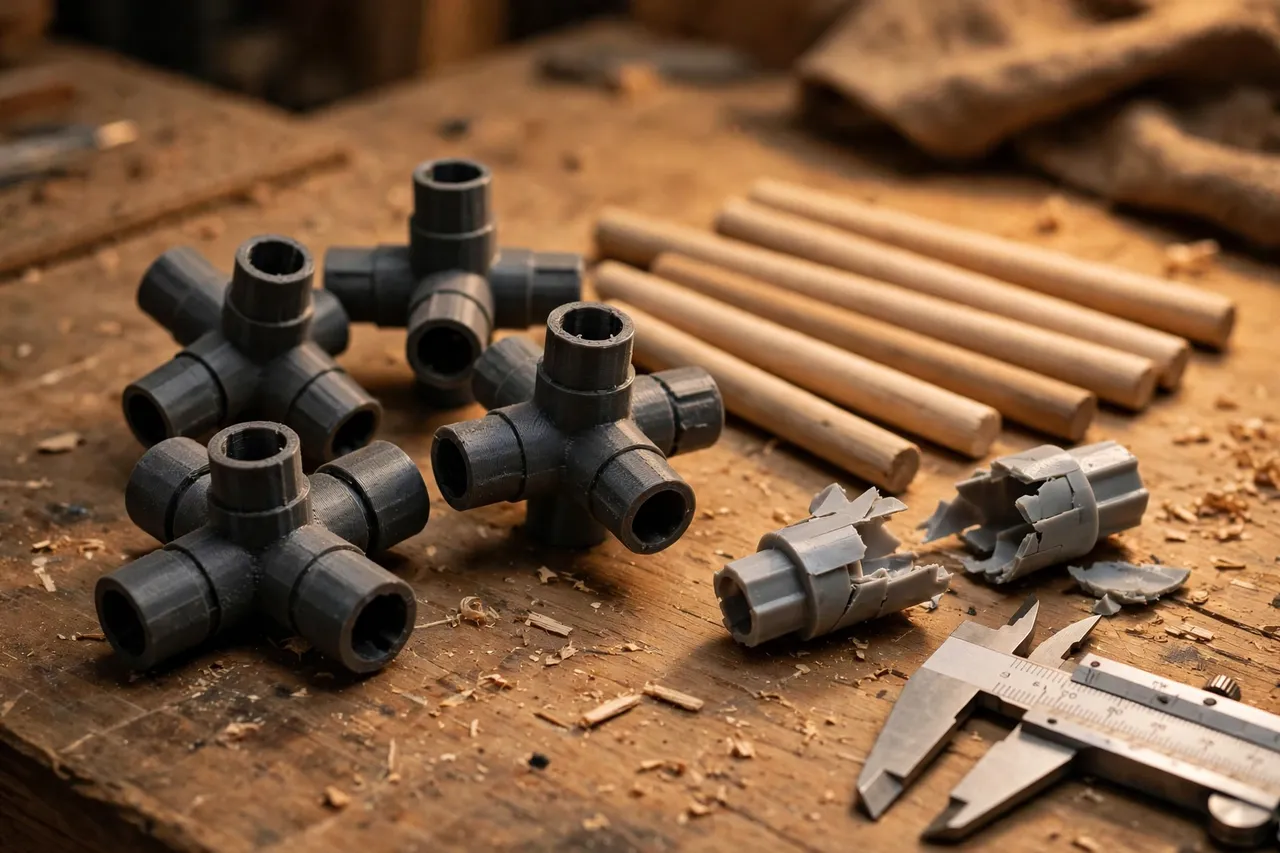
Old connectors are often warped or broken, so measuring them gives you a distorted size. Measure the rails instead: diameter for round dowels, width and thickness for rectangular rails. Add 0.3 to 0.5 mm of clearance per side so the rail slides in without force. A connector that must be hammered on will split at the socket mouth.
2. Corner joints
A corner joint joins two rails at a right angle, usually at the top or bottom of a rack frame. Model it as a small block with two sockets at 90 degrees. Add a slight fillet where the sockets meet — sharp internal corners concentrate stress and are where printed joints crack first. A small screw hole through the socket wall lets you pin the rail in place for extra security.
3. T-joints and cross joints
A T-joint joins a cross rail to a long rail, and a cross joint joins two crossing rails. These see more leverage than corners, so give them thicker walls and a longer socket on the through-rail side. If the original joint was a simple sleeve, a printed sleeve with a set-screw hole is a direct replacement that is easy to fit and remove.
4. Hinge knuckles for folding racks
Folding racks pivot at their joints. A printed hinge knuckle needs a pin hole sized for a bolt, screw, or metal pin, with enough material around the hole that it does not tear out. Print knuckles with the pin hole vertical so the hole prints round, and ream it lightly with a drill bit for a smooth pivot. Use a metal pin rather than a printed one — a printed pin will shear under repeated folding.
Step-by-Step: Printing the Connectors
- Identify each broken joint. Corner, T-joint, cross joint, or hinge — and count how many you need.
- Measure the rails at each joint with calipers.
- Model the connector, with sockets sized to the rails plus clearance, and screw or pin holes where needed.
- Print a test connector and slide it onto the rails. It should fit snugly without force.
- Clean up the print. Sand socket mouths lightly and clear pin holes with a drill bit by hand.
- Adjust if needed. Too tight? Open sockets by 0.2 mm. Cracking at corners? Add fillets and a perimeter.
- Print the full set from the same file, so every joint matches.
Step-by-Step: Reassembling the Rack
- Strip the rack down. Remove broken connectors and clean the rail ends.
- Dry-fit the whole frame. Assemble with printed connectors but no screws, and check the rack stands square and folds evenly.
- Pin or screw the joints that need it, starting with the corners.
- Test the fold. Open and close the rack several times. Hinges should move smoothly without binding.
- Load it gradually. Hang a few light items first, then a normal load, and check the joints after a day.
- Replace the rest. If one connector failed from age, its twins are probably close behind — print the full set while the file is ready.
Tips for Better Results
- Print spares. Connectors are small; a spare set in a drawer saves the rack next time one breaks.
- Color-code by joint type. Different colors for corners, T-joints, and hinges make reassembly obvious.
- Use metal pins for hinges. A screw or bolt through a printed knuckle lasts far longer than a printed pin.
- Keep sockets smooth. A rough socket grips the rail unevenly and stresses one side of the joint.
- Store the rack dry. Even PETG lasts longer when the rack is not left damp in a corner.
Common Mistakes to Avoid
- Copying the broken connector’s size. Warped originals give wrong measurements. Measure the rails.
- Printing sockets too tight. Forcing a rail into a tight socket splits the joint at its weakest point.
- Using PLA for folding joints. Repeated flexing cracks PLA at stress points. PETG is the right material here.
- Printing hinge pins in plastic. They shear. Use a metal pin.
- Replacing only the broken joint. Age affects all the original joints equally; replacing one leaves the next failure waiting.
Care, Storage, and When to Choose an Alternative
Wipe connectors when you clean the rack, and check them when the rack starts wobbling — a loose screw or a cracked socket is a two-minute fix if caught early. Keep the print files and a spare set with your laundry supplies.
Printed connectors are ideal for standard wooden and tubular racks carrying normal laundry loads. If the rack itself is bent, rusted through, or missing rails, no connector will save it — replace the rack. And if a rack will hold very heavy wet items regularly, consider a manufactured rack with metal joints instead.
FAQ
Will printed connectors hold a rack full of wet towels?
For a normal household rack with sound rails, yes — printed PETG connectors with proper wall thickness handle everyday laundry loads. Keep loads reasonable and the rack’s feet level, and check joints periodically.
Can I print connectors for a rack I did not measure?
No — drying racks vary enormously in rail size. Measure your own rack’s rails with calipers; a connector sized for another rack almost certainly will not fit yours.
Why do my printed hinge joints bind?
The pin hole printed slightly oval, or the knuckle faces are rough. Ream the hole lightly with a drill bit, sand the mating faces smooth, and use a metal pin with a drop of dry lubricant.
My connectors crack after a few months. What went wrong?
Usually PLA fatigue at a sharp internal corner, or sockets printed too tight. Switch to PETG, add fillets to internal corners, and give sockets proper clearance.
Conclusion
A drying rack with a broken connector is not a dead rack — it is a rack waiting for a measured, printed joint. Print in PETG, size sockets to the rails, use metal pins for hinges, and the rack goes back to work for the cost of a few grams of filament.
If you are on a laundry-room fixing streak, you may also enjoy our related guide, “3D Printed Laundry Shelf Brackets: Brackets for Laundry Shelves,” which adds storage above the machines while the rack handles the drying. And for another small-part repair with the same measure-first discipline, “Custom Drawer Pulls and Cabinet Knobs: 3D Print Matching Replacement Hardware for Old Furniture” shows how printed parts can match existing hardware around the house.