Introduction
A loose chair rail, a wobbly side table, or a face frame that has pulled apart all share one problem: you need a strong joint, but you do not want screws showing on the finished surface. Pocket screws solve that neatly. The screw hides inside an angled pocket on the back or underside of the joint, pulling the two pieces together while the visible faces stay clean.
The catch is the hole. A pocket hole enters at a shallow angle and exits the end of the board where the screw bites into the mating piece. Freehand, that angle is almost impossible to repeat: too steep and the screw breaks through the face; too shallow and it misses or splits the edge.
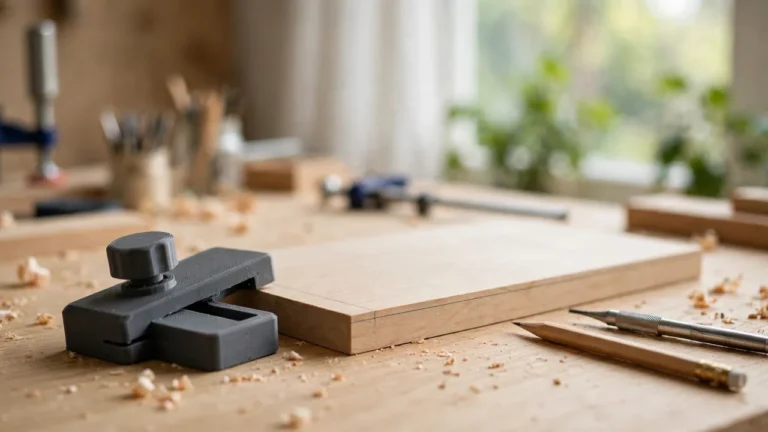
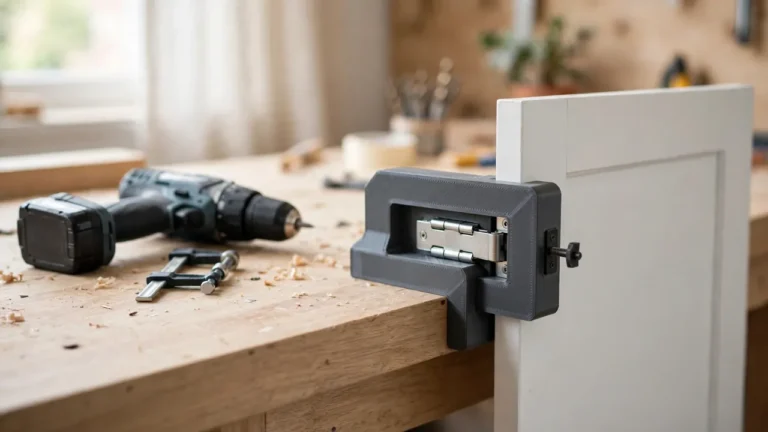
This 3D printed pocket hole jig fixes that. It is a clamped guide that holds your bit at the correct shallow angle and works with a depth-stop collar so every hole stops in the same place. Print it once, size it for the stock you repair most, and fussy fixes become straightforward.
What You Need
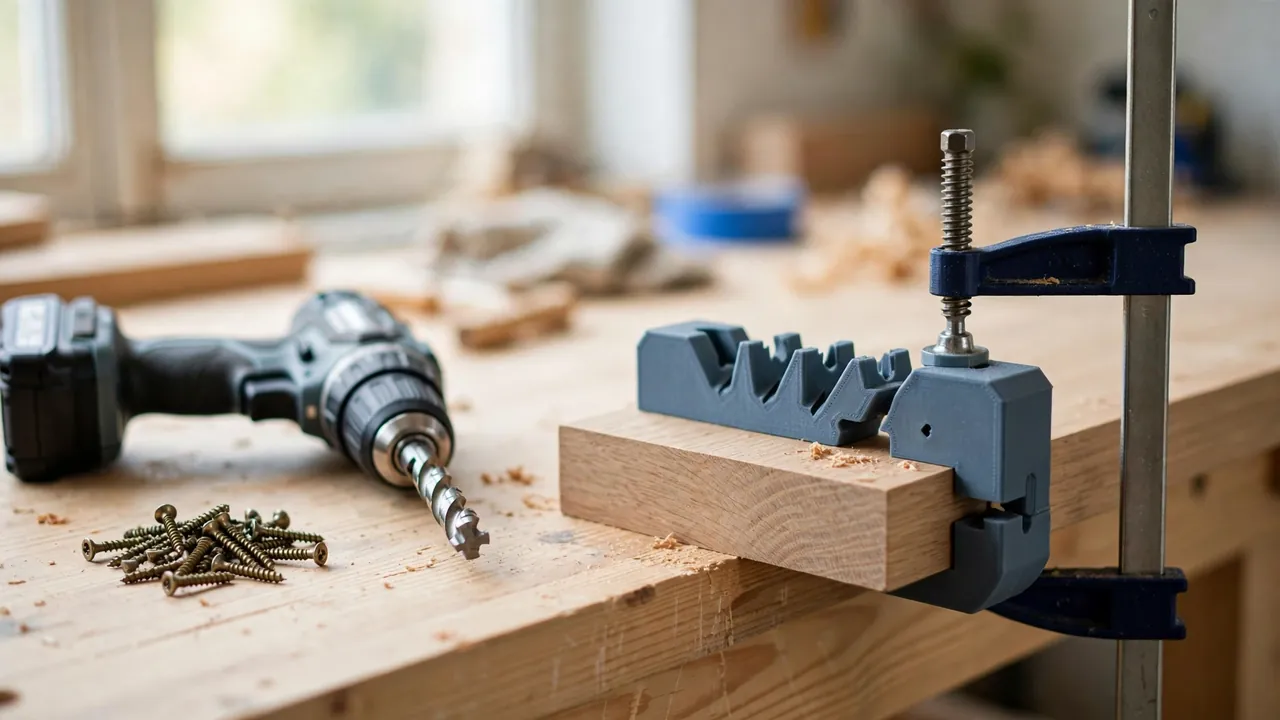
The guide is a chunky block that prints without supports. Accuracy comes from careful measuring and a proper pocket-hole bit, not exotic filament.
Materials and tools
- A home 3D printer with a build area of roughly 120 mm in at least one direction
- PETG filament for the keeper version, or PLA for a quick test print
- A stepped pocket-hole drill bit, with a narrow tip and a wider shoulder
- An adjustable depth-stop collar that fits the bit, plus its small hex key
- Pocket screws in a length matched to your stock thickness
- A sturdy clamp, a cordless drill, calipers or a ruler, and a pencil
- Scrap wood for test holes
- Optional: a short length of thin-wall steel tube, bought as standard hardware, to line the guide hole as a bushing
Use coarse-thread screws for softwoods and fine-thread versions for hardwoods.
Suggested print settings
- Layer height: 0.20 mm is fine; 0.16 mm gives a smoother angled channel.
- Walls: At least 4 to 5 perimeters — the walls around the drill channel take the most wear.
- Infill: 50 to 70 percent, grid or gyroid. Do not print it flimsy.
- Top and bottom layers: 5 or more, so the base that sits on the wood stays flat.
- Orientation: Print with the flat base down and the angled channel opening upward, as designed.
- Supports: A well-designed version needs none; avoid supports inside the drill channel.
Print a test version first and drill only scrap with it.
Design Considerations
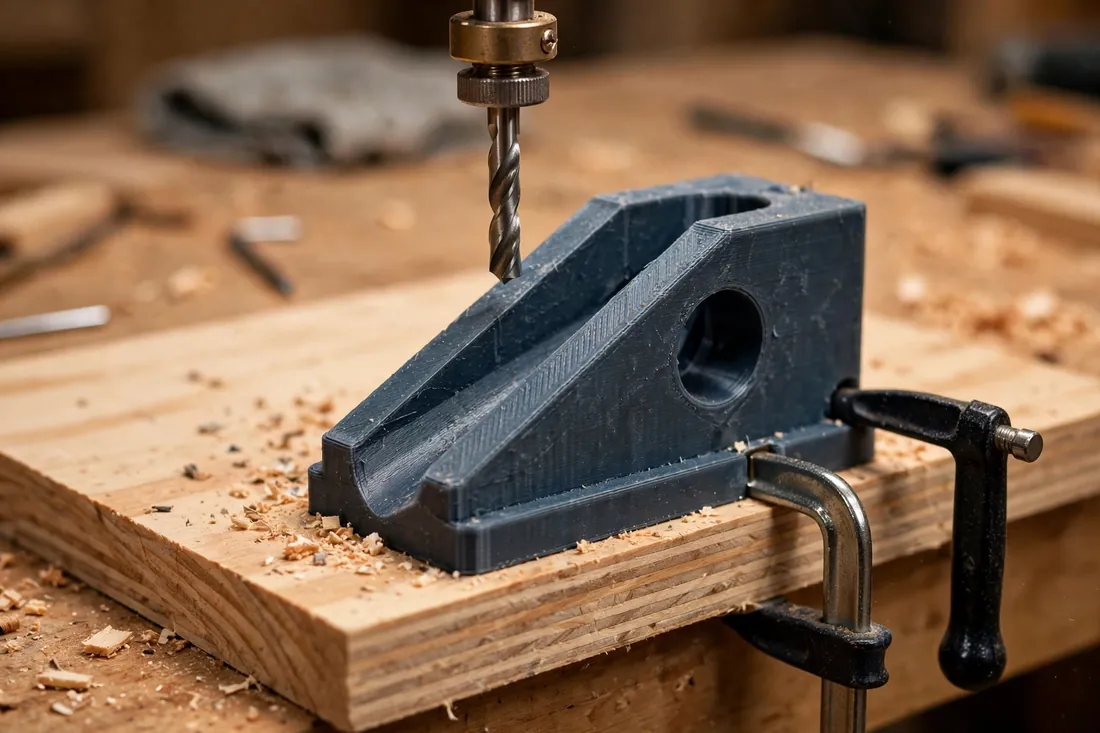
Model it in any basic CAD program. At its heart it is a solid block with a flat base, a registration face, and one angled round channel.
1. The shallow pocket-hole angle, in plain terms
Picture a board lying flat. A normal hole goes straight through, like a straw standing upright in a glass. A pocket hole leans that straw way over: the bit starts on the face, travels diagonally, and exits the end edge.
That lean is commonly around 15 degrees from the face — shallow enough for a low, gripping screw angle, steep enough to exit cleanly instead of wandering inside the wood. Build the channel as a straight, smooth tube at that angle. Set its entry a sensible distance from the end, leaving material behind the pocket for the screw head to pull against.
2. Sizing for common 3/4-inch stock
Most furniture repairs use 3/4-inch stock — about 19 mm thick, even if sold as one-inch material. Always measure your actual board; planed and older stock varies.
Center the pocket across the end edge, so the screw exits near the middle of that edge rather than near a face. An off-center exit pulls the joint crooked or breaks out, so aim the channel centerline at the middle of the end edge for 19 mm stock.
For 1/2-inch drawer sides or 1-1/2-inch legs, do not make one guide do everything with shims. Print a second version in a different color for that thickness. Plastic is cheap; a ruined workpiece is not.
3. The drill channel and the steel bushing option
Size the channel just larger than your bit’s wide section — about 0.3 to 0.5 mm of clearance. Too tight and friction drags; too loose and the angle wanders.
Be honest: a spinning steel bit will wear a plastic channel — this guide’s main trade-off. Keep drill contact light; let the channel steer the bit and do not lean sideways. For more than a handful of holes, line the channel with a short steel tube bushing, sourced as standard hardware with an inside diameter that clears your bit. Model the block for its outside diameter, press it in, and let metal take the wear.
4. Clamping face and base
Add a broad, flat base and a registration face against the workpiece. Give the clamp a generous flat area, away from the channel, keep the bottom smooth so it sits without rocking, and add a small lip that hooks the board edge to position the guide the same way every time.
Step-by-Step: Printing and Assembly
- Measure your stock. Confirm the true thickness of the board you repair most often.
- Measure your bit. Check the wide and narrow diameters of your stepped bit with calipers.
- Model the block with a flat base, registration face, and a straight channel at the pocket angle, aimed at the center of the end edge.
- Add the bushing recess, if using one. Size the channel to press-fit your steel tube.
- Print a test guide in PLA. Clear stringing from the channel by hand — never by spinning the bit hard inside it.
- Fit the bushing, if fitted. Press the tube in squarely, flush or just below the entry face, with no lip to catch the bit.
- Test on scrap. Clamp the guide to an offcut of the same stock and drill one hole. Check that the exit lands centered on the end edge.
- Adjust if needed. If the exit runs high or low, shift the channel position slightly rather than changing the angle.
- Print the keeper in PETG once the geometry is proven, and label the file with its stock thickness.
Step-by-Step: Drilling Pocket Holes for a Furniture Repair
- Set the depth-stop collar first. Place the bit in the guide on matching stock, let the tip reach the depth where the shoulder has cut a full pocket but not broken through the face, then lock the collar where it meets the top of the guide. That contact stops every hole at the same depth.
- Mark your pocket positions. Space them along the joint — near each end, then evenly between — clear of old holes, cracks, and knots.
- Clamp the jig to the workpiece. Seat the registration face firmly and clamp through guide and board. If it wiggles, re-clamp.
- Start the drill before contact. A bit started while touching tends to grab and wander.
- Drill with a light, steady feed. Ease the bit back once or twice to clear chips, and stop when the collar meets the guide.
- Repeat without rushing, re-clamping each time.
- Dry-fit the joint. Check the faces align before driving any screws.
- Drive the pocket screws. Clamp the joint itself while driving, so the angled screw cannot push the pieces out of alignment. Drive until the joint closes tight.
- Check from the show side. Pockets and screws should sit hidden on the back or underside, with clean, flush faces where people look.
Tips for Better Results
- Always test on scrap of the same thickness. A two-minute test saves a visible workpiece from a wrong depth setting.
- Clear chips often. Packed sawdust makes the bit work harder and the hole rougher.
- Clamp the joint, not just the jig. Angled screws love to shift parts as they tighten.
- Match screw length to stock. Follow the screw maker’s guidance for your thickness, and test on scrap if unsure.
- Mark the guide clearly. Write the stock thickness on it with a paint pen so you grab the right version next time.
Common Mistakes to Avoid
- Guessing depth without a collar. Eyeballing depth is how tips break through show faces. The stop collar is not optional.
- Leaning on the drill sideways. That pressure chews the plastic channel, ruins the angle, and gets worse with every hole.
- Skipping the clamp on the jig. Hand-holding a guide while starting a large bit almost guarantees a shifted entry.
- Using one screw length for everything. Too long pokes through; too short barely grips.
- Expecting full strength from damaged wood. If the end of a rail is split or stripped, repair or trim that section first, then add pockets in sound wood.
Care, Storage, and When to Choose an Alternative
Brush chips out of the channel after use, check the entry for wear or oval shaping, and store the guide flat, away from heat. If the channel grows loose or the base is damaged, reprint it — that easy replacement is part of the appeal.
Be clear-eyed about metal pocket-hole jigs, though. A good metal jig has hardened guides that shrug off thousands of holes, often a built-in clamp, and thickness settings that swap in seconds. It will outlast a printed guide — which wears faster, especially without a bushing — and if you build furniture every weekend, it is the better tool.
Where the printed version wins is cost, customization, and convenience for occasional repairs: you can make it tonight, size it exactly for the stock in front of you, and replace it for pennies. For a handful of strong, hidden joints, that is a fair trade.
FAQ
How strong is a pocket-screw joint, really?
For face frames, aprons, and side panels, a well-made pocket-screw joint — often with wood glue on the mating faces — is plenty strong for normal use, given correct exit position, right screw length, and sound wood. For joints racked or loaded heavily daily, traditional joinery is better.
Can I use a regular twist drill bit instead of a stepped pocket-hole bit?
Not well. The stepped bit cuts the wide pocket and narrow pilot in one pass, with a flat shoulder for the head to pull against. A regular bit leaves a hole the head falls through or splits. If you do not own a stepped bit, wait until you do.
Why did my screw break through the side of the board?
Usually the pocket exited off-center, the guide shifted, or the collar was set too deep for thinner stock. Check the guide on scrap, confirm board thickness, and reset the collar first.
How many holes will a printed guide survive?
It depends on filament, walls, and how light your drill contact is. A plain channel will show wear after repeated use; a steel-tube-bushed version lasts far longer. Treat a loose, rattling fit as your cue to reprint or fit the bushing.
Conclusion
Strong, hidden joints require a repeatable angle, controlled depth, and a guide that cannot shift — a small printed block gives you all three. Set the collar carefully, clamp every time, keep your drill touch light, and pocket screws turn loose, tired furniture solid again.
Print one for your 3/4-inch stock, prove it on scrap, and keep it with your drill.
If you like printed guides for traditional joints, you may also enjoy our related guide, “3D Printed Doweling Jig: Make Straight, Strong Joints for Shelf and Table Repairs,” which covers the dowel-based cousin of this method for a complete furniture-repair toolkit.