Introduction
An ordinary compass tops out at small work — a 150 mm radius if you are lucky, less with a wobbly school compass. But home projects regularly need bigger curves: a round tabletop 900 mm across, an arched garden gate, a curved shelf, a circular fire-pit surround. The usual workaround — a nail, a string, and a pencil — works, but string stretches, sags, and gives a line that wanders by millimeters over a long arc.
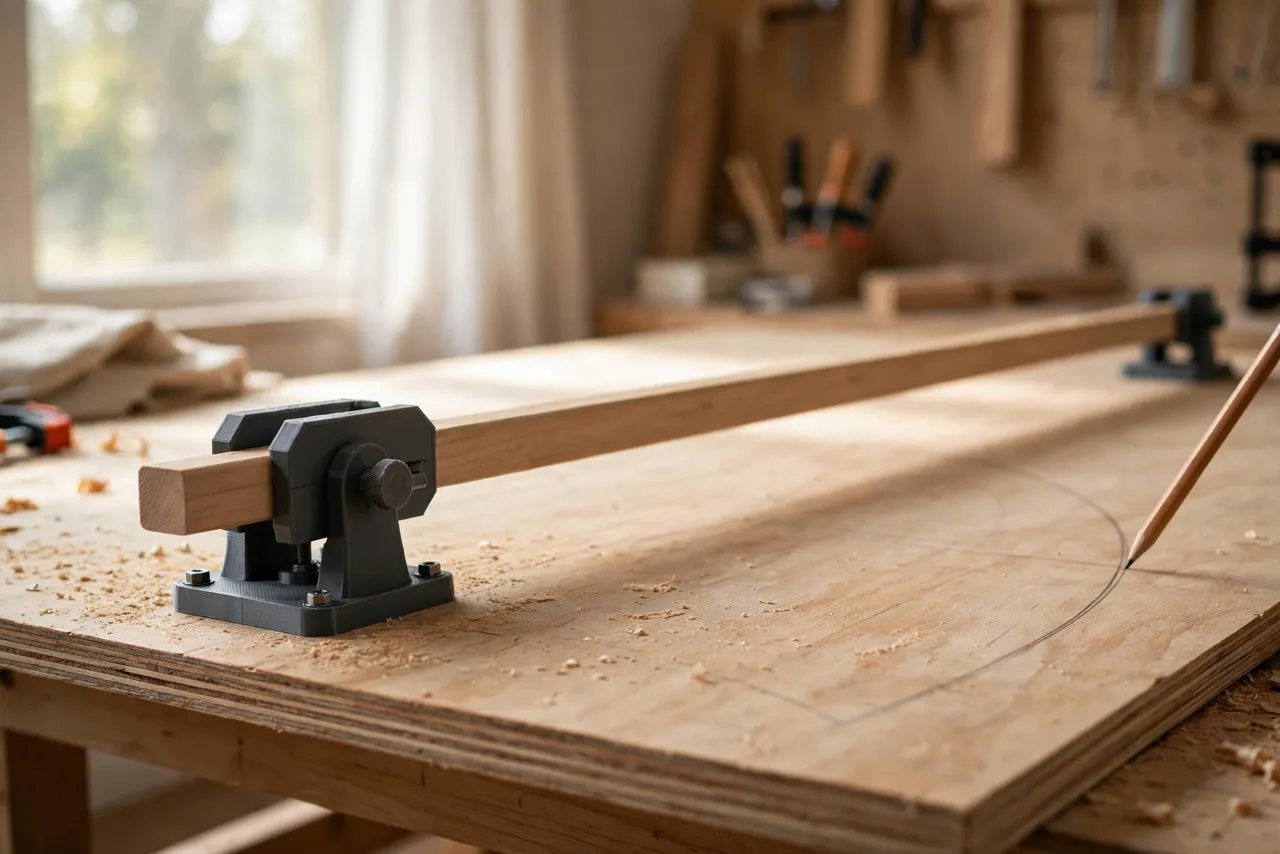
A beam compass replaces the string with a rigid beam. Two printed fittings ride on a straight wooden or aluminum beam: a pivot at one end and a pencil holder at the other. The distance between them is the radius, locked in place, and the beam cannot stretch. Swing it around the pivot and the pencil draws a true arc, as large as your beam allows.
Think of the compass as a marking aid only — it draws the line; it does not cut anything, and it never replaces checking the finished curve before cutting.
What You Need
The compass is a hybrid: a straight beam plus two printed fittings. The beam must be straight and stiff; the printed parts make it adjustable.
Materials and tools
- A straight hardwood strip, aluminum angle, or box section for the beam, at least as long as your largest planned radius plus 150 mm
- PETG filament for the printed fittings, or PLA for a first test version
- A sharp pencil, a fine marker, or a marking knife, depending on the fitting
- A small center pin, nail, or awl for the pivot, plus a drill for the pilot hole
- A tape measure, a square, sandpaper, and small bolts or thumb screws
- Scrap plywood for testing arcs
PETG is the better keeper for fittings that see handling and clamping pressure. PLA is fine for proving the layout, but replace it before heavy use.
Suggested print settings
- Layer height: 0.20 mm for strength and accuracy.
- Walls: 4 perimeters minimum — the pivot and pencil holder take sideways force during the swing.
- Infill: 40 to 50 percent, grid or gyroid, so fittings do not flex.
- Top and bottom layers: 4 or more, for flat mounting faces.
- Orientation: Print fittings with the beam channel horizontal where possible, so clamping load runs across layers rather than between them.
- Supports: Only where overhangs demand them; keep beam channels support-free.
Print one fitting first and test its fit on your beam before printing the pair.
Design Considerations
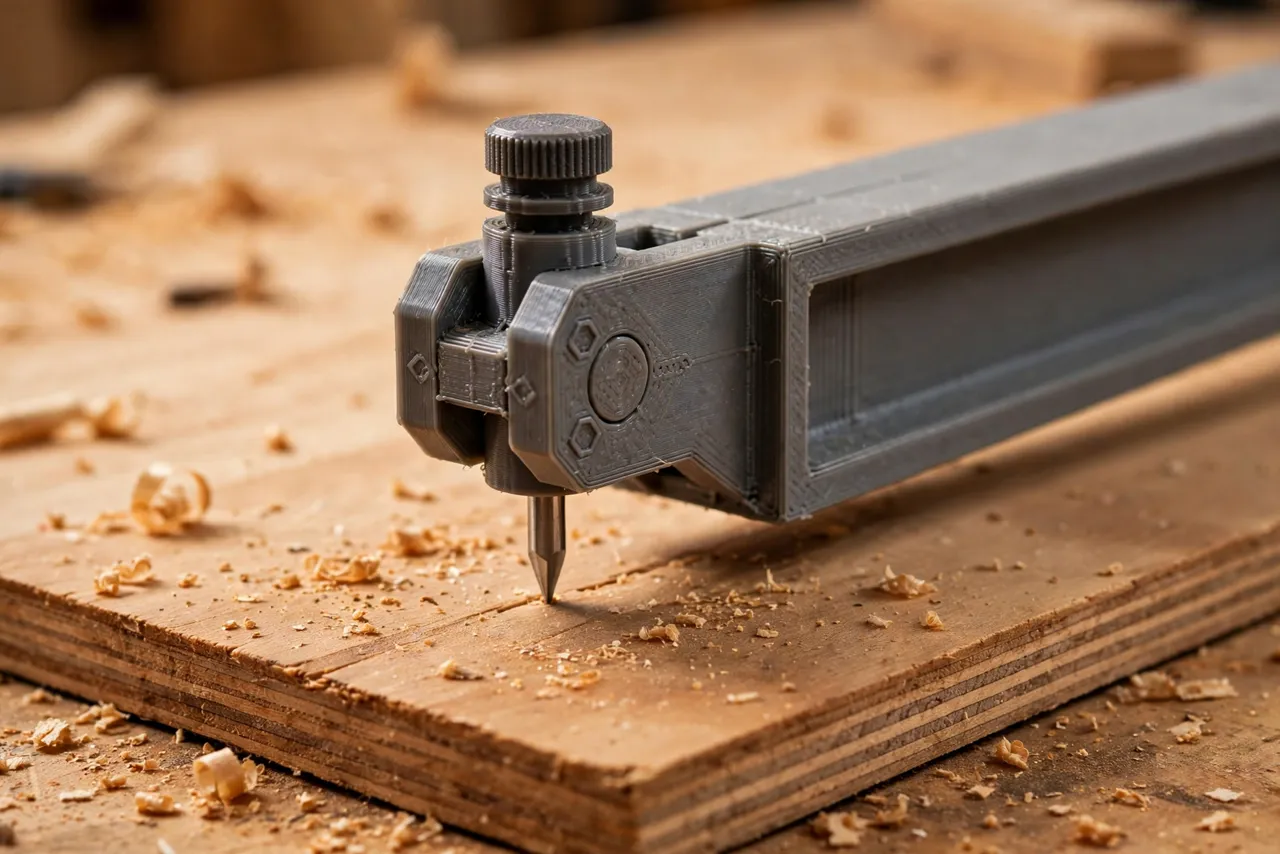
You can model these fittings in any basic CAD program. The system is simple: a pivot, a pencil holder, and a beam.
1. The beam
Stiffness is everything. A beam that flexes mid-swing draws a curve that is not a circle. Hardwood strips 20 mm by 30 mm work well up to about 600 mm radius; beyond that, aluminum angle or box section stays truer. Check the beam with a straightedge before building, and reject anything bowed. Make the beam longer than your largest radius so both fittings sit on it with room to spare.
2. The pivot fitting
The pivot must stay exactly in one place through the whole swing. Design a fitting with a centered pin hole and a wide, flat base that sits firmly on the board. A short, sharp pin — a nail with its head cut off, or a purpose-made center point — presses into a small pilot hole or a dimple in the board. Add a clamping screw so the pivot locks to the beam and cannot creep along it. For repeated work, a printed pivot pad with a dimple underneath protects the board surface while keeping the pin centered.
3. The pencil holder
The pencil holder must grip the pencil firmly, hold it vertical, and let you set its point exactly at the radius. Design a split collar with a thumb screw: loosen it, slide the pencil to the mark, tighten it, and the pencil cannot slip. Add a small window or notch so you can see the pencil point against the ruler scale on the beam. A second holder for a marking knife or fine marker is a worthwhile extra for darker woods where pencil lines vanish.
4. Setting the radius
Put a ruler scale along the beam — a stuck-on tape measure or a printed scale strip — with zero at the pivot pin’s center. Set the pencil point to the radius reading, lock both fittings, and double-check by measuring from pin to pencil point with a tape before marking. A radius set from the wrong zero is the most common beam compass error, and it is entirely avoidable.
Step-by-Step: Building the Beam Compass
- Check the beam with a straightedge along its full length.
- Measure the beam profile — width and thickness — for the fitting channels.
- Model the pivot and pencil holder to fit your beam, with clamping screws.
- Print a test fitting. It should slide along the beam smoothly and lock firmly.
- Fit the pivot pin and check it sits centered and vertical in its fitting.
- Fit the pencil holder and confirm a standard pencil grips firmly without crushing.
- Add the scale to the beam, zeroed at the pivot pin center.
- Clean it up. Remove stringing, sand fitting faces, and confirm every lock holds.
- Print the keeper set in PETG if your test was PLA, using the same files.
Take your time here. A compass built carefully once serves for tabletops, arches, and garden curves for years.
Step-by-Step: Marking a Large Circle
- Mark the center on the board with crossed lines, and drill a tiny pilot dimple for the pivot pin.
- Set the radius on the beam scale — pencil point to pivot pin center — and lock both fittings.
- Double-check with a tape from pin to pencil point before marking.
- Seat the pivot in the dimple, holding the fitting flat against the board.
- Swing the arc steadily, keeping the beam flat and the pencil vertical, in one smooth pass if possible.
- Check the line against your measurements at several points around the circle.
- Re-mark lightly if the first pass was faint, following the same line rather than drawing a second one.
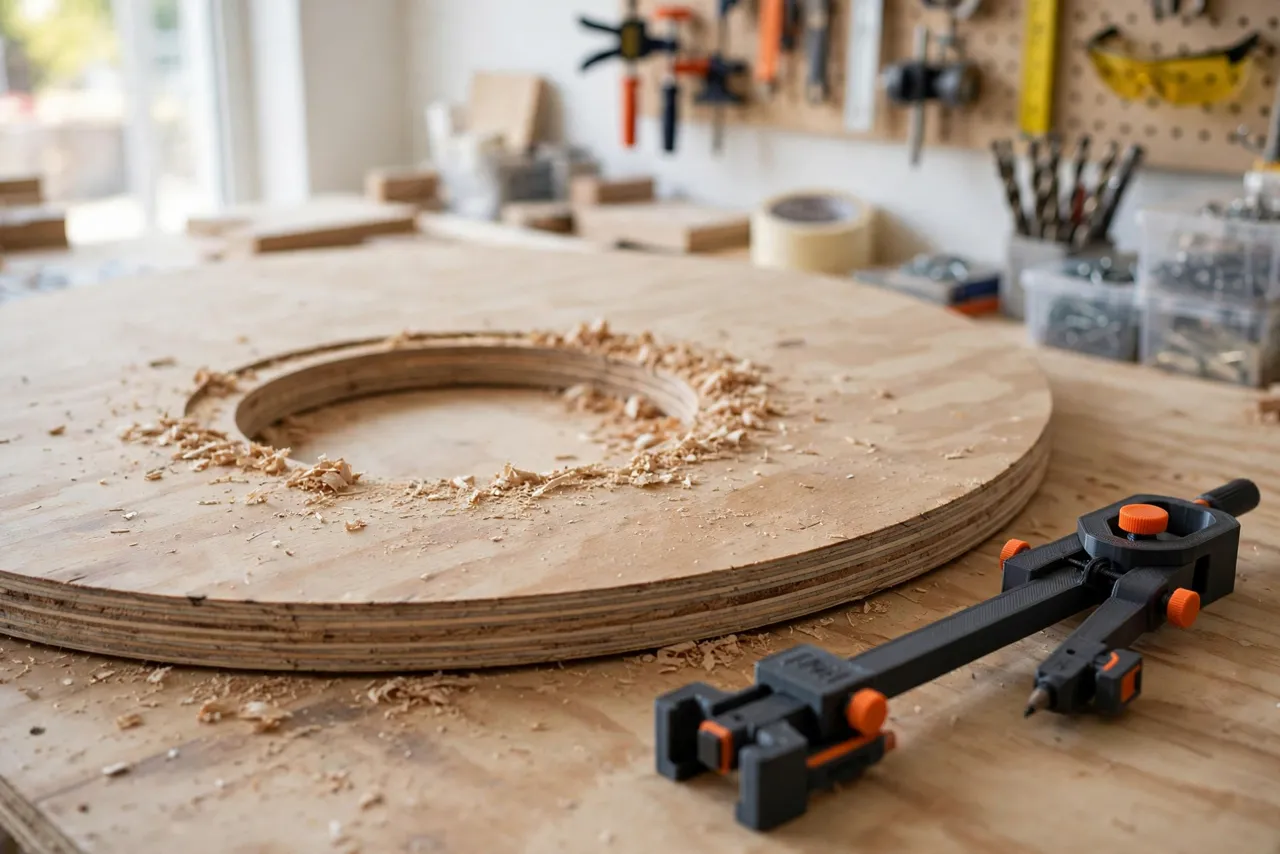
- Cut outside the line with your saw of choice, then sand or rout to the line for a clean edge.
Work slowly on the first circle. By the second, the routine feels automatic — and that consistency is what keeps large curves true.
Tips for Better Results
- Support the beam’s far end on long radii; a sagging beam draws a curve that dips.
- Use a sharp pencil for layout lines and a marking knife for lines you will cut to — knife lines guide a saw or chisel more precisely.
- Mark in two light passes rather than one heavy one; heavy pressure can shift the pivot.
- Check the center before cutting. A center moved by a millimeter moves the whole circle.
- For arcs rather than full circles, mark the arc’s end points first so you know exactly where the curve starts and stops.
Common Mistakes to Avoid
- Zeroing the scale at the wrong point. Zero belongs at the pivot pin’s center, not at the fitting’s edge.
- Using a flexible beam. A thin strip that bows under its own weight cannot draw a true circle.
- Letting the pencil tilt. A tilted pencil changes the effective radius as it swings.
- Skipping the pilot dimple. A pivot that wanders, even slightly, turns a circle into a spiral.
- Cutting on the line instead of outside it. Saw to the waste side and finish to the line for a clean edge.
Care, Storage, and When to Choose an Alternative
Brush off dust, store the beam flat or hung straight — never leaning where it can bow — and re-check its straightness every few months. Replace worn printed fittings rather than trusting a cracked clamp.
Sometimes a manufactured compass is better. If you mark large circles commercially, need a beam over two meters, or want a steel trammel with micrometer adjustment, a metal trammel set will outlast plastic and hold tighter tolerances. For home tabletops, arches, and garden curves, a printed beam compass is cheap, accurate enough, and far easier to size to your own beam.
FAQ
How large a circle can a beam compass mark?
As large as your beam allows, plus a margin for both fittings. A 1200 mm beam comfortably marks circles up to about 900 mm radius; longer beams need stiffer material, so switch to aluminum for radii beyond that.
Is PLA strong enough, or do I need PETG?
For light marking work, PLA is strong enough and great for testing fit. PETG is the better keeper because it handles clamping pressure, drops, and warm workshops better. Either way, generous walls and a stiff beam matter more than the name on the spool.
Can I use the compass for ellipses or other curves?
Not directly — a beam compass draws circles and circular arcs only. For ellipses, use a trammel of a different design or a string-and-pins method, and check the result with a template before cutting.
My circle closes with a small step where the line meets itself. What went wrong?
Usually the pivot moved slightly during the swing, or the pencil tilted. Re-seat the pivot in its dimple, keep the pencil vertical, and swing in one steady pass.
Conclusion
A wobbly large curve is usually not a drawing problem. It is a rigidity problem, and that is exactly what a beam compass solves. With a stiff beam, a fixed pivot, and a locked pencil, arcs come out true at any size your beam can reach.
Build one to fit your longest radius, keep the beam straight, and the next round tabletop or arched gate starts with a line you can trust.
If you enjoy layout jigs, you may also like “3D Printed Scribing Compass: Fit Cabinets, Counters and Panels Tight to Wavy Walls” and “3D Printed Router Circle Cutting Jig for Perfect Circles in Panels, Signs and Tabletops,” which pair naturally with this compass for a complete curve-marking and cutting setup.