Introduction
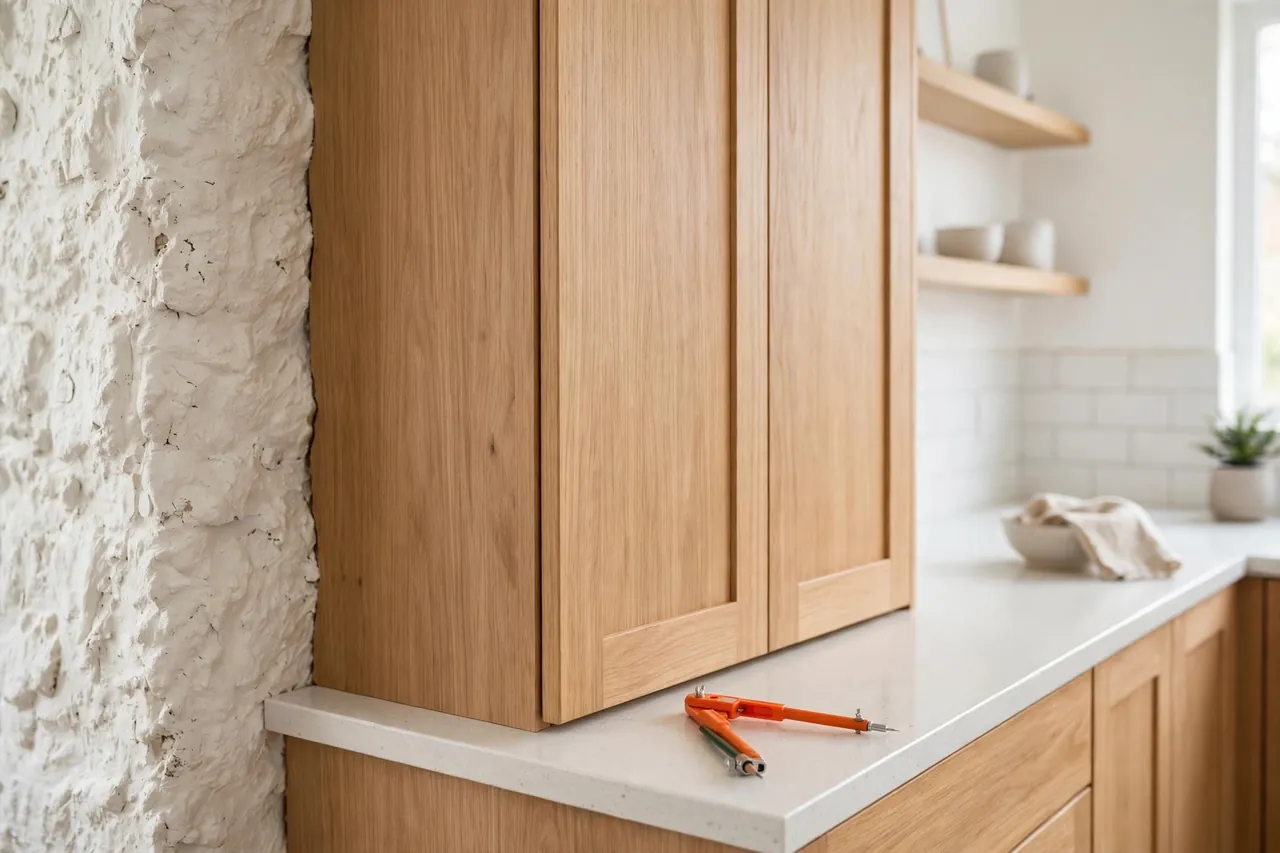
Walls are not straight. Plaster waves, corners bow out, and old houses add a century of small movements. Your cabinet, counter, or panel, on the other hand, arrives with a beautifully straight edge. Push the two together and you get a tapering gap that collects dust, catches the eye, and makes careful work look careless.
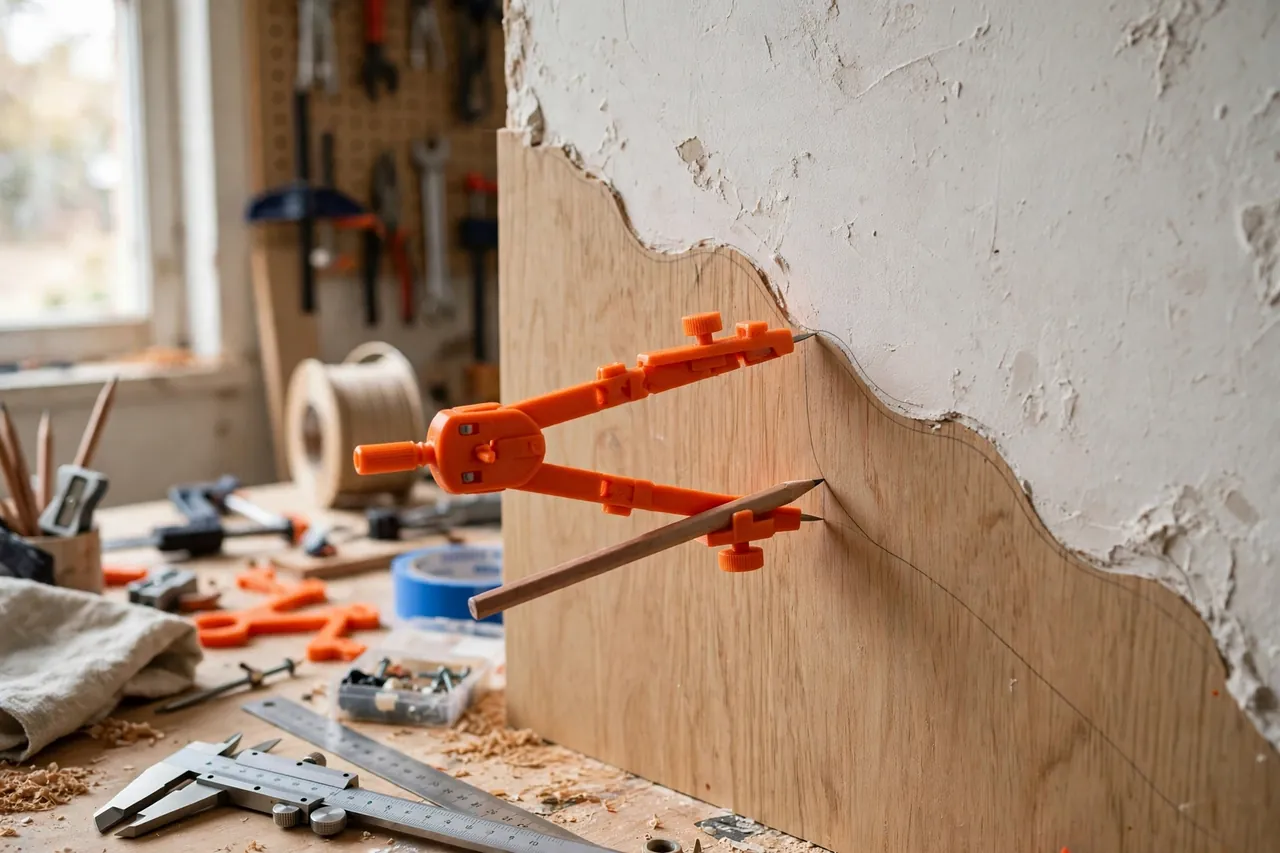
Scribing is the traditional answer: trace the wall’s actual shape onto the workpiece, then cut or plane to that wavy line so the edge matches the wall like a key. Done well, the gap simply disappears. Done with a wobbly compass or a coin and a pencil, the line wanders and the fit suffers.
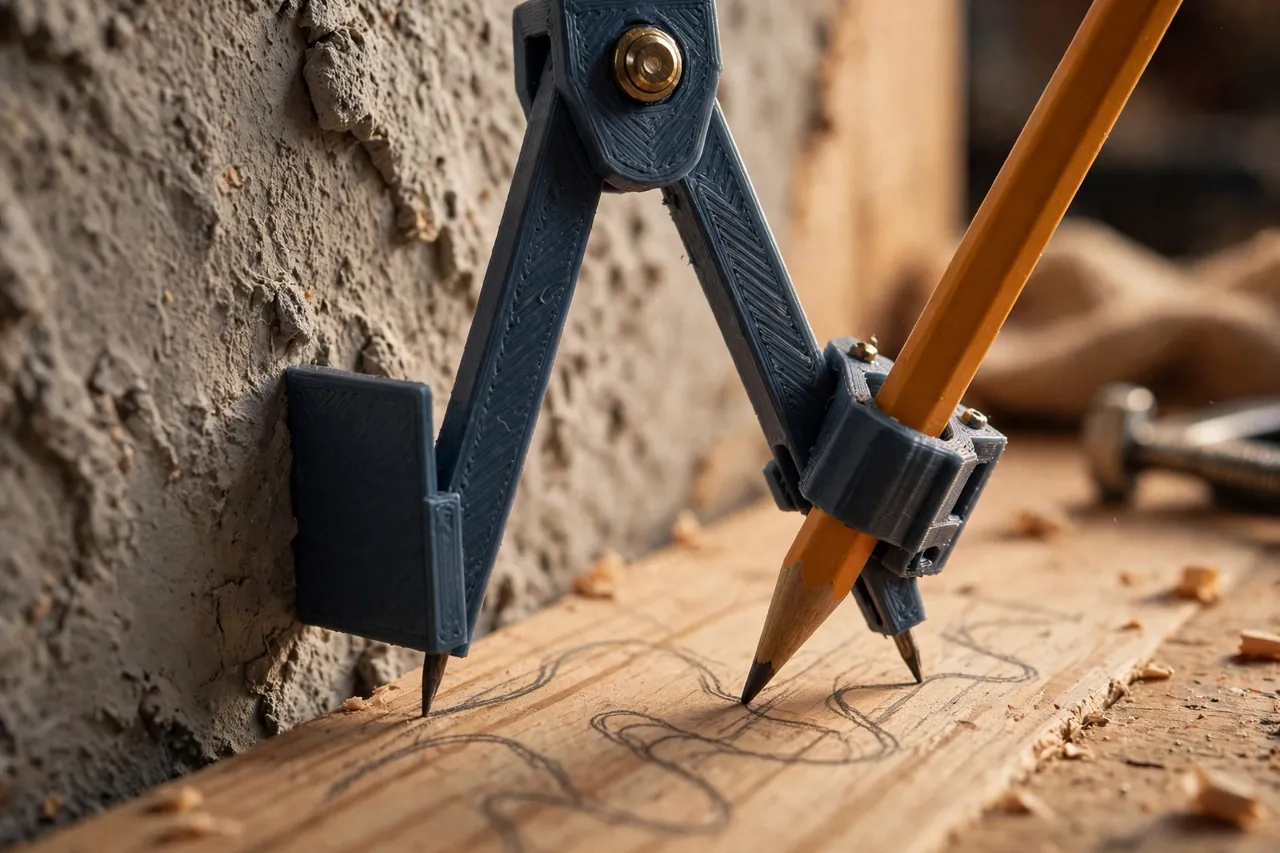
A 3D printed scribing compass makes the tracing part easy and repeatable. A flat follower face rides the wall, a pencil is held at a fixed offset, and a thumb screw locks the setting so the line you draw is the wall’s true profile, shifted by exactly the amount you chose.
This guide covers designing, printing, and using a simple scribing compass for fitting work. It is a layout tool only — it draws the line. Your saw, plane, and patience do the fitting.
What You Need
The tool is small: a body with a flat reference face, a pencil arm or hole, and a locking screw. Most makers finish one in a single short print.
Materials and tools
- A home 3D printer with a modest build area of roughly 120 mm
- PETG filament for toughness, or PLA for a crisp first version
- A standard wooden pencil or a mechanical pencil to fit the holder
- A small thumb screw and nut, or a printed wing knob and bolt, for locking
- Calipers or a ruler to set the offset, plus painter’s tape
- The cabinet, counter, or panel to be fitted, positioned in its final place
- A jigsaw, coping saw, belt sander, or block plane for cutting to the line
- Sandpaper or a small file for print cleanup
PETG is the better long-term pick because the pencil clamp gets tightened daily and the follower face gets dragged along rough plaster. PLA works well for occasional use and prints a flatter, sharper reference face for early tests.
Suggested print settings
- Layer height: 0.20 mm; the follower face matters more than fine layers.
- Walls: 4 perimeters around the pencil hole and pivot for real stiffness.
- Infill: 40 to 50 percent, grid or gyroid — a flexing compass draws flexing lines.
- Top and bottom layers: 4 or more, keeping the follower face smooth and flat.
- Orientation: Print so the follower face is a printed flat surface, not a supported one.
- Supports: Design to avoid them; a flat body with a raised clamp prints cleanly.
Print one test first, drag it along a wall on scrap, and check the drawn line before trusting it on real work.
Design Considerations
Accuracy lives in three places: the flatness of the follower, the rigidity of the pencil hold, and how finely you can set the offset.
1. A broad, flat follower face
The face that rides the wall should be wide enough to bridge small bumps while following real waves — around 40 to 60 mm of flat contact works well. Keep it perfectly flat and check a printed face against a known straight edge; sand it true on a flat sheet of abrasive if needed. Rounded face edges catch less on rough plaster than knife-sharp corners.
2. A pencil hold that cannot creep
A split clamp with a thumb screw beats a simple friction hole. Pencils get shorter, get swapped, and get knocked; the clamp must grip the hex barrel firmly at any point along it. Position the pencil tip as close to the follower face’s plane as the design allows, and make the tip easy to see while you draw — hidden tips produce hesitant, wandering lines.
3. Adjustable, lockable offset
Your offset equals the widest gap between workpiece and wall, plus a hair. A sliding arm with a scale of shallow printed notches, locked by the same thumb screw, lets you set offsets from about 5 mm to 50 mm repeatably. Whatever the mechanism, it must not drift mid-line: test by scribing the same wall twice and comparing lines.
4. Comfort for a long trace
Scribing a full-height cabinet side means guiding the tool smoothly for two meters without tilting it. Add a chunky grip or finger flats so your hand holds the follower flat by feel, not by staring at it. The rule throughout: the face stays flat on the wall, the pencil stays vertical to the work — tilting either one redraws the profile wrongly.
Step-by-Step: Printing and Assembly
- Choose your pencil and measure its barrel across the flats.
- Model the body with follower face, pencil clamp, and offset slide or fixed holes.
- Print a test fit. The pencil should clamp without cracking the holder and slide for adjustment with the screw loosened.
- Sand the follower face flat on a sheet of abrasive laid on glass or a flat bench, using light figure-eight strokes.
- Fit the hardware — nut into its trap, thumb screw through the clamp — and cycle it a few times.
- Set a test offset, lock it, and scribe a wavy scrap edge against a wall. Compare line to wall with the scrap cut and offered up.
- Adjust if needed. Any mismatch usually means the face is not flat or the pencil tipped; correct and retest.
- Print the keeper in PETG if your test was PLA, and mark offset notches with a paint pen if your design uses them.
Step-by-Step: Using the Compass to Scribe a Cabinet
- Position the workpiece exactly where it will live, shimmed level and plumb, fixed so it cannot shift while you work.
- Find the widest gap between the edge and the wall with a ruler. That measurement, plus about 1 mm, is your compass offset.
- Set and lock the offset, then run a final finger check that the screw is tight and the pencil is sharp and firmly clamped.
- Tape the edge if needed. On pale laminate or pre-finished panels, a strip of painter’s tape gives a clearer line and protects the surface.
- Start at one end, follower flat on the wall, pencil touching the workpiece edge. Keep your grip relaxed and your eyes on the face-to-wall contact.
- Draw in one steady pass, moving slowly, letting the follower trace every bump. Do not tilt the compass to reach — reposition your body instead.
- Check the line end to end before moving the workpiece. It should be one continuous, confident curve that mirrors the wall.
- Cut just outside the line with a jigsaw or coping saw, then plane, sand, or file back to the line in small passes.
- Offer the piece up, mark any high spots that hold it off the wall with the pencil, ease only those spots, and repeat until the edge kisses the wall along its full length.
- Fit finally and fix. A scribed edge often needs no filler at all — just a clean, close line of shadow.
The first long scribe feels slow; the skill is mostly keeping the face flat.
Tips for Better Results
- Sharpen to a chisel point. A flat-sided pencil tip rides the tape edge cleanly and draws a thinner, truer line.
- Scribe the biggest gap honestly. Setting the offset from the widest point guarantees the line stays on the workpiece everywhere else.
- Work in good raking light. A lamp low across the wall shows bumps your hands should follow, before the pencil gets there.
- Practice the full pass on scrap against the same wall. Muscle memory from one rehearsal shows up in the real line.
Common Mistakes to Avoid
- Tilting the compass. The moment the follower face leaves the wall or tips, the line lies. Flat face, always.
- Setting the offset from an average gap. Averages leave places where the line runs off the edge. Always use the maximum gap.
- Cutting exactly on the line first pass. Leave a whisper of material and fit by hand — walls reward patience and punish optimism.
- Letting the workpiece move between scribing and checking. Clamp or screw it in its final position before you draw.
Care, Storage, and When to Choose an Alternative
Keep the compass in a drawer away from heavy tools that could warp the follower face, and check the face for flatness before big jobs. A quick pass on flat abrasive restores it. Store it with its pencil clamped in, so the pair is always ready.
A traditional metal scribing tool or a machinist’s compass is tougher for daily trade use, and for very large commercial fitting work, templating with card or strip material may suit better. For home cabinets, counters, shelves, and panels, a printed compass gives you the flat face, firm clamp, and fine offset control the job actually needs — at the cost of one short print.
FAQ
How wide a gap can scribing fix?
With a typical filler strip or cabinet side, offsets up to about 50 mm work. The real limit is having enough material on the workpiece edge to hold the wavy line. If the gap exceeds the edge you can trim, add a wider scribe strip first, then scribe that.
Can I scribe to a floor or ceiling the same way?
Yes — the follower rides any surface. Floors work especially well for fitting cabinet plinths and panels. Just keep the compass orientation consistent and the face flat on the reference surface throughout the pass.
Why does my cut edge still show a small gap in one spot?
Usually the follower bridged over a hollow, or the workpiece shifted. Mark the gap area, re-scribe just that section with the piece firmly fixed, and ease the neighboring high spots rather than deepening the hollow.
Will this work on stone or brick walls?
On rough, deeply textured surfaces the follower follows the high points, which is usually what you want for a close visual fit. For very coarse stone, scribe to the high points and accept a small shadow gap, or fit a cover strip — some walls are landscapes, not lines.
Conclusion
Straight edges and wavy walls will never agree on their own. Scribing is how you introduce them properly, and a well-made printed compass turns that introduction into a single steady pencil pass.
Print one with a truly flat face, rehearse on scrap, and your next cabinet will meet the wall like it grew there.
For layout work that pairs with scribing, you may also enjoy our related guide, “3D Printed Marking Gauge and Scriber Guides for Accurate Layout Lines in Wood Repairs,” which covers the straight-line side of marking out. And when a fitted cabinet still needs leveling on an uneven floor, our guide “3D Printed Center Finder: Mark Exact Centers on Boards, Dowels and Panels Every Time” is another small printed helper worth keeping in the same drawer.