Introduction
Dowels are the friendliest building material in the workshop: cheap, straight, light, and sold everywhere. The trouble starts when you try to join them. Drilling accurate angled holes, gluing end grain that barely holds, or wrapping joints in brackets and screws turns a simple frame into an afternoon of fiddly work.
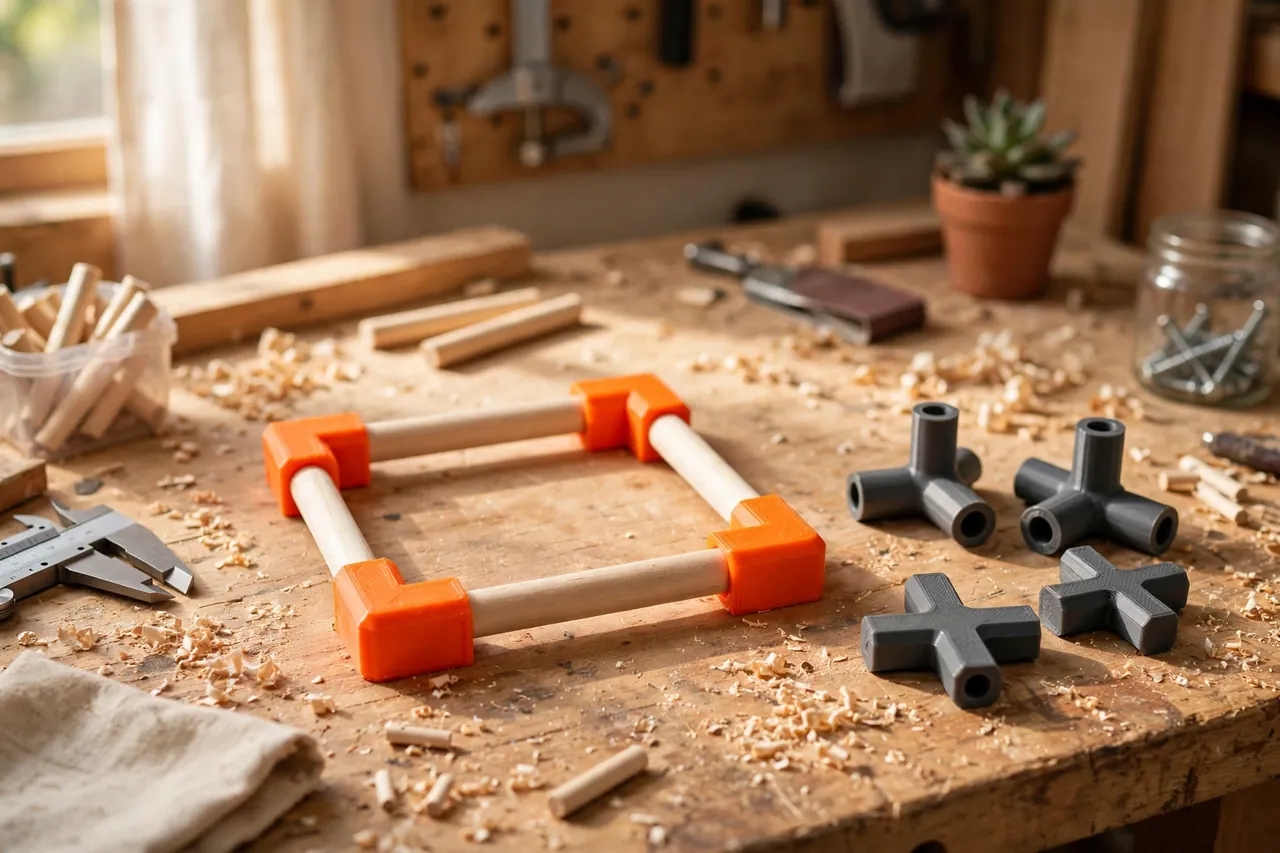
That is why dowel frames so often end as sketches instead of objects. A plant stand, a small drying rack, a photo backdrop, a storage cube — all of them are just dowels meeting at corners and tees, waiting for a joint that is as easy as the material itself.
Printed connectors are that joint. A corner, tee, or cross piece with sockets sized to your dowels lets you push a frame together in minutes, take it apart when needs change, and reprint a single connector instead of remaking a whole side when you misjudge a length.
This guide covers measuring dowel stock honestly, designing socket geometry that grips without splitting, and building tidy light-duty frames. The limits are part of the design brief: these connectors build light frames for household projects, not furniture you sit or stand on, and not anything whose failure could drop a load on someone.
What You Need
Connectors are medium-small prints with thick walls and deep sockets. A matched set for one frame prints comfortably in an evening.
Materials and tools
- A home 3D printer with a build area of roughly 120 mm in at least one direction
- PETG filament for sockets that grip and flex slightly without cracking
- Wooden dowels in your chosen diameter, from one consistent supplier batch
- Calipers to measure dowel diameter at several points along each rod
- A fine saw or dowel cutter, plus sandpaper for easing dowel ends
- A small file for cleaning socket mouths
- Optional wood glue or epoxy if a frame is meant to be permanent
- A square and tape measure for checking the assembled frame
PETG is the reliable choice: its slight give lets a socket grip firmly and survive repeated assembly, and it tolerates the odd knock in a way PLA does not. PLA prints crisper sockets for a test set, but its sockets can split when a slightly oversized dowel is pushed home, so prototype in PLA if you like and keep in PETG.
Suggested print settings
- Layer height: 0.20 mm balances socket accuracy and print speed.
- Walls: 5 to 6 perimeters — socket strength lives in the walls.
- Infill: 40 to 60 percent gyroid in the connector body between sockets.
- Top and bottom layers: 5 or more around socket bases.
- Orientation: Print each connector with its main socket axis vertical where possible, so layers ring the socket instead of crossing it.
- Supports: Usually avoidable with chamfered socket mouths; multi-way connectors may need light supports under one arm.
Print a single-socket test sleeve first and push every dowel you bought through it. Dowels vary more than their labels admit, and the sleeve tells you your real size in a minute.
Design Considerations
A connector is simple geometry, but four decisions decide whether frames assemble square and stay that way.
1. Size sockets to real dowels, not labels
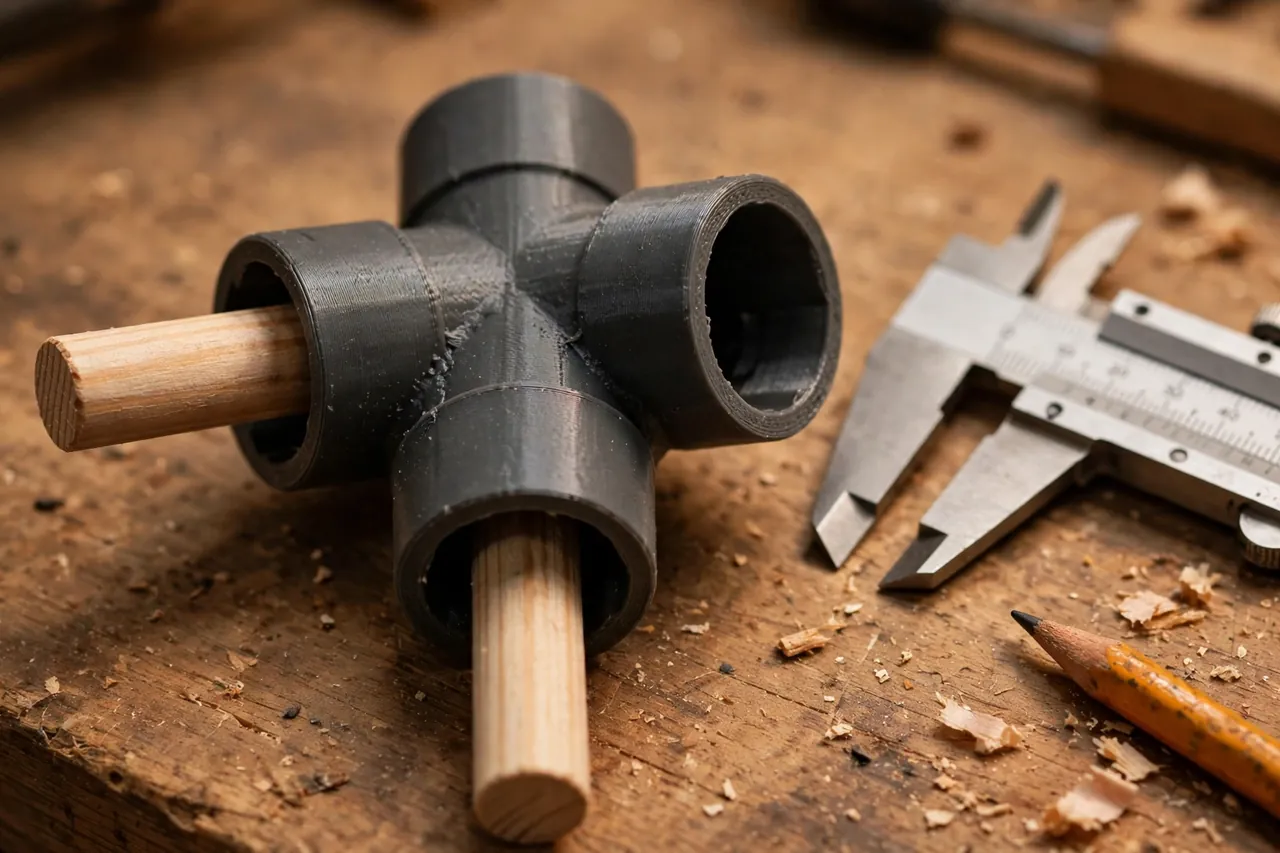
A dowel sold as 12 mm may measure anywhere from 11.6 to 12.4 mm depending on batch, humidity, and where along the rod you measure. Check each rod in several places and design the socket for the largest reading, plus 0.2 to 0.3 mm clearance for a push fit you can still take apart. For a permanent glued frame, add slightly more clearance so glue has somewhere to live, and add shallow internal ribs or a light knurl inside the socket to give adhesive something to key into.
2. Socket depth and wall thickness
Sockets should swallow at least three times the dowel’s diameter in depth — 35 mm or more for a 12 mm dowel — so joints resist racking instead of wobbling at the surface. Keep socket walls at least 3 mm thick, and blend the socket into the body with a generous fillet or cone. Sharp steps between socket and body are where prints split when a frame gets knocked sideways.
3. The connector family: corners, tees, and crosses
Design a matching family from one socket module: two-way corners at 90 degrees, tees, four-way crosses, and three-way corner cubes for box frames. Keep the external body style identical — same fillets, same proportions — so mixed frames look deliberate rather than improvised. Ninety-degree families cover most household projects and assemble squarest.
4. Plan for take-apart or glue-up
Take-apart frames want the snugger push fit and no glue. Permanent frames want clearance, glue, and one small pin hole per socket: a short screw or pin through socket and dowel makes the joint mechanical as well as adhesive.
Step-by-Step: Printing and Assembly
- Measure your dowels along their length and select a socket clearance from the largest reading.
- Print the test sleeve and check every rod; set aside any rod that is visibly oval or bent.
- Model your connector family from the tested socket size, with deep sockets and filleted blends.
- Print one corner connector and dry-fit it with offcuts, checking grip and alignment.
- Adjust clearance once if the fit is stubborn or loose, then print the full set for your frame.
- Cut dowels to length, easing each end with sandpaper so it enters the socket without shaving it.
- Dry-assemble the whole frame on a flat surface, checking square at every corner.
- Glue or pin the joints only after the dry assembly proves true, working one joint at a time.
Step-by-Step: Using Dowel Connectors to Build a Frame
- Lay out all parts on the bench in their final arrangement, connectors at each joint.
- Build the two side frames first, flat on the bench, where you can check them against a square.
- Join the sides with the cross dowels, pushing each end home evenly rather than forcing one side fully first.
- Stand the frame up and measure diagonals corner to corner; equal diagonals mean a square frame.
- Nudge, do not hammer, any joint that needs to seat deeper — a twisting push seats dowels kindly.
- Add your shelves, fabric, or fittings only after the bare frame stands true.
- Load the frame lightly at first, checking joints after the first day for any that have crept.
- Mark the frame’s purpose honestly in your own mind: plants, towels, and storage cubes yes; seating, climbing, and heavy tool loads no.
Tips for Better Results
- Buy dowels from one batch per project. Mixed batches mix diameters, and sockets sized for one will sulk at the other.
- Chamfer dowel ends. A 2 mm chamfer turns assembly from shoving into guiding, and spares the socket mouth.
- Print spares of the corner cube. It is the most-used and most-stressed piece in box frames; the ideas in our guide, “3D Printed Shoe Rack Connectors: Build a Dowel Shoe Rack to Any Width,” show how far a good corner set can go.
- Color-code sizes. One color per dowel diameter across your whole workshop makes spare-sorting instant.
- Keep frames modest. Two smaller frames joined visually beat one giant frame flexing at every joint.
Common Mistakes to Avoid
- Trusting the dowel’s label size. One oversized rod pushed into a tight socket can split a connector on the spot.
- Making sockets too shallow. Shallow sockets wobble, and wobble works every other joint loose over time.
- Gluing before the dry fit. A frame glued out of square stays out of square; assembly order is the fix, not force.
- Mixing orientations randomly. A connector printed with layers crossing its socket is far weaker than its twin printed the right way up.
- Overloading the finished frame. Light frames fail politely at first — a creak, a lean — and impolitely if the warning is ignored.
Care, Storage, and When to Choose an Alternative
Store spare connectors sorted by size in a labeled bin, and keep finished frames out of prolonged damp, which swells dowels and stresses sockets. Inspect joints when you dust or move a frame: a socket with a hairline crack gets replaced, not glued and trusted. Disassembly for storage is a feature — flat-packed dowels and a bag of connectors take almost no room.
Choose joined wood, metal brackets, or manufactured frame systems for anything load-bearing in the human sense: seating, shelving for heavy books or tools over walkways, play equipment, or outdoor structures in wind. Those jobs need joinery rated for them. For plant stands, racks, displays, and light storage, printed connectors turn the humblest material in the shop into clean, square, reversible frames.

FAQ
Which dowel diameter works best with printed connectors?
Diameters from 10 to 16 mm are the sweet spot. Smaller dowels flex and their sockets get cramped; larger ones demand bulky connectors and suit proper joinery instead. Within that range, 12 mm dowels balance strength, availability, and print size for most household frames.
Can I build a cube storage frame with these?
Yes — that is one of their best uses. Three-way corner cubes plus tees build tidy cubes for fabric boxes, towels, yarn, and light household storage. Keep each cube’s load modest and evenly spread, and anchor tall stacks to the wall as you would any light shelving unit.
How do I stop a push-fit joint from slowly working loose?
First check fit: a joint that creeps is usually oversized by a few tenths. Options in order: wrap the dowel end with one turn of tape as a test, add a small pin screw through socket and dowel, or glue that joint permanently. A snug connector on a correctly measured dowel should not creep at all.
Can connectors join dowels at angles other than 90 degrees?
They can, by modeling the same tested socket at the angle your project needs — a plant stand splay or a peaked frame, for example. Angled joints take more side load, so deepen the sockets and test with offcuts first. The 90-degree family remains the strongest and most forgiving place to start.
Conclusion
Dowels plus printed connectors are a building system hiding in plain sight: inexpensive rods, a family of sockets that fit them exactly, and frames that assemble in minutes and come apart just as cleanly. Measured carefully and kept to light-duty work, the system covers a surprising share of household projects.
Print the test sleeve, build one small frame square, and you will start seeing dowel frames everywhere they could help.
If aligning dowel joints the traditional way is also on your list, you may also enjoy our related guide, “3D Printed Doweling Jig: Make Straight, Strong Joints for Shelf and Table Repairs,” and for dead-on hole placement, see “3D Printed Dowel Center Markers: Transfer Dowel Positions Dead-On,” which pairs naturally with the connector system in this article.