Introduction
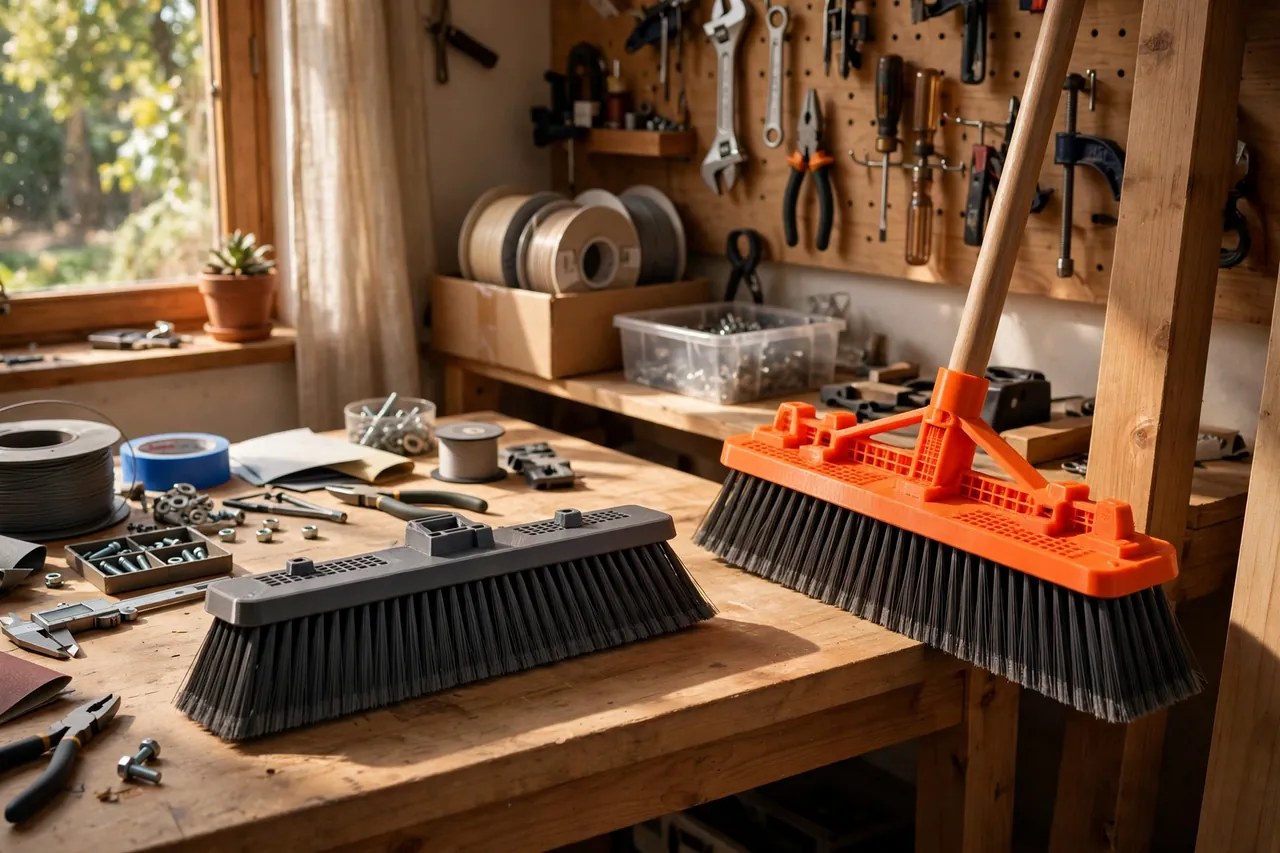
A push broom wears out in a predictable order. The bristles splay and shorten, the wooden block splits around the handle socket, or the threaded hole strips until the head wobbles through every stroke. The handle, meanwhile, is usually perfect — straight, smooth, and broken in to your hands.
Buying a whole new broom for the sake of its head feels wasteful, and replacement blocks bring their own frustration: socket threads and angles vary, widths differ from the broom you loved, and the one in stock fits a handle you do not own.
Printing the block adapts the new head to your handle instead. You model a block in your preferred width, with a socket threaded or sized for the handle in your shed, and a channel that holds replaceable bristle strips. When the bristles eventually wear, you swap the strip, not the broom.
This guide covers measuring your handle, designing a block and bristle channel, and sweeping technique with the renewed broom. It is a light, honest project: a printed head is ideal for workshop, patio, and garage floors. Heavy industrial sweeping, hot debris, and sharp rubble belong to commercial brooms, as the limits section will make clear.
What You Need
The head is a long, low block — often the biggest print in a project like this, and one that may need printing in two halves on smaller machines.
Materials and tools
- A home 3D printer; a 220 mm bed fits most single-piece blocks diagonally, smaller beds suit a two-piece design
- PETG filament for a block that tolerates damp floors and dropped handles
- Your existing broom handle, plus the worn head for reference measurements
- Replacement bristle strip or brush strip in your chosen stiffness
- Calipers and a tape measure for socket and block dimensions
- Short screws if your bristle strip or two-piece block needs mechanical fixing
- A saw for trimming bristle strip, plus sandpaper for easing block edges
- A file for cleaning the socket thread or bore
PETG is the practical material: workshops and patios are damp, gritty places, and PETG shrugs off both while flexing instead of cracking when the broom falls. PLA prints a fine prototype for checking socket fit, but a PLA block left in a sunny yard will soften, and its socket will loosen first. Save PLA for the test piece.
Suggested print settings
- Layer height: 0.24 to 0.28 mm — this is a utility block, and speed helps.
- Walls: 5 to 6 perimeters around the socket and block ends, where stress concentrates.
- Infill: 35 to 50 percent gyroid through the block body for stiffness without excess weight.
- Top and bottom layers: 5 or more, especially the underside that meets the bristle channel.
- Orientation: Print the block flat on its top face, socket up, so the channel prints cleanly.
- Supports: Light supports inside a threaded socket only if your test print shows sagging.
Print a socket test first — a short collar matching your handle connection. Handles and threads vary enough that this five-minute test saves an entire failed block.
Design Considerations
The block has one structural job, one connection job, and one consumable job. Design all three deliberately.
1. Fit the handle you own
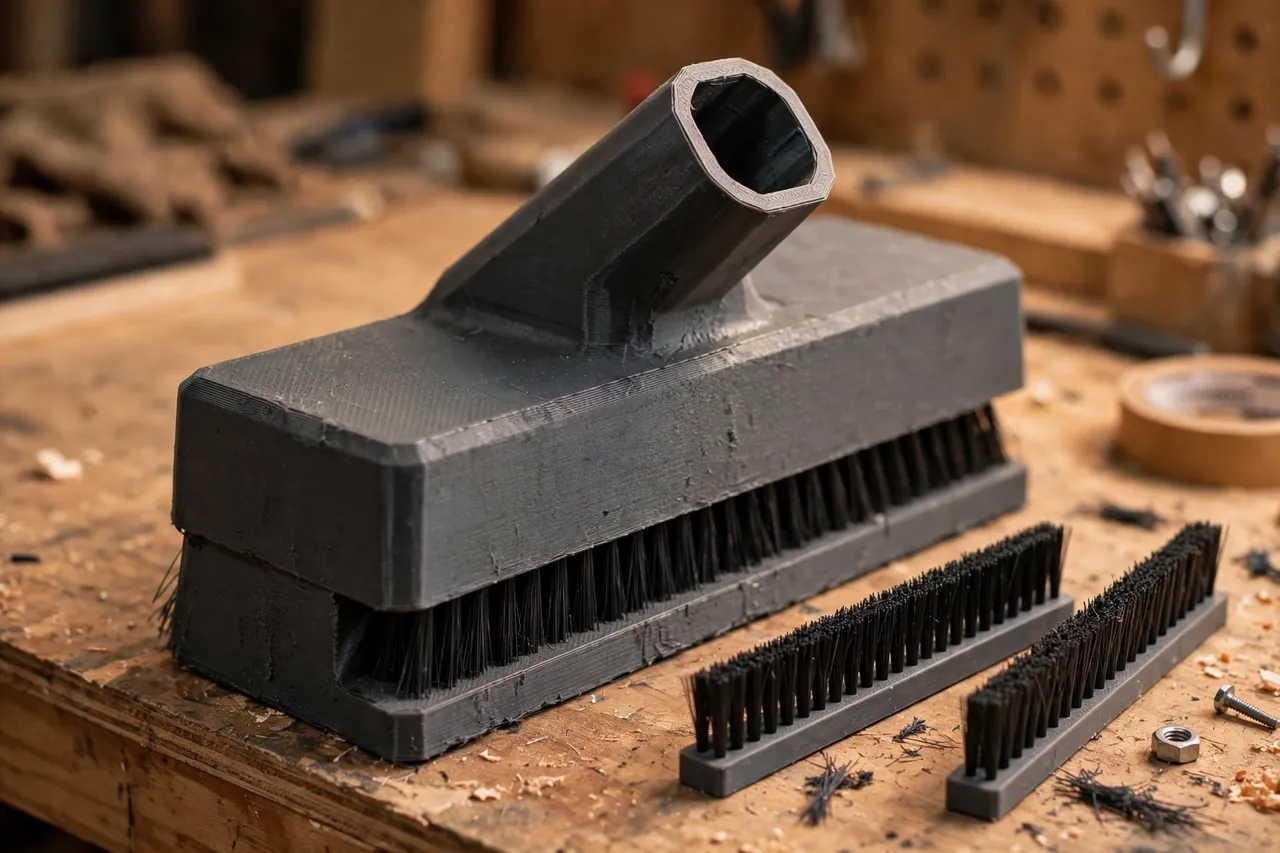
Handles connect three ways: a tapered thread, a straight threaded tip, or a plain tapered shaft pinned or wedged. Measure yours precisely — thread diameter and pitch, or shaft diameter at two depths for tapered fits. Model the socket with about 0.4 mm of thread clearance, or a matching taper with a cross-hole for a pin on plain shafts. Give the socket real depth, at least 40 mm of engagement, and thick walls around it: a broom is pushed thousands of times, and every push levers at that socket.
Angle the socket about 25 to 30 degrees from the block’s face if you like the classic push-broom stance, or keep it vertical for a head that also works as a scrub block. Match the angle of the broom you are replacing if it suited you.
2. The bristle channel
Instead of printing bristles — which no filament does well — the block grips a replaceable strip. Model a channel along the block’s underside sized to your strip’s carrier, typically a shallow rectangular slot with a slight dovetail or a screw-down lip every 80 to 100 mm. The strip should slide in firmly, sit perfectly flush, and come out with a pull when worn. Buy the strip first and measure it; channels designed from catalog numbers tend to be a frustrating half-millimeter wrong.
3. Block size, weight, and ends
Widths of 350 to 450 mm suit home workshops and patios; wider blocks tire shoulders and catch on bench legs. Keep height modest, 40 to 55 mm, and chamfer the ends so the block glances off obstacles. Two-piece blocks let small printers make wide heads — design the joint away from the socket so the two stress points never meet.
Step-by-Step: Printing and Assembly
- Measure your handle connection and your bristle strip carrier, twice each.
- Print the socket test and fit it to the handle; it should thread or slide on firmly with no rock.
- Model the block at your chosen width, with socket, channel, and chamfered ends.
- Print the block in PETG with the settings above — or print two halves and join them securely.
- Clean the socket and channel, filing any high spots so the strip slides smoothly.
- Fit the bristle strip, trimming it flush at both ends and fixing it per your channel design.
- Mount the handle fully, then test the joint with firm pushes against the floor.
- Check bristle contact on a flat floor: the strip should touch evenly across its whole width.
Step-by-Step: Using Your Renewed Push Broom
- Start with a clear floor. Pick up large debris by hand so the broom does the sweeping, not the shoveling.
- Push in long, straight strokes, working away from yourself with the block flat, not tipped onto its edge.
- Overlap strokes slightly and work toward one collection point instead of chasing dust around the room.
- Use short pull strokes along walls and under benches, where the renewed head’s chamfered ends earn their keep.
- Tap the block lightly on the floor every few strokes to shed packed dust from the bristles.
- Feel for socket play as you work; a new wobble means stop and check the connection, not push harder.
- Sweep the collection point into a pan promptly — the bench set in our guide, “3D Printed Bench Brush and Dustpan: A Matching Set for a Cleaner Bench,” handles the last tidy-up beautifully.
- Hang the broom by its handle afterward, head off the floor, so bristles dry straight and unstressed.
Tips for Better Results
- Keep two strips ready: a soft one for the workshop and a stiff one for the yard, swapped through the same channel in seconds.
- Mark the block’s top with its width and strip size in paint pen, so reordering strip years later needs no measuring.
- Round the block’s top edges in the model; a broom that gets carried by its head should be kind to hands.
- Match a new grip to the old handle while you are at it — the same handle often wants attention at both ends.
- Store the spare socket test with the broom; when a different handle enters the shed, it tells you instantly whether this head fits it.
Common Mistakes to Avoid
- Trying to print bristles. Printed bristle experiments fray and fold within a session; a replaceable strip is the honest design.
- Undersizing the socket walls. The socket is the broom’s hardest-worked joint, and thin walls split along layer lines under pushing loads.
- Designing the channel from a catalog. Measure the physical strip; carrier sizes vary between batches of the same product.
- Making the block too wide. An impressive 600 mm head is miserable around benches and doorways, however well it prints.
- Ignoring a loose handle fit. A rocking socket wears itself worse with every stroke; fix the fit before the first sweep.
Care, Storage, and When to Choose an Alternative
Rinse the bristle strip when it clogs with workshop grime, dry the broom hanging up, and check the socket joint monthly for cracks or play. Replace the bristle strip when its edge wears unevenly — that is the system working as designed. The printed block itself, in PETG and treated kindly, should outlast several strips.
Choose a commercial broom for hot ash or sharp industrial debris, constant wet scrubbing with harsh chemicals, or site work where a broom is thrown in a truck daily. Those jobs reward molded industrial gear. For the home workshop, garage, and patio — on the handle you already like, at the width you actually chose — a printed head with a replaceable strip is the better broom.

FAQ
Can I print this head on a small printer?
Yes, with the two-piece approach: print two half-blocks with a splined or screwed center joint, keeping the joint away from the socket. Many makers also print a narrower 300 mm head in one piece for apartment or small-workshop use, which suits tight spaces better anyway.
How long will the printed block last?
The block is rarely the wear item — bristle strips wear first, by design, and they are cheap to replace. A PETG block with proper socket walls typically serves through several strip changes. Cracks at the socket, usually from a loose fit left unchecked, are what end a block’s life.
My handle has a stripped thread. Can the new head still fit it?
Often, yes: model the socket as a plain tapered bore sized to the handle shaft below the damaged thread, and add a cross-pin. You are adapting the head to the sound part of the handle. If the handle itself is cracked or bent, replace the handle too — no head fixes a failing shaft.
Which bristle stiffness suits a workshop floor?
A medium strip is the versatile default: it moves sawdust, offcuts, and grit without skating over fine dust. Add the soft strip for finished or painted floors where stiff bristles can mark the surface, and keep the stiff strip outdoors for leaves and rough concrete.
Conclusion
A worn broom head is a replaceable part, not a reason to retire a good handle. With a measured socket, a channel that treats bristles as the consumable they are, and an honest PETG print, your favorite handle sweeps like new — at the width you chose, with strips you can swap in seconds.
Print the socket test, fit the strip, and take the first long stroke across a dusty floor. Few repairs pay you back so immediately.
For the handle’s other end, you may also enjoy our related guide, “3D Printed Replacement D-Grips: New Handles for Shovels, Forks and Brooms,” and for fitting that handle to other tools entirely, see “Extension Pole Thread Adapters: 3D Print Adapters to Fit Any Broom, Roller or Squeegee,” which shares the same measure-first approach.