Introduction
Cable ties come in bags of a hundred, and that is exactly the problem. The bag splits, ties slide into a drawer in a tangled raft, and when you need one tie of one particular length you end up fishing through all of them — usually while holding a cable bundle together with your other hand.
Mixing lengths makes it worse. A 100 mm tie is useless on a thick loom, and a 300 mm tie on a small bundle leaves a long tail to trim. When everything lives in one heap, you grab whatever surfaces, and the sort-out never happens because the bag goes back in the drawer.
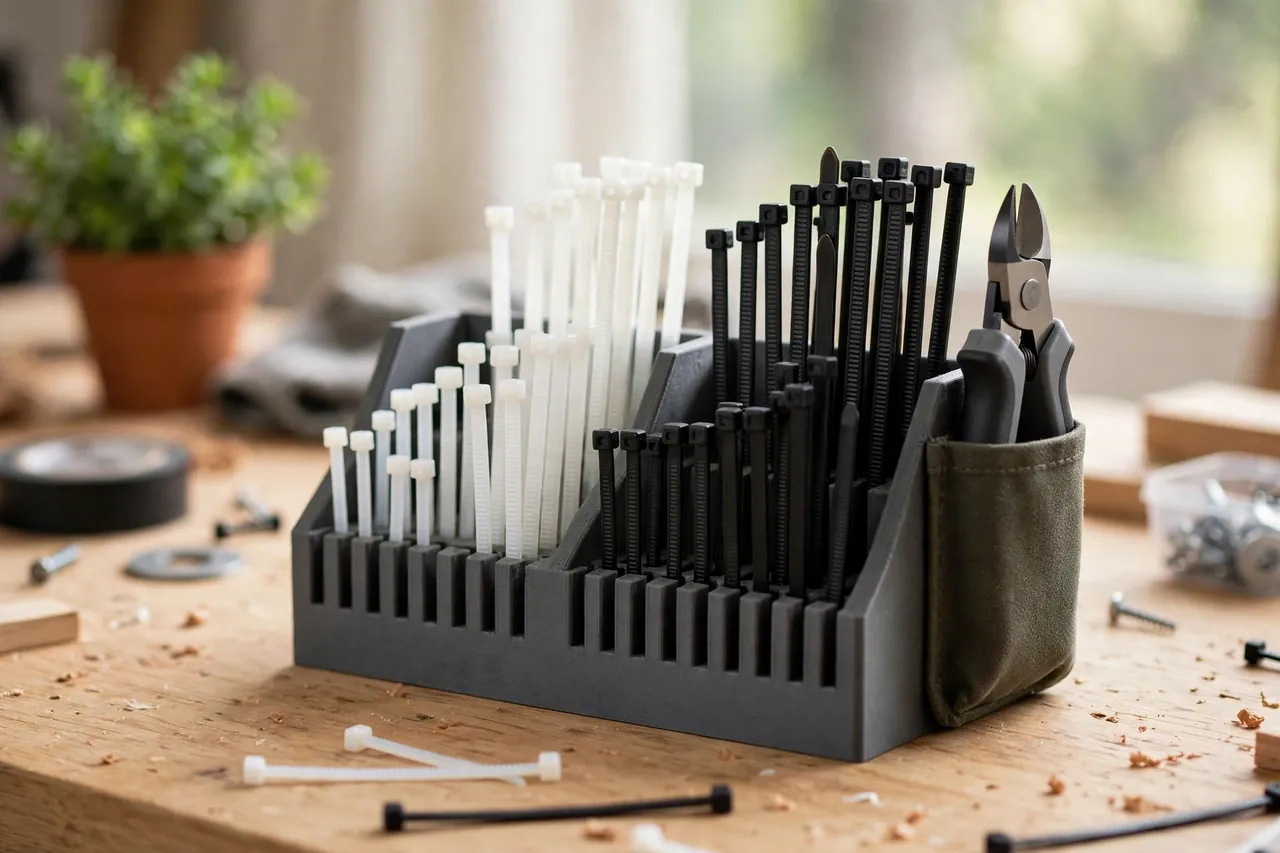
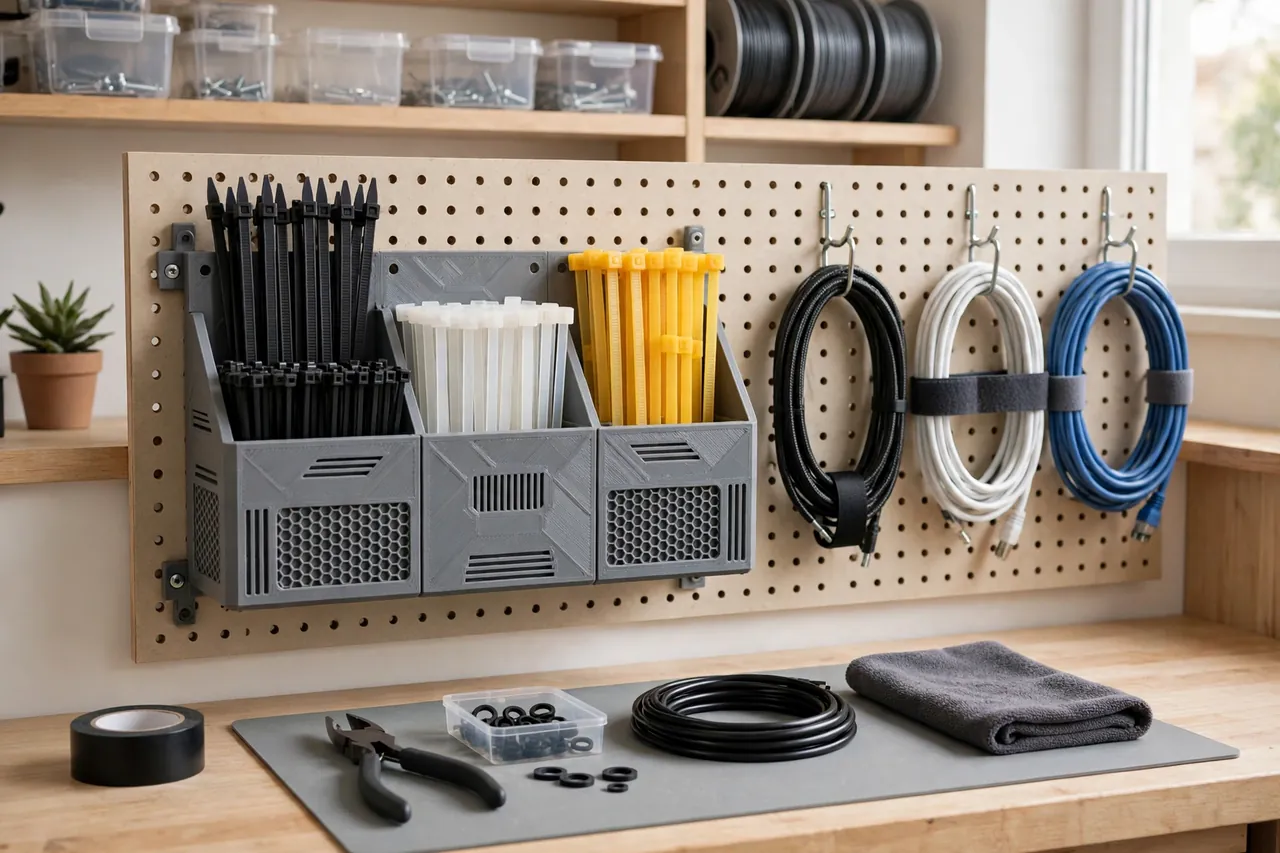
A 3D printed zip tie station turns the heap into a dispenser. Each length gets its own upright slot, ties feed one at a time from a notch at the front, and a side holster parks the flush cutters you use to trim tails. Everything for a two-minute cable job sits in one spot at the bench.
This guide covers designing, printing, and stocking a station sized to the tie lengths you actually buy. It is a simple storage holder — a bench organizer, nothing more — but it is one of those prints you will use every single week.
What You Need
The station is a row of open-topped slots with a tool holster, sized to sit on the bench or hang on a wall or pegboard.
Materials and tools
- A home 3D printer with a build area of roughly 180 mm in at least one direction
- PETG filament for a station that will live at a busy bench, or PLA for a first version
- Packs of the cable ties you use most, in each length, for measuring and test fitting
- Calipers or a ruler for tie length and bundle thickness
- Flush cutters or side snips for the holster, measured before you model it
- A small file or sandpaper for easing slot edges
- Optional screws or pegboard hooks for mounting
PETG is the better keeper here: ties get pulled out hundreds of times, and PETG flexes at the slot lips instead of chipping. PLA is fine for the test print and perfectly serviceable indoors.
Suggested print settings
- Layer height: 0.20 mm balances speed and a clean slot finish.
- Walls: At least 3 perimeters — the slot dividers take constant small knocks.
- Infill: 20 to 30 percent, grid or gyroid; the station is a holder, not a loaded part.
- Top and bottom layers: 4 or more, so the base sits flat and the slot floors stay smooth.
- Orientation: Print upright as it will stand, slots opening upward, so no supports are needed inside them.
- Supports: None, if slot tops are open and the holster is a simple pocket.
Print one single-slot test piece first and run a bundle of ties through it before printing the full station.
Design Considerations
You can model the station in any basic CAD program. Think of it as a small bookshelf for ties: dividers, a feed notch, and a holster.
1. One slot per length, stepped by height
Sort by the lengths you genuinely use — commonly 100, 150, 200, and 300 mm. Give each its own slot and step the back wall heights so the longest ties stand at the back and the shortest at the front. You can then see every stock level at a glance and reach any length without moving another. Slot width only needs to suit the bundle thickness of a typical pack portion, around 12 to 20 mm.
2. The feed notch
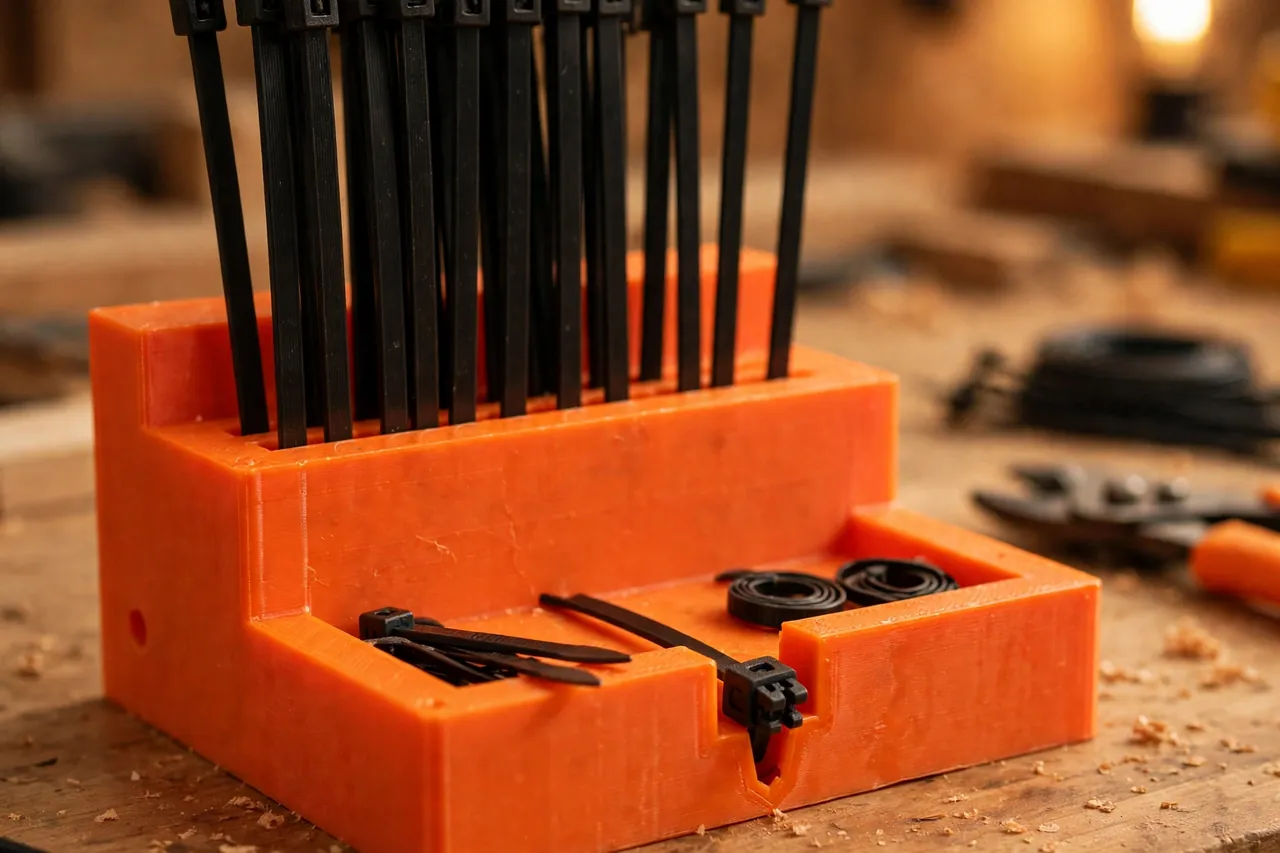
A shallow notch or window at the front-bottom of each slot lets you pull the lowest tie out sideways or forward without lifting the whole bundle. Keep the tie heads all facing the same way when you load, heads up or heads at the notch, so each tie comes out ready to use. About 0.5 mm of clearance around the bundle keeps ties sliding freely without spilling.
3. The snip holster
Model a simple pocket on one end for your flush cutters, sized from the actual tool with about 1 mm of clearance per side. A holster that fits your cutters — handles down or handles up, whichever you prefer — means the trimming tool is always with the ties, not buried in a drawer across the room.
4. Bench, wall, or pegboard
A flat, slightly weighted base suits a bench station. For wall use, add a back plate with screw holes; for pegboard, add hook slots matched to your board spacing. Whichever you choose, keep the station where cables actually get bundled — a station three steps away becomes a station nobody refills.
Step-by-Step: Printing and Assembly
- Measure your ties — the length and the bundled thickness of each size you plan to stock.
- Measure your cutters for the holster pocket, including the widest point of the handles.
- Model the slots with dividers, stepped back walls, a feed notch per slot, and the holster on one end.
- Print a test slot. A full bundle should slide in easily and feed out one tie at a time.
- Adjust if needed. Ties spilling? Deepen the slot slightly. Ties binding? Widen by 0.3 to 0.5 mm.
- Print the keeper in PETG using the settled dimensions.
- Clean it up. Ease the notch and slot lips with a file so tie edges never catch on a rough lip.
Two stations — one at the bench, one near the door where outdoor cables live — cost little filament and save constant trips.
Step-by-Step: Using the Station
- Sort a fresh pack into lengths before it goes anywhere near the station.
- Load each slot with its ties all facing the same direction, heads consistent.
- Top up from the back so the bundle stays neat and the feed notch stays clear.
- Pull from the notch one tie at a time as a job needs it, rather than grabbing a fistful.
- Trim tails with the holstered cutters, and drop the snips straight back in the pocket.
- Sweep clippings into a bin as you go; trimmed tails are slippery litter on a workshop floor.
- Refill when a slot runs low, not when it runs out mid-job — a glance at the stepped slots tells you the stock.
- Keep odd sizes separate. A handful of very long ties can live in one wide end slot rather than tangling the main row.
Within a week the habit sets in: bundle, pull, trim, done — with no drawer fishing at any point.
Tips for Better Results
- Color-code by area. One station color for the bench, another for the garage, so ties migrate less.
- Mark each slot’s length with a paint pen on the front face — no guessing between 150 and 200 mm.
- Load heads consistently. Every tie leaves the station oriented the same way, which speeds up fiddly bundles.
- Keep one slot for reusable ties if you use them, so they stop mixing with single-use stock.
- Print the holster generously. Cutters vary; a slightly roomy pocket beats one that only fits on a warm day.
Common Mistakes to Avoid
- One wide slot for everything. That recreates the tangled bag in printed form; sorting is the whole point.
- Slots sized from the bag label alone. Bundle thickness varies by brand and count; measure a real bundle.
- A feed notch that’s too deep. Ties escape on their own and the slot empties itself onto the bench.
- Forgetting the cutters. A station without its trimming tool nearby sends you back to the drawer anyway.
- Mounting it out of reach. If you have to stretch or fetch a stool, the station will slowly stop being used.
Care, Storage, and When to Choose an Alternative
Brush dust out of the slots occasionally and check the notch lips for chips; a damaged divider can be repaired by printing a fresh station in an afternoon. Keep PLA versions out of hot cars and sunny window sills, and refill slots as part of your end-of-job tidy rather than as a separate chore.
If you use ties only a few times a year, a labeled zip bag in a drawer is honestly fine, and commercial bench dispensers exist if you do not print. The printed station wins when ties are a weekly staple, because it is sized to exactly your lengths and your cutters. For the cables those ties tidy up, you may also enjoy our related guide, “3D Printed Cable and Cord Winders for a Tangle-Free Workshop (storage/organizing only),” which pairs with this station on the same bench.
FAQ
How many lengths should the station hold?
Three or four covers most home workshops — a short, a medium, a long, and perhaps one extra-long slot. More slots than that usually means stocking lengths you rarely reach for; keep those in their bag elsewhere.
Should the station sit on the bench or hang?
Both work. Bench versions are easiest to refill; wall or pegboard versions free up surface space. Choose based on where you bundle cables most often, and print the mounting style to match.
Can it hold stainless or heavy-duty ties too?
It can hold them as storage, yes — just size a slot for their thicker bundle and stiffer tails. The station is only a holder; the ties themselves do the work they were made for.
My ties keep sliding out of the notch. What fixes it?
Make the notch shallower, add a small lip at its base, or load ties heads-first so the head itself acts as the stop. One of those three almost always settles it.
Conclusion
A bag of mixed cable ties is a tiny recurring annoyance; a sorted station removes it permanently. Each length stands in its own slot, feeds out one at a time, and the cutters live right beside them.
Print a test slot, settle your lengths, and load it once. After that, every cable bundle in the house becomes a one-minute job with no searching involved.
To finish the same corner of the bench, you may also enjoy our related guide, “3D Printed Pegboard Bins: Scoop Bins That Keep Small Parts Visible,” and for marking every slot and drawer clearly, see “Workshop Label Holders and Bin Tags: 3D Print a Labeling System for Every Drawer,” which completes the system this station starts.