Introduction
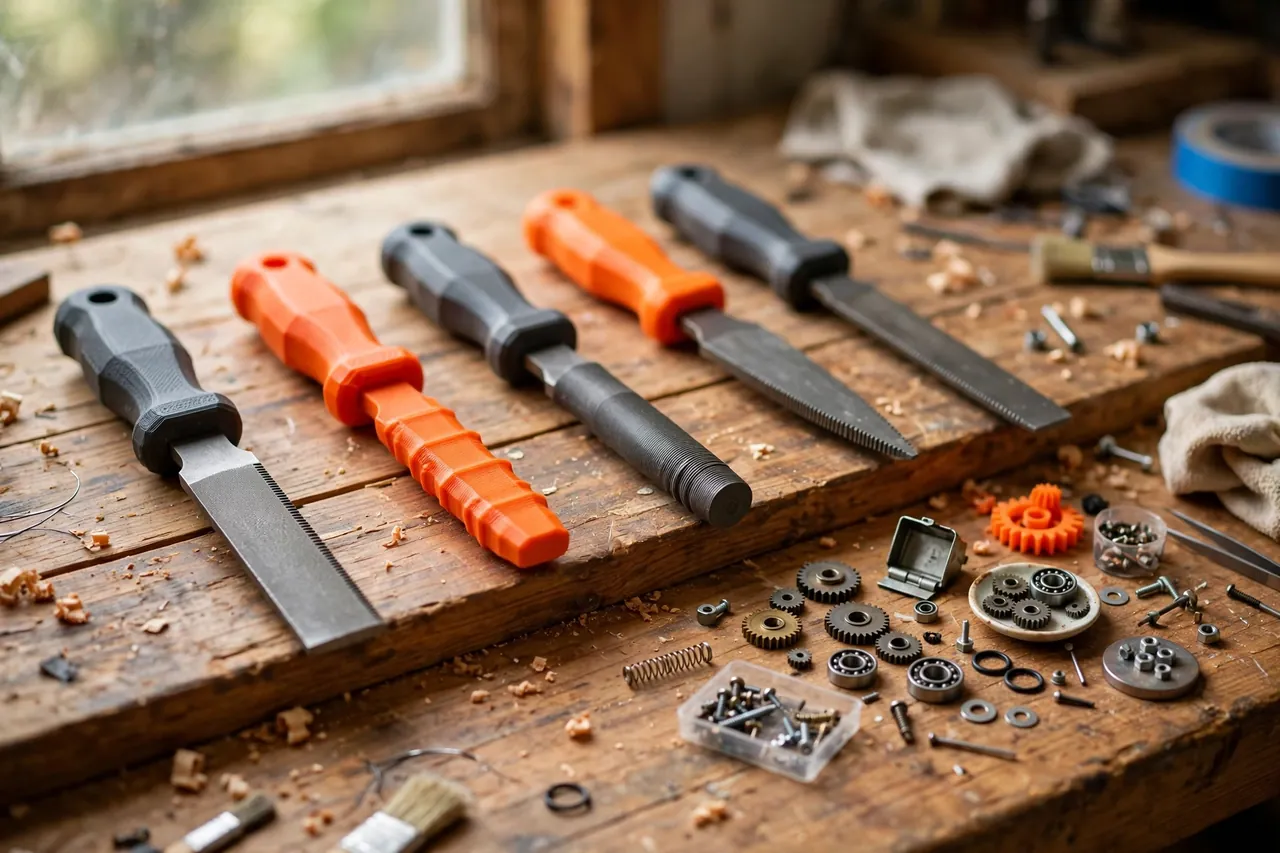
Somewhere in almost every workshop there is a drawer of bare files — good steel, sharp teeth, and a pointed tang where a handle should be. Using one means pushing that tang toward your palm with every stroke, and everyone who files regularly has a story about the day it slipped.
The missing handles are not carelessness. Files are sold bare because tangs vary and handles were traditionally turned wood, fitted one by one. When a wooden handle splits or is lost, the file goes back in the drawer and stays dangerous and uncomfortable for years.
Printing handles removes every excuse. You can size the socket to each tang exactly, shape the grip to your hand, add a protective collar where tang meets handle, and print a matching set in an afternoon. A handled file is easier to control, kinder on long jobs, and far safer when a stroke catches.
This guide covers designing, printing, and fitting original handles for common workshop files. The handle is a grip only — it carries no load beyond your filing hand — but fitted properly, it transforms how a file feels and how safely it works.
What You Need
Handles are small, quick prints. The important tool here is whatever you measure tangs with.
Materials and tools
- A home 3D printer with a build area of roughly 150 mm in at least one direction
- PETG filament for toughness, or PLA for a test handle
- The actual files you want to handle, every one of them, for measuring
- Calipers to measure tang width and thickness along its length
- A small drill or reamer for final socket fitting, plus sandpaper
- Two-part epoxy for a permanent fit on handles you will not swap
- A bench vise with soft jaws, or a sturdy block with a drilled hole, for seating tangs
PETG is the right keeper material: it grips a tang firmly, resists the knocks a file handle takes against a vise and bench, and does not crack when a tang is driven home. PLA works for a test fit and light use, but a tight PLA socket can split along a layer line during fitting, so allow a little extra clearance if you test in PLA.
Suggested print settings
- Layer height: 0.20 mm balances speed and socket accuracy.
- Walls: At least 4 to 5 perimeters — the socket wall takes the fitting stress.
- Infill: 50 to 70 percent, gyroid, for a handle that feels solid without being brittle.
- Top and bottom layers: 4 or more, so the palm end stays smooth.
- Orientation: Print upright, socket opening up, for roundness and strength along the grip.
- Supports: None if the socket is modeled as a clean tapered hole.
Print one test handle for your most-used file first. Socket fit is everything, and one test teaches you your printer’s true hole sizes.
Design Considerations
You can model a handle in any basic CAD program. It is a rounded grip with a tapered hole — but both halves deserve care.
1. Measuring the tang
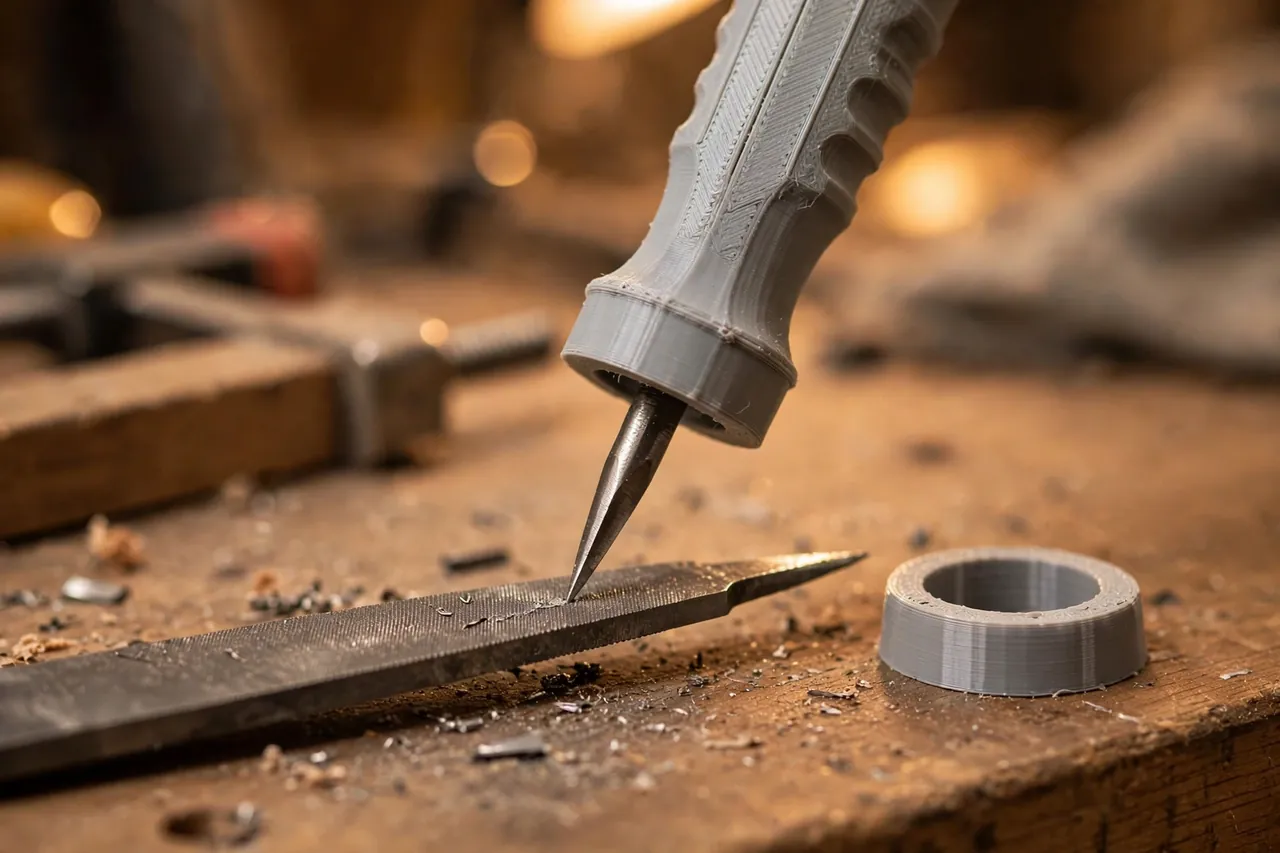
A file tang is a tapered spike, wider and thicker at the shoulder, narrowing to a point. Measure width and thickness at the shoulder and halfway down, and note the tang length. Your socket should mirror that taper. A straight hole fitted to a tapered tang contacts only at one ring, and the file will wobble and work loose.
Aim for a snug push fit: about 0.3 mm of clearance at the shoulder, with the taper doing the wedging. Never plan to hammer a tang into an undersized plastic socket — that is how handles split.
2. Grip shape and size
A file handle wants to be 100 to 120 mm long and 28 to 34 mm across, with a gentle bulge in the middle of the palm and flats or shallow flutes so it cannot roll on the bench or twist in your hand. The front end should swell into a collar — a disc of 35 to 40 mm — that stops your hand sliding forward onto the file’s teeth if a stroke stalls.
Round the rear end fully. A flat or sharp rear edge digs into the palm that pushes it, stroke after stroke.
3. The collar and ferrule effect
Traditional handles use a metal ferrule to stop the socket splitting. In print, achieve the same by thickening the collar zone: extra walls and a wider diameter for the first 20 mm. Some makers also print a separate snug ring and epoxy it over the collar for a two-tone look that genuinely adds hoop strength.
4. One handle per file, or swappable?
Swapping one handle between files sounds economical and quickly becomes the reason files go bare again. Handles cost little filament. Print one per file, emboss or label the file type on the grip — flat, round, half-round — and the drawer becomes a ready set instead of a project.
Step-by-Step: Printing and Assembly
- Measure every tang you plan to handle, recording shoulder and mid-tang dimensions for each.
- Model the grip with a tapered socket matched to your largest test file, a strong collar, and a rounded palm end.
- Print a test handle in PLA and check the socket against the real tang by hand.
- Adjust the taper if the tang seats too shallow or rocks; small changes of 0.2 mm are meaningful here.
- Print the keeper handles in PETG, one per file, while the fit is fresh in your notes.
- Clean each socket with a twist of sandpaper or a gentle ream so the tang starts straight.
- Seat each tang by pushing the handle down onto the tang with the file held teeth-up in soft vise jaws, or by pressing the handle against a drilled block — never by striking the palm end with a hammer.
- Add a drop of epoxy before final seating only on handles you want permanent; leave regular users a firm friction fit so handles can be replaced.
Check alignment before any epoxy sets: the file should continue the handle’s axis with no visible lean.
Step-by-Step: Using Handled Files Safely and Well
- Secure the workpiece in a vise or clamp so both hands are free and the work cannot chatter.
- Grip the handle in your pushing hand and rest the file tip lightly in your other hand’s fingers, keeping that hand behind the teeth.
- File on the push stroke, lifting or easing pressure on the return, which drags teeth backward and dulls them.
- Keep strokes long and even, using the handle’s bulge to roll pressure smoothly rather than jabbing with the wrist.
- Stop the moment a stroke catches, lift the file clear, and check for a pin of metal lodged in the teeth instead of forcing through.
- Clean teeth with a file card or brass brush whenever the cut sounds scratchy or leaves lines.
- Set the file down on its side, handle overhanging the bench edge, never teeth-down among other steel tools.
A handled set stays organized beautifully with the approach in ‘Pegboard Tool Holders: 3D Print a Complete Organizer Set for Screwdrivers, Pliers and Wrenches,’ since the same peg spacing that suits drivers gives files an upright, teeth-safe home.
Tips for Better Results
- Color-code by cut. One color for coarse files, another for smooth, and you will grab correctly at a glance.
- Leave the collar generous. That guard disc is the handle’s most important safety feature.
- Store files separated. Teeth that rattle against each other dull faster than teeth that cut metal.
- Reprint a loose handle promptly. A handle that spins on its tang is worse than none — it invites trust it cannot keep.
Common Mistakes to Avoid
- Modeling a straight socket for a tapered tang and wondering why the fit rocks.
- Hammering a tang home. Pressure seating only; impact splits printed sockets.
- Making the grip too slim to save filament, then filing with a claw grip that tires in minutes.
- Skipping the collar to match a minimal look, and losing the hand-stop that matters most.
- Epoxying every handle before testing alignment, then living with a leaning file forever.
Care, Storage, and When to Choose an Alternative
Wipe handles clean of metal dust, which works into printed layer lines and looks grubby fast. Store files hanging or in a rack, teeth apart, in a dry drawer — handles do not stop steel rusting. If a handle cracks at the collar, replace it rather than taping it; a fresh print restores the safety the collar provides.
For production filing all day, or for very large rasps and farrier files that take heavy two-handed force, a quality turned hardwood handle with a steel ferrule remains the better tool and will outlast plastic under that punishment. For the typical home workshop set — flat, round, and needle files used on repairs — printed handles are safer than bare tangs, more comfortable than most bought handles, and fitted to your files exactly.

FAQ
Will a printed handle stay on during hard filing?
Yes, if the socket taper matches the tang and the fit is a firm push fit. The taper wedges tighter under filing pressure rather than working loose. If a handle does loosen over time, a slightly deeper seat or a single drop of epoxy restores it fully.
What size should I make the socket?
Start from your measurements: socket mouth about 0.3 mm wider than the tang at its shoulder, tapering with the tang, and a little shorter than the full tang length so the point never bottoms out and splits the handle from inside. Always test in a cheap print first.
Can I print handles for rasps and wood files too?
Absolutely — the same method applies, with a larger grip and collar for the bigger tangs rasps usually have. Wood rasps take more twisting force, so add walls and consider the epoxy fit from the start.
Is it safe to seat a tang using a mallet tap?
No — not on a printed handle. Strike seating concentrates force at the socket mouth and splits PETG along layers. Press the handle on using body weight against a drilled block or soft-jawed vise. It takes a few seconds longer and the handle survives fitting intact.
Conclusion
A file without a handle is an unfinished tool, and finishing it takes less than an hour of printing per file. A tapered socket, a honest collar, and a grip shaped to your palm turn a drawer of risky bare tangs into a set you will reach for confidently.
Start with the file you use most, get its socket fit right, and the rest of the set follows from the same file with new numbers.
If handles have you rethinking your whole hand-tool drawer, our guide ‘Chisel Storage Rack with Blade Guards: 3D Print a Rack That Protects Edges and Hands‘ applies the same protect-the-edge, protect-the-hand thinking to your chisels.