Introduction
Glue-ups go wrong in quiet ways. Too little glue in the middle of a joint starves it, too much at the edges squeezes out and stains the wood where finish will never sit evenly. Spreading with a fingertip, a scrap stick, or the bottle’s nozzle gives you all three problems at once, in different places along the same joint.
The issue is control. A good glue line is a thin, even film across the whole mating surface — not puddles, not dry patches. Professional shops have always used notched spreaders for this, because the teeth meter the glue to a consistent thickness as you draw the tool along.
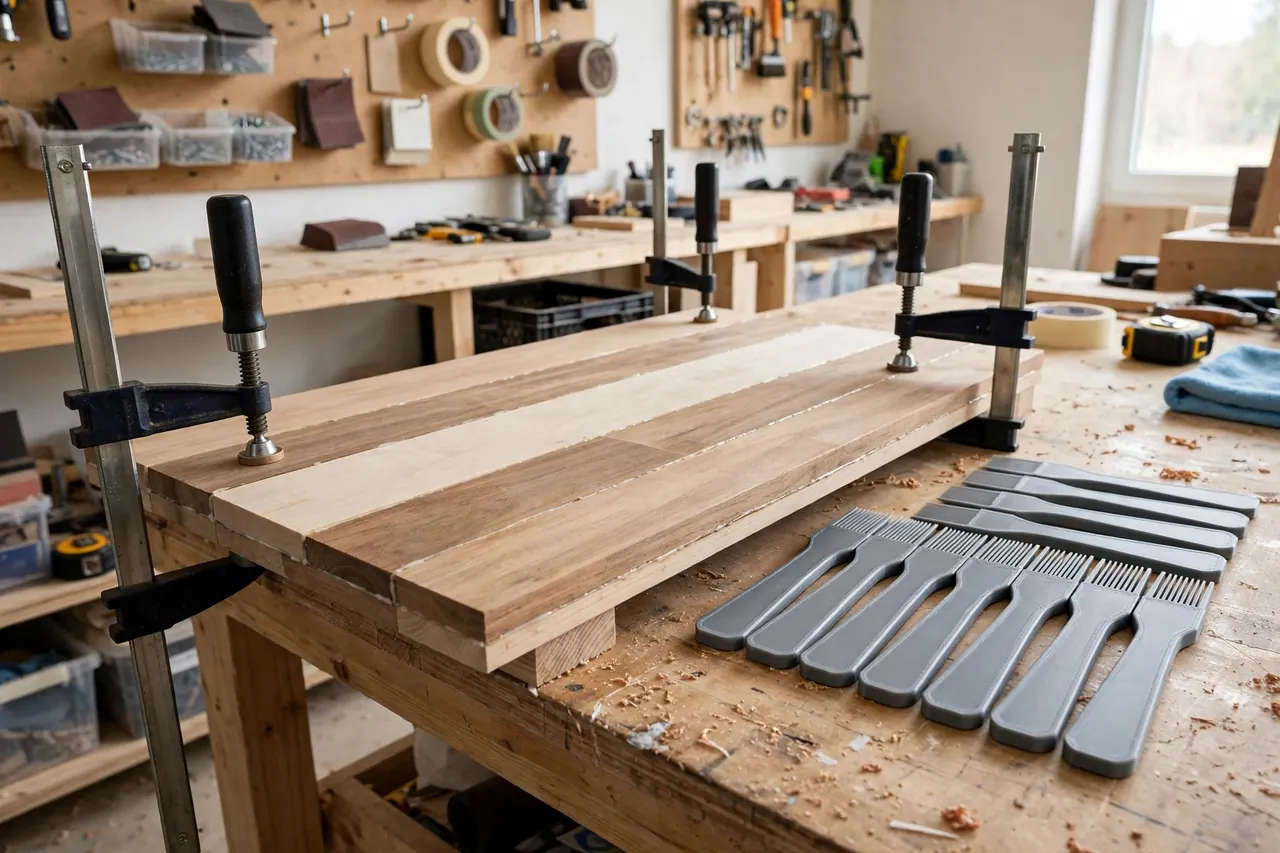
Printing your own spreaders puts that control on your bench for pennies. You can make a family of them: wide notched blades for panel edges, narrow flat blades for tenons, tiny detail tips for repairs, all in a size that suits your hand and your glue bottle.
This guide covers designing, printing, and using an original set of spreaders for wood glue and similar workshop adhesives. They are simple surface tools — they spread glue on joints, nothing more — and that simplicity is exactly why they work so reliably.
What You Need
Spreaders are among the fastest, cheapest prints in the workshop. A small set uses very little filament.
Materials and tools
- A home 3D printer with a build area of roughly 150 mm in at least one direction
- PETG filament for flexible, long-lasting blades, or PLA for a stiff first set
- Your usual wood glue, plus a scrap board for test spreads
- Calipers or a ruler to size teeth and blade widths to your joints
- A shallow tray of water for parking spreaders during a glue-up
- Sandpaper in 220 grit for softening printed edges
- A craft knife for trimming any elephant’s foot from the blade edge
PETG is the better long-term material: its slight flex lets a blade follow a board edge without chattering, and dried wood glue releases from it cleanly. PLA spreaders are crisper and perfectly usable, but a thin PLA blade snapped against a clamp is a common story. Either way, print blades solid — this is no place to save infill.
Suggested print settings
- Layer height: 0.20 mm; 0.16 mm if tooth definition looks soft.
- Walls: At least 4 perimeters — on a thin blade, walls are most of the part.
- Infill: 100 percent, or enough walls to make the blade effectively solid.
- Top and bottom layers: 4 or more for a smooth, washable surface.
- Orientation: Print flat on the bed for the truest blade edge.
- Supports: None — a good spreader design is a flat part.
Print one test spreader first and try it on scrap. Tooth depth is a personal preference you can only judge with glue actually moving.
Design Considerations
You can model a spreader in minutes in any basic CAD program. It is a flat blade with a handle end and a working edge — the interest is all in that edge.
1. Edge profiles for different jobs
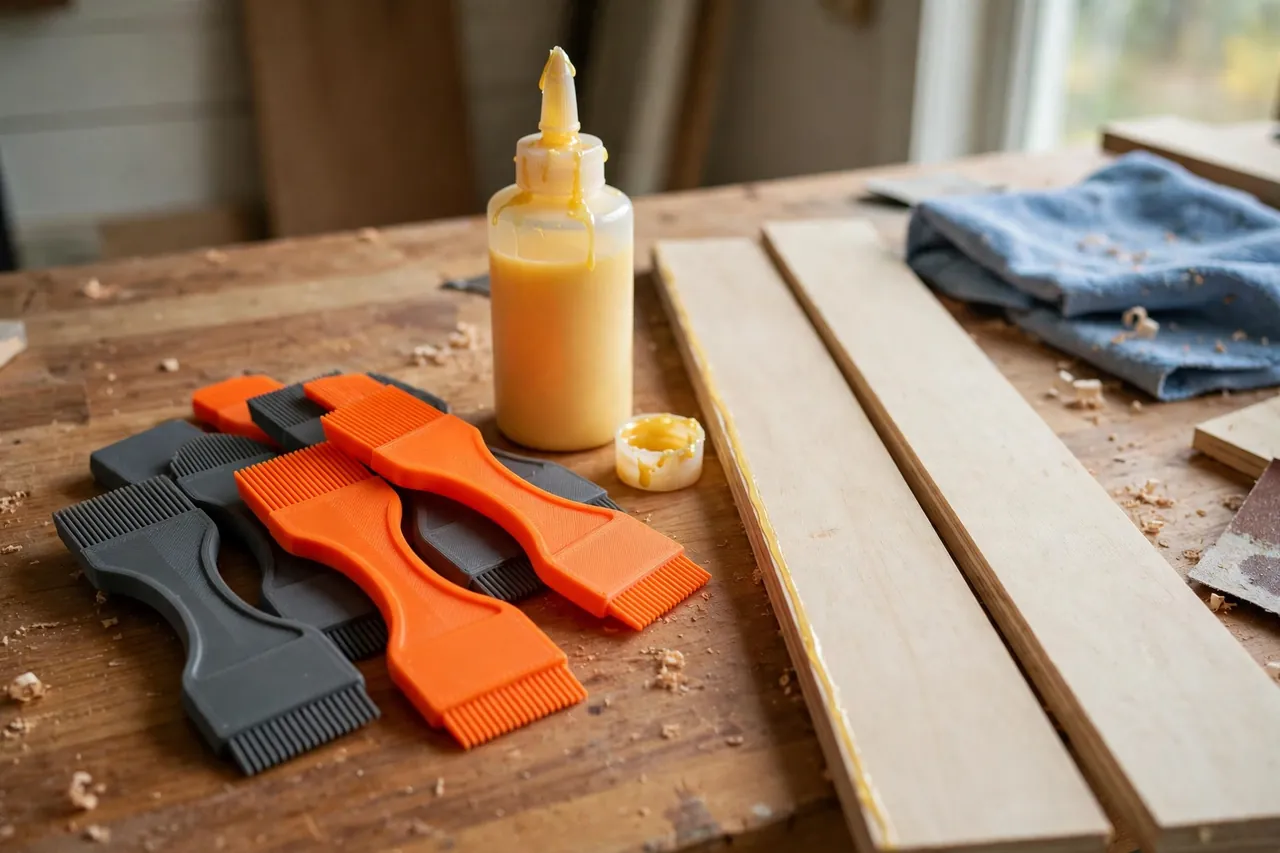
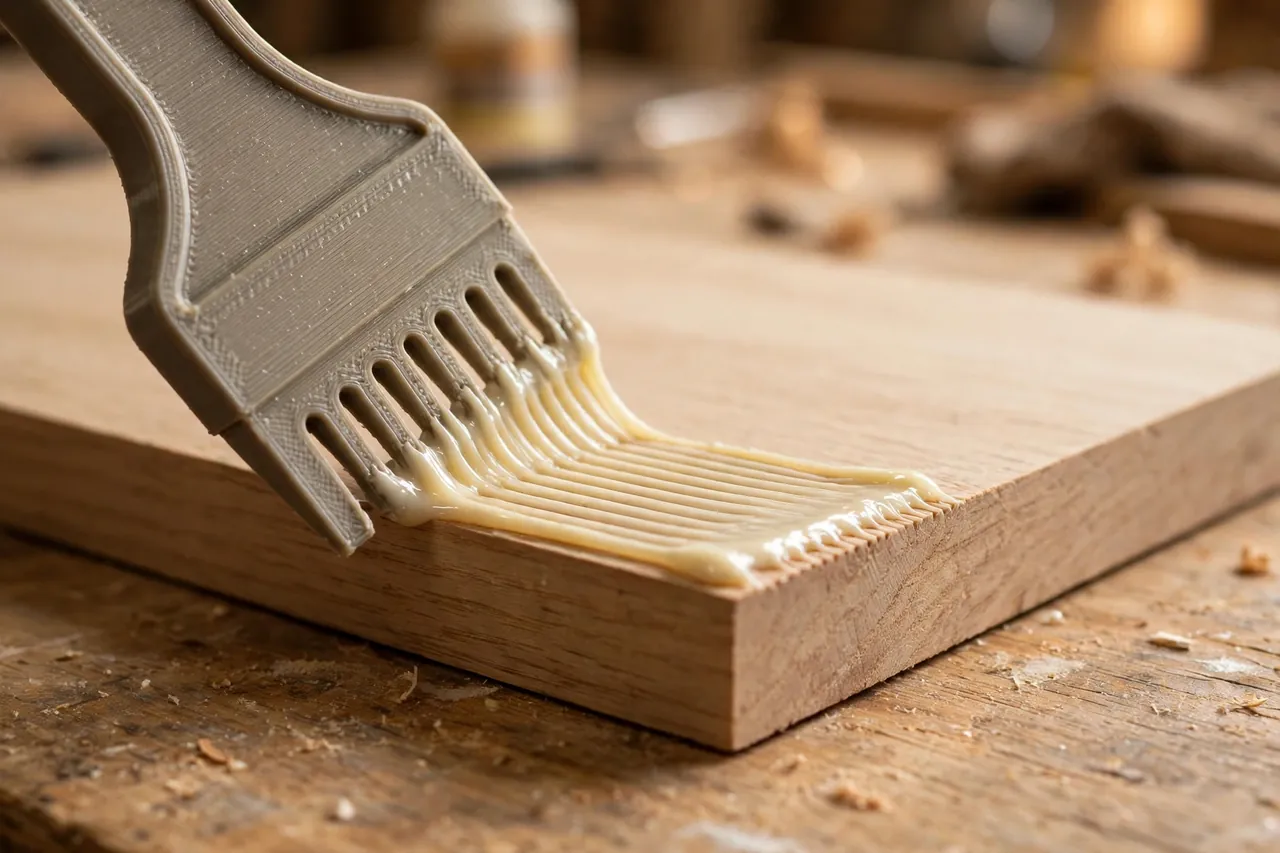
Make at least three profiles. A notched edge, with square teeth about 2 mm wide and 1.5 to 2 mm deep, meters glue for panel edges and wide joints. A flat edge suits tenon cheeks and small repairs where you want a thin film. A rounded detail end, like a small spatula, reaches into corners and spreads glue inside mortises without gouging.
Putting two profiles on one tool — notched on one end, flat on the other — halves the number of tools you wash afterward.
2. Blade width and thickness
Match width to work: 60 to 80 mm blades fly along panel edges, while 20 to 30 mm blades give control on chair rungs and small frames. A blade thickness around 1.2 to 1.8 mm balances flex and push. Thinner blades flutter and leave stripes; thicker ones feel like a putty knife and scrape glue off instead of spreading it.
Add a gentle taper from handle to edge so the working end is the most flexible part.
3. Handle and grip
A spreader handle needs only 70 to 90 mm of grip, slightly wider than the blade neck, with rounded corners. Add shallow finger flats so the tool does not rotate in a gluey hand. A small hanging hole keeps a washed set together on a peg and lets them drip dry.
Emboss a simple mark for each profile — one dot for flat, two for notched — so you can identify them by touch with sticky fingers.
4. A small spreader stand
A slotted block that holds spreaders upright in a water tray during assembly is a worthwhile companion print. Glue stays wet on the blade, your hands stay cleaner, and no spreader gets buried under a panel mid-glue-up.
Step-by-Step: Printing and Assembly
- Measure your typical joints. Note the widest panel edge and the narrowest repair you spread regularly.
- Model a first set of three profiles at your chosen widths, with handles and hanging holes.
- Print the set flat in PETG, solid, and let the parts cool on the bed for a true edge.
- Clean the edges. Trim any first-layer flare and soften corners with 220-grit paper, keeping the working edge straight.
- Test each profile on scrap, spreading your usual glue and checking the film by eye and fingertip.
- Adjust tooth depth if needed. Stripes that do not level mean teeth too deep; a starved film means teeth too shallow.
- Print the keepers once the test set feels right, and hang them together by the workbench.
There is no assembly beyond cleanup — a spreader is ready the moment it leaves the bed and passes the scrap test.
Step-by-Step: Using Glue Spreaders on a Panel Glue-Up
- Dry-fit the panel first and lay out clamps, cauls, and spreaders before any glue is opened.
- Run a modest bead of glue along the board edge — the spreader will do the distribution, so resist over-pouring.
- Draw the notched edge along the joint in one steady pass, holding the blade at about 45 degrees, letting the teeth set the film thickness.
- Check the film. It should look like fine corduroy that slowly levels; bare wood showing through means a second light pass.
- Flip to the flat edge for ends and details, feathering glue right to the ends where joints most often starve.
- Mate the boards promptly, sliding them slightly against each other to settle the film before clamping.
- Park the spreader in the water tray while you clamp, so residue stays soft and washes off in seconds.
- Wipe squeeze-out at the right moment — when it turns rubbery, not while wet — using the flat edge as a gentle lifter.
That metered film is what makes the companion technique in ‘Glue-Up Cauls: 3D Print Panel Cauls for Flat, Even Glue-Ups on Tabletops and Doors‘ work so well, since cauls can only keep flat a panel whose glue line was even to begin with.
Tips for Better Results
- Spread on the less visible face first while you settle your pace, then do the show face with confidence.
- Keep two spreaders in play during big glue-ups so one is always clean and wet-ready.
- Pop dried glue off PETG by flexing the blade — it releases in satisfying flakes, no scraping needed.
- Color-code profiles. Notched in orange, flat in gray, and you will never grab the wrong one mid-assembly.
- Rescue a rushed glue-up by misting nothing and adding nothing — just respread quickly with the flat edge before mating.
Common Mistakes to Avoid
- Pouring glue to suit a stick, not a spreader. The bead should be modest; the tool meters it.
- Holding the blade upright. A vertical blade scrapes; a 45-degree angle spreads.
- Using one width for everything. A wide blade on a narrow tenon wastes glue and makes a mess.
- Letting glue dry on the blade during the job. Park it in water and it stays ready.
- Printing thin, hollow blades. They flex unevenly, stripe the film, and snap at the neck.
Care, Storage, and When to Choose an Alternative
Rinse spreaders under warm water straight after use, flex off any dried residue, and hang them to dry by their holes. Store them flat or hanging, never loose in a drawer where edges get nicked. A nicked edge can be sanded true once or twice; beyond that, reprint — the filament cost is tiny.
For spreading thick construction adhesives or heavy fillers, a metal notched trowel or a stiff putty knife handles the force better and is the right choice. For wood glue on joints and panels — the daily work of a repair bench — printed spreaders are lighter, kinder to wood surfaces, and shaped exactly to your joints in a way no bought set ever quite is.
FAQ
How deep should the notches be?
Start with teeth about 2 mm wide and 1.5 to 2 mm deep for general wood glue. That leaves a film that levels into full coverage under clamping pressure. For thin veneer work or very runny glue, shallower teeth around 1 mm give a finer film. Print a test card with three depths and let scrap decide.
Will glue stain or ruin the printed plastic?
No. Wood glue releases cleanly from both PETG and PLA, especially if you rinse promptly or let it dry and flex it off. Avoid leaving spreaders soaking overnight, which can dull the surface over time, but normal washing does them no harm at all.
Can one spreader handle both panels and small repairs?
A mid-width blade with a notched end and a rounded detail end covers a surprising amount. Still, a small set of three costs little more filament than one tool and saves real frustration on varied work, which is why this guide designs a family rather than a single tool.
What about spreading glue inside a mortise?
Use the narrow detail profile like a small spatula, coating the walls with a thin film rather than pooling glue at the bottom. Excess glue trapped in a mortise can hydraulically block a tenon from seating, so thin and even matters even more in a hole than on an edge.
Conclusion
Even glue lines are not a talent — they are a tool shape. A notched printed spreader meters the same film on the first joint and the fiftieth, which removes the guesswork, the starved middles, and most of the messy squeeze-out that makes glue-ups stressful.
Print a small family of profiles, tune the teeth on scrap, and hang the set where your glue lives. Your next panel will tell you the difference before the clamps even come off.
To complete the glue station, you may also enjoy our related guide, ‘Glue Applicator Tips and Caps: 3D Print Precision Spouts for Your Workshop Glue Bottles,’ which pairs precise application with the even spreading covered here.