Introduction
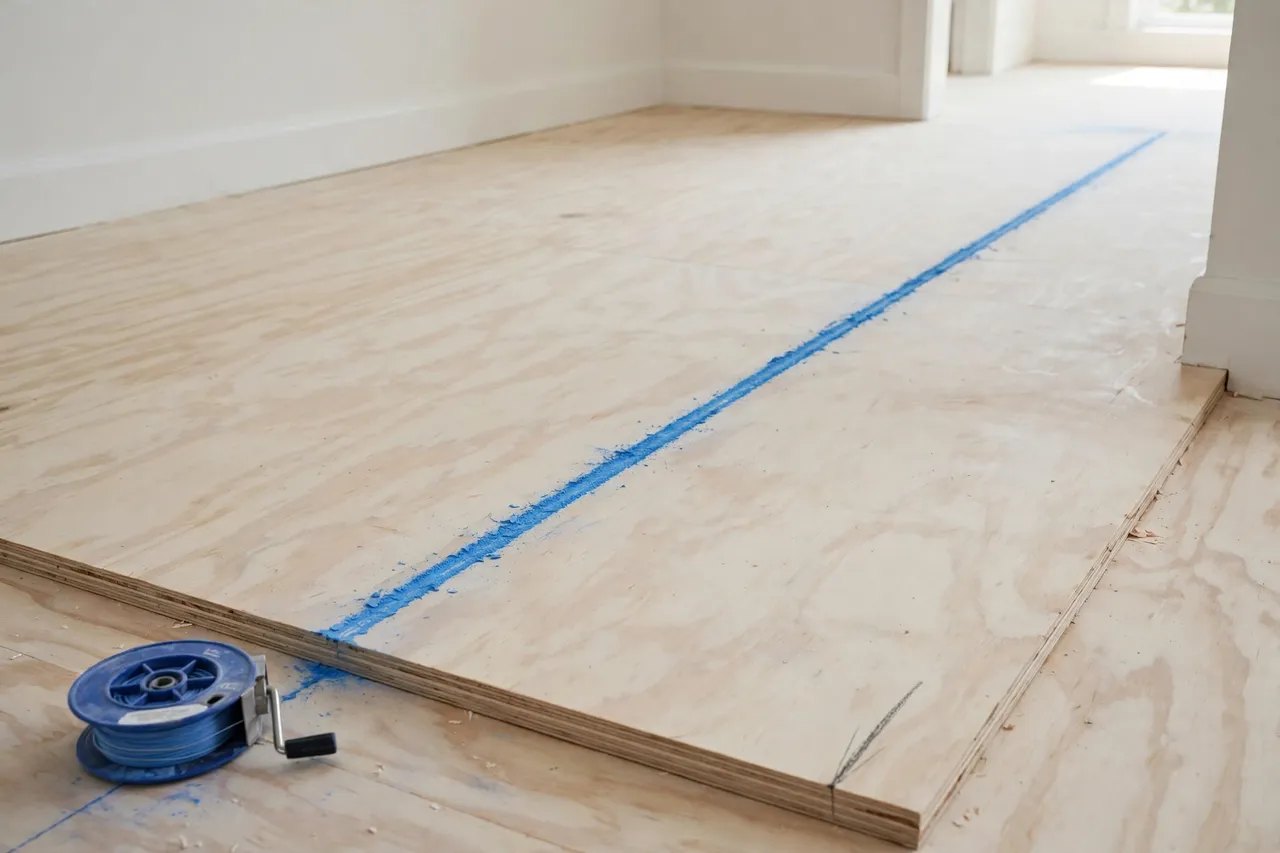
A long straight line is one of the hardest things to mark by hand. A ruler helps for a metre, but across a whole wall, a floor, or a sheet of plywood, even a careful hand wanders. A chalk line solves the problem with elegant simplicity: stretch a chalked string tight between two points, lift it, let it go, and it snaps a straight line exactly where you need it.
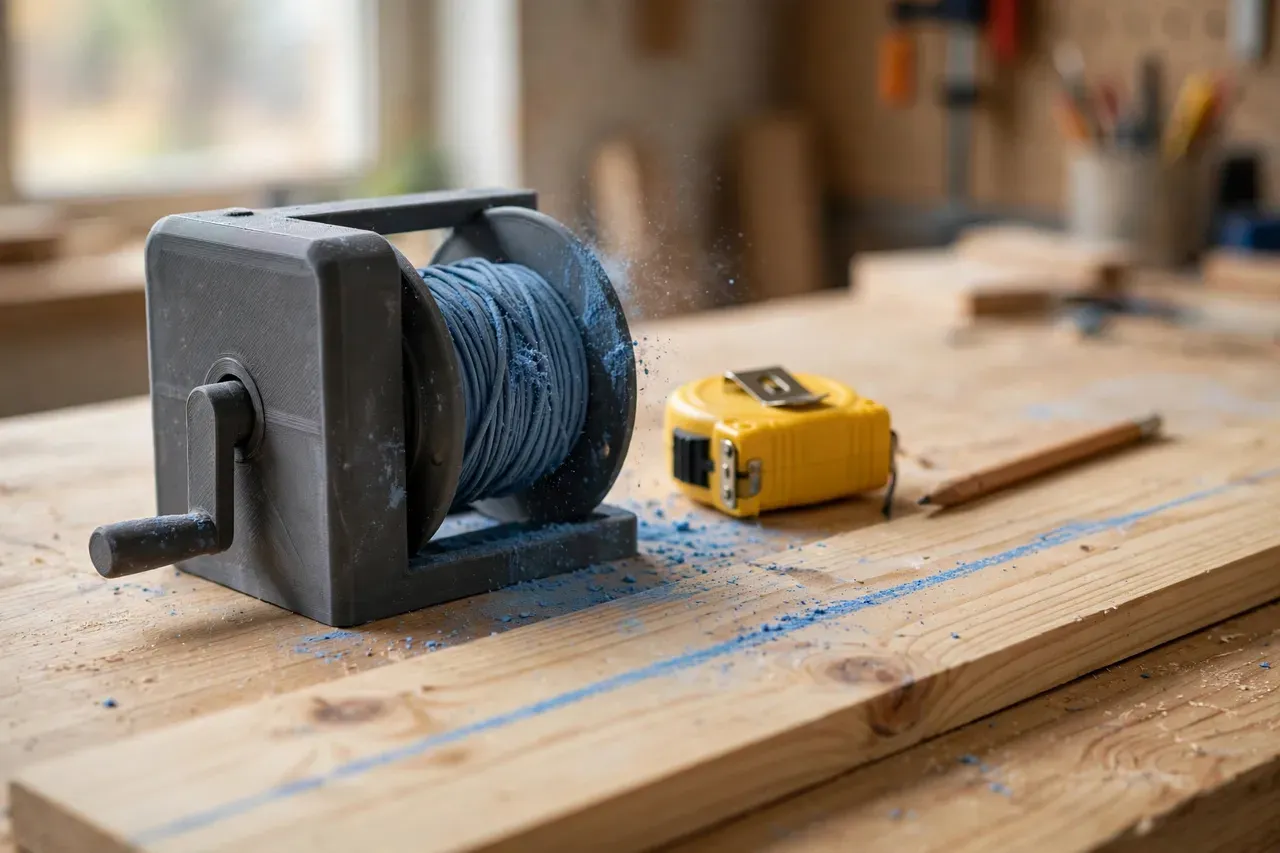
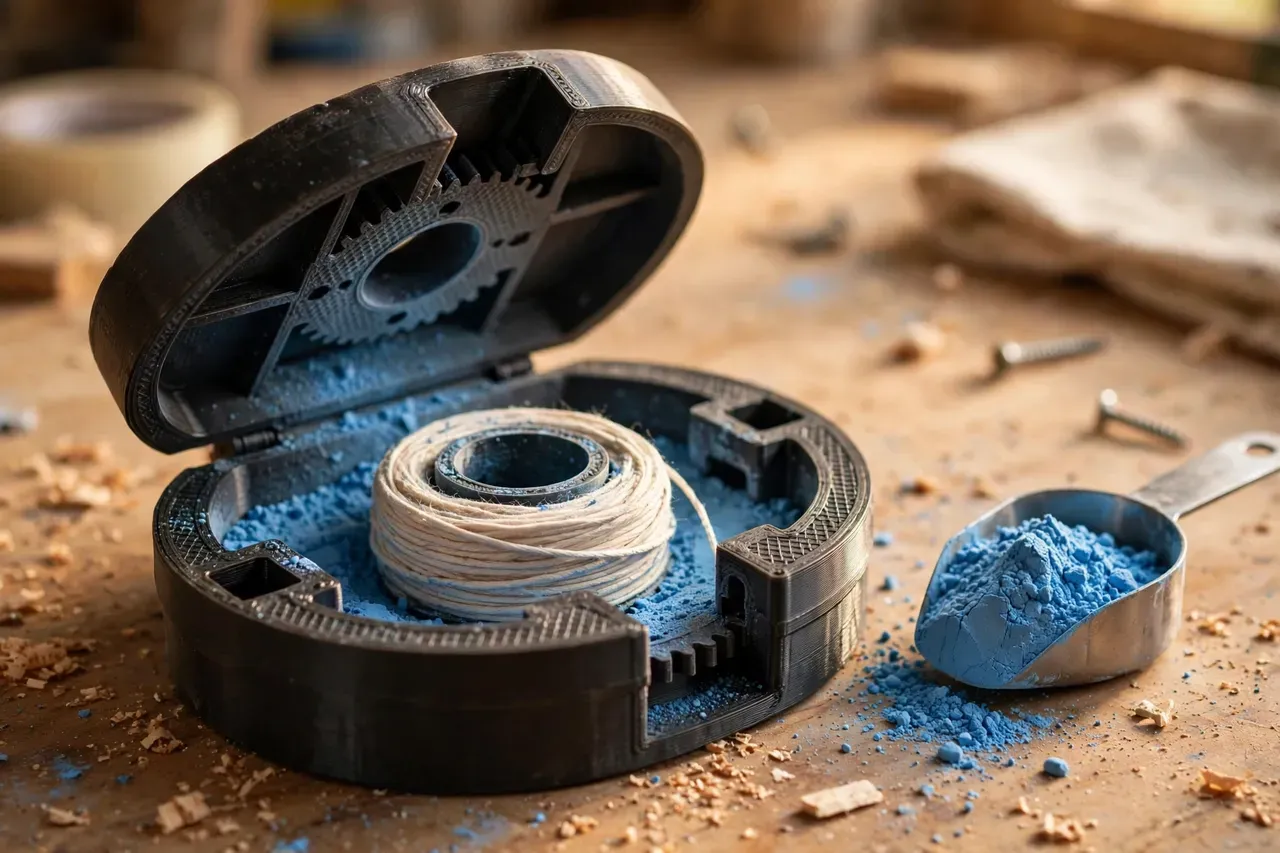
A 3D printed chalk line reel brings that tool into the workshop-made category. It is a small case that holds powdered chalk and a spool of line, pays the line out through a chalked opening, and winds it back in when you are done. Printed at home, it can be sized to the line you have, shaped to fit your hand, and repaired or reprinted if a part wears out.
What You Need
A chalk line reel has more moving parts than it first appears: a case, a spool, a winding handle, a chalk chamber, and a line exit that coats the line evenly. Keep each part simple and the whole tool becomes reliable.
Materials and tools
- A home 3D printer with a modest build area
- PETG filament is preferred, since chalk dust and damp workshops are hard on PLA over time
- Braided chalk line, roughly 1 to 1.5 mm thick, about 10 to 15 metres long
- Powdered chalk in a colour that shows on your surfaces, usually blue or red
- A small hook or clip for the free end of the line
- A screwdriver, small drill, sandpaper, and a pencil
- A tape measure for setting out your marks
Use braided line rather than twisted twine: it holds chalk better, snaps more cleanly, and tangles less on the spool. Keep the line length modest. A very long line is harder to keep taut, and most home repair lines are under five metres anyway.
Suggested print settings
- Layer height: 0.20 mm for general parts.
- Walls: 4 perimeters for the case, so chalk dust does not find its way through thin walls.
- Infill: 30 to 40 percent for the case and spool; higher for the crank handle if it feels flimsy.
- Top and bottom layers: 4 or more, to keep the chalk chamber sealed.
- Orientation: Print the case halves flat, and the spool on its side or flat depending on your design.
- Supports: Only for overhanging handle mounts or line guides.
Print the case halves first and check that they close cleanly before you print the spool and handle. A case that does not seal will leak chalk into your tool bag.
Design Considerations
A chalk line reel lives or dies on three details: how well it holds chalk, how smoothly it winds, and how cleanly the line snaps.
1. The chalk chamber
The chamber needs to hold enough chalk to coat the line for many snaps, but not so much that chalk packs solid around the spool. A chamber that surrounds the spool, with a fill opening closed by a screw cap or a snug plug, works well. Add a small felt or foam pad at the line exit: the line drags through it on the way out and picks up an even coat of chalk, instead of emerging either bare or caked.
2. The spool and crank
The spool should be wide enough to hold your line in even layers, with flanges tall enough to stop line slipping off the sides. A crank handle on the outside of the case, geared or direct, lets you rewind quickly. Keep the crank short enough to fit in a pocket or pouch, but long enough to turn comfortably. A small ratchet or a simple friction catch that stops the spool unwinding on its own is worth adding, since a reel that unwinds in a bag makes a mess.
3. The line exit and hook
The line should exit through a small, smooth hole or slot. A rough exit frays the line and strips chalk unevenly, so sand or ream this opening carefully. At the free end, fit a small metal hook or a pointed clip that can catch on a nail, a board edge, or a pencil mark. A hook that is too large will not catch on a fine mark; one that is too small will slip off under tension.
4. Ergonomics and sealing
The case should fit comfortably in one hand, because your other hand is usually holding the far end of the line or a pencil. Rounded corners, a slightly flattened side for grip, and a clip or loop for hanging the reel from a belt or nail all help. Pay attention to the seam between case halves: a tongue-and-groove edge or a thin foam gasket keeps chalk where it belongs.
Step-by-Step: Printing and Assembly
- Model the case halves. Build two matching halves with a chamber, a spool axle seat, and a fill opening.
- Model the spool, crank, and line guide. Keep the spool simple and the crank sturdy.
- Print the case halves first. Check that they close flush and the seam is tight.
- Print the spool and crank. Clean up the axle hole and the line exit.
- Assemble the spool and crank. The spool should spin freely without wobbling.
- Wind the line. Tie one end to the spool centre and wind it on evenly, in neat layers.
- Thread the line through the exit. Pass it through the chalk pad or felt wiper on its way out.
- Fit the hook. Tie or crimp the hook to the free end securely.
- Fill with chalk. Add powdered chalk through the fill opening, close the cap, and shake gently to coat the line.
- Test a snap on scrap. Pull out a metre of line, stretch it over a scrap board, and snap it to check the line is clear and straight.
If the snapped line is faint, add more chalk or check that the felt wiper is actually contacting the line. If it is blotchy, the line may be caked: pull out several metres and rewind to even the coating.
Step-by-Step: Snapping a Line
- Mark your two endpoints. Measure and pencil-mark both ends of the line you want.
- Fix the hook. Catch the hook on a nail, a board edge, or hold it firmly on the first mark.
- Walk to the far end. Pull line out of the reel as you go, keeping it chalked.
- Pull the line taut. Stretch it tight between the two marks, with no sag.
- Lift and release. Lift the line a short distance from the surface at the middle, then let it go cleanly. Do not pluck it sideways.
- Check the line. It should be straight, continuous, and visible. If it is faint, re-chalk and snap again.
- Wind the line back in. Use the crank to rewind evenly, and trap the hook in its clip so the reel does not unwind in storage.
For very long lines, have a helper hold the far end, or pin the hook to a nail. A line held by hand alone tends to shift just as you snap it.
Tips for Better Results
- Snap over a clean surface. Dust and debris under the line blur the mark.
- Keep the line taut. Sag is the most common cause of a curved chalk line.
- Lift straight up. Pulling the line sideways before release throws the mark off to one side.
- Re-chalk often. A line that has been pulled out and rewound several times loses chalk; a quick shake of the reel refreshes it.
- Choose chalk colour for the surface. Blue shows well on pale timber and drywall; red shows better on dark or damp surfaces.
Common Mistakes to Avoid
- Using twisted twine. It holds chalk poorly and snaps unevenly. Braided line is worth the small extra cost.
- Overfilling the chamber. Packed chalk jams the spool and cakes the line. Fill to about two-thirds.
- Snapping a slack line. A loose line gives a wavy mark that looks straight until you cut to it.
- Ignoring the line exit. A rough exit frays line quickly and makes every snap inconsistent.
- Expecting layout precision. A chalk line marks a straight reference, not a finished edge. Always check critical measurements with a tape and square.
Care, Storage, and Alternatives
Empty loose chalk before long storage if the reel will sit in a damp garage, since damp chalk clumps and jams the spool. Replace the line when it frays, and clean the felt wiper occasionally so it keeps coating evenly. If a case half cracks, reprint that half rather than replacing the whole reel.
A long straightedge or a track guide is better for marking short, exact lines, and a laser level is faster for level lines across a room. The chalk line still wins for long layout lines on floors, walls, and large boards, where a straightedge cannot reach. It pairs naturally with other layout tools: for vertical work, you may also enjoy our related guide, “3D Printed Plumb Bob and Line Reel: Hang True Verticals the Old-School Way,” which covers the vertical counterpart to the horizontal lines in this article. And when those lines become cuts, “3D Printed Shooting Board for Hand Planes: Square Edges With a Hand Plane” shows how to true up the edges you have marked.
FAQ
Will a printed chalk reel hold up to regular use?
Yes, if it is printed with solid walls and a well-sealed case. PETG handles workshop knocks and damp better than PLA. The parts that wear first are the line and the felt wiper, both of which are cheap to replace.
What chalk colour should I use?
Blue is the standard for most indoor work and shows well on timber and drywall. Red is more visible on dark surfaces but can stain, so avoid it on finished surfaces you care about. White chalk is useful on dark materials.
Why is my snapped line faint or broken?
Usually the line needs more chalk, the felt wiper is not contacting the line, or the line was not taut. Shake the reel, check the wiper, and snap again with the line pulled tight.
Yes. Fix the hook at the top mark, pull the line down to the bottom mark, hold it taut, and snap it. Gravity helps keep the line against the wall, but you still need to hold it taut to avoid sag.
Can I use a chalk line on a vertical wall?
Yes. Fix the hook at the top mark, pull the line taut to the bottom mark, and snap it. Keep the line tight to avoid sag.
Conclusion
A chalk line is a beautifully simple tool: a string, some chalk, and a snap. Printing your own reel gives you a version sized to your line, shaped to your hand, and easy to repair when a part wears out.