
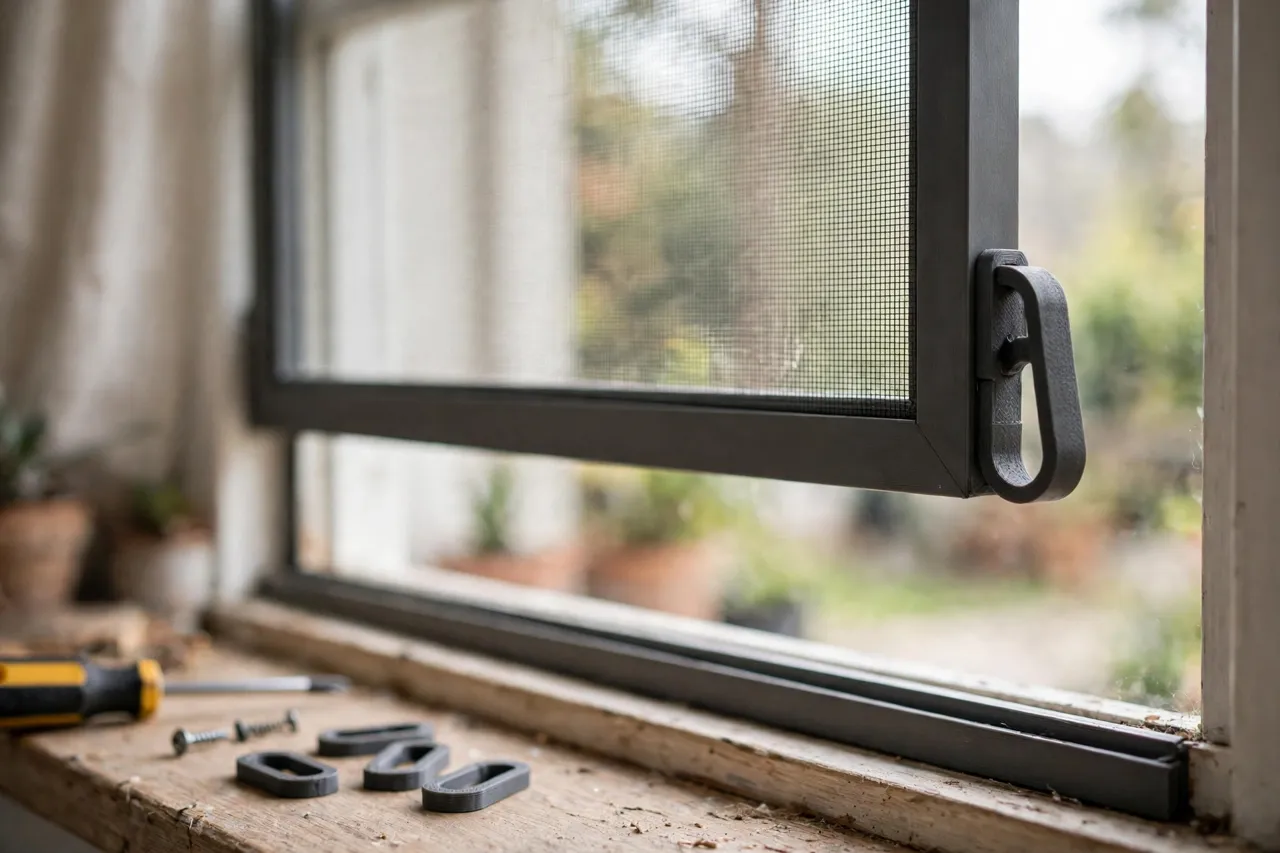
Introduction
Window screen pull tabs are small, brittle, and doomed. They are the little plastic loops or finger pulls on a screen frame that let you lift the screen out of its track for cleaning or removal — and after a few years of sun, heat, and yanking, they snap off. What is left is a screen with no grip: you end up prying at the frame edge with a screwdriver, bending the frame, or simply leaving the screen in place because removing it is too much trouble.
A 3D printed pull tab replaces the broken original in minutes. It is a small clip or loop that grips the screen frame rail, gives your fingers something solid to pull, and restores the screen to easy removal. Print it to match your frame’s rail profile, fit it without tools or with a single screw, and the screen works properly again — no new frame, no new screen, no fiddly repair kit that almost fits.
These are light-duty hardware parts for residential screens. They help you lift a screen; they do not hold the screen in against wind, secure a window, or replace a damaged frame. If the frame is bent or the mesh is torn, fix those problems too — a new tab on a broken screen is only half a repair.
What You Need
Pull tabs are tiny prints, ideal for using up the end of a spool. The main task is measuring your screen frame’s rail.
Materials and tools
- A home 3D printer with a small build area (tabs are typically under 60 mm)
- PETG filament preferred — it handles sun and window heat better than PLA
- The screen frame, accessible for measuring, plus calipers
- A small flat screwdriver for removing old tab remnants, and sandpaper or a small file
- A single short screw per tab, only if your design uses a screw fixing
- Optional: a drop of flexible adhesive for extra retention on smooth aluminum rails
Measure the bottom rail of the screen frame: its width, height, wall thickness if it is a channel, and the position of any existing tab slot or screw hole. Screen rails vary — some are flat bars, some are channels, some have a dedicated tab slot — so measure your frame rather than assuming a standard size.
Suggested print settings
- Layer height: 0.16 to 0.20 mm for a neat small part.
- Walls: 4 perimeters, so the thin grip loop does not snap under a firm pull.
- Infill: 40 to 60 percent, grid or gyroid. A pull tab takes real pulling force for its size, so denser infill matters.
- Top and bottom layers: 4 or more.
- Orientation: Print the tab flat or upright depending on the design, with the grip loop’s layers oriented so pulling force runs across layers, not along layer lines.
- Supports: Usually none for a simple clip; a loop design may need a small support inside the loop that is easy to remove.
Print one tab first and test it on the frame before printing a full set. A tab that fits loosely will slide off the first time you pull the screen.
Design Considerations
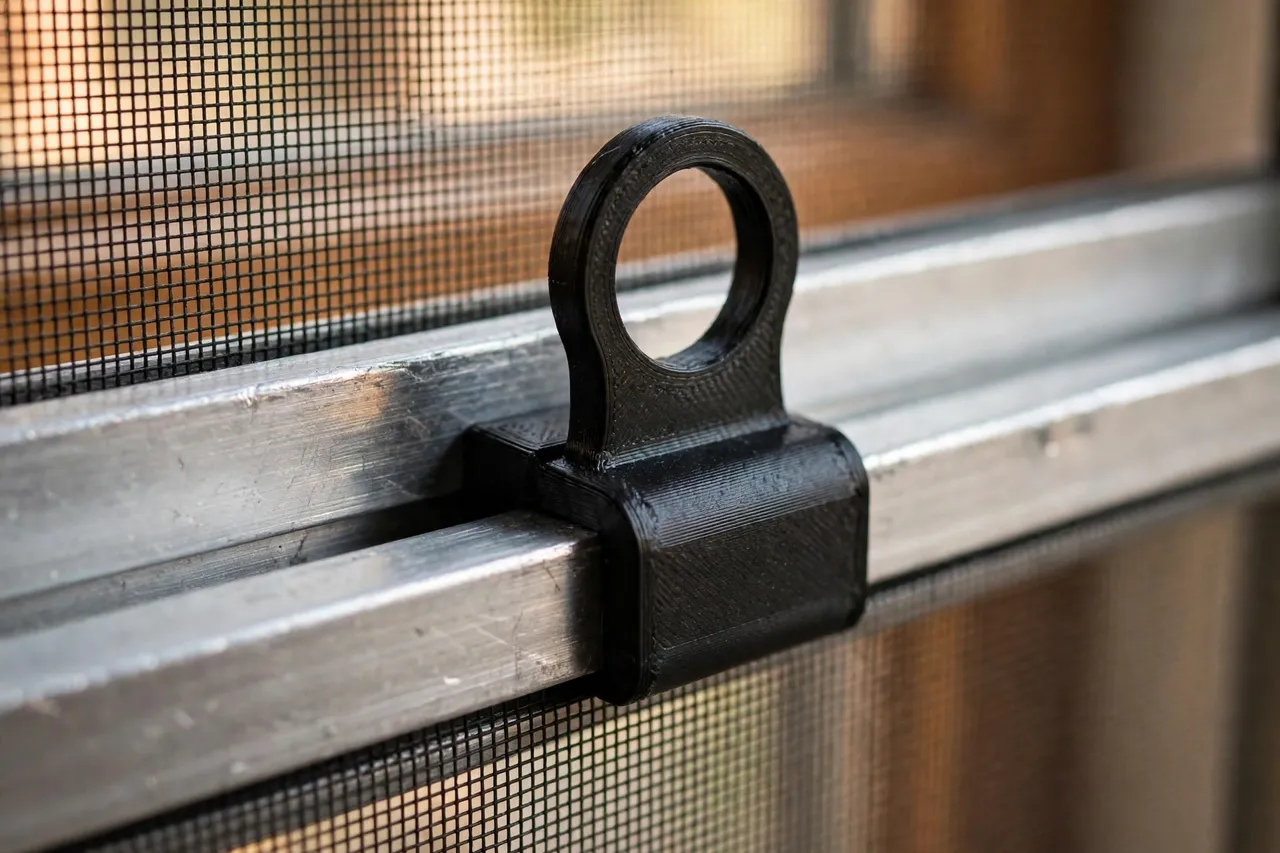
A pull tab has two parts that must both work: the grip on the frame and the loop your fingers pull.
1. Frame grip: clip, channel, or screw
Three fixing styles cover most screens. A clip style wraps around the rail and grips by spring tension — simplest, but it needs the right material flex, so PETG is better than brittle PLA here. A channel style slides into or over the rail’s existing channel and locks with a small detent — very secure on frames that have a channel. A screw style uses the original tab’s screw hole and is the most positive fixing, but it requires the hole to still be intact. Pick the style that matches your frame: if the old tab screwed on, a screw tab is the obvious replacement; if it clipped on, a clip tab restores the original behavior.
2. The finger loop
The loop should fit one or two fingers comfortably — an opening roughly 20 to 25 mm wide and 15 to 20 mm tall works for most hands — with rounded edges that do not dig in during a firm pull. A loop that is too small is hard to grip; one that is too large snags on the window track when the screen slides. Keep the loop’s profile low so the screen still slides in its track without the tab catching, and test the slide after fitting before calling the job done.
3. Strength and layer orientation
Pull tabs fail at layer lines when printed in the wrong orientation. Orient the print so that pulling force runs across the layers, not between them — for most loop designs, that means printing the tab on its side or upright with the loop’s pull direction perpendicular to the layer lines. Thicker loop walls (3 to 4 mm) and generous fillets where the loop meets the frame grip spread the load and prevent the classic snap at the joint. Sun and weather resistance
Screens live in sunlight, and PLA degrades and becomes brittle in UV and heat. PETG is the minimum sensible choice; ASA is even better for south-facing windows that bake all summer, if your printer handles it. Print tabs in a color close to the frame — black, white, or bronze cover most frames — so replacements blend in. This sun-awareness also applies to other small exterior parts such as 3D Printed Door Sweep End Caps: Caps That Finish Door Sweeps, where material choice decides whether a part lasts a season or years.
Step-by-Step: Printing and Assembly
- Remove the screen. Lift it out carefully, noting how the old tabs (or their remnants) were fixed.
- Clean the rail. Remove broken tab fragments and clean dirt from the rail and any channel.
- Measure the rail. Width, height, channel shape, and any existing screw hole position, with calipers.
- Model the tab. Grip style matched to your rail, finger loop sized for a comfortable pull, thick walls and fillets at the joint.
- Print one test tab. Fit it to the rail and pull firmly — it should hold without sliding or flexing alarmingly.
- Adjust the grip. Too loose? Tighten the clip or deepen the detent. Too tight? Add 0.2 mm of clearance.
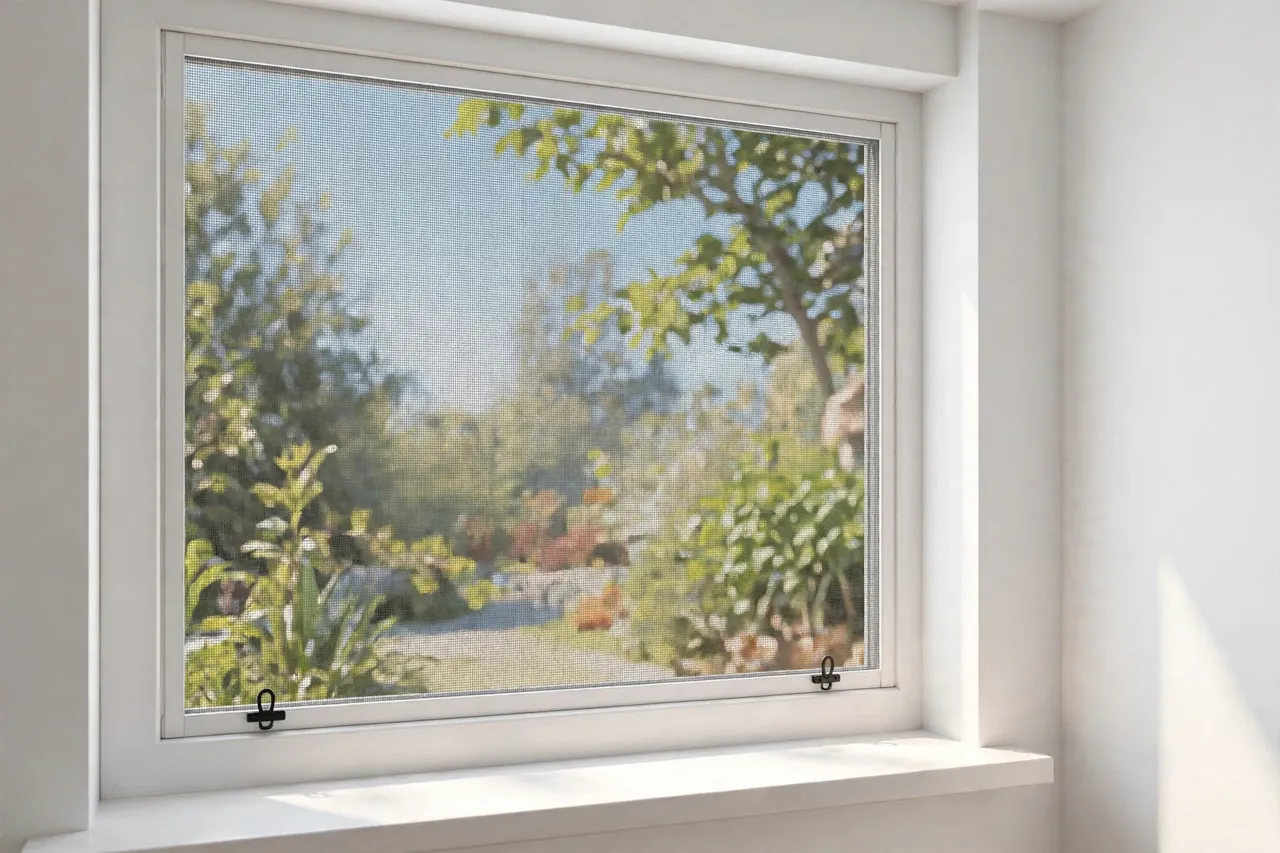
- Print the remaining tabs. Most screens use two, one near each bottom corner.
- Fit all tabs. Clip, slide, or screw them on, then refit the screen and test the slide in its track.
Step-by-Step: Using It
- Refit the screen in its track. Slide it in with the tabs facing inward, where fingers can reach them.
- Test removal. Grip a tab and lift the screen out — it should come out smoothly, without the tab slipping or the frame bending.
- Test the slide. Slide the screen back and forth in the track; tabs should not catch on the track or the window frame.
- Use both tabs together. For larger screens, pull both tabs evenly rather than yanking one side, which twists the frame.
- Inspect annually. Sun and use wear tabs over time; a quick check each spring catches a weakening tab before it snaps.
- Replace as needed. When a tab shows cracks or looseness, reprint it — the file is already tuned to your frame.
Tips for Better Results
- Print in PETG or ASA, not PLA. Sun-facing tabs need weather resistance; PLA tabs become brittle and snap again within a season or two.
- Round every edge. Sharp printed edges dig into fingers during a firm pull; fillets and a quick sand make tabs comfortable.
- Match the frame color. A matching tab looks original; a clashing one draws attention to the repair.
Common Mistakes to Avoid
- Printing in the wrong orientation. Layer-line failures are the top cause of re-broken tabs. Orient the print so pull force runs across layers.
- Making the loop too small. A loop that only fits a fingertip is painful to pull and encourages prying the frame instead.
- Ignoring track clearance. A tab that catches in the track makes the screen harder to use than no tab at all. Test the slide after fitting.
- Using a clip on a smooth rail without retention. Smooth aluminum rails defeat weak clips; add a detent, a screw, or a dot of adhesive if the clip slides.
- Forcing a broken frame. If the rail is bent or cracked, a new tab will not fix it. Straighten or replace the frame section first.
Care, Storage, and When to Choose an Alternative
Check tabs each spring for cracks, fading, or looseness, and reprint any that look tired. Keep spare tabs labeled by window, since different windows may have different rail profiles. Store spares out of direct sun.
Choose a manufactured replacement if your screen brand sells exact-fit tabs cheaply — sometimes the factory part is the fastest fix. Also, if the frame itself is damaged or the mesh is torn, repair or replace the screen as a whole rather than fitting tabs to a failing frame. For a sound screen with broken pulls, though, printed tabs are the ideal repair, and the same clip-and-fit approach works for other small window hardware such as 3D Printed Screen Door Handle: A Replacement Handle for Screen Doors.
FAQ
Will one tab design fit all my screens?
Only if all your screens share the same rail profile. Measure each window type separately — many homes have two or three different screen frames, and each needs its own tab design.
Can I print tabs in PLA if the window is shaded?
Shaded, interior-facing screens are kinder to PLA, but PETG is still the safer choice for any window part. The cost difference is tiny and the durability difference is large.
My tab slides off the rail when I pull. How do I fix it?
Tighten the clip, deepen the detent, add a screw fixing if a hole exists, or use a dot of flexible adhesive. Also check the rail for dirt or oxidation that reduces grip — a clean rail holds better.
How many tabs does a screen need?
Most residential screens use two, one near each bottom corner. Large screens benefit from a third tab in the middle of the bottom rail to spread the lifting force evenly.
Conclusion
A broken screen pull tab is a tiny failure that causes outsized annoyance — a screen you cannot remove does not get cleaned, and prying at the frame only damages it further. A printed replacement restores the screen to easy, one-handed removal for the cost of a few grams of PETG and a few minutes of fitting.
Measure your rail, print a test tab in the right orientation, and fit a pair. It is one of those small repairs that makes a window feel properly maintained again — and once the tabs are on, you will wonder why you put up with the broken ones for so long.


