Introduction
A door sweep does a quiet, useful job: it brushes the threshold, blocks drafts, and keeps dust and insects from sneaking under the door. But a sweep cut to length has an unfinished problem at each end. The cut aluminum bar shows a raw edge, the brush bristles splay and fray, and the rubber insert can creep out of its channel over time. The door works, but it looks unfinished — and the fraying end gradually gets worse every time the door opens and closes.
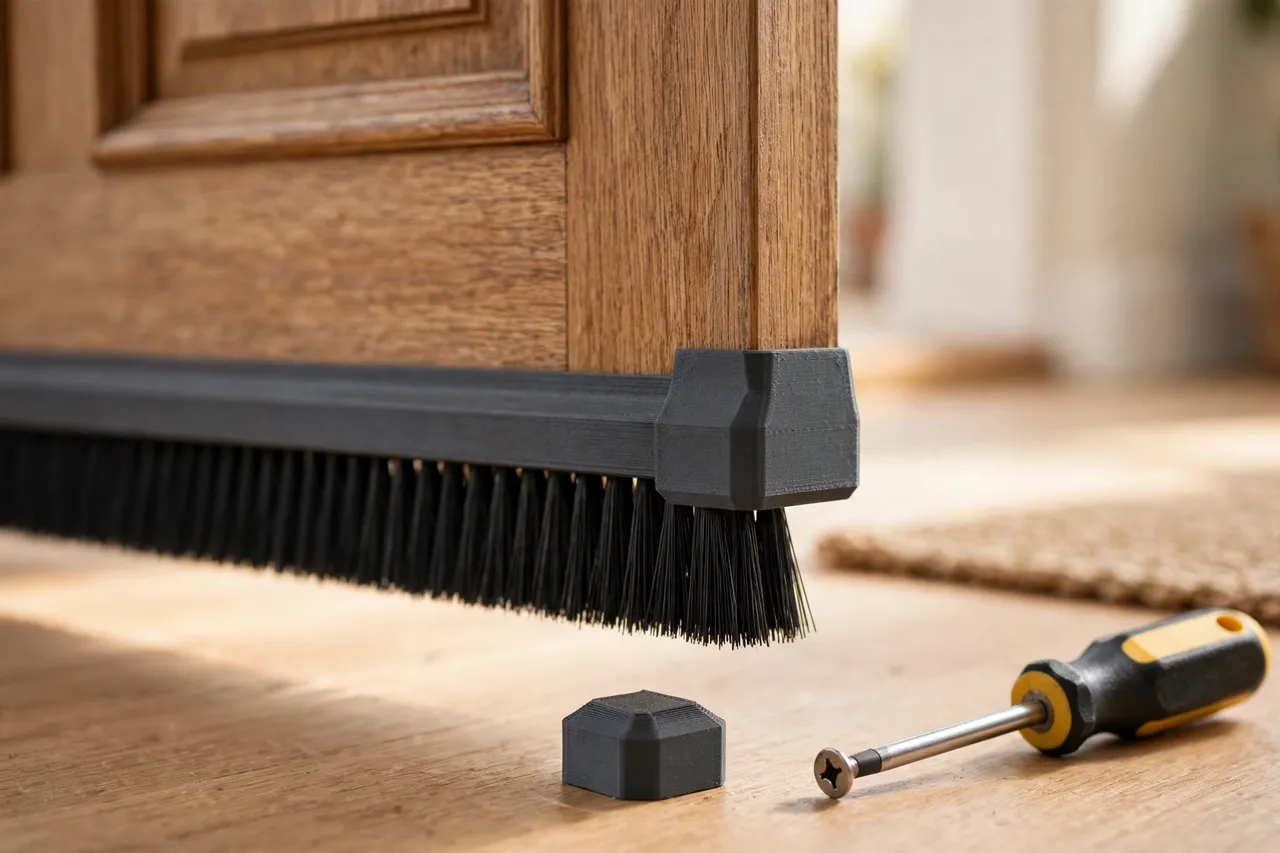
A 3D printed end cap finishes the job. It is a small sleeve that slides over the cut end of the sweep, covering the raw edge, holding the bristles or rubber strip in place, and giving the sweep a clean, intentional look. Print it to match your sweep’s profile, fit it in minutes, and the sweep looks like it came that way from the factory.
These are light-duty finishing parts. They cap and protect a sweep; they do not hold the door, carry load, or replace the sweep itself. If the sweep is worn out, bent, or no longer seals, replace the sweep — a cap cannot rescue a sweep that has failed.
What You Need
End caps are tiny prints, quick to make and easy to iterate. The only real work is measuring your sweep’s profile accurately.
Materials and tools
- A home 3D printer with a small build area (caps are typically under 60 mm)
- PETG filament preferred — it handles temperature swings at an exterior door better than PLA
- The door sweep itself, removed or accessible for measuring, plus calipers
- A hacksaw or fine file if the sweep end needs squaring up
- A screwdriver if the sweep is screw-fixed, and a small brush for cleaning the channel
- Sandpaper or a small file for fitting the cap
Measure the sweep’s cross-section carefully: the bar width and height, the channel shape, and the brush or rubber strip dimensions. Sweep profiles vary widely — a cap modeled for one brand rarely fits another — so measure your own sweep rather than copying dimensions from a photo.
Suggested print settings
- Layer height: 0.16 to 0.20 mm for a neat fit on a small part.
- Walls: 4 perimeters, so the thin cap walls stay rigid and do not split when pushed on.
- Infill: 30 to 50 percent, grid or gyroid. Small parts benefit from denser infill.
- Top and bottom layers: 4 or more.
- Orientation: Print the cap upright, open end up, so the interior prints cleanly.
- Supports: Usually none if the cap is a simple sleeve; internal supports for complex profiles should be avoided by simplifying the shape.
Print one cap first and test it on the sweep before printing the second. Sweeps are rarely perfectly symmetric, so check both ends.
Design Considerations
A good end cap is shaped by the sweep profile, the fit, and how it stays on.
1. Matching the sweep profile
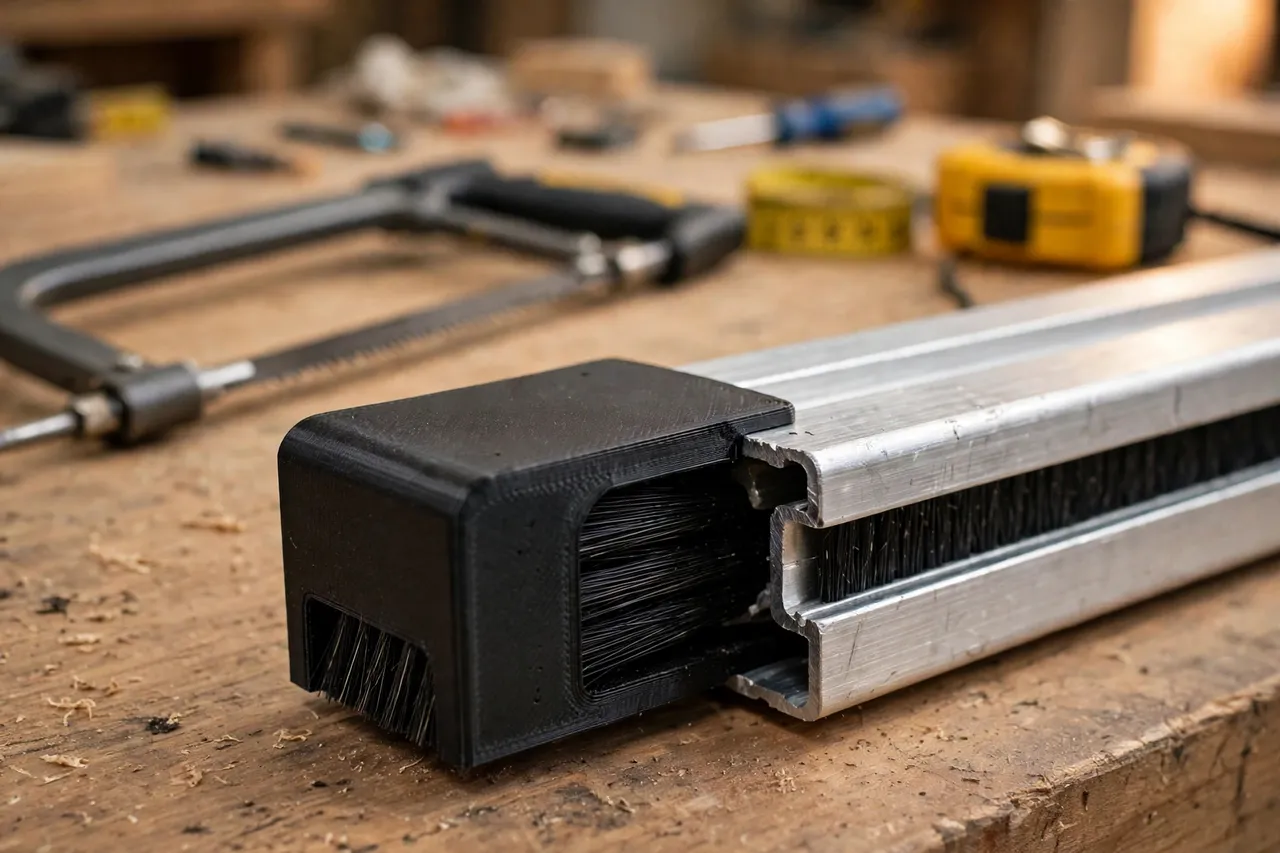
The cap’s interior must mirror the sweep’s cross-section: the bar shape, the channel, and the space the brush or rubber strip occupies. The simplest reliable approach is a sleeve that wraps the whole bar end, with an internal rib or stop that the bar butts against. Leave a small recess for the brush so bristles are not crushed flat — crushed bristles lose their seal and look worse than frayed ones. If your sweep has a distinctive profile, such as a T-shaped bar or a double-channel design, model the cap in two halves that clip together rather than forcing a single sleeve over an awkward shape.
2. Fit: snug, not forced
Aim for about 0.2 to 0.4 mm of clearance around the bar. The cap should push on with firm thumb pressure and stay put through door swings, but not require tools to force on — a cap that needs hammering will crack, and a cap that slides off freely is useless. If the fit is slightly loose, a small internal rib, a dot of flexible adhesive, or a tiny set-screw hole can add retention. Avoid gluing caps permanently; you will want to remove them when the sweep is eventually replaced.
3. Length and appearance
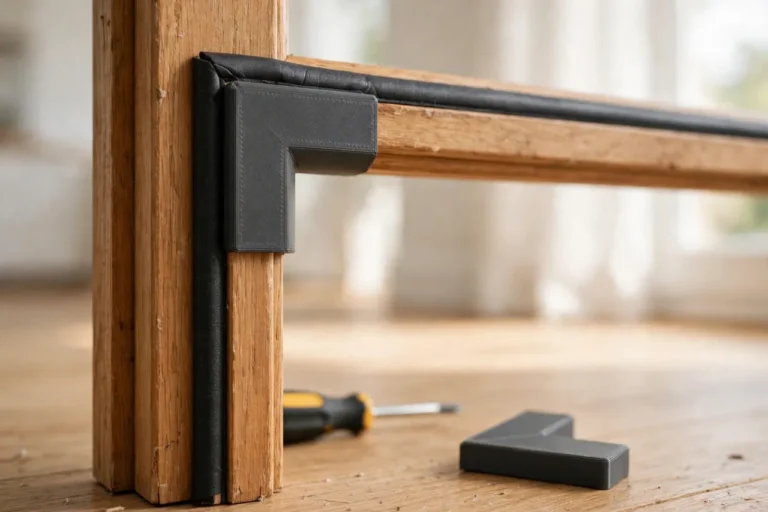
Caps 20 to 35 mm long cover the raw end and look proportionate; much longer and they look like an afterthought, much shorter and they do not hold. Round the outer edges and match the cap color to the sweep or the door — black, white, and brown cover most doors. A cap that matches disappears; a cap that clashes draws the eye to the very thing it was meant to tidy. The same finishing mindset applies to related door parts such as 3D Printed Weatherstrip Corner Pads: Pads for Weatherstrip Corners, where small parts make a door’s sealing look complete.
4. Drainage and dirt
Exterior door sweeps get wet. A cap with a tiny drain notch at the bottom lets water escape instead of pooling inside and corroding the bar end. Keep the notch small — 2 to 3 mm — so it drains without letting bristles escape. On interior doors, drainage matters less, but a small vent still prevents trapped moisture.
Step-by-Step: Printing and Assembly
- Remove the sweep or access its end. Unscrew it if needed and clean dust from the channel.
- Measure the profile. Bar width, height, channel shape, and brush or rubber dimensions, with calipers.
- Square the cut end. File any burrs so the cap seats against a clean edge.
- Model the cap. A sleeve matching the profile, 20 to 35 mm long, with a stop rib and a small drain notch.
- Print one test cap. Check the fit on the sweep end — firm thumb pressure, no rocking.
- Adjust if needed. Too tight? Add 0.2 mm of clearance and reprint. Too loose? Add an internal rib.
- Print the second cap. Test both ends, since sweeps are rarely identical at each end.
- Fit both caps. Push them on fully, check the brush sits neatly inside, and confirm the door still swings freely.
The whole job, including printing, usually takes under an hour of active work.
Step-by-Step: Using It
- Refit the sweep. Screw it back to the door bottom at the correct height — the brush should just kiss the threshold, not drag hard.
- Slide the caps on. Push each cap fully onto its sweep end until it seats against the stop.
- Check door swing. Open and close the door several times; the caps should not catch the threshold or the frame.
- Check the seal. With the door closed, look for daylight under the door and feel for drafts along the sweep.
- Inspect seasonally. Caps can loosen with temperature changes; a quick push back into place each season keeps them seated.
- Replace with the sweep. When the sweep wears out, print fresh caps for the new sweep rather than forcing old caps onto a different profile.
A finished sweep is a small thing, but it is one of those details visitors notice subconsciously: the door looks cared for rather than patched.
Tips for Better Results
- Print in PETG for exterior doors. It resists heat, cold, and moisture better than PLA, which can warp in a sun-baked doorway.
- Color-match the sweep. A matching cap vanishes; a mismatched one advertises itself.
- Print a spare pair. Caps are tiny and cheap to print — a spare pair in the parts drawer saves a reprint when one goes missing during a sweep change.
- Chamfer the cap’s outer edges. Rounded edges look manufactured and are less likely to catch on shoes or the threshold.
- Test fit before refitting the sweep. Fitting caps while the sweep is off the door is far easier than crouching under a hung door.
Common Mistakes to Avoid
- Modeling from a generic profile. Sweep profiles vary by brand and type; a cap designed for the wrong profile fits nothing. Measure yours.
- Crushing the brush. A cap interior that ignores the brush space flattens bristles and ruins the seal. Leave room for them.
- Making the cap too tight. Forced caps crack, especially in PLA in cold weather. Firm thumb pressure is the right fit.
- Gluing caps permanently. You will regret it at the next sweep replacement. Use friction, a rib, or a small screw instead.
- Ignoring sweep height. A cap does not fix a sweep mounted too high or too low. Set the sweep height correctly first, then cap the ends.
Care, Storage, and When to Choose an Alternative
Brush dirt from the caps occasionally and push them back into place if they loosen. Keep spare caps in a labeled bag with the sweep’s measurements, so the next replacement does not require re-measuring. If a cap cracks, reprint it — the file is already tuned to your sweep.
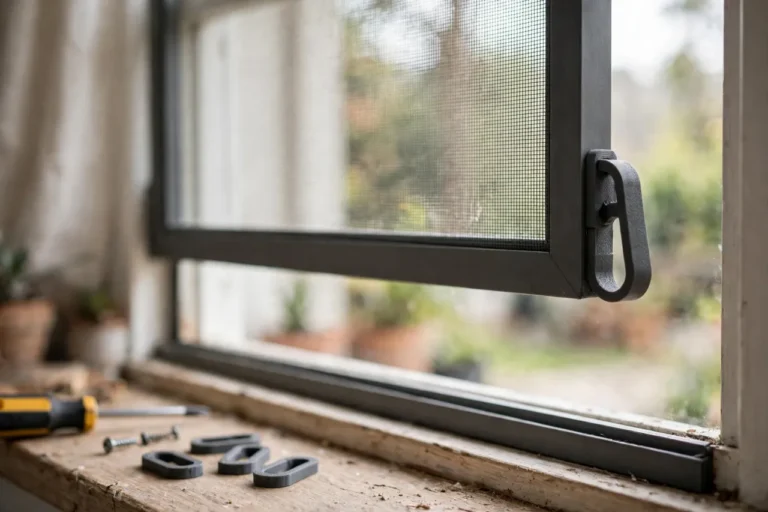
Choose a manufactured cap if your sweep brand sells one that fits; factory caps are sometimes cheaper than the filament and time. Also, if the sweep bar itself is bent, corroded, or the brush is worn flat, replace the whole sweep rather than capping a failed part. A cap finishes a good sweep; it does not revive a bad one. For other small door-finishing jobs, the same print-and-fit approach works well, as in 3D Printed Window Screen Pull Tabs: Tabs That Replace Broken Pulls.
FAQ
Will one cap design fit every door sweep?
No. Sweep profiles differ by brand, type, and size. Measure your sweep’s cross-section and model the cap to it. A universal cap fits nothing well.
Should I glue the caps on?
Usually not. A good friction fit with an internal rib holds fine and lets you remove the cap when the sweep is replaced. If a cap keeps slipping, try a tighter fit or a tiny screw before reaching for glue.
Can I use PLA for an exterior door cap?
It will work for a while, but PETG is the better choice outdoors. PLA softens in heat and becomes brittle in cold, while PETG handles doorway temperature swings much better.
My cap keeps catching on the threshold. What is wrong?
Either the cap is too long, the sweep is mounted too low, or the cap’s bottom edge is too square. Shorten the cap, check sweep height so the brush just kisses the threshold, and chamfer the cap’s bottom edges.
Conclusion
Door sweep end caps are a tiny print with a visible payoff. They stop fraying, cover raw cut ends, hold the brush or rubber strip in place, and make a door sweep look finished instead of cut short. The whole job takes one measurement, one test print, and a few minutes of fitting.
Measure your sweep, print a pair of caps in PETG, and fit them. It is the kind of small, satisfying finish that makes a door — and the room it opens into — feel properly done.