Introduction
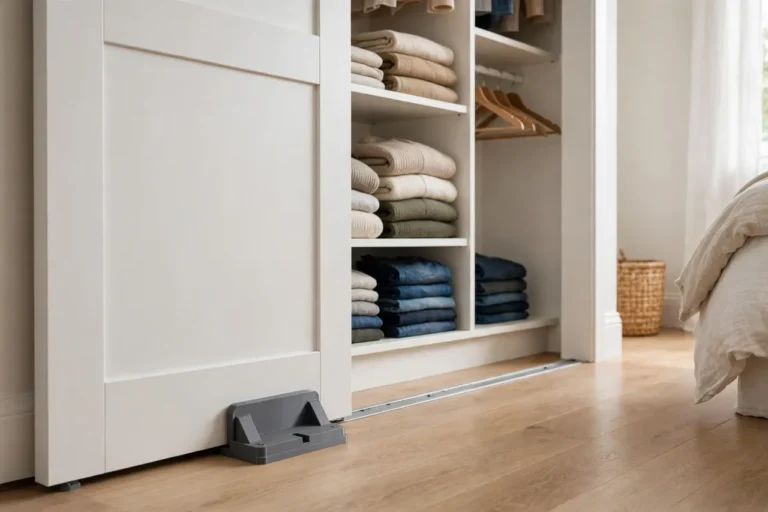
Every pocket door owner knows the same small humiliation: the door slides fully into its pocket, flush with the frame, and there is nothing to grab. You end up hooking a fingernail into the gap, fishing around with a butter knife, or leaving the door permanently ajar just to avoid the problem.
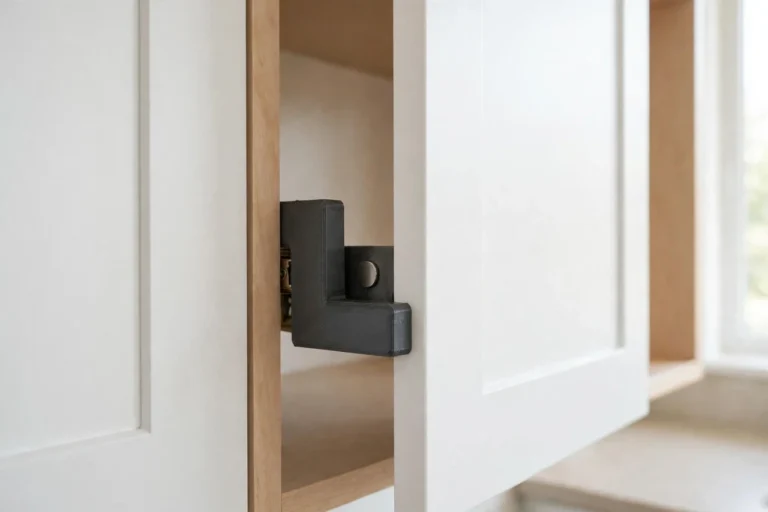
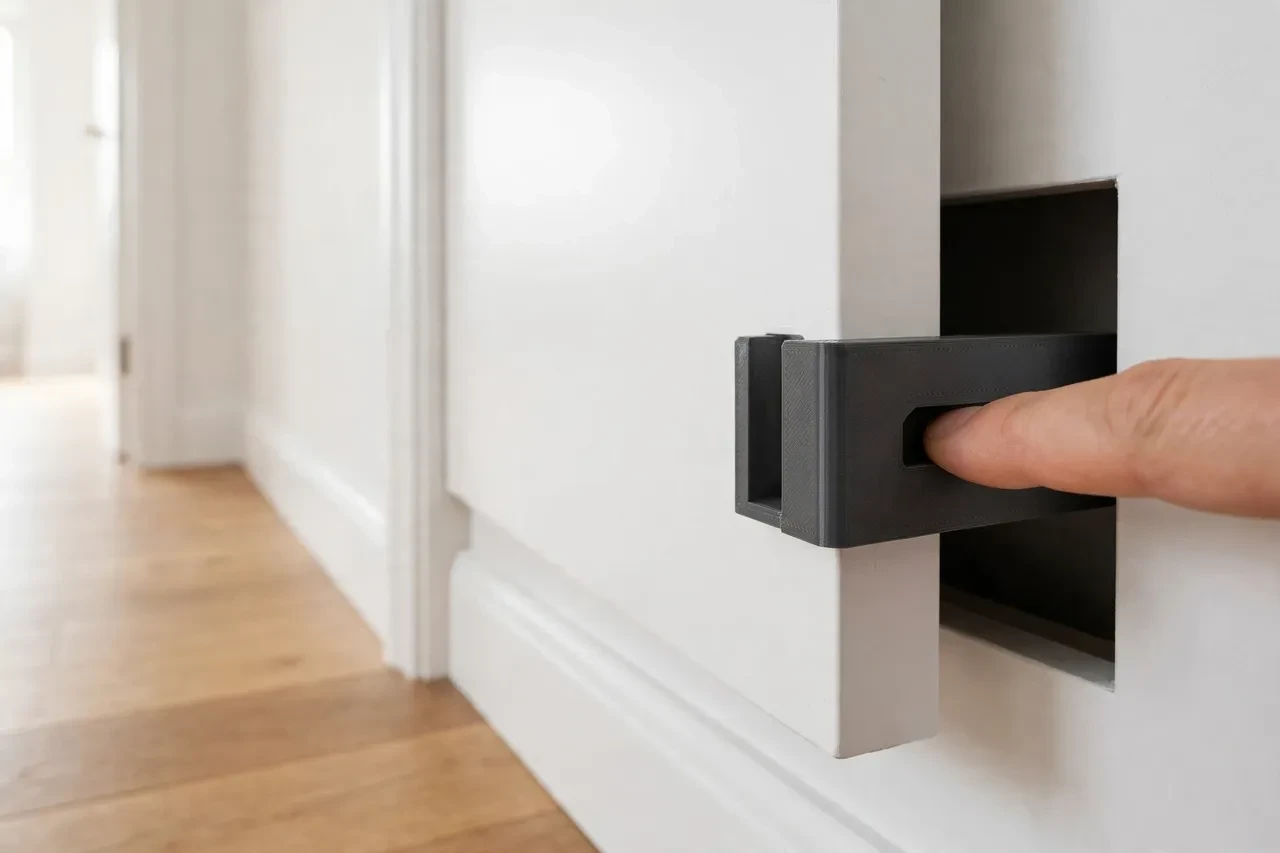
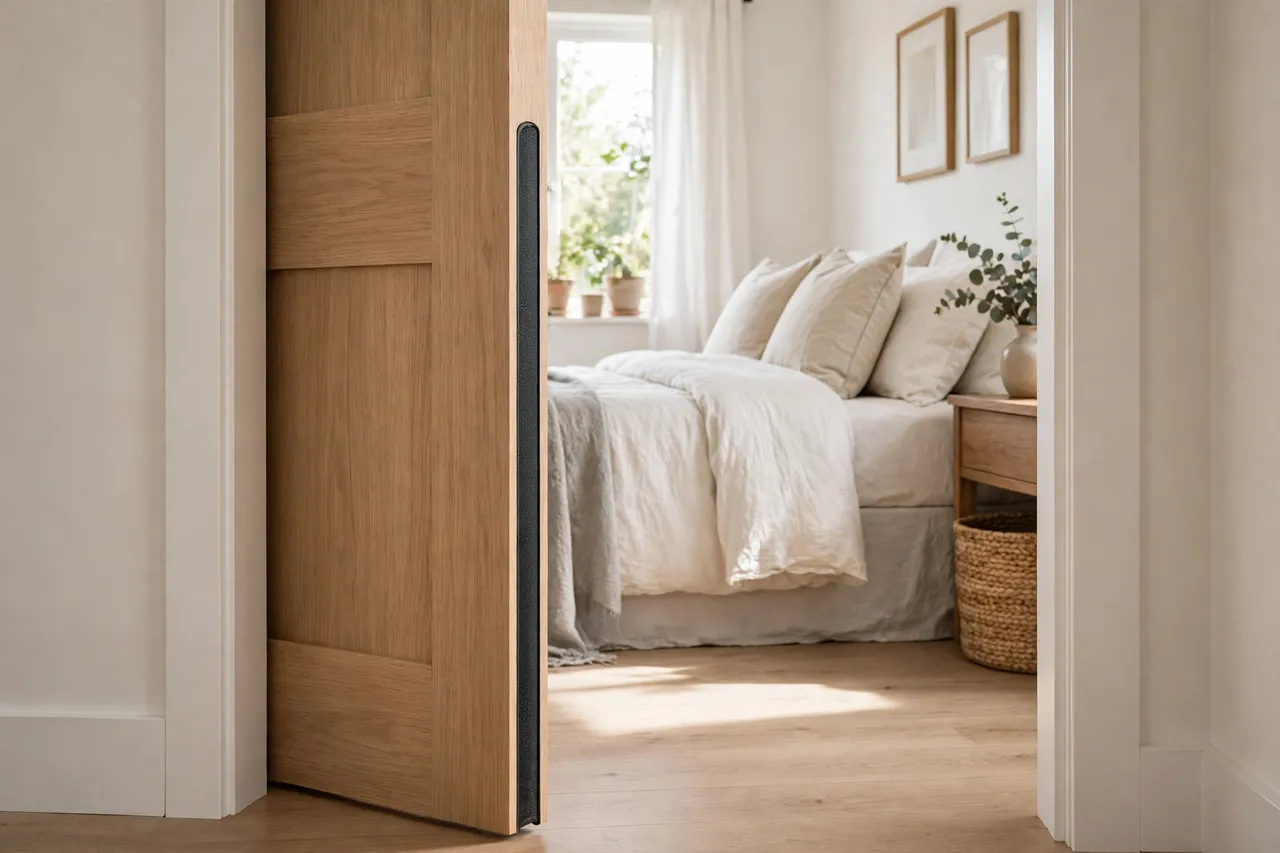
A pocket door edge pull solves this cleanly. It is a small recessed grip fitted into the leading edge of the door, giving one finger a proper purchase to pull the door out and push it closed. It is a light-duty trim part, not a handle for hauling a heavy or sticking door — if your pocket door binds or jumps its track, fix the rollers and track first, because no pull will overcome a door that does not want to move.
Printing your own edge pull has a real advantage over buying one: pocket door edges vary, old doors have been planed and repainted several times, and a printed pull can be sized to the actual mortise you can cut rather than the other way round. This guide covers measuring, designing a simple two-part pull, printing it, and fitting it neatly.
What You Need
The pull is a small part, but fitting it means cutting a neat recess in the door edge, so take your time and practise on scrap first if you have never cut a mortise.
Materials and tools
- A home 3D printer with a build area of roughly 120 mm in at least one direction
- PLA for an indoor door, or PETG if the door is in a humid room such as a bathroom
- Calipers or a ruler, a pencil, and a combination square
- A sharp chisel, a mallet, a drill with a Forstner or spade bit, and a utility knife
- A small screwdriver, short wood screws, fine sandpaper, and wood filler for touch-ups
- Painter’s tape to protect the door faces while you work
A sharp chisel matters more than any other tool here. A dull chisel tears the edge and leaves a ragged recess that no pull can hide. Sharpen or replace the blade before you start, and test your technique on an offcut of similar timber.
Suggested print settings
- Layer height: 0.16 to 0.20 mm, for a smooth grip surface that feels good under a finger.
- Walls: 4 perimeters, so the thin finger recess walls stay strong.
- Infill: 40 to 50 percent, grid or gyroid, because this part gets pulled on daily.
- Top and bottom layers: 4 or more, for a clean visible face.
- Orientation: Print with the visible face up and the recess opening upward if possible, to keep the grip surface smooth.
- Supports: Only if your design includes an undercut lip; a simple recessed cup usually needs none.
Print one test pull and check it in a scrap mortise before cutting into the real door. The door edge is not the place to discover a sizing error.
Design Considerations
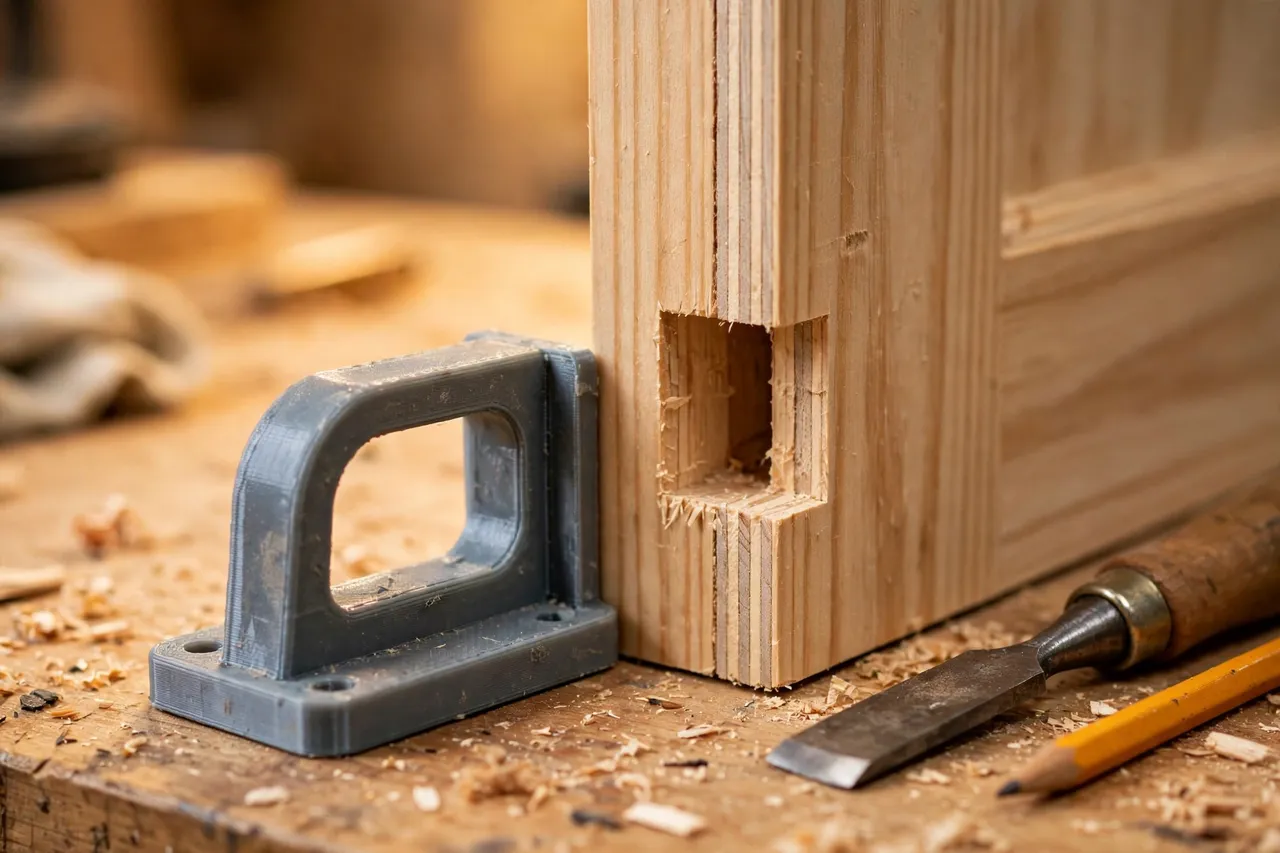
An edge pull is essentially a shallow cup set into the door edge, with a finger scoop and a flange that sits flush with the edge surface. Keep it simple and generous.
1. Size the finger scoop first
The scoop is the part your finger actually uses, so design around it, not around the flange. A scoop about 25 to 30 mm wide and 15 to 20 mm deep gives a fingertip a comfortable purchase without weakening the door edge too much. Anything smaller is fiddly; anything much larger starts to eat into the door’s structure and looks clumsy.
2. Match the door edge thickness
Pocket doors are commonly around 35 to 45 mm thick, but older doors vary. Measure your door edge in the exact spot where the pull will sit, because paint build-up and past planing change the thickness along the edge. The pull body should sit slightly inside the edge thickness, with its flange flush on both faces, so the door still slides into the pocket without catching.
3. Make the flange do the hiding
A flange of 3 to 5 mm around the cup hides slightly ragged mortise edges and gives the screws something to bite into. Round the flange corners, which look better and are less likely to catch clothing or a sleeve as the door slides past. If the door edge is painted, print the pull in a matching colour, or paint it after fitting with a primer made for plastic.
4. Choose screws over glue alone
Glue can hold a pull in a perfect mortise, but doors move, swell, and get pulled hard when someone is in a hurry. Two small screws through the flange into the door edge make the fitting reliable and removable. Pre-drill the screw holes in the printed part so the screws do not split the thin flange, and do not overtighten.
Step-by-Step: Printing the Pull
- Measure the door edge thickness at the pull position and note the available depth before you reach any hardware inside the door.
- Decide the scoop size and overall flange size, then model the cup with a finger scoop on one side.
- Print a test pull and a matching test mortise in scrap timber of the same thickness.
- Check the fit. The pull should sit flush on both faces, with the flange covering the mortise edges evenly.
- Refine as needed. Adjust clearance by 0.2 mm at a time; a pull that is too tight will crack its flange when pressed in.
- Print the final pull (and a spare, since it is small and cheap) in your chosen material.
- Clean up stringing and lightly sand the finger scoop so it feels smooth.
If your door has two pocket doors meeting in the middle, print a matching pair so both edges look intentional rather than improvised.
Step-by-Step: Fitting the Pull
- Mark the position. The pull usually sits at comfortable hand height on the leading edge, roughly where a handle would be. Mark the centre line and the outline of the flange with a pencil and square.
- Protect the faces. Run painter’s tape over both door faces around the outline to reduce chipping.
- Drill out the bulk. Drill a series of overlapping holes inside the outline to the required depth, staying a couple of millimetres shy of the final depth.
- Pare to the lines with a chisel. Work slowly from the centre outward, checking the depth often with the pull itself as a gauge.
- Test-fit the pull. It should sit flush without force. Pare a little more where it binds, rather than hammering it in.
- Drill pilot holes and screw it in, checking both faces are flush and the door still slides freely.
- Touch up the paint around the flange if needed, and test the door through several full slides.
Tips for Better Results
- Practise on scrap first. One practice mortise teaches you more about your chisel and the timber than any amount of reading.
- Keep the depth shallow. You only need enough scoop for a fingertip; going deeper weakens the edge for no benefit.
- Round every edge you can. Rounded flange corners and a smooth scoop feel better and catch less.
- Match the paint. A pull painted to match the door disappears; a contrasting one looks like an afterthought.
- Check pocket clearance. Slide the door fully in and out after fitting, and confirm the pull does not scrape the pocket frame.
Common Mistakes to Avoid
- Cutting the mortise before printing. Print first, then cut to the actual part in your hand — printed dimensions can differ slightly from the model.
- Making the scoop too small. A dainty scoop that only fits a fingernail is barely better than no pull at all.
- Forgetting the door slides both ways. The pull must be flush on both faces, or it will catch inside the pocket.
- Using the pull to drag a sticking door. If the door binds, the pull will eventually crack or pull out. Fix the track and rollers first.
- Skipping pilot holes. Screwing into a thin printed flange without a pilot hole is the fastest way to split it.
Care, Storage, and When to Choose an Alternative
Wipe the pull occasionally and check the screws once a year; timber moves with the seasons and a screw can work slightly loose. A printed pull is easy to replace if it ever cracks — unscrew, lift out, and drop in a fresh one.
Choose a manufactured metal pull instead if the door is very heavy, if the edge is too thin to hold a printed cup safely, or if the door is in a high-traffic commercial setting where it will be yanked dozens of times a day. Metal pulls also suit doors where the pull doubles as a latch or lock housing, which is a job for proper hardware, not a printed trim piece. For a normal home pocket door, though, a printed pull is a tidy, cheap, and genuinely useful upgrade.
FAQ
Will an edge pull work on any pocket door?
Most standard timber pocket doors, yes, provided the edge is thick enough for a shallow cup and the door slides freely. Very thin hollow-core doors may not have enough solid edge material, so check the edge before cutting.
Can I fit a pull without removing the door?
Often, yes — you can work on the leading edge with the door slid out of the pocket and held steady. If the door is heavy or awkward, removing it makes the chisel work safer and more accurate.
What if I cut the mortise too deep?
A shallow packer behind the pull, or a little wood filler built up and re-pared, usually rescues it. If the edge is badly damaged, a manufactured pull with a larger flange may cover the mistake more gracefully.
Does the pull replace a handle?
Not quite. It is for pulling the door out of the pocket and closing it. If you want a proper grip for daily use once the door is out, fit a recessed or surface handle as well and let the edge pull do the job it is designed for.
Conclusion
A pocket door that vanishes into the wall should not require a hunt to retrieve. A small printed edge pull, sized to your door and fitted flush, turns that daily annoyance into a one-finger motion — and it looks like it was always meant to be there.
If your door hardware needs more attention, you may also enjoy 3D Printed Hinge Jig for Cabinet Doors: Get Perfect Alignment on Every Repair and Door Stops That Work: 3D Print Hinge-Pin and Floor Door Stops for Every Room, which tackle the other small fittings that make doors behave. Print a spare pull, keep your chisel sharp, and the pocket door will stop winning that particular argument.