Introduction
Small hardware has a natural habitat, and it is not your pegboard. Screws, bolts, wall plugs, and fittings migrate into jars, coffee tins, and mystery drawers, where every project starts with tipping containers out and hunting for four matching fasteners.
Pegboard should be perfect for small parts — visible, reachable, off the bench — but the bins sold for it rarely are. They come in one or two sizes, their hooks are flimsy, and the deep, narrow shapes hide exactly the contents you hung them up to see.
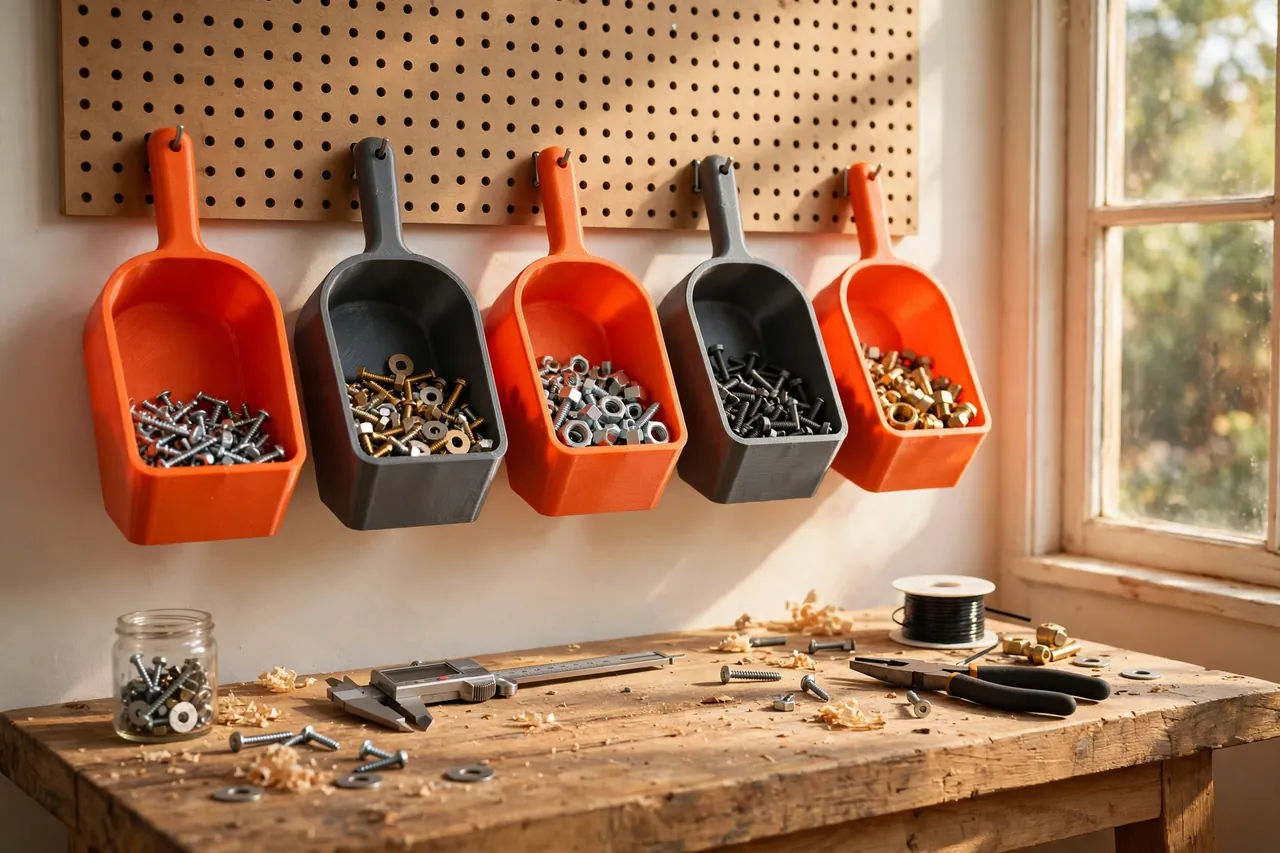
Printed scoop bins fix all three complaints. You choose the width, depth, and front height; the open scoop front keeps contents visible and lets fingers or a small scoop grab parts without unhooking anything; and hooks modeled for standard pegboard spacing seat firmly instead of rattling.
This guide covers measuring your board, designing hooks that hold, and laying out a bin wall that actually speeds up work. These are light-duty organizers for hardware and small parts — perfect above a bench, and not intended as steps, handles, or storage for heavy tools, as the limits section will note.
What You Need
Bins are simple open prints with no lids or moving parts, so a whole wall of them can be produced steadily over a few evenings.
Materials and tools
- A home 3D printer with a build area of roughly 150 mm in at least one direction
- PLA or PETG filament — bins are a great use for both, in colors you enjoy looking at
- Your pegboard panel, or its exact hole spacing and thickness for measuring
- Calipers and a ruler for hole spacing, hole diameter, and board thickness
- A small file for cleaning hook edges
- Optional label holders or a paint pen for marking contents
- The hardware you plan to store, gathered and roughly sorted before you design
PLA is ideal for most bins: it prints crisply, comes in every color, and lives indoors away from heat. PETG is the better pick for a garage board that bakes in summer or bins that will be unhooked and rehung constantly, since its hooks flex instead of fatiguing. Many makers print fronts in a bright color and backs in gray, purely because it looks sharp.
Suggested print settings
- Layer height: 0.24 to 0.28 mm — bins are utility prints and speed is welcome.
- Walls: 3 to 4 perimeters; at typical bin wall thickness, that is most of the structure.
- Infill: 20 to 30 percent for larger bins; small bins end up nearly solid from walls alone.
- Top and bottom layers: 4 or more on the bin floor, which takes the parts’ weight.
- Orientation: Print upright, floor on the bed, hooks rising at the back — the natural, support-free way.
- Supports: None if hook angles are designed with printable overhangs.
Print one test bin at your most useful size and hang it loaded for a day. Hook fit and front height are personal; one overnight test settles both before you commit to a wall full.
Design Considerations
A good bin is a careful compromise between capacity, visibility, and a hook that never lets go at the wrong moment.
1. Hooks matched to your board
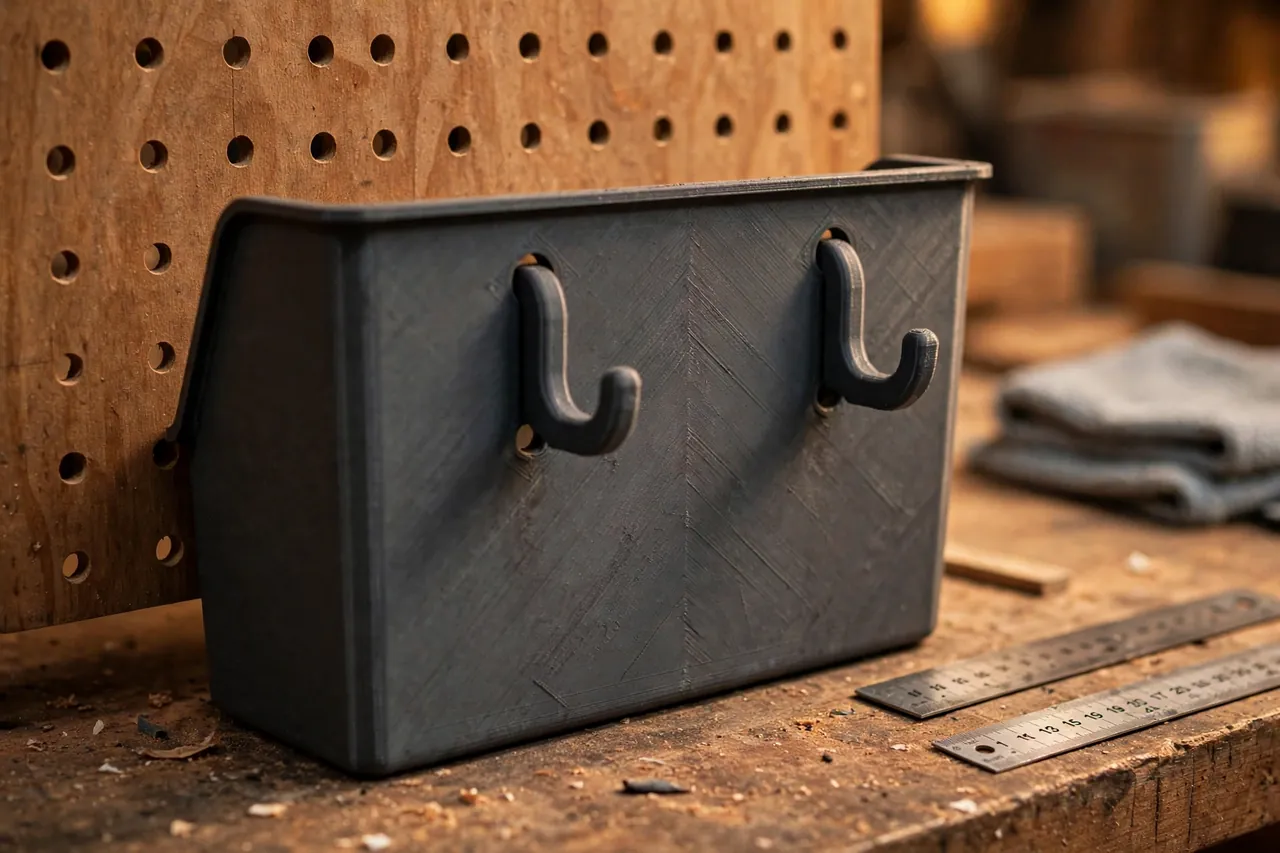
Standard pegboard uses holes on 25.4 mm centers, with board thickness around 5 to 6 mm for hardboard and more for some plastic and metal panels. Model two hooks spaced to that grid, each with an upturned tip that clears the board thickness and locks behind it, plus a lower standoff tab that rests against the board face so the bin hangs level instead of tipping forward. Give hooks about 0.4 mm of clearance in the holes: snug enough to avoid rattle, loose enough to rehang without a fight.
Where hooks meet the bin back is the stress point. Fillet that junction generously and make hooks at least 4 mm thick.
2. The scoop front
The front wall should sit at roughly half the bin’s depth height — low enough to see and reach contents, high enough that a brimming bin of screws does not spill when bumped. A gentle outward roll or thickened lip on the front edge stiffens the wall and gives fingers a friendly edge. Slope the bin’s floor slightly toward the front, or add a shallow internal ramp, and small parts naturally gather where your hand can scoop them instead of hiding in the back corners.
3. A sensible size family
Design three sizes from one template: a small bin around 80 mm wide for a single fastener type, a medium around 120 mm for everyday fittings, and a wide shallow tray around 160 mm for bulkier items. Keep depths consistent so bins align in a tidy grid, and put the size in the file name. A wall of matched bins looks intentional and rearranges without visual chaos — the same system thinking that makes our guide, “Pegboard Tool Holders: 3D Print a Complete Organizer Set for Screwdrivers, Pliers and Wrenches,” work so well for the tools hanging beside them.
Step-by-Step: Printing and Assembly
- Measure your pegboard — hole spacing, hole diameter, and board thickness.
- Sort your hardware into groups and decide which bin size each group deserves.
- Model the family from one template: floor, scoop front, back panel, hooks, and standoffs.
- Print the test bin, clean its hooks, and hang it empty to check the seat and level.
- Load the test bin with its intended contents and leave it overnight.
- Adjust hook clearance or front height once, based on the test, then print the full set.
- Label as you hang, marking each bin’s contents while the sorting is fresh in your mind.
There is no assembly step to speak of: bins come off the plate ready to hang, which is exactly how workshop storage should be.
Step-by-Step: Using Pegboard Bins on Your Wall
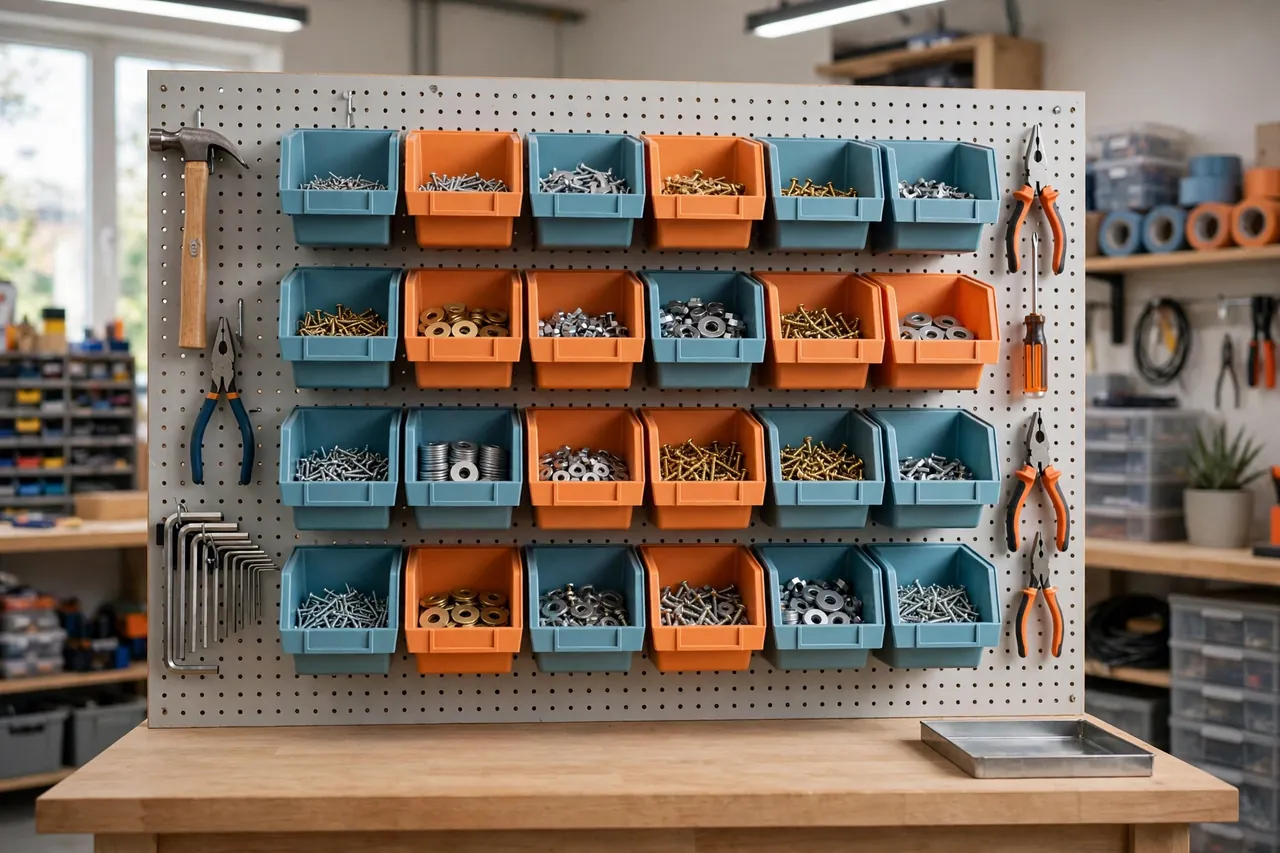
- Plan the layout on the bench first, arranging loaded bins in rows before any go on the board.
- Hang heavy bins low and central, where the board is best supported and reaching is easiest.
- Group by project flow — fasteners near the assembly area, fittings near the tools that install them.
- Leave one empty bin in the layout as the project’s catch-all; it prevents parts colonizing the bench.
- Keep one size per row where you can, so labels line up and the wall reads at a glance.
- Refill from the front, topping bins up rather than letting them run to the last screw.
- Review monthly. A bin that never empties or never gets touched is telling you to merge, move, or retire it.
Tips for Better Results
- Print fronts in two colors by content family — say orange for fasteners, gray for fittings — for instant visual sorting.
- Add a label flat on the front lip in the model, sized for your label holders or tape, rather than sticking labels to curved walls.
- Keep bins at eye level or below. Small parts in high bins get forgotten; visibility is the whole point.
- Combine bins with trays for bench work: our guide, “3D Printed Screw and Fastener Sorting Trays with Lids for Small Hardware,” covers the portable half of the same system.
- Print hooks slightly long and trim to fit, rather than reprinting a whole bin for a hook tweak.
Common Mistakes to Avoid
- Designing hooks from the standard without measuring. Imported and budget boards vary; a millimeter of error makes hooks sloppy or impossible.
- Making fronts too low. A photogenic scoop that spills screws when the bench is bumped fails its only job.
- Overloading one bin. A liter of steel screws is heavy; split bulk hardware across two bins or choose a drawer system for the bulk stock.
- Printing thin, sharp front lips. They flex, crack, and feel cheap; a rolled lip costs a gram and changes everything.
- Hanging bins before sorting. Storage designed around imagined contents never fits the real ones.
Care, Storage, and When to Choose an Alternative
Bins wipe clean with a damp cloth, and a bin that cracks at a hook gets replaced from your saved file the same day. Keep spare hooks’ worth of filament in your bin colors, and reprint faded or damaged labels when you refill. Stored flat and nested, spare bins take almost no shelf room.
Choose drawers or lidded boxes for very heavy hardware in bulk, tiny parts that dust would ruin, or a workshop where the board sees constant vibration that could walk bins off their hooks. And never treat a bin as a step, handle, or pull — it is a light organizer, not hardware. For visible, everyday small parts above a bench, though, printed scoop bins are the most adaptable storage you can own.
FAQ
Will these bins fit metal pegboard as well as hardboard?
Yes, provided you measure that board’s thickness and hole size. Metal panels are often thinner, which lets hooks sit deeper and can change the hang angle; a slightly longer standoff tab in the model corrects it. The test bin exists precisely to catch these differences cheaply.
How much weight can one bin hold?
A sensibly printed medium bin comfortably holds a kilogram or two of hardware — hundreds of screws — with the load spread across two hooks. The board itself is often the weaker link. If a bin bows the board or the hooks whiten at their fillets, split the load across two bins.
Can I print bins with dividers inside?
Absolutely, and they suit mixed small fittings well. Model the divider as part of the bin for strength, or as a drop-in insert if you want flexibility. Keep divider tops below the scoop lip so the bin still reads and reaches like one bin, not three tiny ones.
What is the fastest way to label a whole wall of bins?
Print or fit a simple label holder on each front, write contents on card, and slide them in. Card labels survive rearranges better than adhesive labels on textured prints, and a consistent label position across the wall makes scanning noticeably faster.
Conclusion
Pegboard earns its wall space when everything on it is visible, reachable, and sized to its contents — and that is precisely what printed scoop bins deliver. Hooks matched to your board, fronts matched to your fingers, and sizes matched to your hardware turn a clutter magnet into a system.
Print the test bin tonight, hang it loaded, and let one honest overnight trial design the rest of the wall for you.
As your wall fills in, you may also enjoy our related guide, “Workshop Small-Parts Organizer: 3D Printed Stackable Bins and Screw Sorters for Your Workbench,” which covers the bench-top companions to these hanging bins.