Introduction
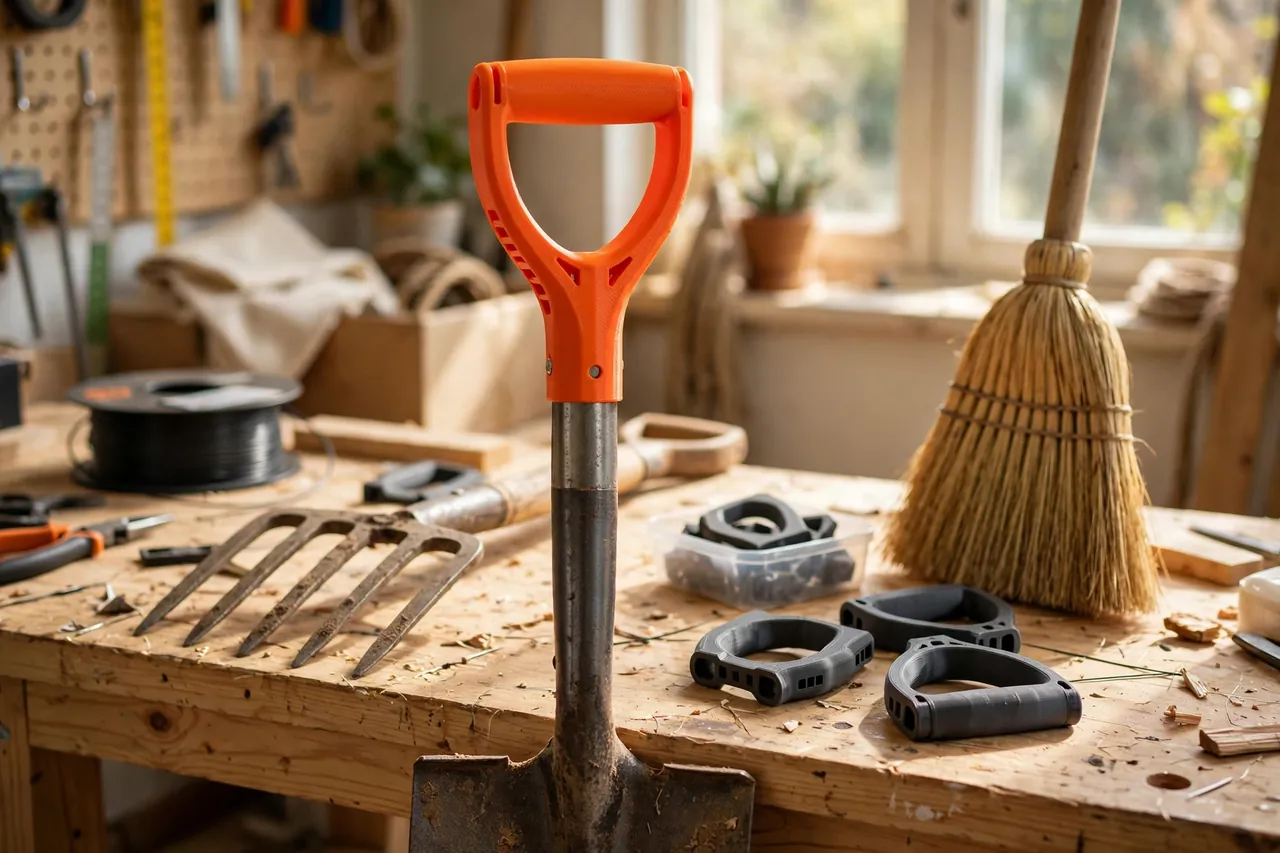
A good shovel or fork rarely dies all at once. The blade stays sharp, the shaft stays sound, and then one day the plastic D-grip at the top cracks, splits along its seam, or crumbles after years in the sun. The tool still works, but every push hurts your hand and every lift feels uncertain.
Replacement grips should be simple, yet they rarely are. Shaft diameters vary, older tools use sizes no longer stocked, and a grip that is almost right wobbles enough to be worse than no grip at all. Ordering three guesses and returning two is nobody’s idea of a repair.
A printed replacement solves the sizing problem at the source. You measure the shaft you actually own, model a socket to match it, and print a D-grip shaped for your hand. The blade, fork head, and shaft stay original — only the worn handle top is renewed.
This guide covers measuring, designing, printing, and fitting a D-grip for shovels, garden forks, and push brooms. Treat it honestly: a printed grip suits ordinary digging, sweeping, and garden work with a sound shaft. It is not a fix for a cracked shaft, and heavy prying belongs to a forged tool with a factory handle.
What You Need
The grip is a chunky, satisfying print with thick walls and a deep socket. It fits on most home printers, though a full-size D shape may need to print diagonally.
Materials and tools
- A home 3D printer with at least 180 mm of build length in one direction
- PETG filament for outdoor use, or ASA if you already print it well
- The tool you are repairing, with its old grip removed
- Calipers or a tape measure for the shaft diameter and socket depth
- A short wood screw or the original grip pin, plus a screwdriver or drill
- Sandpaper, a small file, and a utility knife for cleanup
- Optional two-part epoxy for a permanent, rattle-free fit
PETG is the sensible default: it shrugs off rain, flexes instead of cracking in cold weather, and survives a sunny shed far better than PLA. PLA makes a fine test print for checking socket size, but a PLA grip left in summer heat can soften and creep loose, so keep it for prototyping only.
Suggested print settings
- Layer height: 0.24 mm is plenty for a tool grip; 0.20 mm if you want smoother curves.
- Walls: 5 to 6 perimeters — the crossbar and socket carry the load, so walls matter most.
- Infill: 40 to 60 percent gyroid for a solid, slightly forgiving feel.
- Top and bottom layers: 5 or more around the socket mouth.
- Orientation: Print the D upright, socket down, so layer lines run around the grip, not across the crossbar.
- Supports: Usually none if the top of the D is gently arched; a small brim helps tall prints stay put.
Print a short socket-only test first — just the bottom 25 mm of the design. It takes minutes and tells you whether the fit is right before you commit to the full grip.
Design Considerations
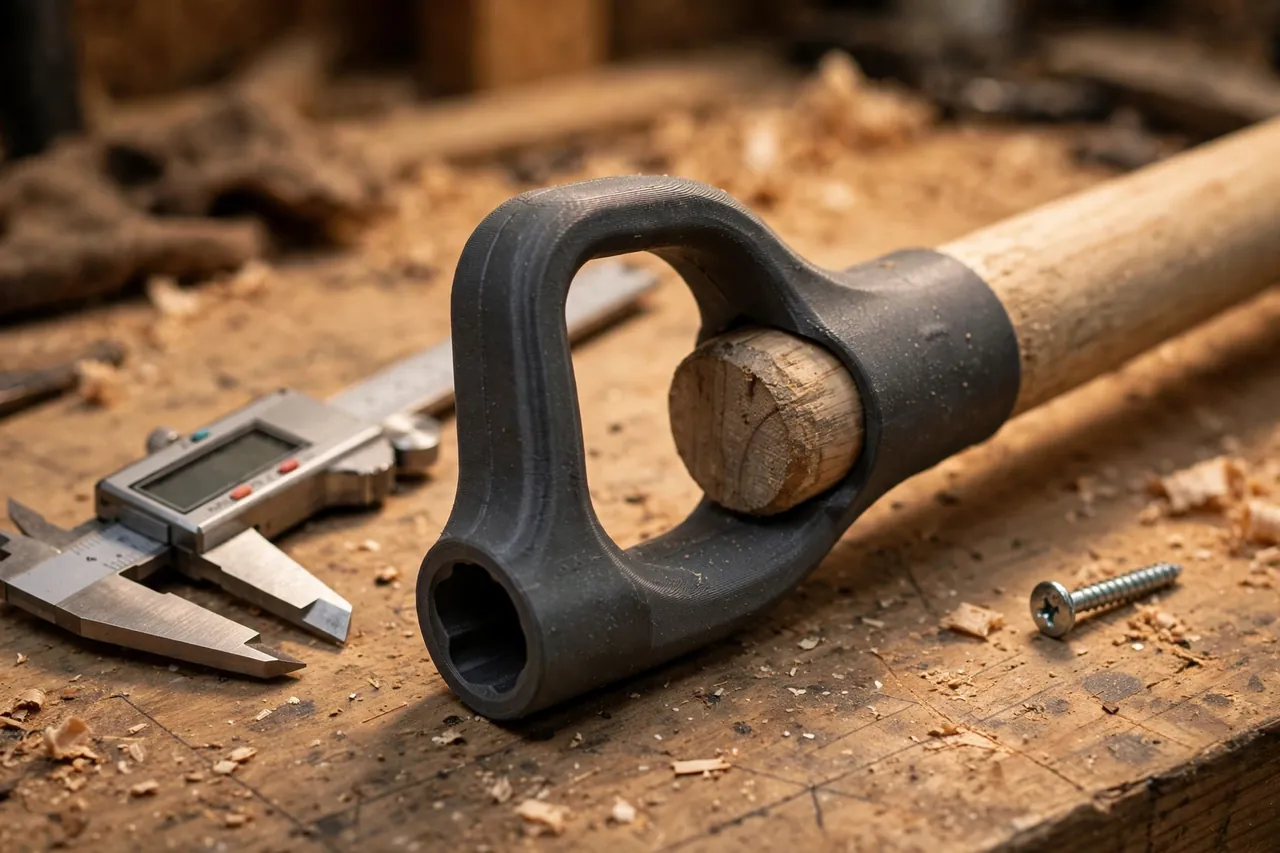
The design is a familiar D shape: a closed loop for your hand on top of a hollow socket. Getting three things right decides whether it feels factory-made or homemade.
1. Measure the shaft, not the old grip
Old grips stretch, crack, and distort, so measure the bare shaft end directly. Most wooden shafts land between 28 and 38 mm in diameter, but check at several points and angles, because turned wood is rarely perfectly round. Model the socket 0.3 to 0.5 mm larger than the largest measurement for a slip fit you can glue, or match it closely for a friction fit backed by a screw.
Depth matters too. A socket 60 to 80 mm deep spreads the load and stops the grip rocking. If the shaft end is split or chewed up, saw off the damaged inch first and measure the fresh wood — a grip cannot rescue rotten timber.
2. Shape the hand loop for real hands
The inside of the D needs roughly 100 to 110 mm of width and 45 to 55 mm of height to fit a gloved hand comfortably. Keep the crossbar you actually hold around 28 to 32 mm thick, with generously rounded edges. Sharp internal corners concentrate stress and are where printed grips eventually crack, so fillet every inside corner you can.
3. Plan the fixing before you print
A printed grip should never rely on friction alone. Add a cross-hole through the socket for the original pin or a short screw, positioned to pass through solid shaft wood. A dab of epoxy inside the socket before assembly removes any micro-wobble and seals the joint against water. If your tool uses a rivet, drill the printed socket to match its diameter and reuse the same rivet style.
4. One design, many tools
Brooms and forks often use slimmer shafts than spades. Build the design around parameters — shaft diameter, socket depth, loop size — and the same proven grip fits the next tool with two numbers changed.
Step-by-Step: Printing and Assembly
- Strip the old grip. Remove its pin or screw, then split what remains with a utility knife, working away from the blade.
- Measure the shaft at the top and 70 mm down, in two directions, and note the largest reading.
- Model the grip with your socket size, a rounded hand loop, and a cross-hole for the fixing.
- Print the socket test and slide it on. It should push on firmly by hand, without hammering.
- Adjust the model by 0.2 mm steps if the test is loose or refuses to seat.
- Print the full grip in PETG with the settings above, then clean the socket mouth and cross-hole.
- Dry-fit everything on the shaft and check the loop alignment against the blade direction.
- Fix it permanently with epoxy in the socket and the screw or pin through the cross-hole, then let it cure fully.
Step-by-Step: Using Your Renewed Tool
- Start with light work. For the first outing, choose ordinary digging or sweeping, not stump removal.
- Check your grip position. Your hand should sit centered on the crossbar, fingers wrapping without pinching.
- Push with your palm, pull with the loop. The D shape spreads force across your whole hand instead of one knuckle.
- Listen and feel for movement. Any creak or shift at the socket means stop and inspect the fixing.
- Work the tool normally through a full session once the first checks feel solid.
- Re-check the screw after the first day of use; wood and printed plastic settle slightly.
- Wipe the tool down before storing it, especially around the socket, where grit works into joints.
Tips for Better Results
- Print a size family. Once the design works, print one spare in a bright color so a cracked grip never stops a weekend job.
- Round everything. Time spent filleting the model pays off every time you pick the tool up.
- Add subtle texture. A shallow rib or two on the crossbar improves grip with muddy gloves without chewing your palm.
- Mark the size inside the socket with a paint pen, so spares are easy to match to tools later.
- Store tools hanging up. A renewed grip lasts longer off a damp floor, a point covered well in our guide, “Garden Tool Wall Rack: 3D Print Heavy Hooks for Shovels, Rakes and Brooms.”
Common Mistakes to Avoid
- Guessing the shaft size from the old grip. Cracked plastic lies. Always measure bare wood or metal.
- Printing the crossbar across layer lines. Orient the part so layers wrap around the loop, or it can split under load.
- Skipping the mechanical fixing. Friction and hope are not a fixing method for a tool you push and pull.
- Fitting a grip to a damaged shaft. Splits under the socket will keep growing whatever you print over them.
- Making the loop too small. A grip sized for a bare hand in the workshop pinches badly with winter gloves on.
Care, Storage, and When to Choose an Alternative
Rinse mud off the grip, dry the tool before storing it, and keep printed handles out of long-term direct sun where you can, even with PETG. Inspect the socket joint each spring: a hairline of movement or a fresh crack means reprint, not repair. Stored hanging in the dry, a PETG grip should give years of ordinary service.
Choose a factory replacement or a new tool when the shaft is cracked, the work involves heavy prying or demolition, or the tool lifts loads overhead. Manufacturers test complete handles as a system, and for the hardest jobs that system is the right answer. For the everyday spade, fork, and broom with a sound shaft and a dead grip, printing is faster and fits better than anything you can order.
FAQ
Will one grip design fit both my shovel and my broom?
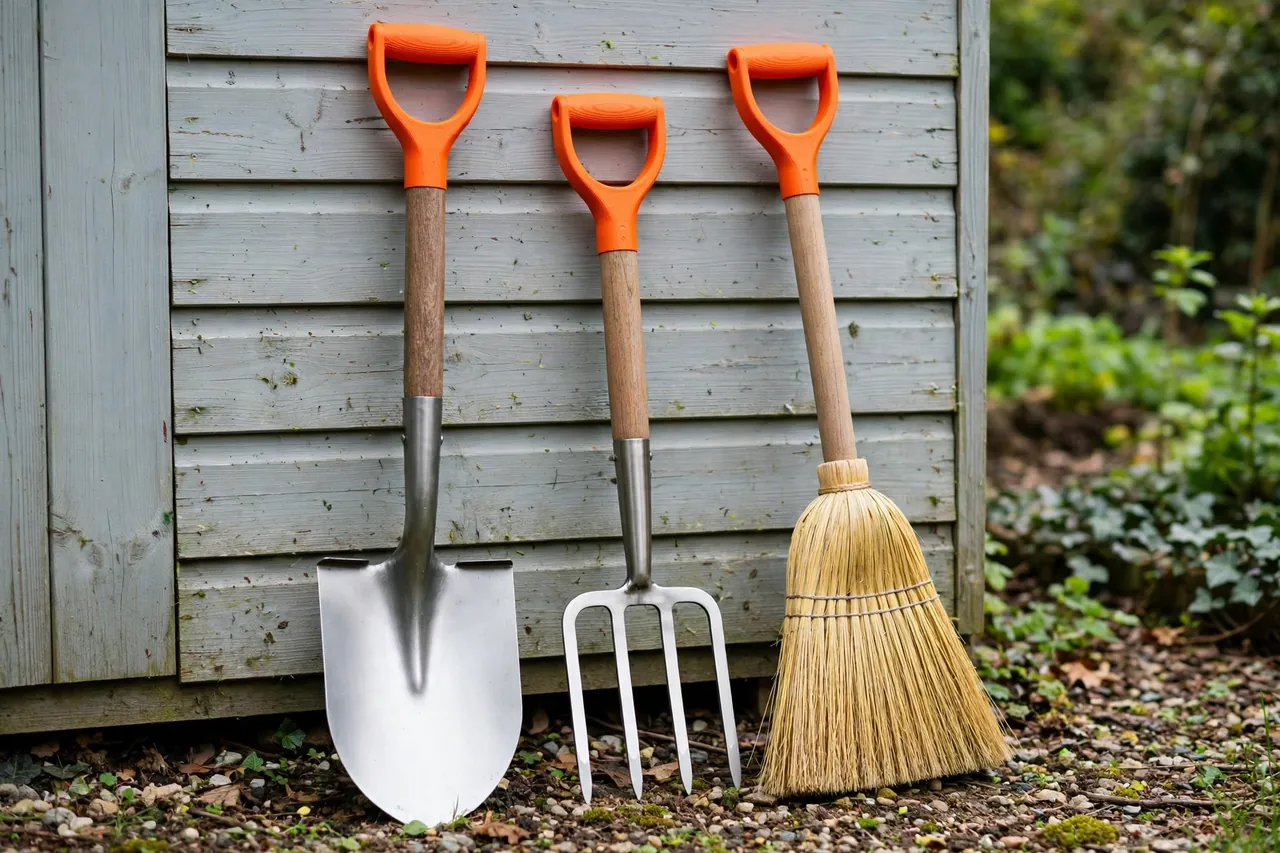
The loop can be identical, but sockets usually differ because broom handles are slimmer. Keep the hand loop as a saved design and change only the socket diameter and depth for each tool. Two prints later, both tools match and feel the same in the hand.
Is PETG strong enough for digging?
For ordinary garden digging with generous walls and infill, yes. Strength comes from wall count, orientation, and socket depth more than exotic filament. Respect the honest limit, though: levering rocks and roots is prying, not digging, and that is where printed grips should clock off.
My shaft is slightly oval. How do I get a good fit?
Measure the widest and narrowest diameters, model the socket to the widest plus a small clearance, then bed the grip on epoxy. The epoxy fills the low spots, locks the oval so it cannot rotate, and turns an awkward shaft into a solid joint.
Can I print a T-grip instead of a D-grip?
Yes, and the process is identical: same socket, same fixing, different top. Some people prefer a T for brooms and a D for digging tools. Model whichever your hand prefers, and keep the crossbar thickness and fillets just as generous.
Conclusion
A cracked D-grip should not retire a good tool. With a careful measurement, a well-filleted design, and an honest print in PETG, you can put a comfortable, correctly sized handle back on a shovel, fork, or broom in a single afternoon — sized to your shaft and your hand, not to a catalog average.
Print the socket test first, fix the grip mechanically, and let the renewed tool earn your trust on light work before the heavy digging starts.
For the other end of the same tools, you may also enjoy our related guide, “3D Printed Push Broom Head: Replace a Worn Broom Block on Any Handle,” and for matching shaft fittings across the whole rack, see “Extension Pole Thread Adapters: 3D Print Adapters to Fit Any Broom, Roller or Squeegee,” which pairs naturally with the grips in this article.