Introduction
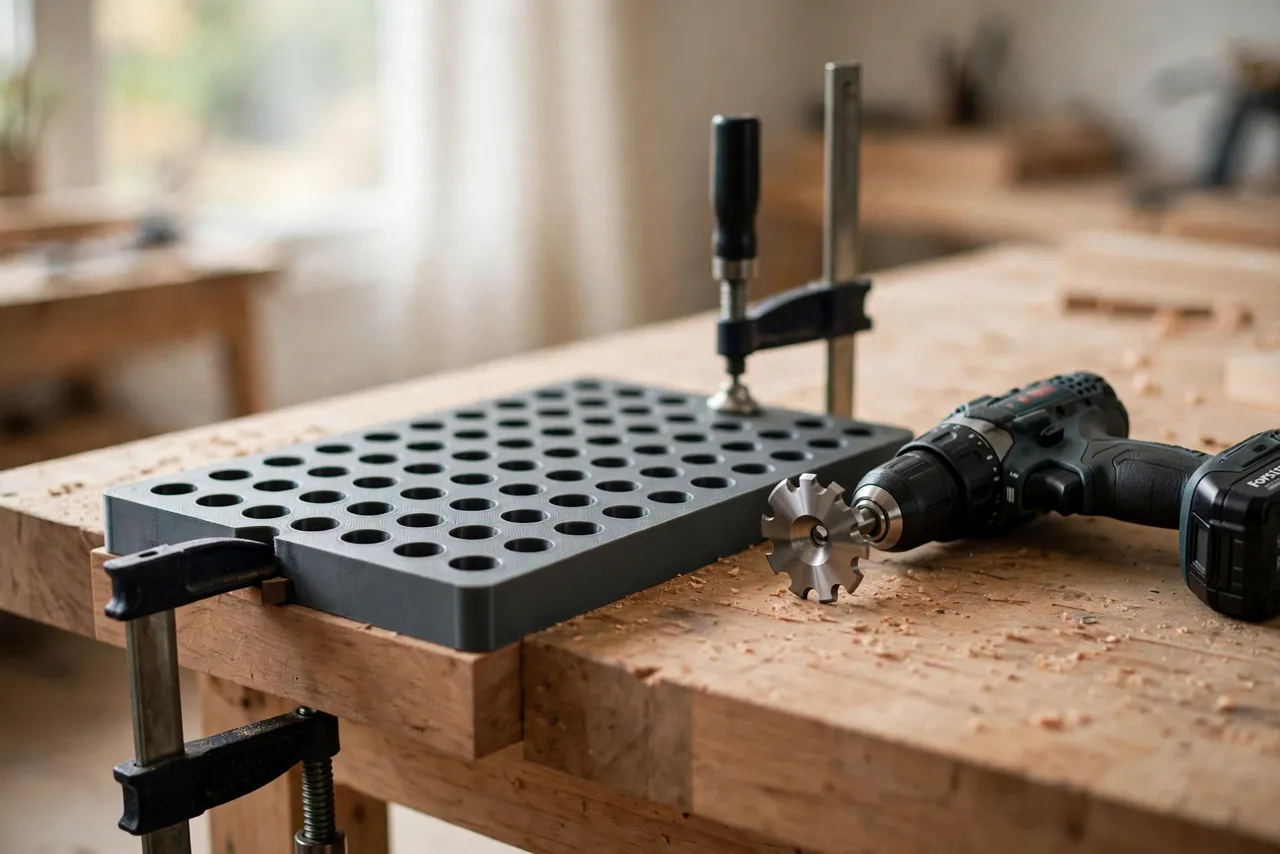
Bench dogs are the quiet heroes of a workbench: drop them into a grid of holes, and suddenly boards stay put for planing, sawing, and sanding without a single clamp in the way. But the grid itself is unforgiving. Holes that are unevenly spaced, out of square, or drilled at a slight angle give dogs that rock, jaws that do not close square, and a workbench that fights you instead of helping you.
Drilling that grid freehand is a gamble. Each hole is measured from the last, so small errors accumulate down the row until the final hole is visibly out of line. A 3D printed bench dog hole drilling template breaks that chain: it indexes from the previous hole, so every hole lands exactly one spacing from its neighbor, in a straight line, square to the bench top.
Think of the template as a layout and drilling aid only — it does not carry clamping loads, and it never replaces checking your bench top’s thickness and your dogs’ actual diameter before drilling.
What You Need
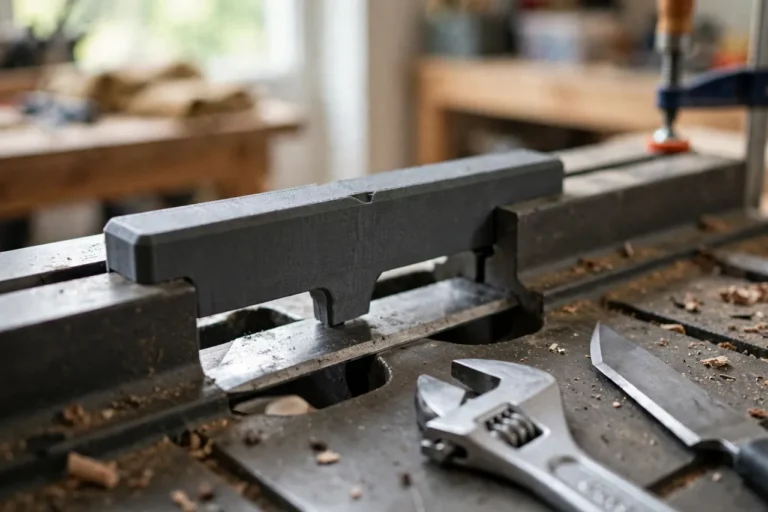
The template is a compact, flat part with a guide hole and an indexing pin. It fits easily on most home printers, and you can print a longer version for wider benches if you like.
Materials and tools
- A home 3D printer with a build area of roughly 150 mm in at least one direction
- PETG filament for a durable template, or PLA for a first test version
- A Forstner bit matching your bench dogs (20 mm is the most common size), plus a drill or drill press
- Your actual bench dogs, for test fitting — measure them, do not trust the label
- A workbench top to drill, a tape measure or calipers, and a pencil
- A small clamp, sandpaper or a small file, and scrap board of the same thickness
PETG is the better keeper: it handles clamping and drilling vibration without cracking. PLA works for a first version — just keep it out of direct heat.
Suggested print settings
- Layer height: 0.20 mm balances speed and accuracy; 0.16 mm if the guide hole looks rough.
- Walls: 4 to 5 perimeters — the guide ring takes the most wear.
- Infill: 40 to 50 percent, grid or gyroid, so the template stays rigid under a clamp.
- Top and bottom layers: 4 or more, for a smooth face against the bench top.
- Orientation: Print flat, bench-facing side down, for the flattest reference surface.
- Supports: A well-designed template needs none.
Print one test version first and check the dog fit on scrap before drilling a real bench top.
Design Considerations
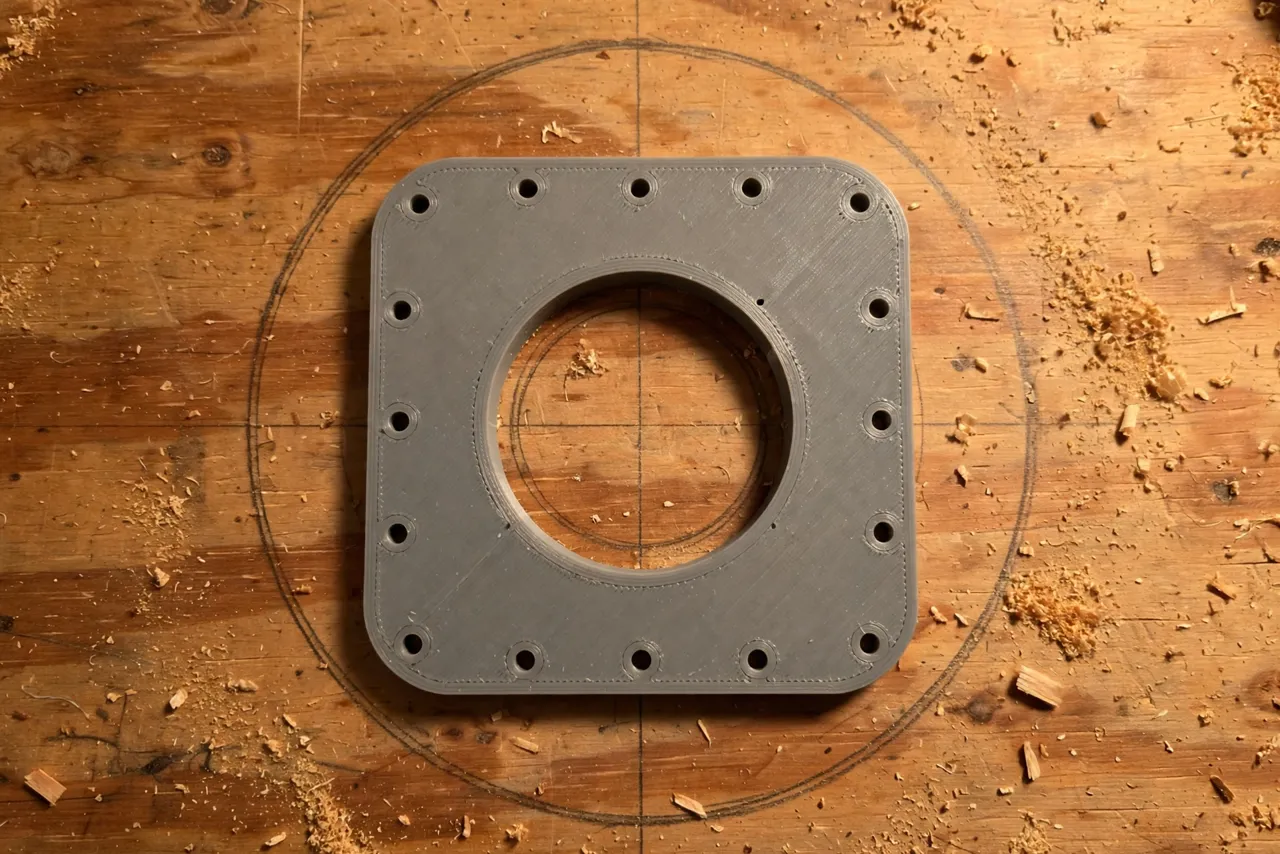
You can model this template in any basic CAD program. It is essentially a flat plate with a guide hole, an indexing pin, and a fence or edge reference.
1. The guide hole
The guide hole centers the Forstner bit. Size it for a snug slip fit around the bit’s outer rim — about 0.5 mm larger than the bit’s measured diameter — with a wall at least 4 mm tall so the bit stays square through the first critical millimeters of the cut. Measure your actual bit with calipers; nominal sizes vary enough to matter. Some makers add a thin replaceable ring that can be swapped when the hole wears.
2. The indexing pin
This is what makes the grid even. A pin on the underside of the template drops into the previously drilled hole, fixing the template’s position exactly one spacing away. The distance from pin center to guide hole center is your hole spacing — commonly 100 mm or 150 mm. Choose one spacing and stick to it for the whole bench; mixing spacings makes dogs and accessories incompatible. Make the pin a snug fit in a finished hole, with a slight taper at its tip so it seats easily without jamming.
3. Row alignment
A single row is easy; a grid needs rows that stay parallel. Add a straight fence edge to the template that registers against the bench’s front edge, or against a straight batten clamped to the bench top. For the second and later rows, index from the first row’s holes using a printed spacer bar — a simple bar with two pins set at your row spacing — so rows stay parallel and square. Check squareness with a large square or the 3-4-5 method before drilling a full grid.
4. Depth control
Bench dog holes usually go through the top, but the exit side matters: a bit breaking through unsupported wood blows out splinters. The template itself does not set depth; your drill does. Use a depth stop or tape flag for blind holes, and for through-holes, clamp a scrap board underneath the top to back the exit. Test depth and blowout on scrap of the same thickness first, every time.
Step-by-Step: Printing and Fitting the Template
- Measure your bench dogs — diameter and length — with calipers.
- Measure your Forstner bit and choose a guide hole about 0.5 mm larger.
- Choose your spacing — 100 mm or 150 mm — and your row spacing, and stick to both.
- Model the plate, roughly 180 mm long, 90 mm wide, and 6 mm thick, with guide hole, indexing pin, and fence edge.
- Print a test fit. The bit should slide through the guide hole without binding, and the pin should seat snugly in a test hole.
- Clean it up. Remove stringing, sand the bench-facing side flat, and clear the guide hole.
- Drill a test row in scrap and drop dogs in. They should sit vertical, snug, and evenly spaced.
- Adjust if needed. Dogs rocking means the holes are oversize or out of square; a pin that jams means it needs a touch more taper. Small iterations are normal.
- Print the keeper in PETG if your test was PLA, using the same file.
Never skip the scrap test. A bench top full of misplaced holes is very hard to repair invisibly.
Step-by-Step: Drilling the Dog Hole Grid
- Plan the grid on paper first. Mark row positions, edge margins, and keep holes clear of vises, legs, and aprons underneath.
- Mark the first hole by measuring carefully from two bench edges, and check it with a square.
- Clamp the template over the first mark, fence edge registered, and drill the first hole with a sharp bit at moderate speed, backing out to clear chips.
- Index to the next hole. Drop the pin into the hole just drilled, clamp the template, and drill. Repeat down the row — no measuring between holes.
- Start the next row using the spacer bar from the first row’s holes, checking squareness before drilling.
- Back the exit side with scrap for through-holes, and clear chips often on deep holes.
- Test with dogs as you go. Drop a pair of dogs into each new row and check they sit vertical and square.
- Clean up the holes with a light chamfer or sanding so dogs slide in smoothly without catching.
Work slowly on the first row. By the second, the routine feels automatic — and that consistency is what keeps a whole grid lining up.
Tips for Better Results
- Use a sharp Forstner bit. A dull bit wanders, burns, and leaves ragged holes that dogs rock in.
- Clamp, don’t hold. A hand-held template shifts during the cut, however steady your hands feel.
- Clear chips often. Packed chips overheat the bit and push it off line.
- Keep the drill square. A tilted hole gives a tilted dog; check the bit against a square before each row.
- Chamfer hole tops lightly so dogs enter smoothly and the bench top does not splinter around the rim.
Common Mistakes to Avoid
- Designing from a label instead of your own dogs. Dog diameters vary by brand and batch. Measure the dogs in your hand.
- Making the guide hole too tight. A binding bit tilts and scores the template — and the hole.
- Changing spacing mid-bench. One spacing for the whole grid, or accessories will not fit everywhere.
- Drilling through-holes without backing. The exit side blows out, and the hole’s underside looks ragged.
- Forgetting what is underneath. Check for vises, stretchers, and aprons before drilling each row.
Care, Storage, and When to Choose an Alternative
Brush off dust, store the template flat or hang it from a peg, and keep PLA away from hot cars and radiators. If the guide hole wears oval or the pin loosens, reprint — it takes less than an hour.
Sometimes a manufactured jig is better. If you drill bench tops commercially, work in hardwoods that punish plastic guides, or need hardened steel bushings for a production run, metal will outlast plastic and hold tighter tolerances. For a home bench build or a grid extension, a printed template is faster, easy to customize to your dogs, and accurate enough.
FAQ
Will one template work for every bench dog size?
Not quite. The guide hole and pin are sized around one dog diameter, so a very different dog needs its own version. The spacing and indexing design transfer easily, so adapting the template for a second dog size is a small job, not a redesign.
Is PLA strong enough, or do I need PETG?
For marking and light clamping, PLA is strong enough and great for testing fit. PETG is the better keeper because it handles drilling vibration, clamping, and warm workshops better. Either way, generous walls and infill matter more than the name on the spool.
Can I use the template on an existing bench top?
Yes, as long as you can plan a grid that clears vises and supports underneath. Mark the full grid on paper first, transfer only the first hole of each row by measurement, and let the template index the rest.
My dogs rock in their holes after using the template. What went wrong?
Usually the holes are oversize, out of square, or the bit was dull. Check the bit’s sharpness and squareness, confirm the guide hole is not worn oval, and re-test on scrap before drilling more holes.
Conclusion
An uneven dog hole grid is usually not a skill problem. It is an error-accumulation problem, and that is exactly what an indexing template solves. With each hole placed from the last instead of measured from scratch, the grid stays even, square, and true — row after row.
Print one to match the dogs you own, prove it on scrap, and the next workbench you build starts with a grid that actually works.
If you enjoy workbench jigs, you may also like “Bench Dogs and Work-Holding Clamps: 3D Print Accessories for Your Workbench Dog Holes” and “3D Printed Drill Press Table Fence: A Fence and Stop for Repeatable Holes,” which pair naturally with this template for a complete workbench setup.