Introduction
Small epoxy repairs have a waste problem. You need a teaspoon of mixed resin to fill a crack or bed a loose fitting, but the mixing cups and sticks in the shop are sized for large pours. You mix too much, it cures in the cup, and half the batch goes in the bin. Or you mix too little, run out halfway, and the repair ends up with a cold joint.
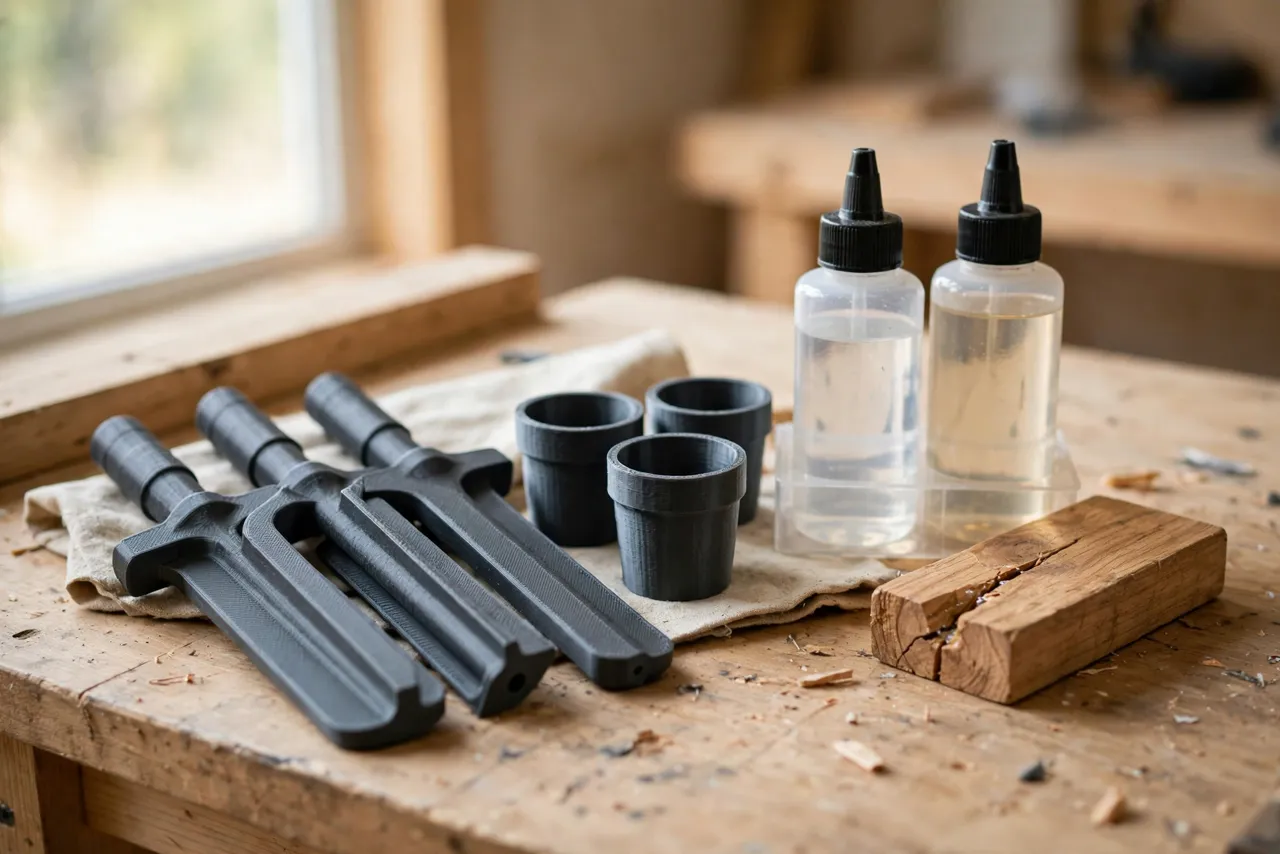
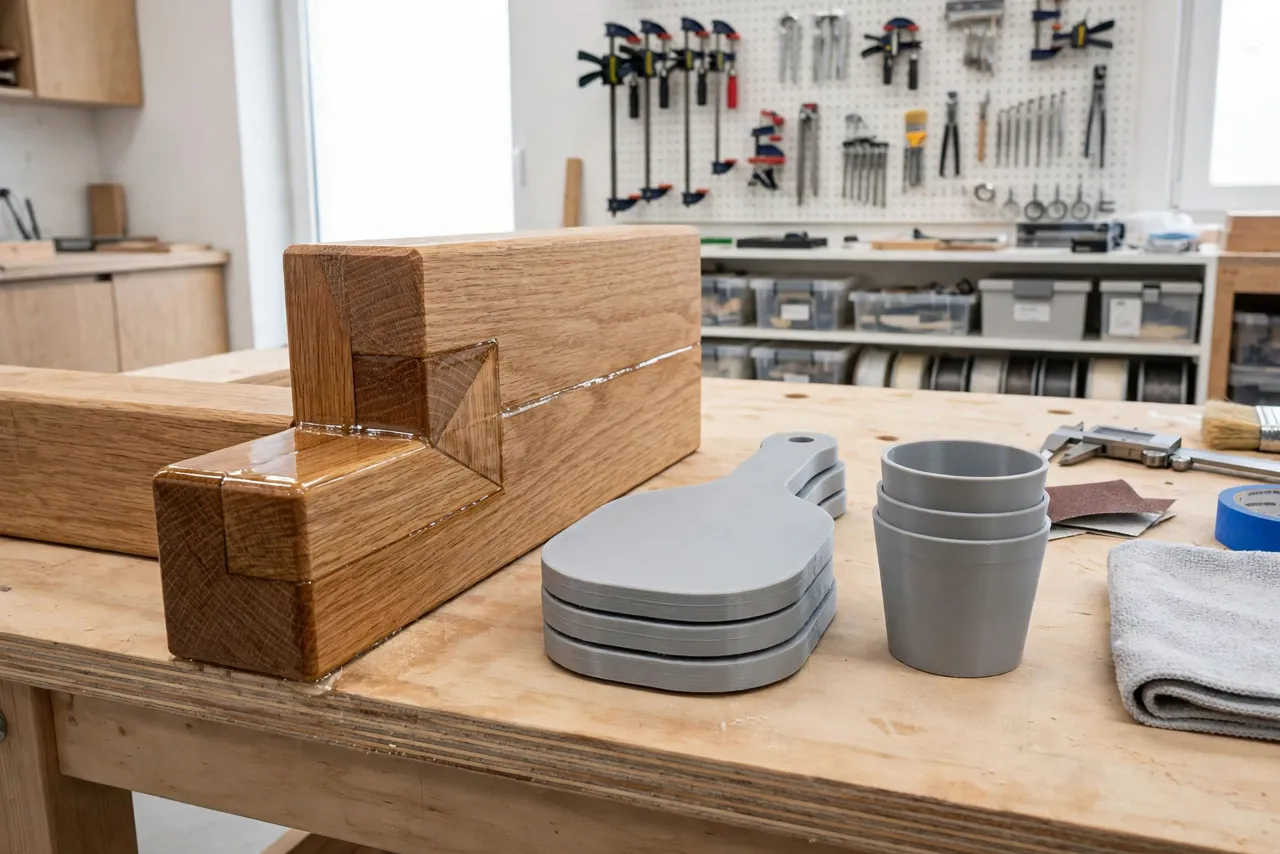
Printed paddles and cups sized for small batches fix both problems. A cup that holds 10 or 20 millilitres, with clear ratio marks, and a paddle shaped to scrape its walls, lets you mix exactly what the job needs and mix it thoroughly. The tools are cheap, so a cured paddle can be discarded or cleaned without guilt, and the next repair starts with a fresh set.
This guide covers designing, printing, and using small-batch epoxy paddles and cups. Treat them as mixing aids only — they do not change how epoxy works, and all the usual precautions for the resin you are using still apply: follow the maker’s instructions for ratios, working time, ventilation, and protective equipment, and never use a printed tool for anything involving gas, pressure, live electrical work, or child safety.
What You Need
Paddles and cups are tiny prints, ideal for using up the end of a spool or testing a new filament. Print a set in one short session.
Materials and tools
- A home 3D printer with a modest build area; even a small printer handles these parts
- PETG filament for chemical resistance and toughness, or PLA for a disposable test set
- Two-part epoxy, plus the repair piece and any filler the job requires
- A digital scale or graduated syringe, for accurate ratios
- A timer, a clean rag, and the solvent or cleaner your epoxy maker recommends
- A flat, protected work surface, since drips happen even with small batches
PETG is the better keeper material because it resists many solvents better than PLA and survives flexing. PLA paddles are fine as single-use stirrers, especially if you plan to discard them after the resin cures. Whichever you use, never reuse a paddle that still carries uncured resin into a fresh batch.
Suggested print settings
- Layer height: 0.20 mm, fine enough for smooth cup walls.
- Walls: 4 perimeters, so thin cup walls do not leak or flex.
- Infill: 30 to 40 percent for paddles; cups print solid enough with thick walls alone.
- Top and bottom layers: 4 or more, for a leak-proof cup base.
- Orientation: Cups upright, opening up; paddles flat.
- Supports: None, for simple cup and paddle shapes.
Print a full set at once: several cups and paddles, so a repair never waits on a print.
Design Considerations
Small-batch tools live or die on their measurements. A cup without clear marks is just a small pot, and a paddle that cannot reach the corners leaves unmixed resin behind.
1. Cup sizes and ratio marks
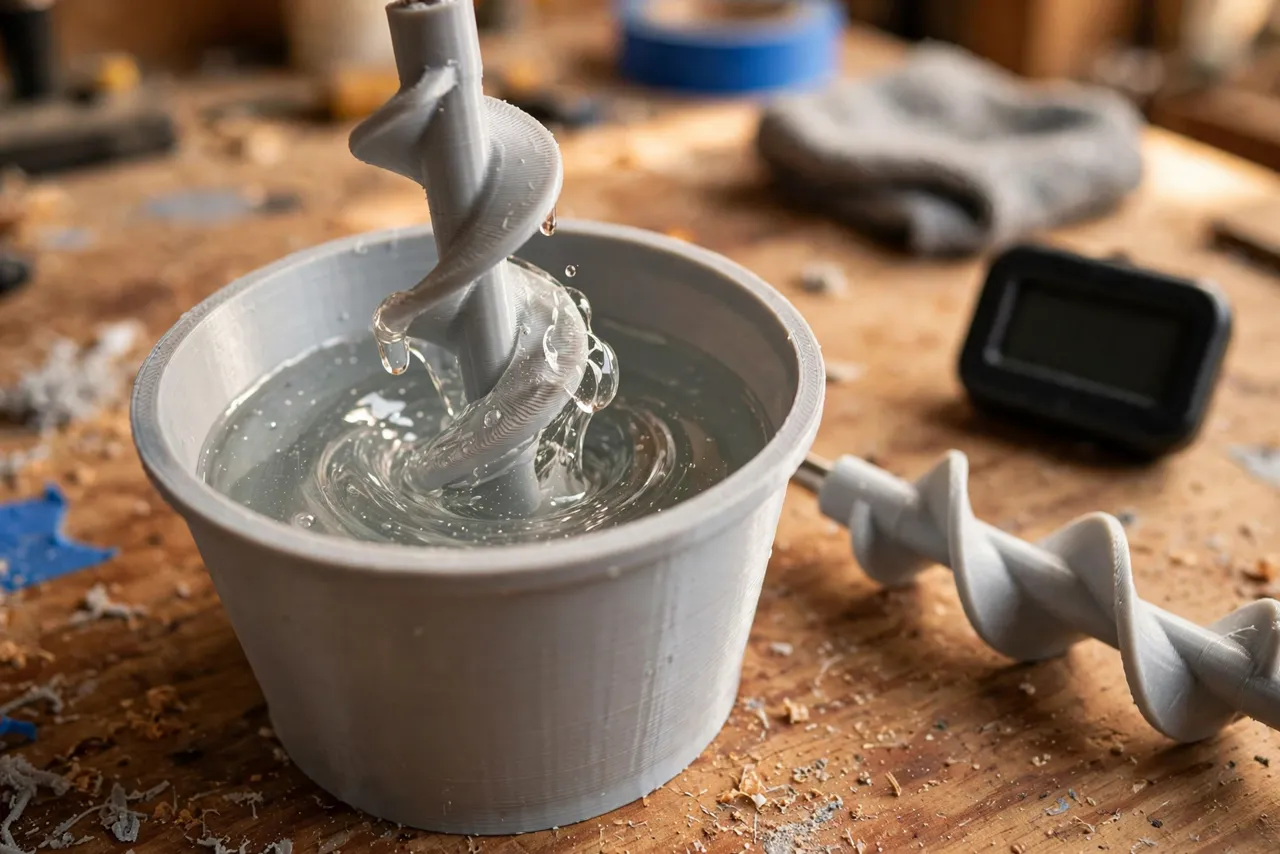
Print cups in a few useful sizes: about 10, 20, and 50 millilitres. Keep the walls straight or very slightly tapered, so the paddle can scrape them. Add raised ratio marks on the outside for common ratios — 1:1 and 2:1 are the most useful — and a fill line for each batch size. Model the marks as raised ribs, not printed text, so they survive cleaning. Test each cup with water first: fill to a mark, pour into a measuring jug, and confirm the volume matches. A mark that lies is worse than no mark.
2. Paddle shape
A good paddle is flat, about 8 to 12 mm wide and 100 to 120 mm long, with a rounded end that matches the cup’s inside curve. Add a small cross-piece or holes near the tip: these break up the resin stream and mix faster than a smooth stick. Keep the paddle thin enough to flex slightly, about 2 to 3 mm, so it follows the cup wall. A hole at the handle end lets you hang paddles or clip them together as a set.
3. Scraping and pouring
Add a flat scraping edge along one side of the paddle for wiping resin off the cup wall and back into the mix. For the cup, a small pouring spout or a pinched rim helps you pour a thin bead without dribbling. Both features sound minor until you try to pour 10 millilitres neatly without them. Round every edge so the paddle cannot scratch a surface the resin will bond to.
4. Disposable or reusable
Decide in advance. A paddle designed for reuse has smooth surfaces that cured resin can be flexed or peeled off. A disposable paddle can be thinner and simpler, since it will be thrown away once the resin cures. Printing a set of disposables is often cheaper than cleaning one paddle repeatedly, and it avoids contaminating a fresh batch with old resin.
Step-by-Step: Printing and Assembly
- Choose your batch sizes. Pick the cup volumes your repairs actually need — most home jobs live in the 10 to 50 millilitre range.
- Model the cups with straight walls, raised ratio marks, and a pouring spout.
- Model the paddles to match each cup’s width and depth, with mixing holes and a scraping edge.
- Print a test set and check it with water: do the marks read true, and does the paddle reach every corner?
- Clean up by removing stringing and lightly sanding any rough edges that could shed into resin.
- Adjust if needed. If a cup leaks, add a wall or a bottom layer; if a paddle misses corners, widen its tip.
- Print a full keeper set in PETG, several cups and paddles of each size.
There is no assembly. Store the set together so a repair never starts with a hunt for the right cup.
Step-by-Step: Mixing a Small Batch
- Prepare the repair first. Dry-fit parts, mask nearby surfaces, and have everything ready before you mix, since working time starts immediately.
- Choose the right cup. Pick the smallest cup that holds your batch comfortably, with room to stir without spilling.
- Measure accurately. Weigh or measure resin and hardener exactly as the maker directs, using the cup marks only as a check, not as your sole measure for critical ratios.
- Stir thoroughly. Mix with the paddle for the full time the maker specifies, scraping the walls and bottom repeatedly. Unmixed resin at the edges is the commonest cause of a soft, sticky repair.
- Check the mix. It should look uniform, with no streaks or cloudy patches. If in doubt, stir longer — within the working time.
- Apply promptly. Pour or spread the resin with the paddle’s spout or edge, working it into the joint or crack.
- Clean up or discard. Wipe reusable tools before the resin cures, or set disposables aside to cure fully before binning them, following local waste guidance for cured resin.
Test on scrap first whenever a repair matters. A trial batch on an offcut tells you the working time, the cured hardness, and whether your ratio was right, before the real piece is at stake.
Tips for Better Results
- Print spares. A repair that waits for a print is a repair that gets rushed later.
- Stir longer than feels necessary. Thorough mixing matters more than speed, especially in small batches.
- Scrape the walls twice. Resin clinging to the wall is unmixed resin, however well the centre looks.
- Label your cups. Mark each cup’s volume on its base so you reach for the right size without guessing.
- Keep the set together. A small box or clip keeps cups and paddles as one kit, ready to grab.
Common Mistakes to Avoid
- Trusting untested marks. Always verify cup volumes with water before trusting them with resin.
- Under-mixing. Short, lazy stirring leaves soft spots. Follow the maker’s mixing time, not your patience.
- Mixing too much. A small cup tempts you to fill it; mix only what you can apply within the working time.
- Reusing a dirty paddle. Old resin contaminates a new batch and changes its cure. Clean properly or use a fresh paddle.
- Ignoring working time. Small batches can still cure fast in a warm room. Prepare everything before mixing.
Care, Storage, and When to Choose an Alternative
For reusable tools, wipe resin off before it cures and clean with the maker’s recommended solvent. Store cups nested and paddles clipped together, away from heat. Discard any tool with a cracked cup wall or a paddle that has gone soft or warped. For large pours, professional work, or resins with aggressive solvents, manufactured polypropylene cups and stirrers are the safer choice. Printed tools shine for small, everyday repairs, where a custom size and a fresh paddle beat a drawer of oversized cups.
FAQ
Will printed cups leak?
Not if they are printed with thick walls and enough bottom layers, and tested with water first. A cup that weeps water will weep resin, so test before use and add walls if needed.
Is PLA strong enough, or do I need PETG?
PLA works for single-use paddles and short mixes. PETG is the better keeper because it resists solvents and flexing better. For either material, verify the cup with water and discard damaged tools.
Can I use these tools for other adhesives?
Yes, for similar small-batch glues, if the adhesive is compatible with the filament and you clean or discard tools between products. Never mix products in the same cup without cleaning, and never use a tool that has gone soft.
My epoxy stayed sticky. What went wrong?
Usually the ratio was off or the mix was incomplete. Measure carefully, stir for the full recommended time while scraping walls and bottom, and test on scrap before committing to the repair.
Conclusion
Small epoxy repairs should not mean big waste. A set of printed cups and paddles, sized for the batches you actually mix, turns a fiddly, wasteful step into a quick, accurate one.
Print a set in several sizes, verify the marks with water, and keep them together as a kit. The next crack, loose fitting, or small fill will take minutes, not a drawer full of oversized cups.
For organising the rest of your bench, you may also enjoy our related guide, “Workshop Small-Parts Organizer: 3D Printed Stackable Bins and Screw Sorters for Your Workbench,” and for keeping your sanding supplies sorted, see “Sandpaper Organizer and Storage Box: 3D Print a Grit-Sorted System for Your Workshop.”