Introduction
A mud pan is the simplest tool in drywall finishing, and a bad one makes the whole job harder. Too small and you refill constantly. Too flexible and it wobbles, sloshing compound over the edge. Too heavy and your arm aches by the second coat. The classic steel pan works, but it is heavy, rusts if left wet, and comes in sizes chosen by a factory, not by you.
Printing your own pan changes the trade-offs. You size it to your taping knife, shape the handle for your hand, and print it light enough to hold for an hour without fatigue. It will not replace a steel pan for a professional crew, but for a homeowner taping a room or patching a wall, a printed pan sized to your knife is a genuine improvement — and a satisfying print.
This guide covers a printed mud pan for standard joint compound work: taping, first coats, and finish coats. The pan holds compound only. It is not a mixing bucket, a sanding tool, or a container for anything other than joint compound, and the material notes below explain why that distinction matters.
What You Need
The pan is a larger print than most in this series, so check your build area first.
Materials and tools
- A home 3D printer with a build area of at least 300 mm in one direction for a full-size pan, or a smaller pan design for modest printers
- PETG filament for a pan that resists water and wipes clean, or PLA for a test pan — never for a keeper that will sit wet
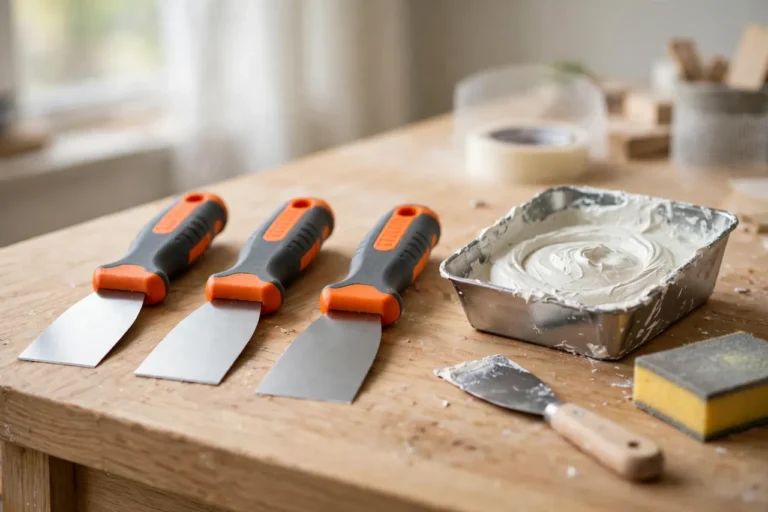
- Your taping knives, for sizing — common widths are 6, 10, and 12 inches
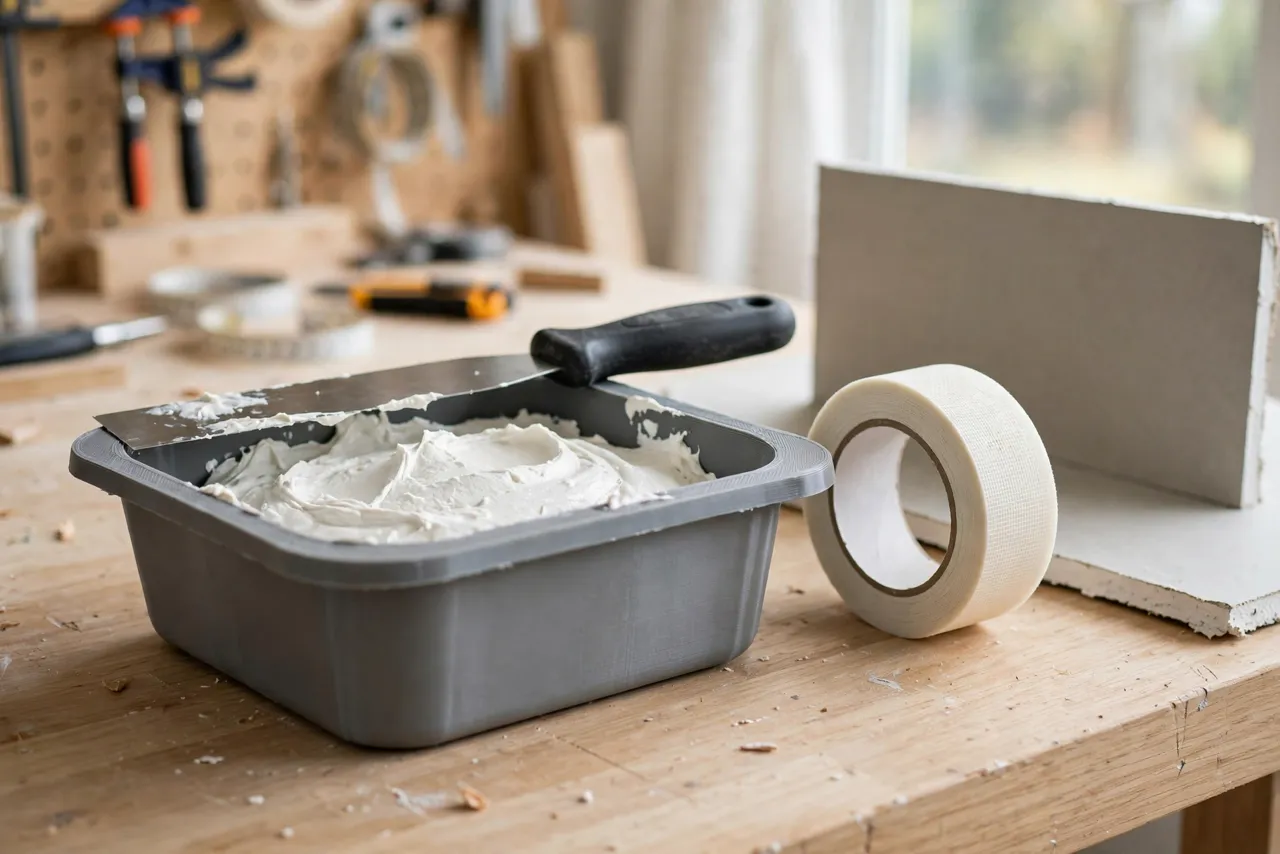
- Joint compound, joint tape, and a drywall panel or wall to practice on
- Sandpaper for smoothing the pan’s rim and inner walls
- A ruler or calipers for measuring knife width
- Optional: a rubber grip pad for the handle, and a plastic scraper for cleaning
Check your printer’s build volume before modeling. A 12-inch pan needs a large printer; a 10-inch pan fits most mid-size machines, and a small 6-inch pan fits nearly any printer.
Suggested print settings
- Layer height: 0.20 to 0.28 mm — a pan is a big print, and a slightly thicker layer saves hours.
- Walls: At least 4 to 5 perimeters — the walls must hold their shape under a load of compound.
- Infill: 30 to 50 percent, gyroid, so the pan is stiff without being heavy.
- Top and bottom layers: 5 or more, for a watertight-feeling base.
- Orientation: Print upright, open side up, so the inner surface prints cleanly and the handle underneath is supported.
- Supports: For the handle underneath, use supports or design the handle as a separate bolt-on piece — a separate handle is easier to print and replace.
Print a small test pan first to check wall stiffness and knife fit before committing to a full-size print.
Design Considerations
A mud pan has only a few features, but each one affects how it feels over a long finishing session.
1. Size and knife fit
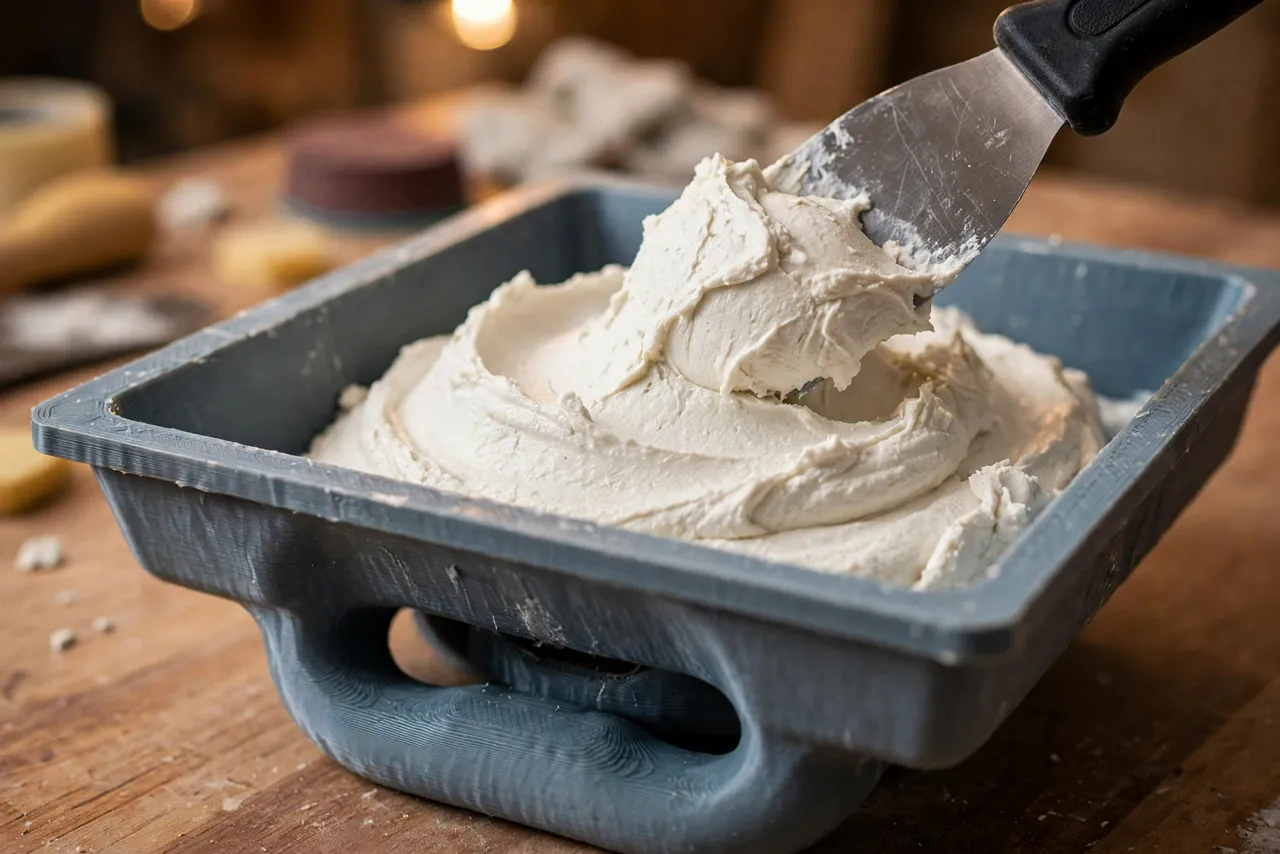
Size the pan to your widest taping knife plus about 20 to 30 mm of clearance on each side, so the knife scoops and wipes cleanly without hitting the walls. A pan around 300 mm long suits a 10-inch knife; a 350 mm pan suits a 12-inch knife. Depth of 60 to 80 mm holds enough compound for a good run without becoming heavy. Too deep and the knife cannot reach the bottom comfortably; too shallow and you refill constantly.
2. Wall shape
Sloped inner walls are the key detail: they let the knife scoop compound up the wall and wipe clean in one motion. Vertical walls trap compound in the corners and make wiping awkward. Round the inner corners generously so compound does not pack into sharp angles where the knife cannot reach it. A rolled or thickened rim adds stiffness and gives a comfortable edge to rest the knife on.
3. The handle
The handle underneath should be a broad, flat grip — roughly the width of your palm — that spreads the pan’s weight and keeps it level. A narrow handle lets the pan tilt and spill; a wide, slightly arched handle keeps it steady. Add shallow grip texture or a rubber pad, and keep the handle clear of the pan’s underside so your fingers do not drag in compound. Some designs add a second, smaller grip at one end for two-handed carrying when the pan is full.
4. Weight and watertightness
A printed pan will not be perfectly watertight at the layer lines unless walls are thick and well-fused, but joint compound is thick, not watery, so minor layer texture is fine — compound does not leak like water does. Still, print with generous walls and top and bottom layers, and test with a small load of compound before a full load. If the pan feels flexy, increase infill or wall count rather than accepting a wobble that spills compound.
Step-by-Step: Printing and Assembly
- Measure your widest taping knife and check your printer’s build volume.
- Model the pan with sloped walls, rounded inner corners, a thickened rim, and a broad underside handle.
- Print a small test pan — a half-size or short version — to check wall stiffness and knife fit.
- Adjust wall count or infill if the test pan flexes under a load of compound.
- Print the full-size pan and, if separate, the handle, then bolt or glue the handle on firmly.
- Sand the rim and inner walls lightly so the knife glides and compound wipes clean.
- Wash and dry the pan before first use, and test with a small load of compound on scrap drywall.
Step-by-Step: Using the Mud Pan
- Load the pan about two-thirds full — a full pan is heavy and spills; a half-empty pan needs constant refilling. Two-thirds is the sweet spot.
- Scoop with the taping knife by dragging it along the sloped wall, loading one edge evenly.
- Apply compound to the joint with smooth, even strokes, keeping the knife flat and pressure steady.
- Wipe the knife clean on the pan’s rim or sloped wall between strokes, so dried lumps do not drag through fresh compound.
- Embed tape on the first coat by pressing it into wet compound with the knife, then wiping a thin coat over it.
- Apply subsequent coats wider and thinner than the last, feathering the edges, and letting each coat dry fully before the next.
- Clean the pan promptly when you finish: scrape out leftover compound, wash with water, and dry fully before storing.
The rhythm of drywall finishing is patience between coats. Rushing a second coat over a damp first coat causes bubbling and cracking that no amount of sanding fixes.
Tips for Better Results
- Print two pans: one for taping and first coats, and a clean one for finish coats, so lumps from rough work never contaminate a smooth finish.
- Keep a damp rag handy for wiping the pan rim and knife edge during work.
- Thin compound slightly for finish coats, following the manufacturer’s guidance — thinner compound feathers more smoothly.
- Pair the pan with good cutting tools. Our guide “3D Printed Drywall Saw Handle: A New Handle for a Jab Saw” covers the saw work that comes before taping, and the two guides together walk a drywall job from opening to finish.
- Label pans by knife size with a paint pen, so the right pan is always with the right knife.
Common Mistakes to Avoid
- Overfilling the pan. A full pan spills, strains the wrist, and sloshes compound onto floors. Two-thirds full is plenty.
- Using vertical walls or sharp inner corners. Compound packs where the knife cannot reach it, dries there, and contaminates fresh coats with lumps.
- Printing a keeper pan in PLA. PLA softens and deforms when left wet or in a warm room. Use PETG for any pan that will hold wet compound.
- Recoating before the previous coat dries. Damp coats bubble, crack, and peel. Wait for full drying, even if it means an extra day.
- Leaving compound in the pan overnight. Dried compound is hard to remove and roughens the pan surface. Clean promptly every time.
- Using the pan as a mixing bucket. Mix compound in a bucket; the pan is for holding and applying. Mixing in the pan stresses its walls and leaves lumps.
Care, Storage, and When to Choose an Alternative
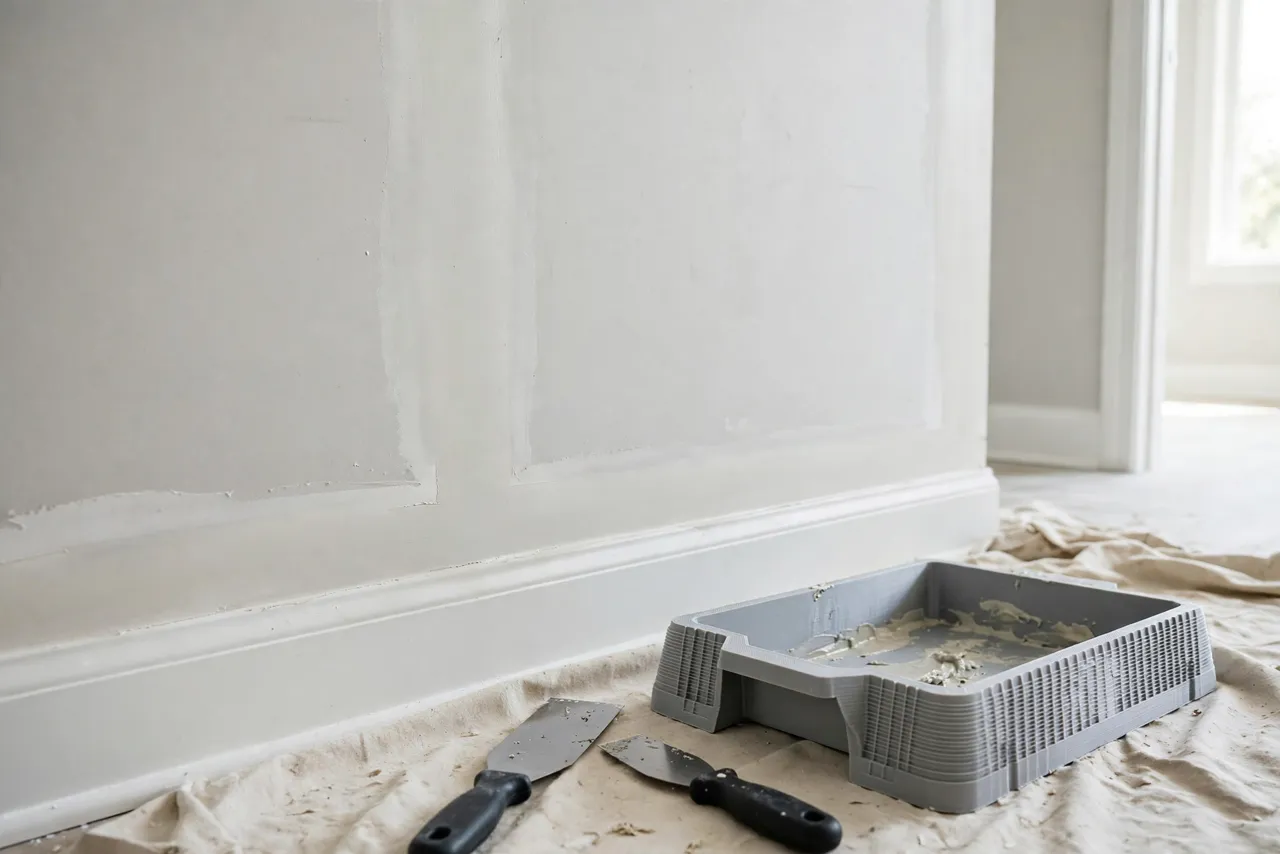
Scrape out leftover compound, wash with water, dry fully, and store the pan flat or hanging by its handle hole. Inspect the handle joint occasionally — if it loosens, re-glue or re-bolt it before it fails mid-job. If the inner surface roughens with dried compound, sand it smooth again.
A printed pan is ideal for home drywall work and occasional patching. For a professional crew finishing houses daily, a manufactured steel or heavy-duty plastic pan will outlast printed plastic and survive rougher handling. For the homeowner taping a room, a printed pan sized to your knife is lighter, cheaper, and more comfortable than a generic steel pan.
FAQ
Will a printed pan leak joint compound?
Not in practice — compound is thick and does not flow through layer lines the way water would. Print with generous walls and top and bottom layers, and test with a small load first. If you see seepage, increase wall count.
What size pan should I print?
Match it to your widest taping knife plus 20 to 30 mm of clearance per side. A 10-inch knife suits a roughly 300 mm pan; a 12-inch knife suits a roughly 350 mm pan. Check your printer’s build volume first.
Can I leave compound in the pan between coats?
For a short break, cover it with a damp cloth or plastic wrap. Overnight, clean the pan — dried compound is difficult to remove and roughens the surface for the next coat.
My pan flexes when full. How do I fix it?
Increase wall count to 5 or 6 perimeters and infill to 50 percent, and thicken the rim. A flexy pan spills compound and tires your wrist; stiffness is worth the extra filament.
Conclusion
Drywall finishing is slow, patient work, and a pan that fits your knife, balances in your hand, and wipes clean makes every coat easier. Size it to your widest knife, slope the walls, keep the handle broad, and clean it promptly every time.
From cutting the opening to the final feathered coat, the right pan turns a chore into a steady, satisfying rhythm — and the wall you finish will show it. Pair it with 3D Printed Putty Knives and Spreaders: Flexible Blades for Filler and Spackle for spreading the compound once it is in the pan.