Introduction
Ear muffs have a way of disappearing exactly when noisy work starts. They end up in a drawer, under a pile of offcuts, or in a bag from the last job, and by the time you find them, the saw is already running — or you start without them, telling yourself it is only a quick cut. That is how hearing protection fails in practice: not because people refuse to wear it, but because it is not where they are when they need it.
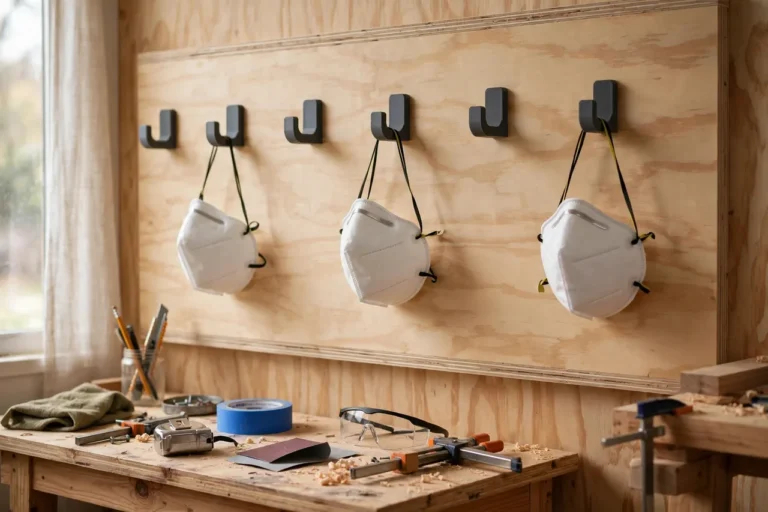
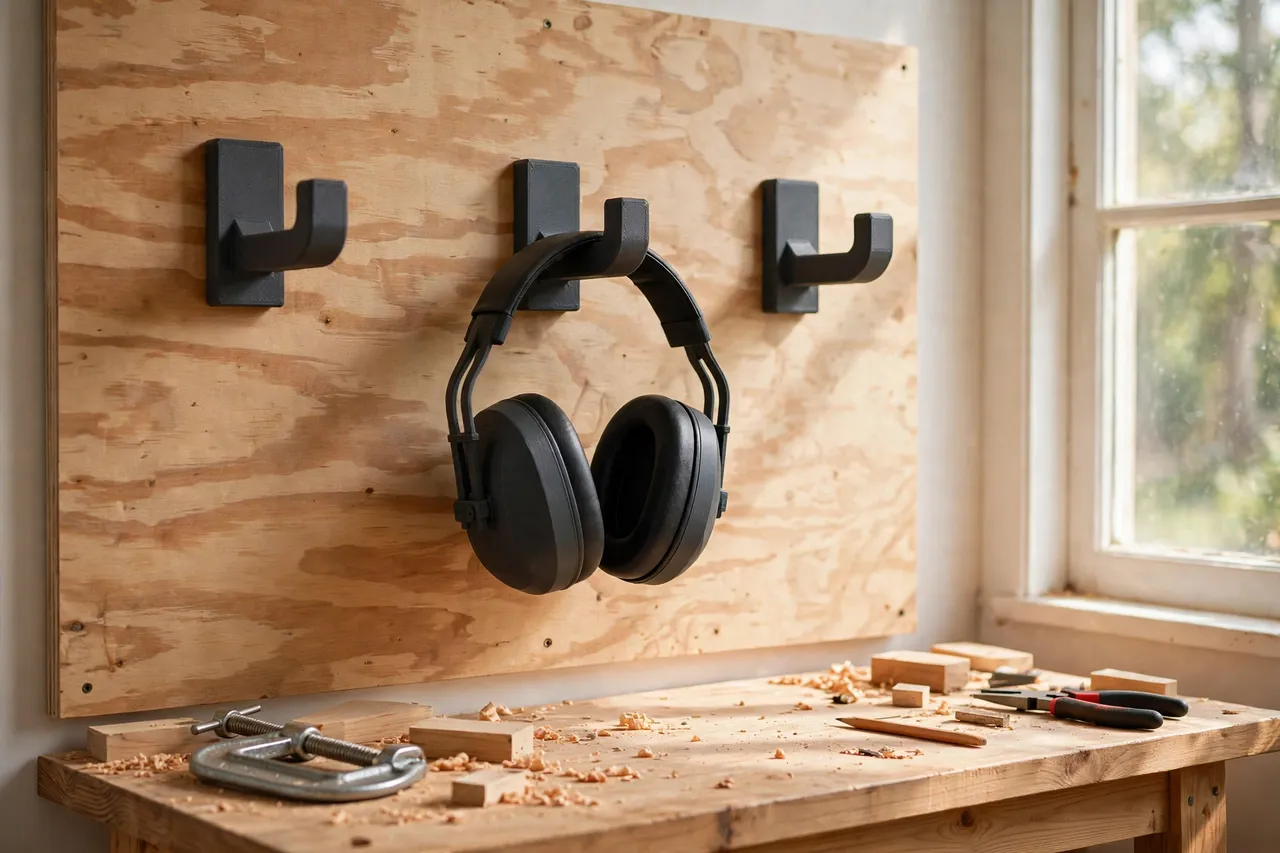
Hanging ear muffs in plain sight by the bench changes the habit. The muffs are visible every time you walk up to a noisy tool, and grabbing them becomes part of starting the job, not an extra errand. A printed hook is a small project that supports a good habit: protection that is easy to see is protection that is easy to reach for.
To be clear about what this project is and is not: these hooks are storage for finished ear muffs. They hold muffs on the wall where they can be found. They are not protective devices themselves, they do not change how ear muffs work, and hanging muffs on a hook does not by itself improve safety — wearing properly fitted, undamaged muffs during noisy work is what matters, and this guide assumes you already choose and use muffs suited to your work. The hook’s job is simply to make sure the muffs are there when you reach for them.
What You Need
This is a simple print-and-mount project, sized around the headband of your ear muffs.
Materials and tools
- A home 3D printer with a build area of roughly 120 mm in at least one direction
- PLA or PETG filament; either works, since ear muffs are light
- Your ear muffs, for measuring headband width and ear cup size
- A stud finder, pencil, spirit level, and tape measure
- Wood screws (30 to 40 mm) for plywood or studs, plus wall plugs for masonry
- A cordless drill, pilot drill bit, and screwdriver
- Sandpaper or a small file for cleanup
Suggested print settings
- Layer height: 0.20 mm is fine for hooks.
- Walls: 3 to 4 perimeters for a sturdy hook arm.
- Infill: 30 to 50 percent, gyroid or grid.
- Top and bottom layers: 4 or more for a flat mounting plate.
- Orientation: Print flat with the mounting plate down, or on the side for a stronger arm.
- Supports: Usually none for a simple hook shape.
Print one hook first and test it with your ear muffs before printing a row.
Design Considerations
Ear muffs are bulkier than most things you hang on a wall hook, so the hook needs to be wider, deeper, and set further from the wall than a hook for a hand tool.
1. Hook shape for headbands
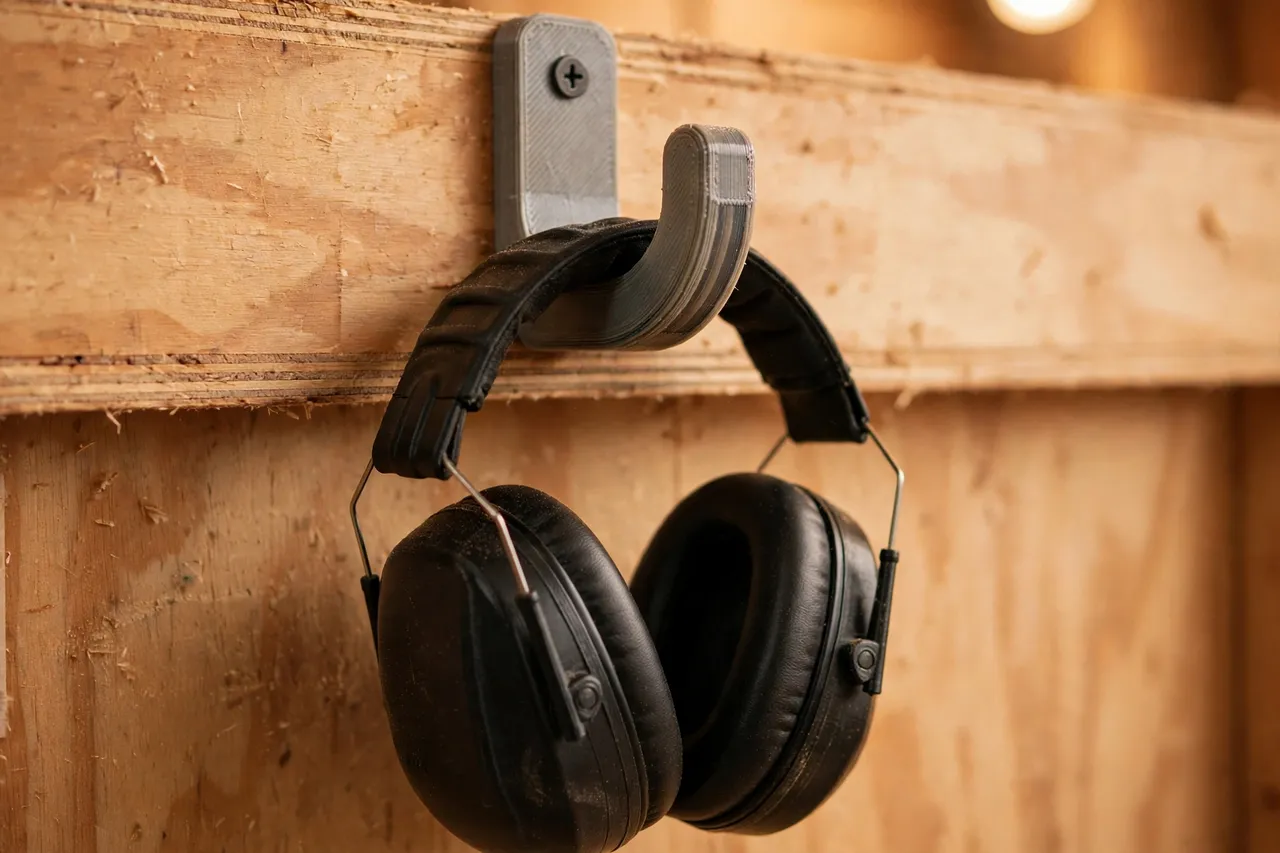
Ear muffs hang best by the headband, draped over a broad, gently curved hook. A hook cradle about 50 to 70 mm wide spreads the headband’s weight and stops it creasing or taking a permanent bend. A narrow hook concentrates pressure on one point of the band, which can deform the padding over time and make the muffs less comfortable — and uncomfortable muffs are muffs that do not get worn.
The hook’s front should rise enough to keep the band captive — a lip of at least 20 mm — while still letting you lift the muffs off with one hand.
2. Ear cup clearance
Ear cups are large, typically 90 to 110 mm across, and they need room. The hook’s standoff from the wall should be at least 50 to 60 mm, so the cups hang clear without pressing against the wall, which can deform the seals. Check that the cups do not press against neighboring hooks or tools either — deformed seals fit poorly, and a poor seal is a real problem for muffs you rely on.
3. Spacing and location
Space hooks 180 to 220 mm apart, measured by ear cup width, not headband width — cups are the widest part. The best location is right by the bench or by the door to the workshop, at eye level or just below, where the muffs are impossible to miss when you head for a noisy tool. If several people use the shop, a hook per person, labeled with a name or a color, stops muffs migrating.
4. Keeping muffs clean
Muffs hung on a wall stay cleaner than muffs in a drawer full of sawdust, but they still collect dust in a workshop. Hang them away from the direct dust path of sanding and sawing if you can, and wipe the cups and seals now and then. Check seals regularly for cracks, hardening, or flattening, and replace muffs or seals when they wear out — a hook cannot fix worn protection, and this guide does not pretend otherwise.
Step-by-Step: Printing and Mounting
- Measure your ear muffs — headband width, ear cup diameter, and overall hanging size.
- Model a broad, curved hook with a cradle wider than the headband, a raised front lip, and a mounting plate with two screw holes.
- Print one test hook and clean up edges that touch the headband or cups.
- Test-hang the muffs. The band should sit in the cradle without creasing, and the cups should clear the wall.
- Adjust if needed. Band creasing? Widen the cradle. Cups touching the wall? Increase standoff.
- Print the remaining hooks once the test passes.
- Mark the wall level at eye level or just below, by the bench or workshop door.
- Find studs, drill pilots, and mount the hooks with screws driven snug.
- Hang the muffs and check each pair clears its neighbor and the wall.
- Build the habit. Muffs back on the hook after every noisy job, so they are there for the next one.
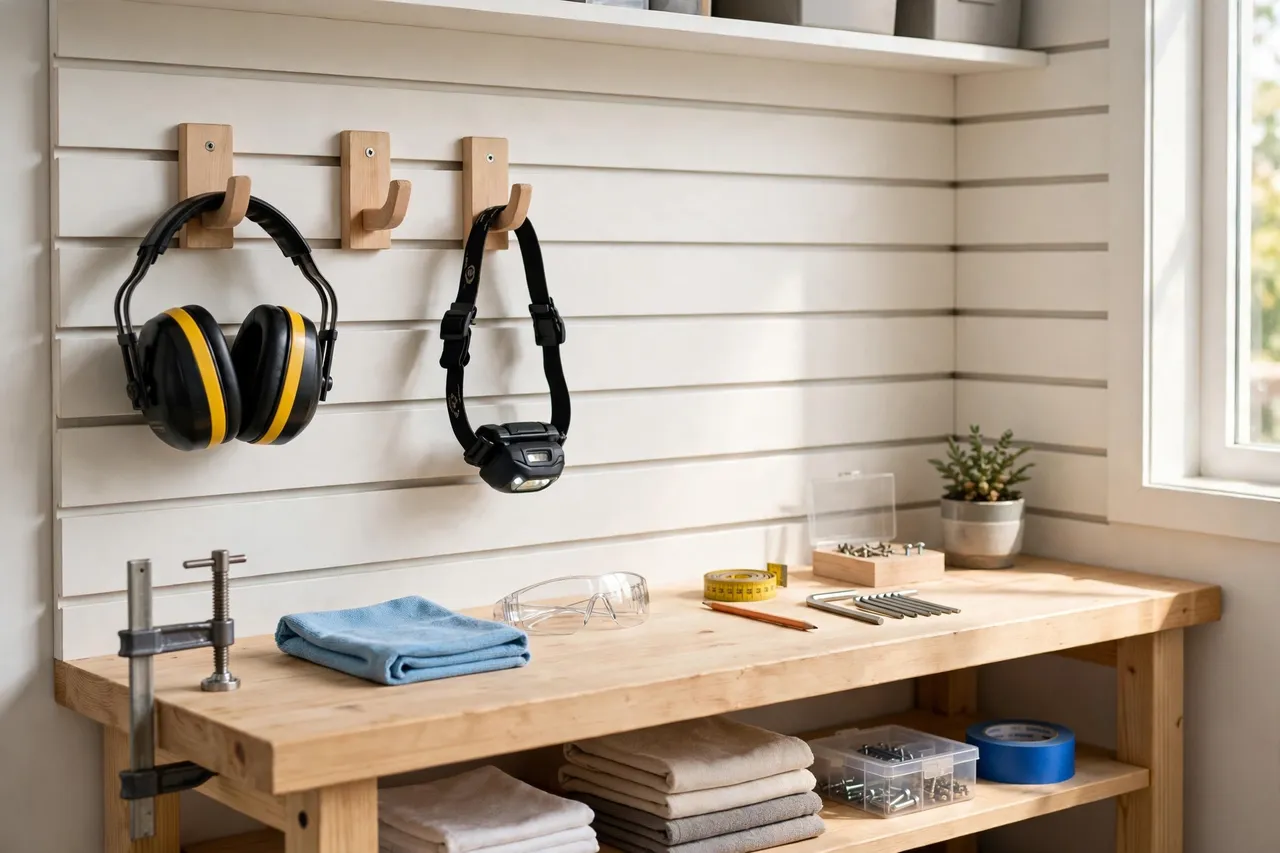
The same visible-storage idea works for other bench gear: the guide 3D Printed Headlamp Wall Hooks: A Parking Spot for Headlamps covers headlamps stored the same way, and 3D Printed Dust Mask Hooks: Hooks for Masks at the Bench covers masks — together, they make a wall by the bench where everything you reach for before a job has its own hook.
Tips for Better Results
- Hang muffs cups-down or cups-out, never crushed. Let the cups hang freely so seals keep their shape.
- Keep muffs away from heat and sun. Heat hardens seals and degrades headbands. A cool wall by the bench beats a sunny window.
- Label hooks in a shared shop. One pair per person, clearly marked, means no one grabs a pair that does not fit them.
- Inspect muffs when you hang them up. A quick glance at seals and headband padding after each job catches wear early, when replacement is cheap and easy.
- Leave a spare hook. A visitor, a new pair of muffs, or a second set for outdoor work all need a home eventually.
Common Mistakes to Avoid
- Using a narrow hook that creases the headband. Broad cradles protect the band; narrow hooks deform it.
- Hanging muffs where cups press against the wall. Deformed seals fit poorly. Give cups real clearance.
- Cramming muffs together. Cups pressed against cups deform both pairs. Space by cup width.
- Mounting with weak fixings. Even light muffs need a stud or rated anchor — a hook that falls takes the muffs with it.
- Assuming storage equals protection. A hook keeps muffs findable. It does not make worn, damaged, or poorly fitting muffs protective. Inspect and replace muffs on their own schedule.
- Hiding muffs in a cabinet “to keep them clean.” Out of sight is out of mind, and the habit breaks. Visible by the bench is the point.
Care, Storage, and Alternatives
Printed hooks need little care: dust them, check screws annually, and reprint any hook that cracks. Muffs need more: wipe cups and seals, check for wear, store them away from heat and chemicals, and replace them when seals harden or crack, following the manufacturer’s guidance on service life.
Alternatives include a shelf for muffs, which works but lets muffs slide around and collect dust, and a bag hung on a peg, which hides the muffs and tangles straps. A dedicated hook wins on visibility and on seal protection: muffs hang free, cups untouched, in plain sight.
FAQ
Will one hook fit all ear muffs?
Most standard ear muffs, yes, if the cradle is broad and the standoff clears the largest cups you own. Very large muffs with extra-thick cups may need a deeper hook, so measure your largest pair and size for it.
Should muffs hang by the headband or by a cup?
By the headband, always. Hanging by a cup stresses the seal and the yoke, and it leaves the muffs swinging awkwardly. The headband is designed to carry the muffs’ weight.
PLA or PETG for ear muff hooks?
Either works — ear muffs are light. PETG is slightly better in a warm shop, but PLA is perfectly fine for this project.
My muffs’ headband has a crease from hanging. What went wrong?
The hook cradle was too narrow, concentrating pressure on one point of the band. Switch to a broader, gently curved hook, and give the band time to relax — a crease from a narrow hook may ease, but a permanently deformed band should be checked for fit before further use.
Conclusion
Ear muffs protect hearing only when they are worn, and they are worn most reliably when they are visible, reachable, and in good condition. A printed hook by the bench supports all three: muffs hang in sight, cups free and seals uncrushed, ready to grab before the noise starts.
Print one broad hook, test it with your muffs, and put it where you cannot miss it. The best hearing protection habit is the one you do not have to think about — and a hook in plain sight makes it automatic.