Introduction
A drawer that sticks is one of the most annoying small failures in a home. It worked fine for years, then a repair, a replacement box, or a swollen cabinet leaves it rubbing on one side, sagging at the front, or refusing to close flush. The usual advice — plane the box down, rebuild the drawer, replace the cabinet — is far more work than the problem deserves.
Often the real issue is just a few millimeters of mismatch. The box is slightly narrower than the opening, so it racks sideways. Or it sits slightly low, so the drawer front drags. Or a replacement box is a fraction smaller than the original, and the slides no longer align.
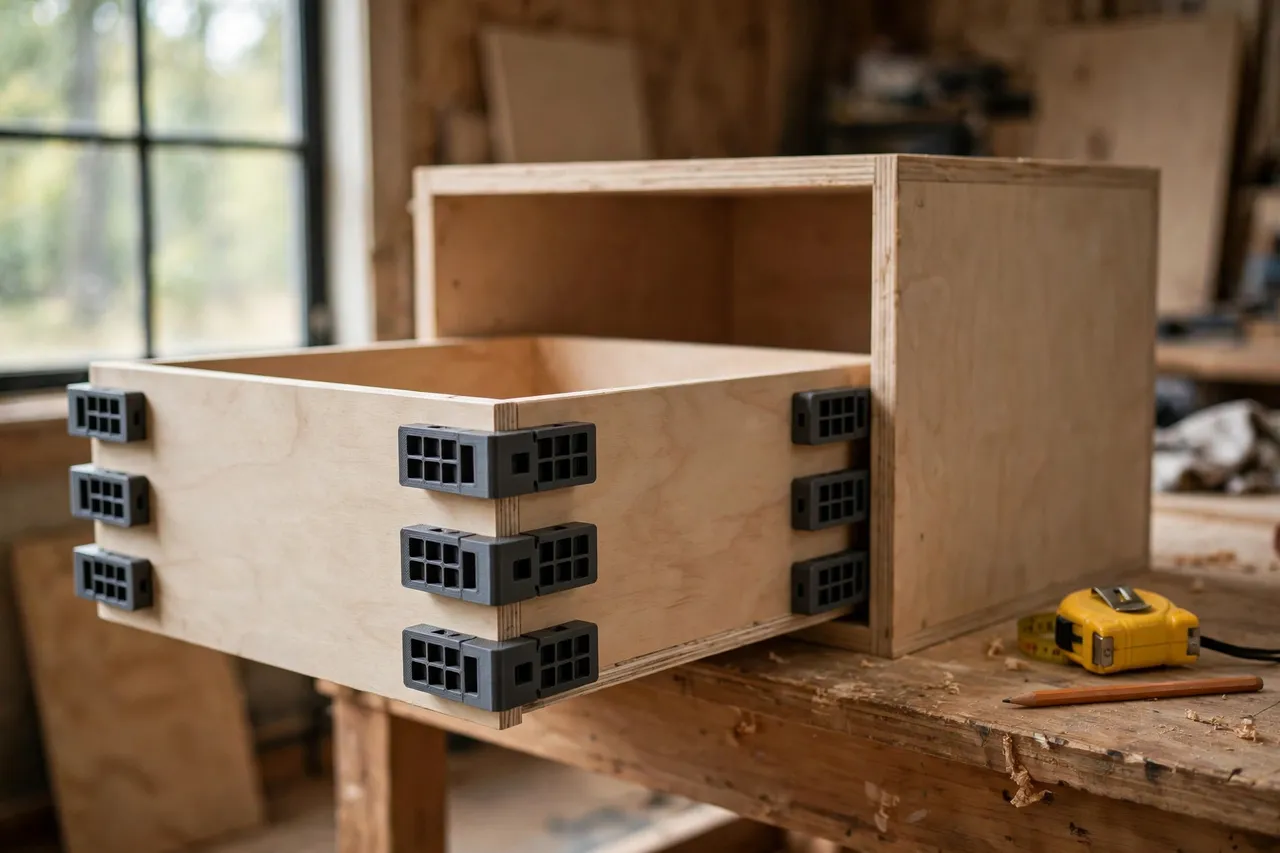
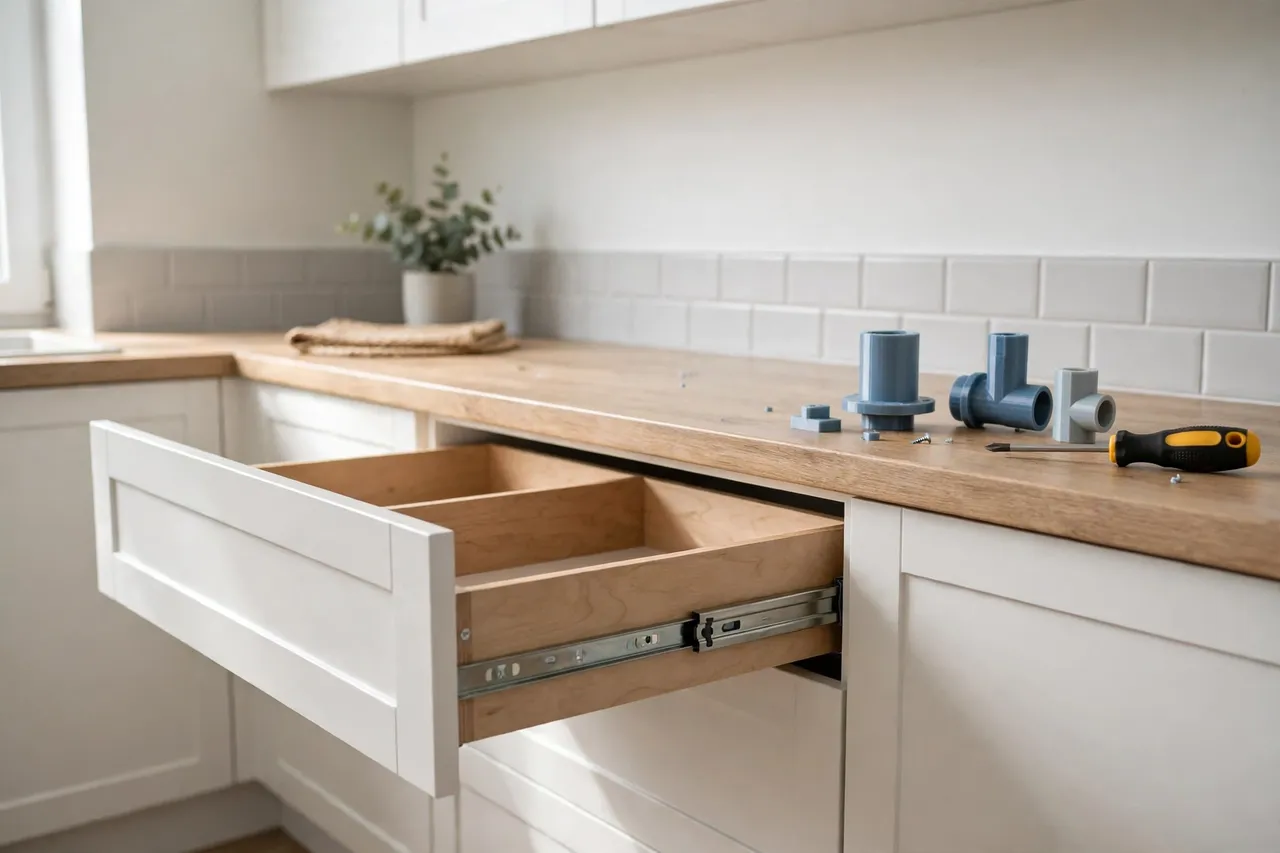
3D printed drawer box adapters fix that mismatch with small, precise parts: spacer blocks that take up side clearance, height shims that lift a box to the right level, and mounting plates that move a slide or guide to where it needs to be. Print a set to your exact measurements, and a box that never fit its opening slides smoothly again.
This guide covers designing, printing, and using drawer box adapters for light-duty home drawers: kitchen utensil drawers, bedroom drawers, and workshop cabinet drawers. These are layout aids and light-duty helpers. They align and space a drawer box; they do not carry structural loads, and they are not a substitute for sound drawer slides and a solid cabinet.
What You Need
Drawer box adapters are small, flat parts, quick to print in sets. The critical work is measuring the opening and the box in several places, not just one.
Materials and tools
- A home 3D printer with a build area of roughly 120 mm in at least one direction
- PETG filament for kitchen and workshop drawers, or PLA for bedroom and indoor use
- The drawer box and the cabinet opening it must fit
- Calipers or a tape measure, a pencil, a spirit level, and a try square
- A cordless drill, screws, a screwdriver, and wood glue if you want a semi-permanent fit
- Sandpaper or a small file for cleanup
PETG is the better long-term choice for kitchens and workshops: it handles humidity and warm rooms better than PLA. PLA is fine for a first test set and for light indoor drawers. Print adapters solid enough that they do not compress under the drawer’s weight.
Suggested print settings
- Layer height: 0.20 mm balances speed and accuracy; 0.16 mm if screw holes look rough.
- Walls: At least 4 perimeters — the screw holes and edges carry the load.
- Infill: 40 to 60 percent, grid or gyroid, so adapters resist compression.
- Top and bottom layers: 4 or more, so contact faces stay flat against wood.
- Orientation: Print flat, contact face down, for the flattest reference surface.
- Supports: A good flat adapter design needs none.
Print one test set first and try it in the real opening before printing final parts.
Design Considerations
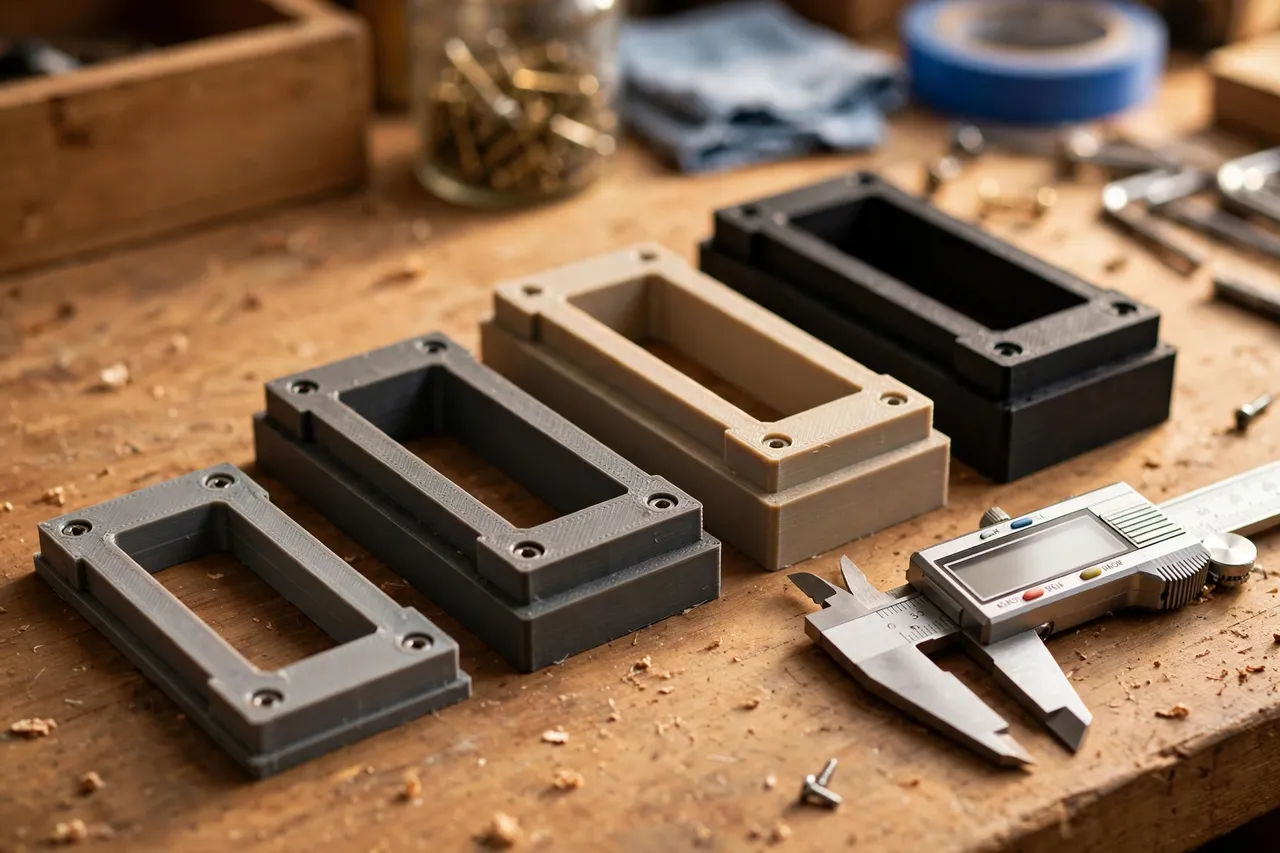
Drawer adapters come in three main forms, and most jobs use a mix of them. Measure first, then choose.
1. Measure the opening and the box
Measure the opening’s width at the front, middle, and back, and its height at both sides — cabinets are rarely perfectly square, and a single measurement hides the variation. Measure the box the same way. The differences tell you what adapters you need: side clearance differences call for side spacers, height differences call for lift shims, and slide misalignment calls for mounting plates. Write every measurement down; guessing from memory is how drawers end up worse.
2. Side spacer adapters
Side spacers are flat blocks that screw to the cabinet side or the drawer box side, taking up excess clearance. Thickness is the key dimension: print spacers in the exact thickness your measurements demand, often 2 to 6 mm, rather than stacking washers or cardboard. Taper the leading edge slightly so the drawer enters smoothly, and keep screw holes at least 5 mm from every edge.
3. Height and leveling shims
Lift shims sit under a slide, a guide, or the drawer box itself to raise it to the right level. Stepped shims — two or three thicknesses in one part — let you fine-tune height without reprinting. For a drawer front that sits low on one side, a shim under one slide only, sized to the measured drop, levels the front. Check with a spirit level across the drawer front after fitting.
4. Slide mounting plates
When a replacement box’s slide holes do not line up with the cabinet’s, a mounting plate bridges the gap: it screws to the cabinet in the existing holes and presents new holes where the slide needs them. This is the same translation idea as “3D Printed Drawer Slide Adapters: Fit Slides to Any Drawer“, applied at the box level rather than the slide level. Keep plates at least 3 mm thick, with generous material around every hole.
Step-by-Step: Printing and Assembly
- Measure the opening — width at front, middle, and back; height at both sides.
- Measure the box the same way, and note every difference.
- Decide which adapters you need — side spacers, lift shims, mounting plates, or a mix.
- Model the set, with screw holes positioned to avoid existing hardware and splits in the wood.
- Print a test set in cheap filament and offer each part up to its location.
- Check the fit dry. Parts should sit flat with no rocking, and screws should bite into solid wood.
- Adjust if needed. A spacer 0.5 mm too thick is a quick model tweak; reprint rather than sanding a stack of parts.
- Print the final set in PETG, and keep the test set as spares.
Measuring in several places is what makes the final set right the first time.
Step-by-Step: Using Drawer Box Adapters in Your Cabinet
- Empty the drawer and remove it from the cabinet, noting how the slides or guides come apart.
- Clean the opening. Remove old glue, loose screws, and debris that could throw off your measurements.
- Fit side spacers first. Screw them to the cabinet sides or box sides, checking the box still enters without force.
- Fit lift shims next. Place them under slides or guides, then check the drawer front against the cabinet front with a spirit level.
- Fit mounting plates last, if needed, and attach the slides to their new positions.
- Slide the drawer in and test it. It should move smoothly through its full travel, with even gaps around the front.
- Load gradually. Start empty, then add normal contents, checking for new rubbing or sagging.
- Check after a week. Wood and screws settle; snug anything loose and look for adapters that have shifted.
Work through one drawer completely before starting the next. The first drawer teaches you the routine for the rest.
Tips for Better Results
- Keep a measurement card. Write the opening and box dimensions on a card taped inside the cabinet for the next repair.
- Print spacers in a set of thicknesses. A 2, 3, 4, and 5 mm set covers most mismatches without a fresh print each time.
- Round the leading edges. A small chamfer on entry edges stops adapters catching as the drawer slides.
- Use a drop of wood glue plus screws for spacers you never want to move, and screws alone for ones you may adjust.
- Pair adapters with organized storage. Once drawers slide properly, they are worth organizing — our guide “3D Printed Knob and Pull Organizer: Knobs Sorted and Ready” shows the same tidy-drawer thinking applied to spare hardware.
Common Mistakes to Avoid
- Measuring in only one place. Openings vary front to back; a single measurement hides the tight spot.
- Making spacers too thick. A drawer that cannot enter at all is worse than one that rubs; sneak up on the thickness.
- Screwing into splits or old holes. Move the adapter or fill old holes first so screws bite into solid wood.
- Ignoring slide alignment. Spacers fix the box, but slides that are not parallel will still bind.
- Overloading a repaired drawer. Adapters align a box; they do not strengthen weak slides or a damaged cabinet.
- Forgetting the drawer front. A box can slide perfectly while its front sits crooked; always check the front gaps last.
Care, Storage, and When to Choose an Alternative
Brush off dust, check screws every few months, and reprint any adapter that cracks, compresses, or shows whitening around screw holes. PLA adapters in a warm kitchen can soften over time; switch those to PETG. Spare spacers store flat in a small box, sorted by thickness.
Sometimes a bigger repair is the right call. If the cabinet carcass is twisted, the drawer box is broken, or the slides are bent, adapters only mask the problem — repair or replace the damaged part instead. For the everyday mismatch — a good box, a slightly wrong opening — printed adapters are faster and cheaper than rebuilding either side. The same spacing logic applies to other cabinet hardware, as in “3D Printed Shelf Standard Adapters: Fit Standards to Any Slot“, which adapts shelf brackets rather than drawer boxes to mismatched openings.
FAQ
Will one set of adapters fit every drawer in my kitchen?
Probably not. Openings vary from cabinet to cabinet, even in the same kitchen. The good news is that a printed set is cheap, and your measurement routine transfers directly — the second drawer goes much faster than the first.
Is PLA strong enough, or do I need PETG?
For light indoor drawers, PLA is strong enough with generous walls and infill. PETG is the better keeper for kitchens and workshops because it handles humidity and heat better. Adapter thickness and infill matter more than the filament brand.
My drawer still sticks after fitting spacers. What is wrong?
Usually the slides are not parallel, or the tight spot is somewhere you did not measure. Remove the drawer, check slide alignment with a straightedge, and re-measure the opening at the sticking point — the problem is almost always at the back, where you least expect it.
Can adapters fix a drawer that sags when open?
Partly. Lift shims can level a sagging front, but a drawer that drops badly when extended usually has worn or undersized slides. Adapters align; they do not replace the slide’s job. If shims do not fix it, replace the slides.
Conclusion
A sticking drawer is usually not a ruined drawer. It is a few millimeters of mismatch between a box and an opening, and a few millimeters is exactly what a printed adapter fixes. Measure in several places, print spacers and shims to your exact numbers, and a drawer that fought you every day slides smoothly again.
Start with the worst drawer in the house, print a test set, and fit it carefully. Once that drawer glides, the rest of the kitchen — and the rest of your cabinets — will feel like a much smaller job.