Introduction
Rope and chain are at their worst when they are loose. A coil of rope left on a shelf slowly works itself into a knot. A length of chain in a bucket tangles with everything it touches. When you need two meters, you pull, it snags, you pull harder, and suddenly you are untangling the whole coil on the floor.
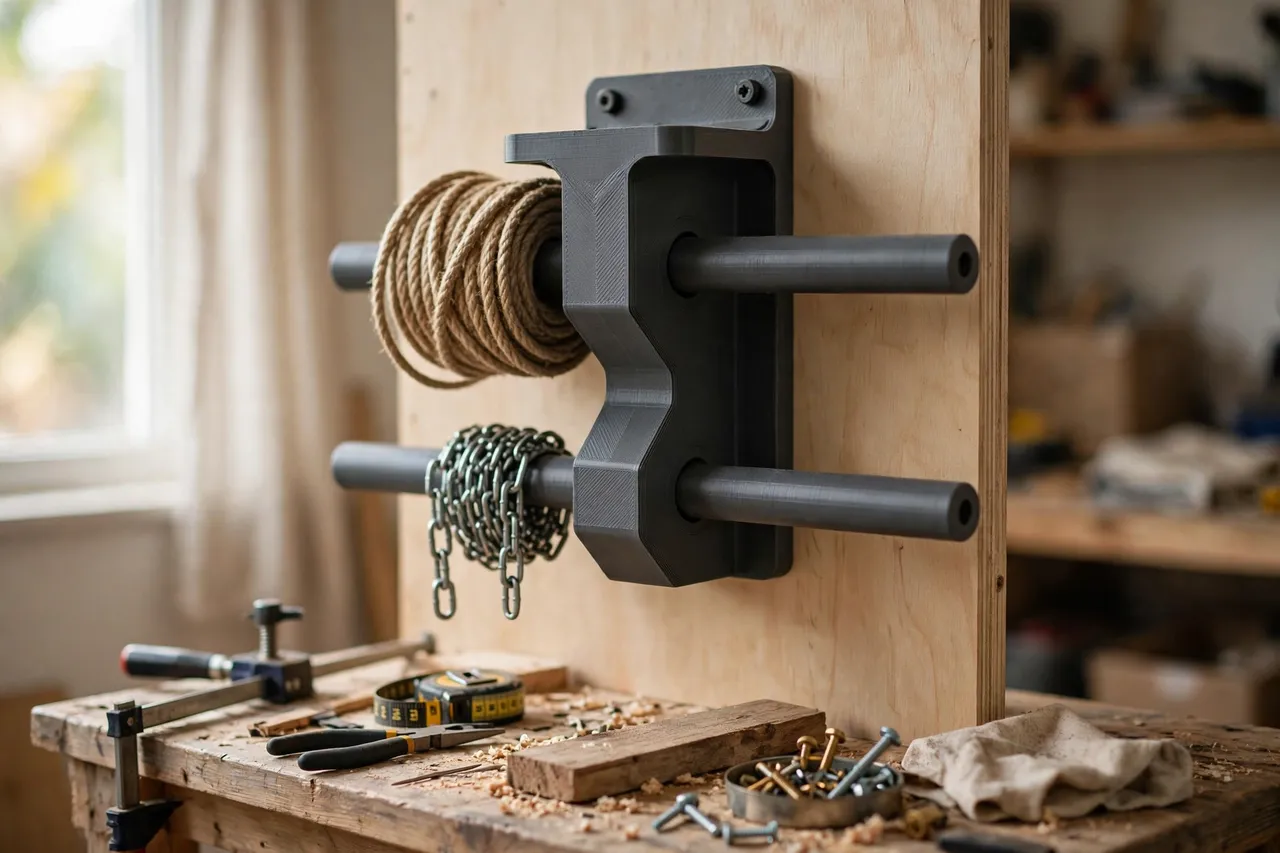
A 3D printed spool holder fixes the handling, not the material. It holds a spool or coil on an axle or in a cradle, so the rope or chain unwinds from one end, under light control, instead of collapsing into a pile. You pull what you need, cut it, and the rest stays wound and ready. It is a small change that makes rope and chain feel like proper workshop stock instead of a recurring chore.
This is a light-duty storage and dispensing aid. It holds coils at the bench or on the wall and guides them as they unwind. It is not a lifting device, not a restraint, and not a substitute for rated hardware wherever chain or rope carries a load. Never use a printed holder, or a chain or rope stored on it, to lift, hoist, tow, suspend, or restrain anything heavy or overhead — and never use it to secure a load in a vehicle. If a job involves real weight, use rated equipment designed for that job. The holder’s job ends at tidy storage and clean unwinding.
The same visible-storage logic appears in “3D Printed Wire Spool Holders: Hold Wire Spools at the Bench” and “3D Printed Key Storage Board: A Board for Spare Keys” — stock you can see, reach, and use without a hunt.
What You Need
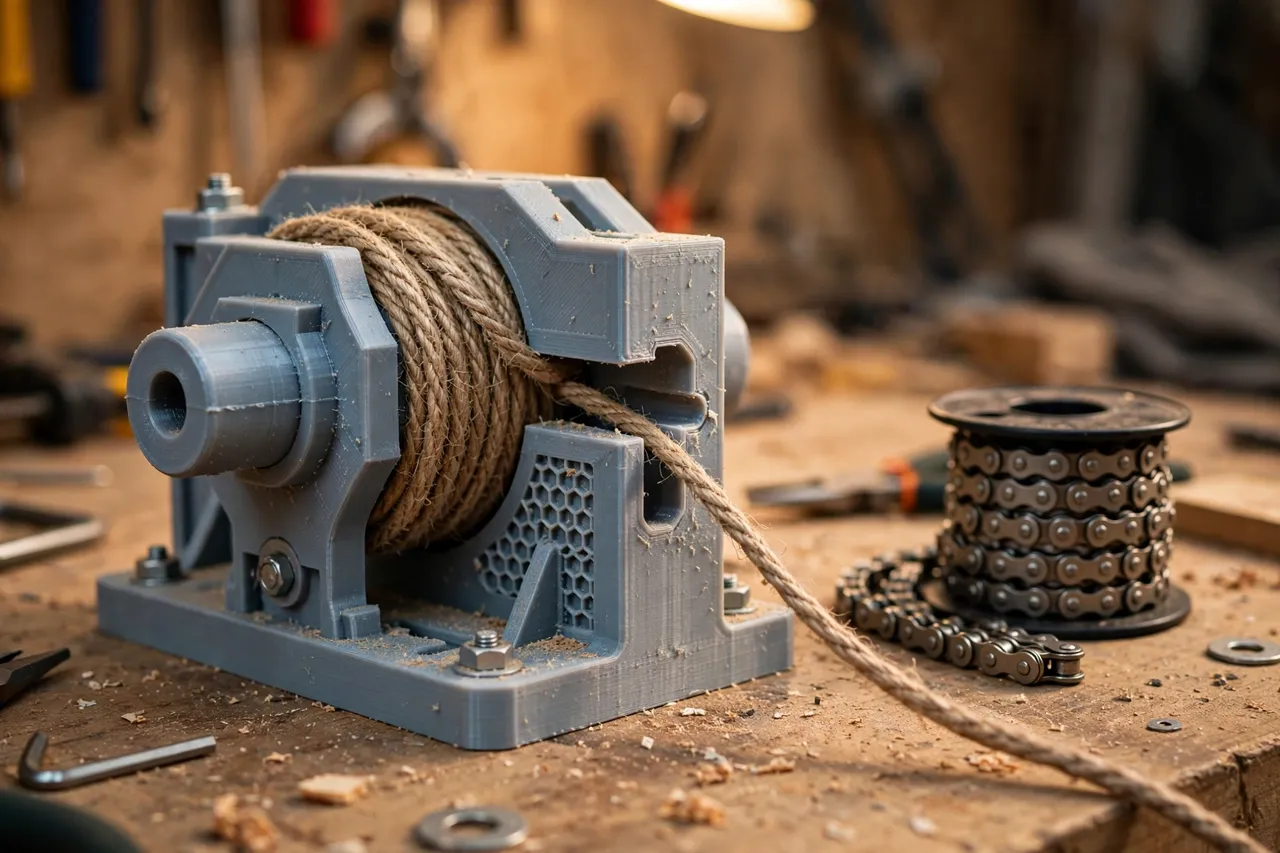
The holder is a simple frame with an axle: wall-mounted brackets with a removable rod, or a bench-standing cradle with a spindle. Wall mounting needs screws and plugs; a bench version needs a stable base.
Materials and tools
- A home 3D printer with a build area of roughly 150 mm in at least one direction
- PETG filament for a tougher holder, or PLA for light rope coils indoors
- Your rope and chain coils or spools, measured, plus a dowel or rod for the axle if your design uses one
- A tape measure or calipers, a pencil, a level, and a drill or screwdriver for wall mounting
- Sandpaper or a small file for cleanup
PETG is the better default here: rope and chain are heavier and rougher than knobs or keys, and PETG resists abrasion and flexing better.
Suggested print settings
- Layer height: 0.20 mm for a good balance of speed and strength.
- Walls: 4 to 5 perimeters, especially around axle housings, so the axle does not oval out its socket.
- Infill: 30 to 50 percent, grid or gyroid. Chain coils are heavy; do not skimp here.
- Top and bottom layers: 4 or more, for a solid mounting face.
- Orientation: Print brackets flat on the bed, axle housings vertical, for the strongest layer direction.
- Supports: A good design needs none if axle housings are open at the top.
Print one bracket pair first and test it with your heaviest coil before printing a full set of holders.
Design Considerations
Rope and chain behave differently, so a good holder gives each a slightly different home — or one adjustable design that suits both.
1. Axle holders for wound spools
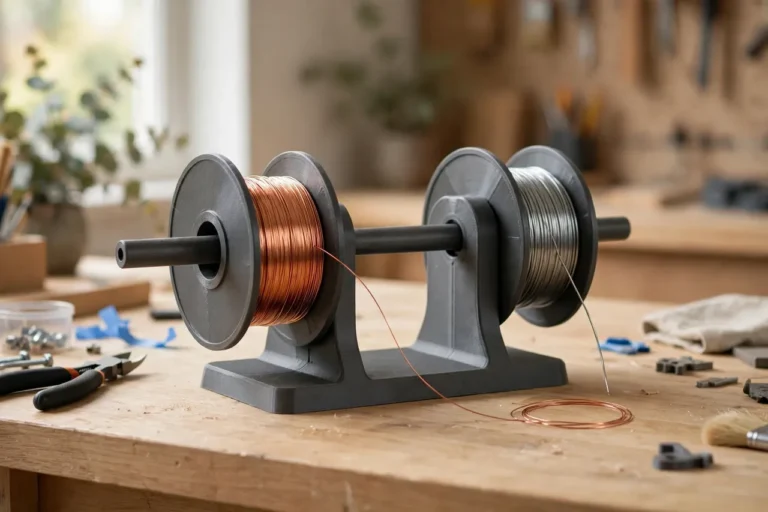
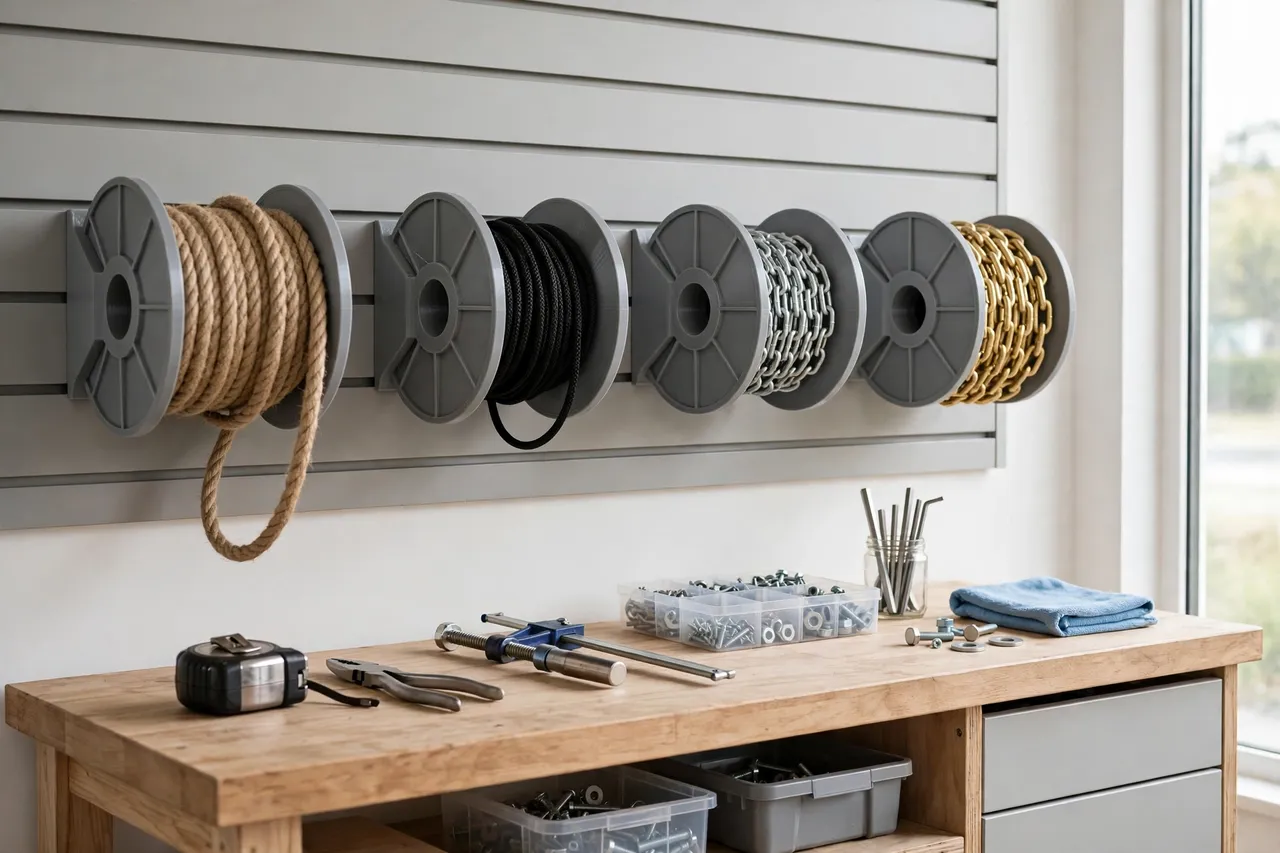
For rope or chain already wound on a spool, an axle holder is ideal. Two brackets hold a horizontal rod through the spool’s center, and the spool rotates as you pull. Size the rod to the spool’s center hole with a little clearance, and make one bracket open-topped so the rod lifts out for spool changes. A rod of 12 to 20 mm diameter suits most small spools; a wooden dowel works well and is cheap to replace.
2. Cradles for loose coils
Rope that comes in a loose coil, not on a spool, stores better in a cradle: two curved arms that cup the coil from below, letting it rotate as you pull from the outer end. The cradle arms should reach about a third of the way up the coil’s sides, so the coil cannot roll out but can still turn. For chain, add a small guide slot at the front so links feed out one at a time instead of in a clump.
3. Controlling the unwind
A spool that spins freely will overrun: you pull a meter and three meters come off. Add gentle friction — a felt pad pressing lightly on the axle, or a slightly snug axle socket — so the spool stops when you stop pulling. Test the friction with your actual coil: too much and you fight the holder, too little and the coil unravels itself onto the floor.
4. Sizing to your stock
Measure your largest coil’s diameter and width before modeling. A holder sized for a 150 mm coil will not hold a 250 mm one, and a holder sized for the big coil wastes wall space on small ones. Print holders in two sizes — small for cord and light chain, large for rope — rather than one compromise size that fits nothing well.
5. Mounting and placement
Wall-mounted holders keep coils off the bench and visible, and they are the better default. Screw brackets into studs where possible, or use proper plugs, and test with a firm tug before loading a heavy chain coil. Keep holders at a height where you can pull comfortably without reaching overhead — shoulder height or just below is ideal. Bench-standing cradles suit renters or anyone who rearranges often, but they eat bench space and can tip if a coil snags.
Step-by-Step: Printing and Assembly
- Gather your rope and chain and measure the diameter and width of each coil or spool.
- Decide axle or cradle for each coil, based on whether it is wound on a spool or loose.
- Sketch the holder layout: bracket spacing, axle diameter, and wall position.
- Model one bracket pair with mounting holes and an open-topped axle socket.
- Print a test pair and check that your heaviest coil spins freely and stops when you stop pulling.
- Print the remaining holders and any cradle arms or guide slots.
- Clean up stringing and sand axle sockets smooth so spools rotate without catching.
- Mount the brackets level, checking spacing against a real spool before tightening.
- Load the coils, thread the free end through the guide slot if there is one, and test the unwind.
Step-by-Step: Using It
- Load coils with the free end on top, so you pull from the outside of the coil and it unwinds naturally.
- Pull slowly at first. A steady pull feeds rope or chain cleanly; a yank overruns the spool and tangles the free end.
- Cut at the holder, measuring against the bench, then tuck the new free end back through the guide slot so it does not dangle and snag.
- Keep one holder per coil. Doubling coils on one axle means they unwind together and tangle together.
- Rewind loose ends promptly. A coil that is allowed to slump off its holder becomes the tangled pile you printed the holder to avoid.
- Check heavy chain coils monthly. If a bracket flexes or a fixing loosens, unload the coil before it falls.
Tips for Better Results
- Label each holder with the rope diameter or chain size, so you grab the right stock without measuring.
- Add a small cutting guide — a slot or notch near the holder — to keep cut ends square.
- Print cradle arms in a contrasting color so the coil’s edge is easy to see against the holder.
- Keep a short offcut beside each holder as a sample, so you can match new stock to old without unwinding the coil.
- Store chain and rope separately. Chain abrades rope, and a mixed holder wears both out faster.
Common Mistakes to Avoid
- Sizing holders from memory. Coils look smaller on the shelf than they measure. Measure the real coil.
- Using a free-spinning axle with no friction. An overrunning spool undoes the whole point of the holder.
- Mounting heavy chain holders into drywall with no plugs. A loaded chain holder will pull plain screws out. Use studs or proper plugs.
- Overloading one axle. Two coils on one rod rub, tangle, and make both hard to use.
- Using the holder as load-bearing gear. A printed holder is for storage and dispensing only. Never lift, hoist, tow, or restrain with it, or with rope or chain stored on it, unless the equipment is rated for that job.
Care, Storage, and When to Choose an Alternative
Wipe dust and grit off holders now and then, especially chain holders, where grit accelerates wear on the axle socket. If a socket ovals out, reprint that bracket — modular pairs make repair cheap. Keep PLA holders out of sustained heat; PETG suits a garage better. Replace a holder that has cracked rather than patching it and reloading a heavy coil.
A manufactured spool rack or metal wall reel is the better buy if you stock large, heavy coils, dispense rope daily for a trade, or need a holder that survives constant use and heavy chain. Metal racks carry more weight and wear longer. For a home workshop with a few coils of rope and light chain, a printed holder is cheaper, sized to your exact stock, and easy to reprint when the stock changes.
FAQ
Can one holder work for both rope and chain?
A simple axle holder can, if the spool sizes match. Cradles are more material-specific: rope likes a smooth cradle, chain likes a guide slot. If you store both, print one holder style per material rather than forcing a compromise.
How do I stop the spool from overrunning?
Add gentle friction at the axle: a felt pad, a slightly snug socket, or a light spring clip pressing on the rod. Tune it with your actual coil — the spool should stop within a few centimeters of you stopping your pull.
Will a printed holder hold a heavy chain coil?
Light chain, yes, with PETG, thick walls, and stud-mounted brackets. Heavy chain coils belong on a metal rack. If a coil feels heavy in your hands, it is too heavy for a printed bracket.
Can I mount holders on pegboard?
Yes, with pegboard-compatible hooks or a small printed adapter plate that bolts to the holder and hooks into the pegboard. Keep heavy coils on wall-mounted holders instead, since pegboard hooks are not rated for much weight.
Conclusion
Rope and chain are only as useful as they are untangled. A printed spool holder — axle for spools, cradle for loose coils, a little friction to control the unwind — turns a pile on a shelf into stock you can pull, cut, and use without a fight.
Size it to your real coils, mount it properly, label each holder, and the next length of rope or chain you need will come off cleanly, first try.