Introduction
Wire spools are small, round, and determined to escape. Leave one on the bench and it rolls off. Leave several in a drawer and they tangle into a nest that takes longer to undo than the job you needed the wire for. Pull wire from a loose spool and it overruns, kinks, or springs back into a coil the moment you let go.
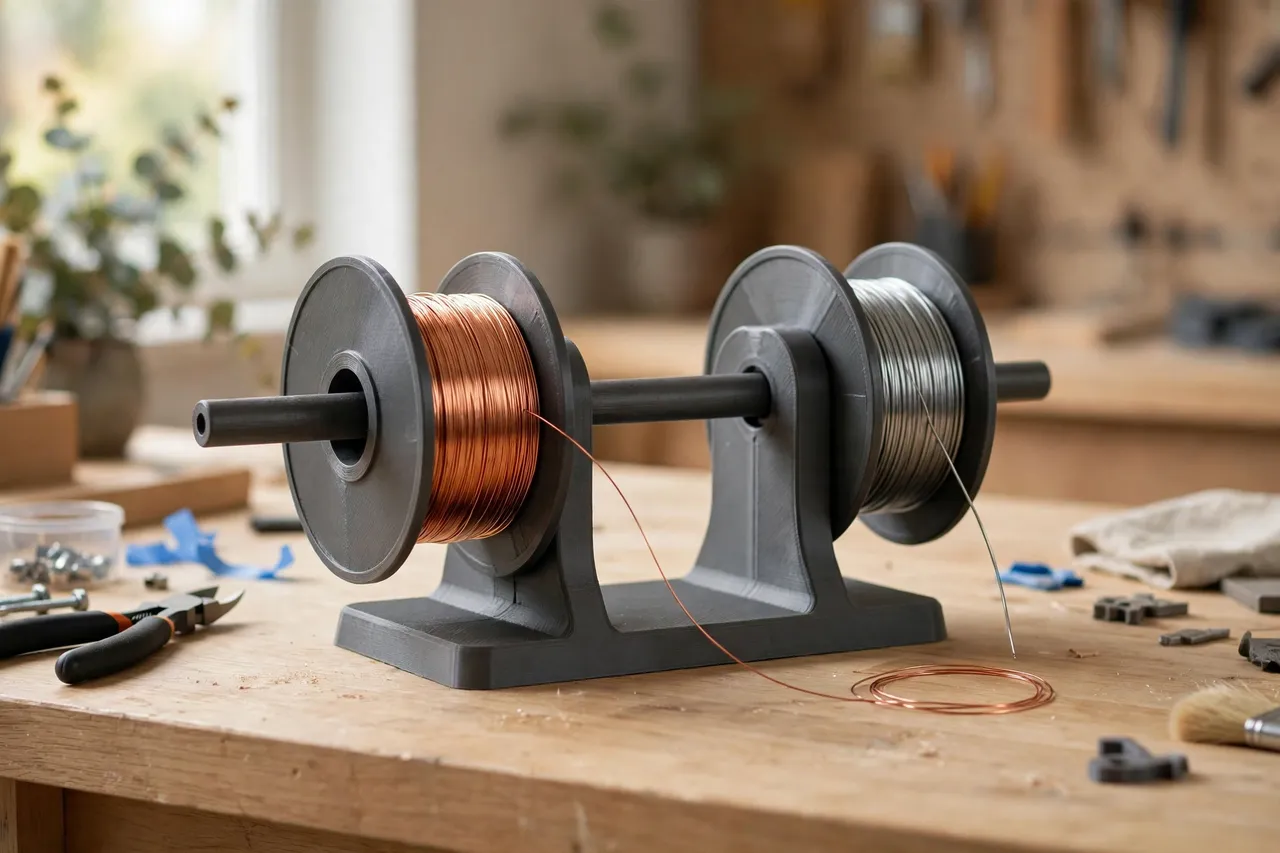
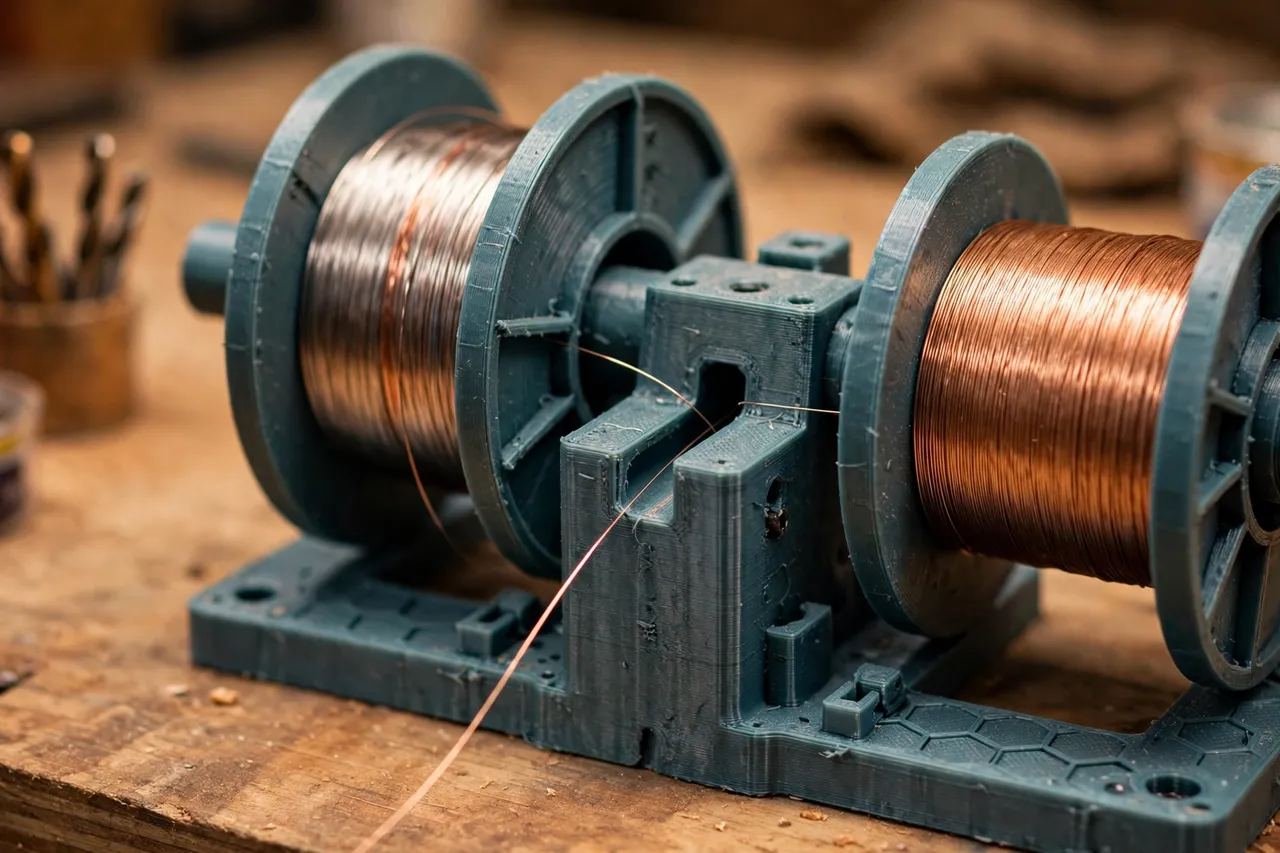
A 3D printed wire spool holder tames all of that. It is a bench-standing frame or a wall-mounted bracket with an axle through the spool’s center, so the spool rotates as you pull and stops when you stop. Wire feeds out cleanly, one length at a time, and the spool stays where you put it. For craft wire, binding wire, garden tie wire, and other light bench stock, it turns a fiddly material into one that behaves.
Read the scope of this project carefully, because it matters. This holder is STORAGE for spools of wire at the bench only. It is not electrical work, it does not make wire safe to use in a circuit, and it must never be presented as such. Never strip, join, or connect wire as part of this project, and never use a printed part in or on a live circuit. If a job involves mains wiring, a live circuit, or anything that carries current to a device, that job belongs to a qualified electrician and to properly rated materials — not to a printed holder and not to this guide. The holder’s job is to keep spools tidy. Nothing more.
Within that limit, the same tidy-bench logic runs through “3D Printed Chain and Rope Spool Holders: Spools That Unwind Cleanly” and “3D Printed Tape Roll Rack: Every Tape Roll in Sight” — spools and rolls, held where you can pull from them cleanly.
What You Need
The holder is a small frame with an axle: a bench-standing cradle with feet, or a wall-mounted pair of brackets with a removable rod. Bench-standing is the better default for wire, since wire work happens at the bench.
Materials and tools
- A home 3D printer with a build area of roughly 150 mm in at least one direction
- PLA filament for light bench spools indoors, or PETG for a tougher holder
- Your wire spools, measured, plus a dowel or rod for the axle if your design uses one
- A tape measure or calipers, a pencil, and sandpaper or a small file
- A pair of wire cutters for cutting lengths at the bench
PLA is fine for light craft and binding wire spools. PETG adds toughness if the holder will live in a garage or hold heavier spools.
Suggested print settings
- Layer height: 0.20 mm for a good balance of speed and finish.
- Walls: 4 perimeters, especially around axle housings and feet, so the holder stays rigid.
- Infill: 25 to 40 percent, grid or gyroid. Small wire spools are light, but a rigid frame feeds wire more cleanly.
- Top and bottom layers: 4 or more, for a flat, stable base.
- Orientation: Print the frame upright or flat as your design dictates, keeping axle housings vertical for strength.
- Supports: A good design needs none if axle housings are open at the top.
Print one test holder first and check that your most-used spool spins freely and stops when you stop pulling. A short test beats a full set of holders that overrun.
Design Considerations
Wire spools are smaller and lighter than rope spools, and they spring back. Design for that springiness, and for the bench.
1. Axle fit and friction
Size the axle to the spool’s center hole with a little clearance, and add gentle friction so the spool stops when you stop pulling. A felt pad pressing lightly on the axle, or a slightly snug socket, both work. Wire has memory: it wants to spring back into a coil, and a free-spinning spool lets it. Tune the friction with your actual spool — the spool should stop within a few centimeters of you stopping your pull, without you having to fight it while pulling.
2. A guide slot for the free end
Add a small guide slot or eyelet at the front of the holder, through which the wire feeds. The slot keeps the free end from whipping around, keeps the wire from kinking at the spool’s edge, and gives you a fixed point to pull against. Size the slot generously for your thickest wire, and smooth its edges so it does not nick the wire’s surface as it feeds.
3. Bench-standing versus wall-mounted
A bench-standing holder with a wide base stays put while you pull and moves with you between benches. It is the better default for wire work.
4. Multiple spools, one frame
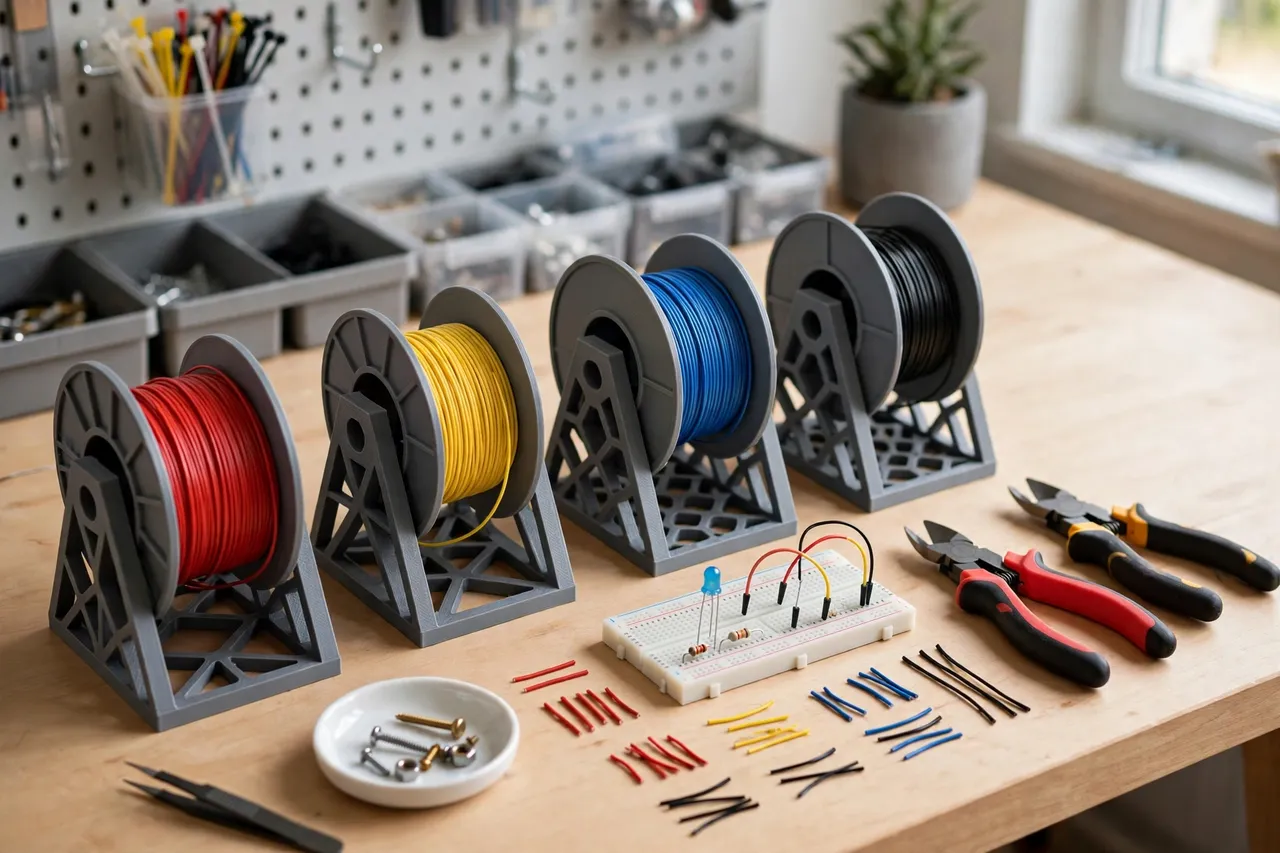
A frame holding two or three spools side by side is efficient, but only if each spool has its own axle section and its own guide slot. Spools sharing one axle rub, tangle, and feed unevenly. Space spools at least 10 mm apart, and label each position with the wire type or gauge, so you pull the right spool without checking each one.
5. Keeping cut ends safe
Cut wire ends are sharp. The holder does not change that. Keep a small tray or cup beside the holder for offcuts, and tuck the free end of each spool back through its guide slot after cutting, so no sharp end dangles where a hand can find it. This is a workshop-hygiene habit, not an electrical-safety claim: the holder stores wire, and sharp ends deserve the same care as any other sharp offcut.
Step-by-Step: Printing and Assembly
- Gather your wire spools and measure each spool’s diameter, width, and center-hole size.
- Decide bench-standing or wall-mounted, based on where you actually use wire.
- Sketch the holder layout: axle positions, spacing, and guide slots.
- Model one holder with a stable base or mounting holes, open-topped axle sockets, and a guide slot.
- Print a test holder and check spool fit, spin, and stopping friction.
- Print the remaining holders and any extra axles or guide pieces.
- Clean up stringing and sand axle sockets and guide slots smooth.
- Assemble and place the holders on the bench or mount them level on the wall.
- Load the spools, thread each free end through its guide slot, and test the pull.
Step-by-Step: Using It
- Label each spool position with the wire type or gauge before loading, so you pull the right spool first time.
- Pull steadily, not in jerks. A steady pull feeds wire cleanly; a yank overruns the spool and kinks the wire.
- Measure against the bench, cut with proper cutters, and tuck the new free end back through its guide slot.
- Keep one spool per axle section. Doubling spools on one axle tangles both.
- Return spools to the holder after use. A spool left on the bench rolls, tangles, or gets buried under the next project.
- Sweep offcuts into the tray as you go, so sharp ends do not accumulate on the bench.
Tips for Better Results
- Print holders in two sizes: small for fine craft wire, larger for heavier binding wire, rather than one compromise size.
- Add a small measuring notch on the holder’s base — a mark every 100 mm — for quick rough lengths without reaching for a tape.
- Use a contrasting color for the guide slot area so the free end is easy to spot.
- Keep a sample card beside the holder with a short length of each wire taped to it and labeled, for matching stock without unwinding a spool.
- Store different wire types on separate holders if their gauges differ widely, so a thick wire never drags a fine one along with it.
Common Mistakes to Avoid
- Using a free-spinning axle with no friction. Wire springs back, and an overrunning spool undoes the holder’s whole purpose.
- Sizing the axle from memory. Spool center holes vary, and a rod that is too thick will not fit while one that is too thin lets the spool wobble.
- Skipping the guide slot. Without it, wire feeds at an angle, kinks at the spool’s edge, and tangles more easily.
- Overloading one holder. Three spools crammed on one axle feed worse than one spool on its own holder.
- Blurring the line into electrical work. This holder stores spools at the bench. It does not qualify wire for a circuit, and no printed part from this project should ever go in or on a live circuit. When a job involves current, stop and call a qualified electrician.
Care, Storage, and When to Choose an Alternative
Dust holders occasionally and check axle sockets for wear, especially if you pull wire daily. If a socket ovals out, reprint that holder — small holders are cheap to replace. Keep PLA holders out of sustained heat; PETG suits a garage better. Replace a cracked holder rather than reloading it.
A manufactured spool rack or metal dispenser is the better buy if you dispense wire all day for a trade, hold large or heavy spools, or need a dispenser that survives constant commercial use. Metal racks carry more weight and wear longer. For a home bench with a few spools of craft, binding, or garden wire, a printed holder is cheaper, sized to your exact spools, and easy to reprint when your stock changes.
FAQ
Can this holder be used for electrical wire spools?
Only as bench storage for the spool itself, exactly like any other spool on a shelf. It does not make wire suitable for a circuit, and no part of this project involves stripping, joining, connecting, or using wire in a live circuit. Electrical work belongs to a qualified electrician with properly rated materials.
How do I stop wire from springing back off the spool?
Use gentle axle friction — a felt pad or a snug socket — and always tuck the free end back through the guide slot after cutting. Those two habits together keep the spool controlled between uses.
Will a printed holder hold heavy spools?
Light bench spools, yes, with 4 perimeters and a stable base. Heavy industrial spools belong on a metal rack. If a spool feels heavy in your hands, it is too heavy for a printed holder.
Can I mount holders on pegboard?
Yes, with a small printed adapter plate that bolts to the holder and hooks into the pegboard. Keep the arrangement light, and use wall-mounted brackets for anything heavier than a small craft spool.
Conclusion
Wire spools behave better when they have a home: an axle to spin on, a little friction to stop the overrun, and a guide slot to feed from. A printed holder gives you all three for the cost of a short print, sized to the spools you actually own.
Keep the scope clear — storage at the bench, nothing electrical — label each spool, tuck free ends away after cutting, and the next length of wire you need will pull cleanly, first try.