Introduction
Blinds rarely fail all at once. More often, one small plastic part gives up: the tilt wand snaps at the top, a valance clip turns brittle and cracks, or the lift cord drifts sideways and tangles every time you use it. The blinds still work fine, but those little breakages make the whole window look tired.
Finding an exact replacement can be surprisingly annoying. Headrail shapes, wand lengths, and clip profiles vary between brands and even between product lines from the same brand. A part that looks right in a photo turns out a few millimeters too wide, or it fits a different rail entirely.
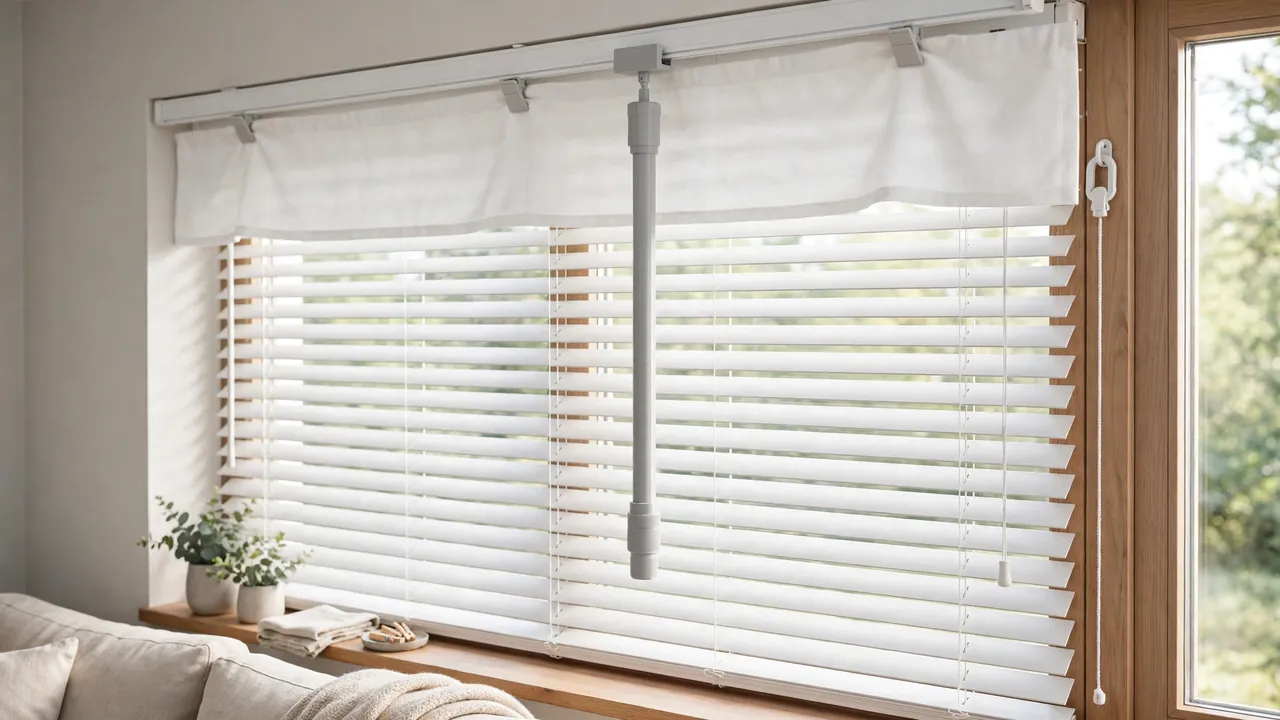
That is exactly the kind of problem a home 3D printer handles well. These are small, low-stress accessories, and you can size each one to the blinds already in your home. This guide covers three original designs: a tilt wand with a hook and eye top that engages the tilter stem, valance clips matched to your headrail profile, and a simple cord guide loop that routes the lift cord neatly down the frame. The cord guide is a tidiness accessory only — it simply keeps the cord hanging straight and untangled against the frame.
What You Need
All three accessories are small prints that use very little filament. The wand is the longest part, so check it fits on your printer, or plan to print it diagonally.
Materials and tools
- A home 3D printer with enough build space for your chosen wand length
- PETG filament for toughness and flex, or PLA for quick test versions
- Your existing wand, valance, and a broken clip if you have one, for measuring
- Calipers or a steel ruler, plus a tape measure for wand length
- A drill or screwdriver, and small screws for your window frame, for the cord guide
- Sandpaper or a small file for cleanup, and a pencil for marking
PETG is the better long-term choice. Clips need a little flex to snap on without cracking, wands get twisted daily, and PETG handles both — plus the warmth of a sunny window — better than PLA. PLA is still perfect for a first test print.
Suggested print settings
- Layer height: 0.20 mm for clips and the guide; 0.20 to 0.28 mm for the wand shaft.
- Walls: At least 3 to 4 perimeters. Clip arms and the wand hook get their strength from walls.
- Infill: 30 to 40 percent for clips and the guide; 25 to 40 percent for the wand.
- Top and bottom layers: 4 or more, so small parts feel solid.
- Orientation: Print clips on their side so layer lines run along the flexing arm, the guide flat on its back, and the wand flat or diagonally.
- Supports: The wand hook top may need light supports; clips and the guide should need none.
Design Considerations
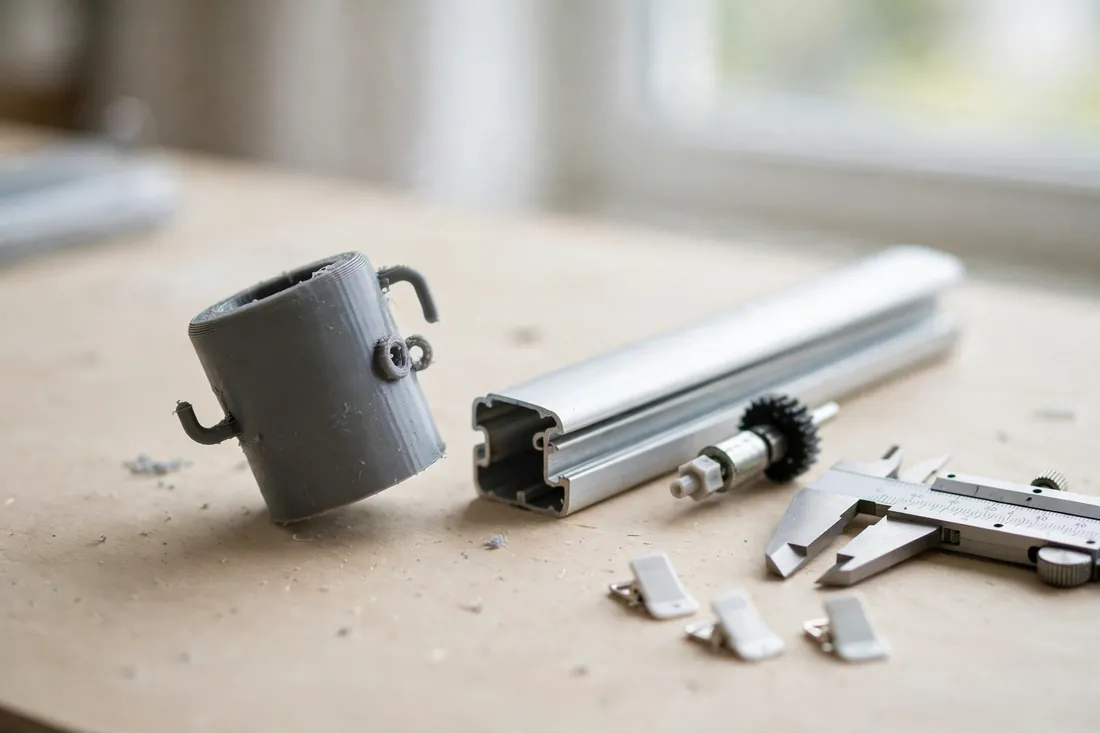
You can model all three parts in any basic CAD program, including free browser-based tools. Careful measuring matters far more than fancy modeling.
1. The tilt wand hook and eye top
On most horizontal blinds, a small stem hangs down from the tilter mechanism inside the headrail, and the wand connects with a tiny hook through an eye, or an eye over a hook. Look closely at your own blinds first, because the arrangement varies.
Measure the stem and the opening it connects to, then model the wand top to match: a sturdy closed eye, or a short hook with a generous curve and a thickened base. Keep that junction chunky — a thin neck is where original wands snap. Add 0.3 to 0.5 mm of clearance so it turns freely without rattling.
2. Wand shaft length, shape, and grip
Measure your old wand, or measure from the headrail to a comfortable hand height. Common wands run about 300 to 600 mm, but yours should suit your window. A hexagonal or gently rounded rectangular shaft, around 8 to 10 mm across, prints well, resists twisting, and feels good in the hand.
Near the bottom, add a wider grip with soft ridges, and round the end.
3. Valance clips matched to the headrail profile
A valance clip grips the headrail and holds the valance strip in front of it. The critical dimension is the inside profile: it must match the front-to-back depth and lip shape of your headrail.
Measure the headrail depth with calipers, check for a small lip or channel on the front face, and copy that shape with about 0.4 mm of clearance. Make the clip 25 to 35 mm wide, with a front arm that holds the valance and a springy rear arm that flexes on. For a wide or heavy valance, use more clips spaced evenly rather than stronger clips spaced far apart.
4. The simple cord guide loop
The cord guide is the simplest part: a small flat base with a closed loop standing off the frame, sized so the lift cord passes through easily. An inside loop diameter of about 10 to 14 mm suits most cords, with room to slide freely as you raise and lower the blinds.
Give the base two screw holes, round the inside of the loop so the cord glides without catching, and keep the loop close to the frame. That is the whole purpose of the part: it routes the cord tidily down the frame and keeps it hanging straight and untangled against the frame.
Step-by-Step: Printing and Assembly
- Measure everything first: tilter stem size, wand length, headrail depth and profile, and cord diameter.
- Model the three parts, starting with the clip, since its fit is easiest to test.
- Print one valance clip and snap it on the headrail. It should flex on with firm thumb pressure and hold without wobbling.
- Adjust if needed. Too loose, reduce clearance. Too tight or cracking, add clearance and thicken the flexing arm.
- Print the cord guide and check the cord passes through the loop freely.
- Print the wand, flat or diagonally, with supports under the top only if needed.
- Clean up all parts: remove stringing, lightly sand the loop and wand connection, and clear the screw holes.
- Test the wand top by hand. It should engage the tilter stem and turn it without slipping or binding.
- Print your final set in PETG: one wand per window, clips every 300 to 450 mm, and one guide per lift cord.
Step-by-Step: Fitting the Wand, Clips, and Cord Guide
- Remove the old wand. Most lift off the hook or eye connection; ease a stuck top off gently without bending the stem.
- Connect the new wand, slipping the eye over the hook or the hook through the eye until it seats fully.
- Test the tilt. Twist slowly both ways; the slats should tilt smoothly. If it slips, the connection needs a closer fit.
- Remove the valance, releasing old clips one at a time while supporting it so it does not bend.
- Snap on the new clips evenly spaced, then press the valance back on and check it sits level.
- Mark the cord guide position. With blinds lowered, let the cord hang naturally and mark where it passes the frame at about mid-height.
- Screw the guide to the frame, snug but not overtightened, so the base is not stressed.
- Thread the cord through the loop and raise and lower the blinds. The cord should slide freely and hang straight against the frame.
- Step back and check: wand straight, valance level, cord neat. Together, they make the window look finished again.
Tips for Better Results
- Measure the headrail, not the old clip. Old clips warp; the rail is the true shape to match.
- Print clips in a matching color. White or light gray disappears against most blinds. Print a full set at once so colors match.
- Make spare clips. They take minutes and almost no filament, and spares make the next breakage a thirty-second fix.
- Twist-test the wand in your hand first. A vague connection feels worse once it is overhead.
- Place the guide where the cord naturally falls, so the cord glides instead of rubbing sideways.
Common Mistakes to Avoid
- Guessing the tilter connection. Lookalike hook-and-eye styles differ in size, and a sloppy fit slips under load.
- Making clip arms too stiff. Thick, short arms crack instead of flexing; a longer, thinner arm lasts.
- Printing the wand too thin. A skinny shaft twists and feels cheap. Keep it 8 to 10 mm across.
- Overtightening the guide screws. Crushing the base distorts the loop and makes the cord drag.
- Placing the guide off the cord’s path. The cord should pass straight through, not bend to reach it.
Care, Storage, and When to Choose an Alternative
Dust all three parts with the blinds — a soft brush or a quick wipe with a damp cloth is plenty. Check clips once a year for cracks, especially on sunny windows, and check the wand connection has not worn loose. PETG parts should give years of everyday use.
Store spares flat in a labeled bag, and keep PLA pieces out of hot sills.
Sometimes buying is smarter. If your blinds are under warranty, ask the supplier for parts first. If the tilter mechanism inside the headrail is damaged, a new wand will not fix it. And for very wide blinds with heavy valances, metal clips may suit the load better. For standard home windows, printed parts sized to your rails are hard to beat.

FAQ
Will these parts fit blinds from any brand?
They can, because you size them to your own blinds rather than to a brand. Measure your tilter stem and headrail profile carefully and build those numbers into your models. Two windows that look identical can use slightly different hardware, so measure each style in your home once.
Is PETG or PLA better for blinds accessories?
PETG is the better keeper material. It flexes for clip arms, shrugs off daily twisting on the wand, and tolerates warm, sunny windows. PLA is fine for test fits and shaded windows, but a PLA clip is more likely to crack when you snap it on.
How many valance clips do I need per window?
Use one near each end and one every 300 to 450 mm in between. Narrow valances often need just two or three. If the valance sags between clips, add another rather than forcing the existing clips to work harder.
What does the cord guide actually do?
It gives the lift cord a neat path down the window frame. The cord passes through the loop and hangs straight and untangled against the frame instead of drifting sideways or looping around the wand. It is a simple routing and tidiness accessory that makes the window look cleaner and the cord easier to grab.
Conclusion
A broken tilt wand or a cracked valance clip should not mean a whole new blind. With a few careful measurements and some very small prints, you can replace the exact parts that failed, sized precisely for the windows you already own — and keep spares ready for next time.
Start with the clips, since they test fastest, then print the wand and cord guide to complete the set.
If you are working through window repairs, you may also enjoy our related guide, “3D Printed Replacement Window Crank Handle: Fix a Broken Crank in an Afternoon,” which covers another small printed part that brings a stubborn window back to life.