Introduction
Hole saws are the worst-stored tools in most workshops. They arrive in a blow-molded case that cracks within a year, after which the saws migrate to a drawer or a bucket, where they do the one thing hole saws must never do: knock their teeth against each other and against every hard object they meet. Dull teeth are the result — saws that burn instead of cut, wander instead of bite, and get blamed for what storage did to them.
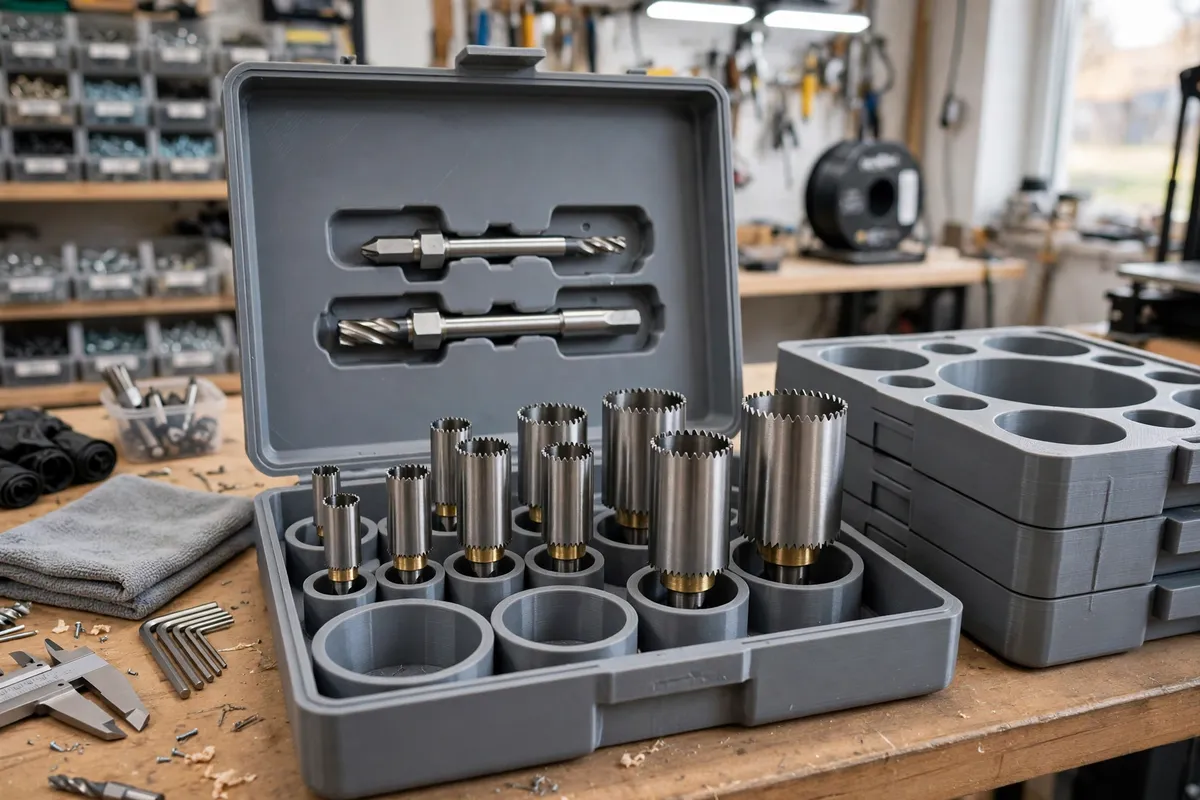
A printed case fixes the root cause. Each saw nests in its own smooth cup, teeth protected, sizes visible at a glance; arbors and pilot bits get shaped homes instead of rattling loose in the bottom; and the whole case stacks, so a growing set grows upward instead of outward across the shelf. It is a storage box, plainly — but storage is exactly what hole saws have always needed and rarely received.
This guide covers measuring your set, designing cups that protect teeth properly, and building a stacking case system that expands as your collection does.
What You Need
The case is sized from your actual saws, so start by gathering the full set — including the odd sizes hiding in old project boxes.
Materials and tools
- A home 3D printer with a build area of roughly 200 mm or more, or a case design split into clip-together tiles
- PLA is perfect for indoor storage; PETG if the case will ride in a vehicle or live in a hot garage
- Your complete hole saw set, every diameter, plus arbors, pilot bits, and any adapter rings
- Calipers for saw diameters and heights, and arbor hex sizes
- A pencil and paper for the layout sketch
- Optional: a thin foam sheet or felt for lining cup floors under your most-used saws
- Optional: filament in a second color for the next stack tier — color-coding tiers by size range is genuinely useful
Suggested print settings
- Layer height: 0.24 to 0.28 mm keeps this large part’s print time sensible.
- Walls: 3 to 4 perimeters — the case gets handled, stacked, and occasionally dropped.
- Infill: 20 to 30 percent, grid; the cups’ strength is in their shape.
- Top and bottom layers: 4 or more on the case floor.
- Orientation: Print the base flat; print the lid flat beside it; cups print as part of the base or as separate inserts.
- Supports: Design cup walls with a slight draft so the whole case prints support-free.

Design Considerations
Think in three layers of design: the cups that protect each saw, the case that carries the cups, and the stacking system that lets cases pile safely.
1. Cups that protect the teeth
A hole saw’s teeth point one way, and every storage sin is a tooth striking something hard. The cup solves it by orientation: each saw nests teeth-down into a smooth cup whose floor is slightly crowned or lined, so the cutting edge rests entirely on forgiving plastic — or on a foam disc — and the saw’s body is cradled by the cup wall with a millimeter or two of clearance all round. Nothing touches metal; nothing rattles.
Size each cup from its saw’s measured outside diameter plus about 2 mm, and its depth at roughly two-thirds of the saw’s height, so the saw sits deep and protected but its top rim remains easy to grip. Graduate the cups in the layout from small to large; the eye learns the map in a week and finds sizes without reading anything.
2. A real home for arbors and pilot bits
Arbors are the second casualty of bad storage: loose in a drawer, their pilot bits snap and their drive pins bend. Mold two arbor slots into the case — shaped recesses the arbor body clicks into, hex-end down, with a small round well beside each for spare pilot bits standing upright. Add two or three spare-bit wells even if you own one spare today; pilot bits are consumables, and the case should expect them.
If your set includes the big arbor and the small arbor, give each its own slot, sized to its own body. One-size slots fit neither and rattle both.
3. The stacking system
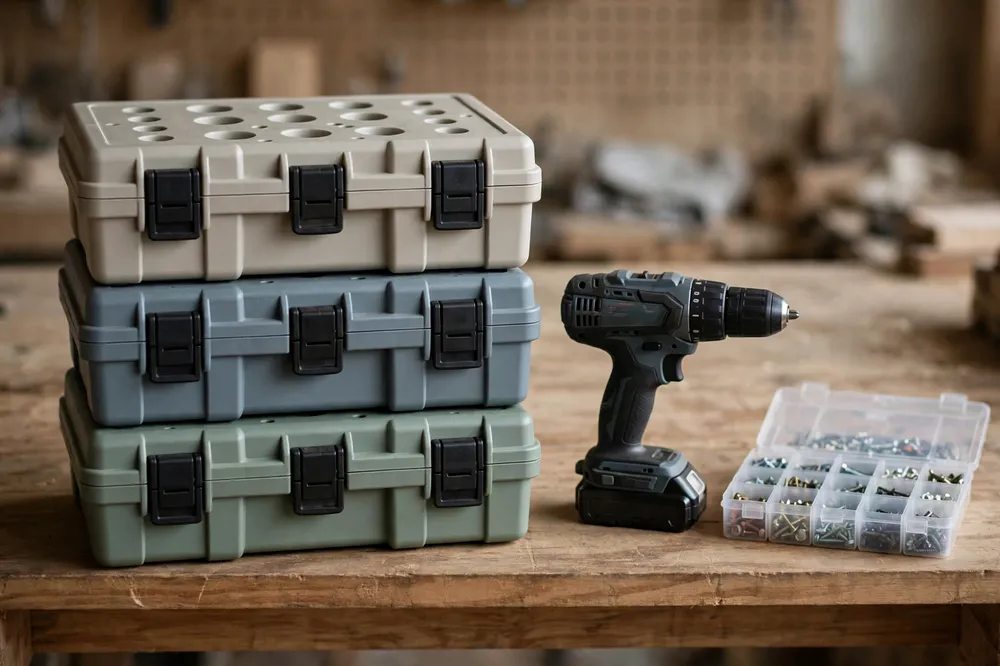
Cases stack by a simple, honest mechanism: a rim on the lid that the next case’s base sits inside, deep enough — 8 to 10 mm — that a stack of three cannot skate apart when the shelf is bumped, plus the same footprint for every tier. Model simple over-center latches or a pair of sliding bolts on the front if the case will travel; for shelf duty, the nesting rim alone suffices. Keep the total footprint around 240 by 180 mm: big enough for a 100-plus-millimeter saw, small enough to remain a case and not a crate.
Print each tier in a different muted color or add a size-range label plate on the front — “up to 51 mm,” “54 to 102 mm” — and the stack becomes self-indexing.
4. Ventilation and honest materials
A closed case put away with a damp saw inside invites rust, so add a few small vent slots in the lid’s rear edge and a habit: saws go back dry. PLA and PETG neither rust nor hold moisture against the teeth the way a foam-lined metal tin can, which is a quiet advantage of the printed case. A silica gel packet dropped in the largest empty cup is cheap insurance in a humid climate.
Step-by-Step: Printing and Assembling the Case
- Gather and measure the whole set: every saw’s diameter and height, both arbors, and your pilot bits.
- Sketch the layout — cups graduated small to large, arbor slots along one edge, pilot wells beside them — and size the case footprint to fit.
- Model the base with its cups, the nesting rim, and the lid with its arbor recesses or keep arbors in the base, per your layout.
- Test print one cup at the trickiest size and check its saw nests with clearance and lifts out cleanly. Adjust once, now.
- Print the base and lid, let them cool fully, and check the lid’s rim fits the base’s matching edge.
- Line the cup floors with foam discs if you chose to, and load the set: every saw in its cup, arbors clicked home, pilot bits in their wells.
- Label the front with the size range, and stack the next tier when your set outgrows this one.
Tips for Better Results
- Print the test cup. One cup costs a few grams and proves your diameters and clearances before the full case commits an afternoon.
- Keep one empty cup in every case, sized for the next saw you will inevitably buy. Future you sends thanks.
- Store saws teeth-down, always. The habit plus the cup means cutting edges effectively never touch anything hard again.
- Photograph the loaded case and keep the layout in your model’s notes, so a second tier mirrors the first tier’s logic.
- Dry saws before casing them, especially after cutting anything damp. Ten seconds with a rag defeats the only enemy left: rust.
Common Mistakes to Avoid
- Loose “organizer trays” with shared compartments. Saws sharing a space still knock teeth. Individual cups or nothing.
- Cups sized from the box’s printed diameters. Retail sizes are nominal and vary by brand. Measure your saws; model from measurements.
- Forgetting the arbors. A case that stores saws beautifully while arbors rattle in a drawer has solved the easy half. Slots and wells, in the case.
- Stacks without a nesting feature. Smooth boxes on a shelf migrate and eventually fall. The rim is five minutes of modeling and permanent peace of mind.
- Sealing damp saws inside. The vents help, but the habit matters more. Dry first, case second.
Care, Storage, and When to Choose an Alternative
Brush cutting dust out of the cups when you put saws away — compacted dust holds moisture — and check teeth as you case each saw; storage time is inspection time, and a chipped tooth spotted on the shelf is a surprise avoided at the workpiece. The case itself wants nothing beyond a wipe.
Store the stack where the drill that drives the saws lives, so tool and cutters travel together in your mind and in fact.
Choose an alternative when your set is a tradesperson’s daily kit riding in a van, where a heavy-duty manufacturer’s case with a warranty suits the knocks better, or when your “set” is two saws, where a simple printed wall rack of two cups beats any case. For the typical home set of eight to fifteen saws, growing one tier at a time, the printed stackable case is the storage these tools always deserved.
FAQ
How many hole saws fit in one case?
It depends on your diameters, but a 240 by 180 mm case typically holds eight to twelve saws in graduated cups, plus two arbors and spare pilot bits. Very large saws — 102 mm and up — eat space quickly; giving the biggest three their own tier is the usual answer, which is exactly what the stacking system is for.
Should hole saws really be stored teeth-down?
Yes. Teeth-down in a smooth cup puts the cutting edge against forgiving plastic and nothing else, and cradles the saw’s body so it cannot roll or rattle. Teeth-up leaves the edge exposed to everything placed on top; teeth-sideways in a shared tray is how sets dull in drawers. Orientation plus individual cups is the whole system.
Is PLA strong enough for a tool case?
For workshop storage, comfortably. The case carries a few kilograms of saws and sees shelf duty, not site abuse, and PLA’s rigidity keeps cups and rims true. If your case will live in a hot vehicle or take site knocks, print it in PETG for the extra toughness and heat tolerance.
What do I do when I buy a saw the case has no cup for?
That is what the spare cup and the stacking tier are for: fill the spare first, and when the tier is full, print the next case in the stack with cups for the new sizes. Because the footprint and rim are standardized in your design, the new tier stacks on the old ones like it was always there.
Conclusion
Hole saws do not dull themselves; storage dulls them. A printed case with a smooth cup for every saw, shaped slots for the arbors, wells for the pilot bits, and a rim that lets the system stack as the set grows ends the drawer-of-knocking-teeth era for good.
Measure the set, print the test cup, and give your teeth the quiet life.
If you enjoy cases that protect cutting edges, you may also enjoy our related guide, “3D Printed Saw Blade Storage Case: Protect Your Circular Saw Blades Between Jobs,” which brings the same one-home-per-edge thinking to the saw blade shelf.