Introduction
Exposed bolt heads are the small eyesore that survives every good project. The bench is sturdy, the deck rail is straight, the furniture frame is square — and then a row of bright, raw hex heads catches the light and makes the whole thing look unfinished.
Bolts also cause practical annoyances. They snag sleeves and skin, collect grime in their sockets, and outdoors they rust into streaks that stain the wood beneath them. Generic cap covers exist, yet they come in a few standard sizes that rarely match the mixed hardware real projects accumulate.
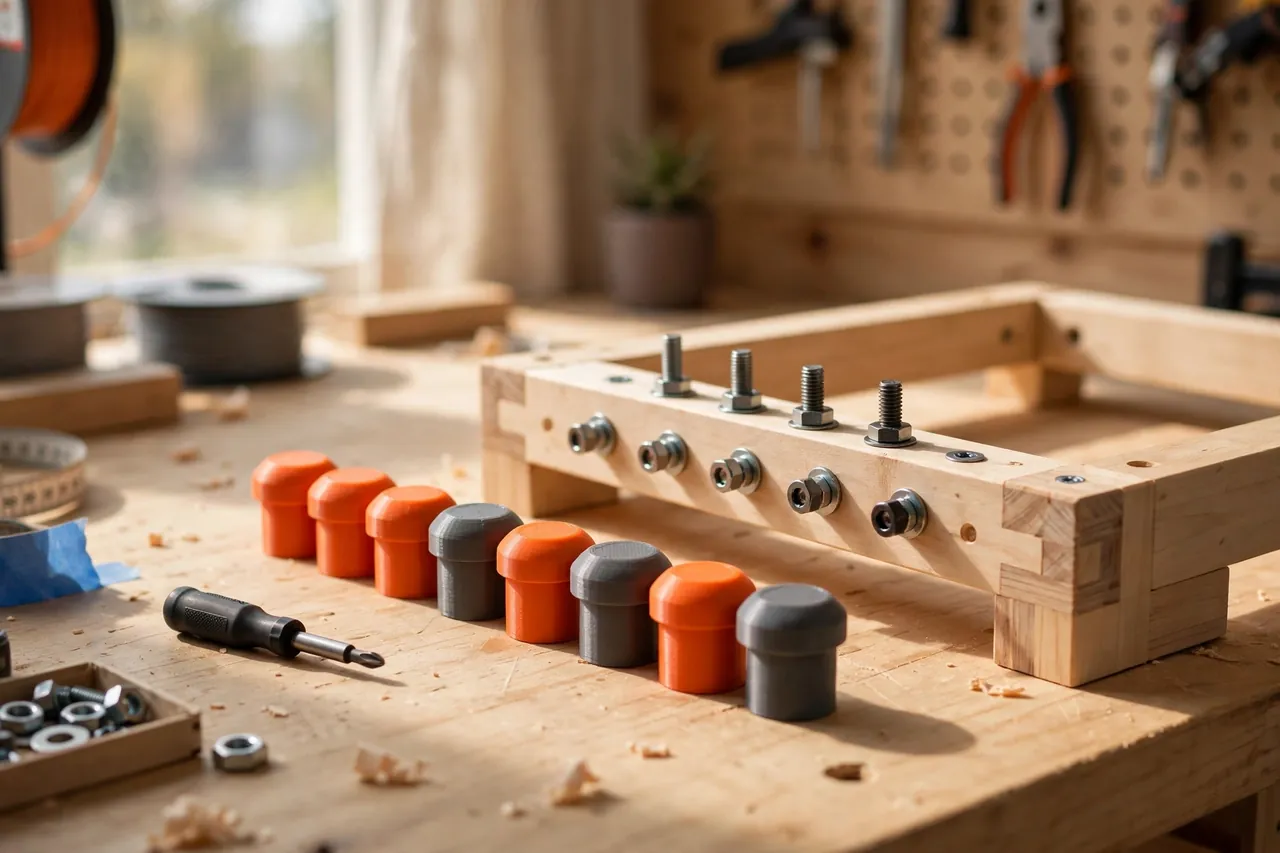
Printed cap covers solve the match problem completely. You measure the bolt heads you actually used, print caps that snap or slip over them in a color that suits the project, and the hardware visually disappears. It is one of the fastest prints in this entire series.
This guide covers measuring across-flats sizes, designing snap and slip fits, and finishing furniture and deck hardware neatly. The honest framing is simple: these caps are cosmetic covers and light weather shields only. They carry no load, seal nothing structural, and should never be used to hide a bolt that needs inspection or is showing damage.
What You Need
Caps are tiny, quick prints — a dozen can share one build plate. The real work is accurate measuring and a fit test.
Materials and tools
- A home 3D printer, any size, since caps are only a few centimeters across
- PETG filament for outdoor and deck use; PLA is fine for indoor furniture
- The project itself, or a spare of each bolt and nut you used
- Calipers to measure across the flats and across the corners of each hex
- A small file and fine sandpaper for easing cap rims
- Optional clear finish spray if you want printed caps to match glossy hardware
- A notepad to record which cap size belongs to which project
PETG is the safer all-round choice: it tolerates sun, rain, and the small flex of a snap fit without cracking. PLA prints beautifully and is perfectly good indoors, but a PLA cap on a sunny deck will soften and loosen over a summer. Print indoor sets in whatever color you love; print outdoor sets in PETG.
Suggested print settings
- Layer height: 0.16 to 0.20 mm — finer layers make the dome or flat top look molded.
- Walls: 3 to 4 perimeters; on a small cap, that makes the part nearly solid.
- Infill: 30 percent is plenty; caps take knocks, not loads.
- Top and bottom layers: 4 or more, so the visible top face is smooth and opaque.
- Orientation: Print dome-up or flat-top-up, open side down, for the cleanest outer face.
- Supports: None for flat-top caps; a slight dome prints support-free too.
Print a fit ring first — just the cap’s rim band, a few millimeters tall. Test it on every bolt size in the project before printing full caps; hex tolerances vary more than you expect.
Design Considerations
The design is a hollow cap with a smart rim. Three choices decide whether it snaps on satisfyingly or rattles off in a week.
1. Measure the hex two ways
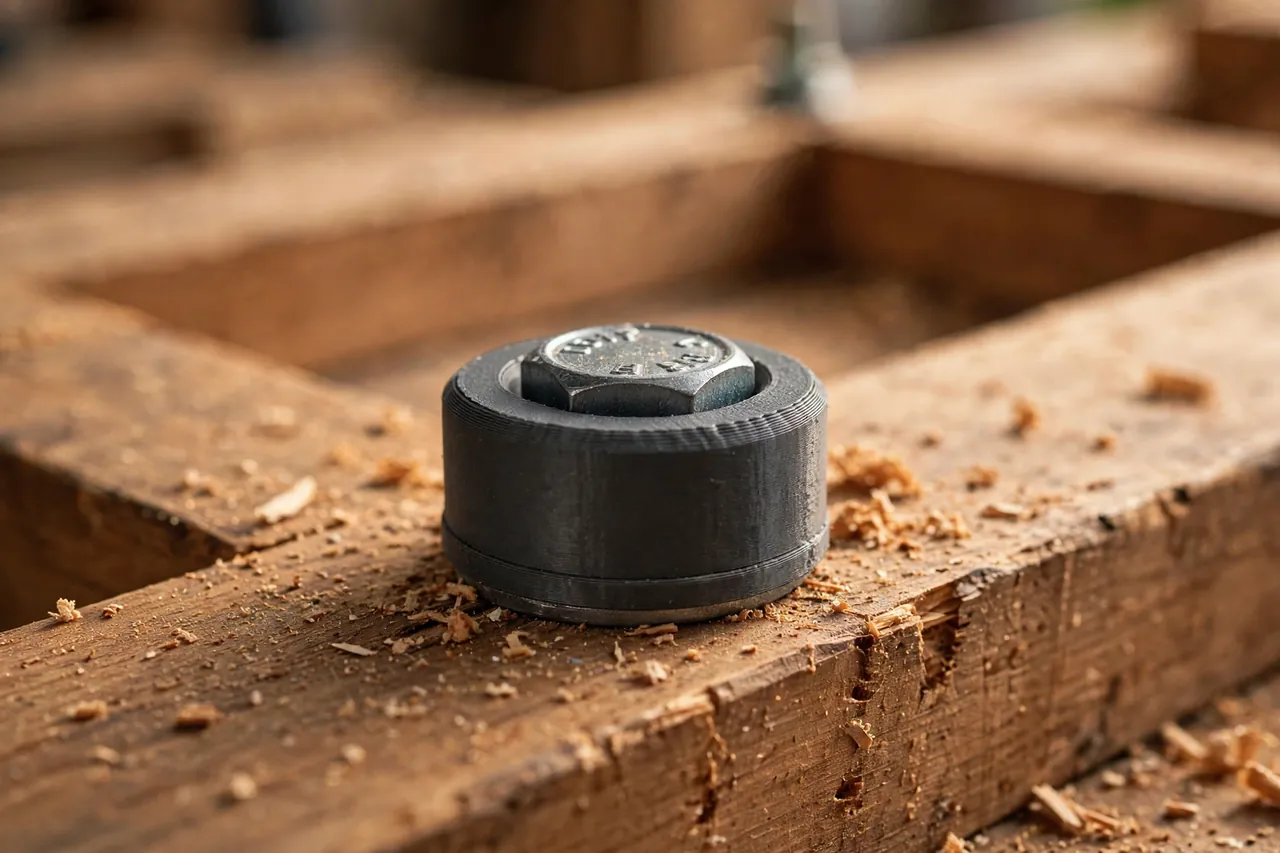
A hex head has two key dimensions: across the flats, which is its nominal size, and across the corners, which is the largest circle the cap must clear as it slides on. Model the cap’s inner shape either as a circle clearing the across-corners measurement plus 0.3 to 0.5 mm, or — better — as a shallow hex socket matched to the flats. A hex socket grips the flats lightly, resists spinning, and feels positive when seated.
Washers change everything. If the bolt sits on a washer, the cap often looks and holds better covering the washer too, so measure the washer’s diameter and give the cap a skirt to suit.
2. Snap fit or slip fit
A snap rim has a tiny inward bead near its mouth that flexes over the hex corners and settles under the head or washer. It holds firmly and removes with a fingernail or a flat screwdriver tip. A slip fit is a straight tube sized for a gentle friction hold, ideal indoors where caps may be removed for tightening checks. Snap fits need PETG’s flex and a bead no deeper than about 0.4 mm; deeper beads crack rims instead of flexing.
3. Style the top to the project
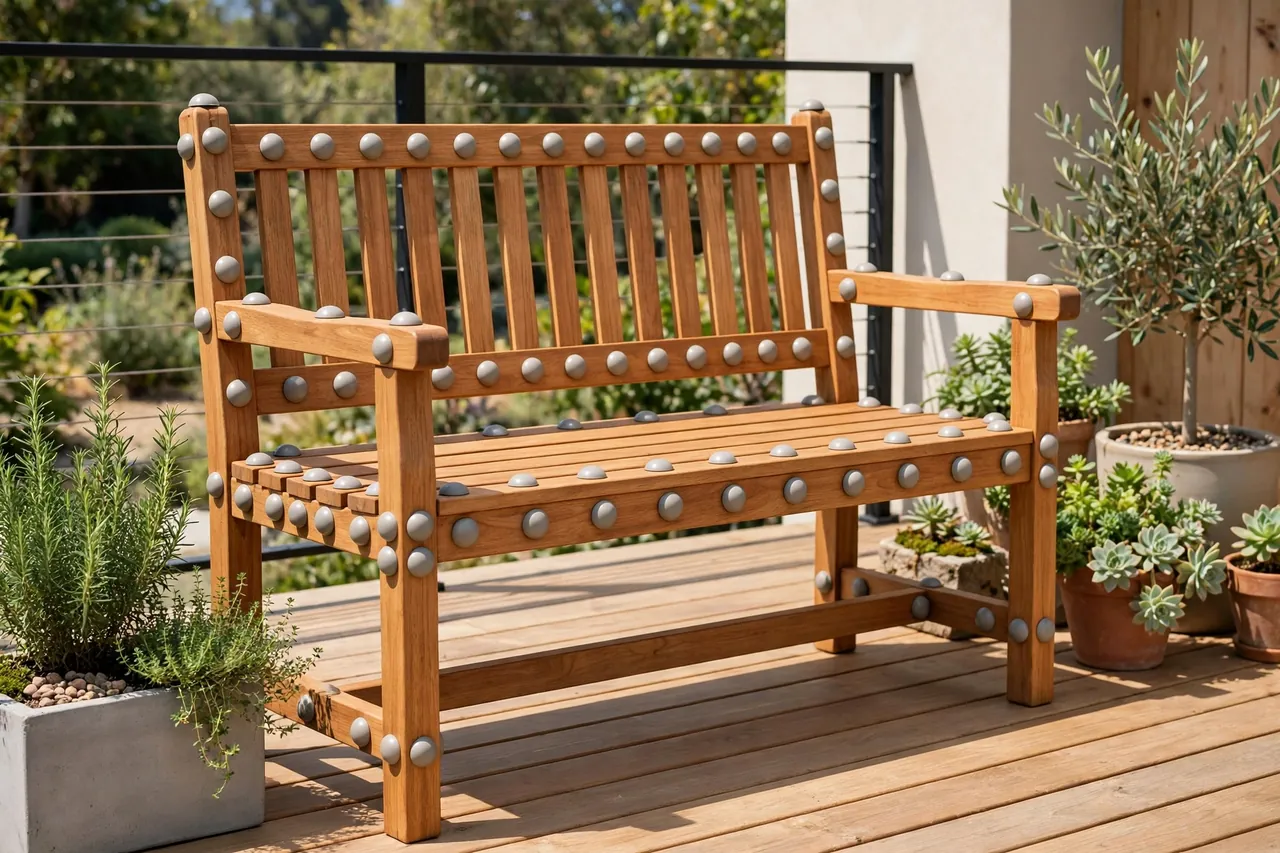
Flat tops with a small chamfer suit modern furniture. Gentle domes suit garden and deck pieces and shed water better outdoors. A shallow recess on top accepts a paint dot or a color fill, letting you color-code sizes across a project. Keep the top at least 1.2 mm thick so it survives the occasional knock from a dropped tool.
Step-by-Step: Printing and Assembly
- List your hardware. Group the project’s bolts by size; most projects need only two or three cap sizes.
- Measure each hex across flats and corners, plus washer diameter where fitted.
- Model one parametric cap with inner size, skirt depth, and style as adjustable values.
- Print rim test bands for each size and try them on the real bolts.
- Adjust clearances in 0.15 mm steps until the snap or slip feels right.
- Print the full set in your chosen color, plus a few spares of each size.
- Clean the rims with a file pass; a stray blob on the bead ruins a snap fit.
- Press the caps on squarely, listening for the small click of a snap rim seating.
No glue, no tools, no curing — assembly is the satisfying click, repeated down the row.
Step-by-Step: Using Bolt Cap Covers Around the Home
- Tighten everything first. Caps finish a joint; they never substitute for a properly torqued bolt.
- Clean the hardware. Brush rust dust and grime from the hex so the cap seats fully.
- Work in a sensible order along the piece, seating each cap squarely with thumb pressure.
- Check alignment on hex-socket caps so their flats echo the bolt’s flats for the neatest look.
- Step back and view the piece from normal distance; swap any cap whose color or style looks off.
- Note removal points. If a bolt needs periodic checks — a deck rail fixing, say — choose slip-fit caps there.
- Store the spares labeled with the project name, because future-you will not remember which size the bench used.
Tips for Better Results
- Print a size sampler strip once — caps from 8 to 17 mm on one plate — and keep it in the hardware drawer for instant matching.
- Match color to the finish, not the bolt. Charcoal caps disappear on dark stain; orange caps make a deliberate accent on workshop furniture.
- Add a drain notch outdoors. A tiny gap at the skirt’s low point stops caps trapping water against the bolt.
- Bag spares by project, the same labeling habit recommended in our guide, “Workshop Label Holders and Bin Tags: 3D Print a Labeling System for Every Drawer.”
- Photograph the uncovered hardware before capping a complex piece, so you remember what is under each cover later.
Common Mistakes to Avoid
- Sizing from the bolt’s nominal thread size. An M8 bolt’s head is not 8 mm across; measure the head itself.
- Capping a bolt that is failing. Rust blooms, cracks, or a loose joint need repair first — never print a cover to hide a problem.
- Making snap beads too deep. An aggressive bead splits rims on fitting and leaves white stress marks.
- Forgetting the washer. A cap sized to the hex alone will perch oddly on a washered bolt and pop off.
- Using PLA outdoors. One hot season loosens indoor filament on a deck; print exterior sets in PETG from the start.
Care, Storage, and When to Choose an Alternative
Caps need almost no care: wipe them when you clean the piece, pop off slip-fit caps occasionally to check the bolt beneath, and replace any cap that cracks or fades badly. On decks, make cap removal part of your annual hardware inspection, so covers never delay spotting a bolt that needs attention.
Choose metal or molded commercial caps where hardware is checked by regulation, sits in high heat, or needs a guaranteed decade outdoors, and always choose repair over covering when a bolt is corroded or a joint has loosened. For ordinary furniture, benches, and deck trim, printed caps give the exact size and color match that makes a project look truly finished.
FAQ
Will caps fit nuts as well as bolt heads?
Yes — a nut is the same hex geometry. Measure its flats and corners exactly as you would a bolt head, and mind the stud end protruding through it: model extra internal depth so the cap clears the stud, or trim the design with a taller dome.
Do caps protect bolts from rust?
They shield the head from direct rain and grime, which slows surface rust and stops rusty streaks on wood. They are not seals, though, and a cap that traps moisture can do the opposite — hence the drain notch outdoors and regular checks underneath.
How do I remove a snap-fit cap without breaking it?
Slide a fingernail or a thin flat screwdriver under the skirt at one point and lever gently; the bead flexes free progressively around the rim. Warm a stubborn outdoor cap with your hand for a minute first in cold weather, when PETG is at its stiffest.
Can I print caps that look like wood or metal?
Partly. Wood-tone and metallic-look filaments get surprisingly close at normal viewing distance, especially with a fine layer height and a matte clear coat. Up close they still read as printed, which most makers find charming rather than disappointing.
Conclusion
Few prints deliver this much visible improvement for this little filament. A measured set of cap covers turns raw hardware into a deliberate detail, quiets the visual noise on furniture and decks, and spares sleeves and skin from sharp hex edges.
Measure the heads you own, test the rim band, and print a set with spares — the whole project can be done between dinner and bedtime.
The finishing mindset pairs well with our related guide, “Fence Post Caps: 3D Print Protective Caps to Stop Rot and Finish Your Fence Cleanly,” and for the joints beneath the caps, see “Replacement Furniture Feet and Levelers: 3D Print Custom Feet for Cabinets and Tables,” which tidies the other end of the same furniture.