Introduction
Where two floors meet, they rarely meet politely. The new laminate sits a few millimeters proud of the old boards, the tile edge stands up from the vinyl, and the doorway becomes a little cliff that catches toes, stops the broom, and makes the vacuum cleaner thump twice on every pass. It is a small height difference with an outsized talent for annoyance.
Proper transition strips exist, but they come in standard profiles for standard height differences, in a short list of finishes, and they often need a track screwed into the floor.
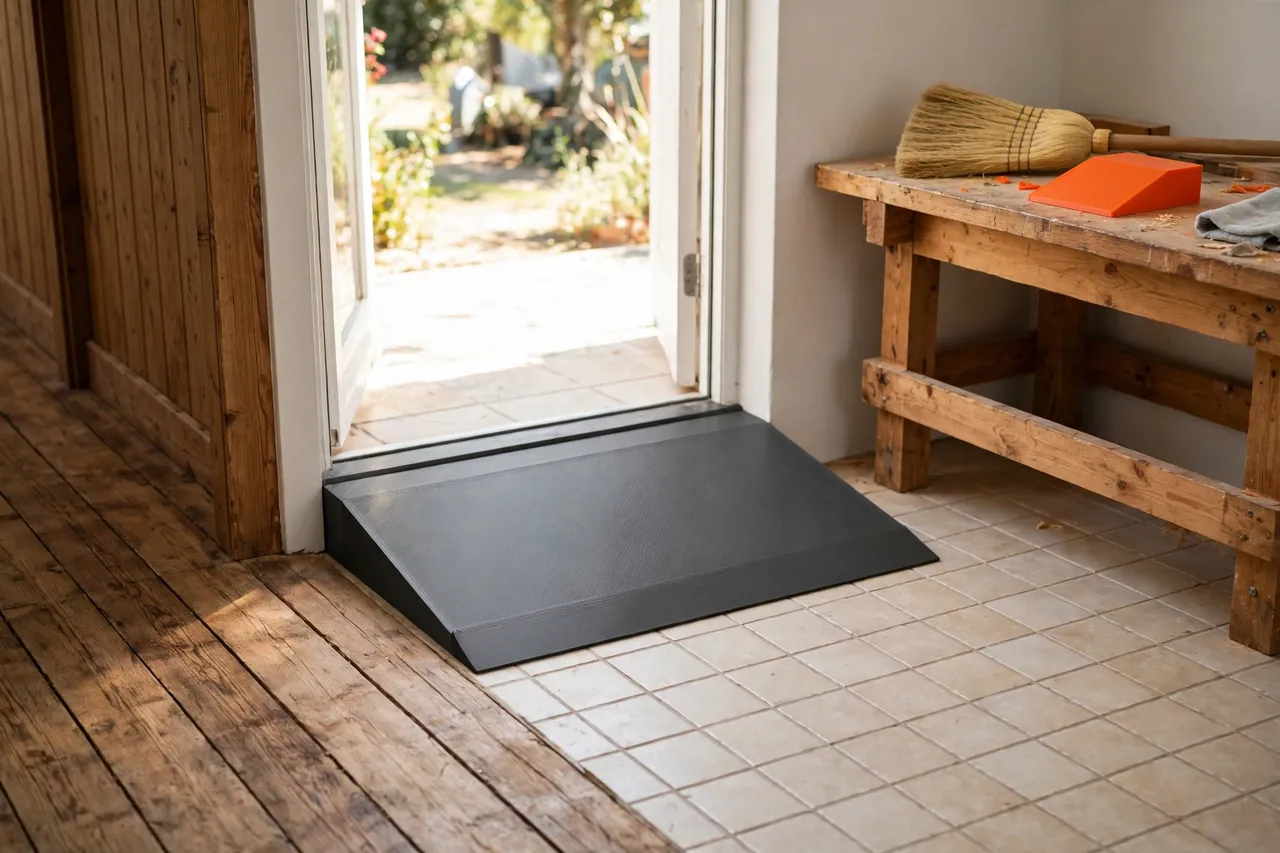
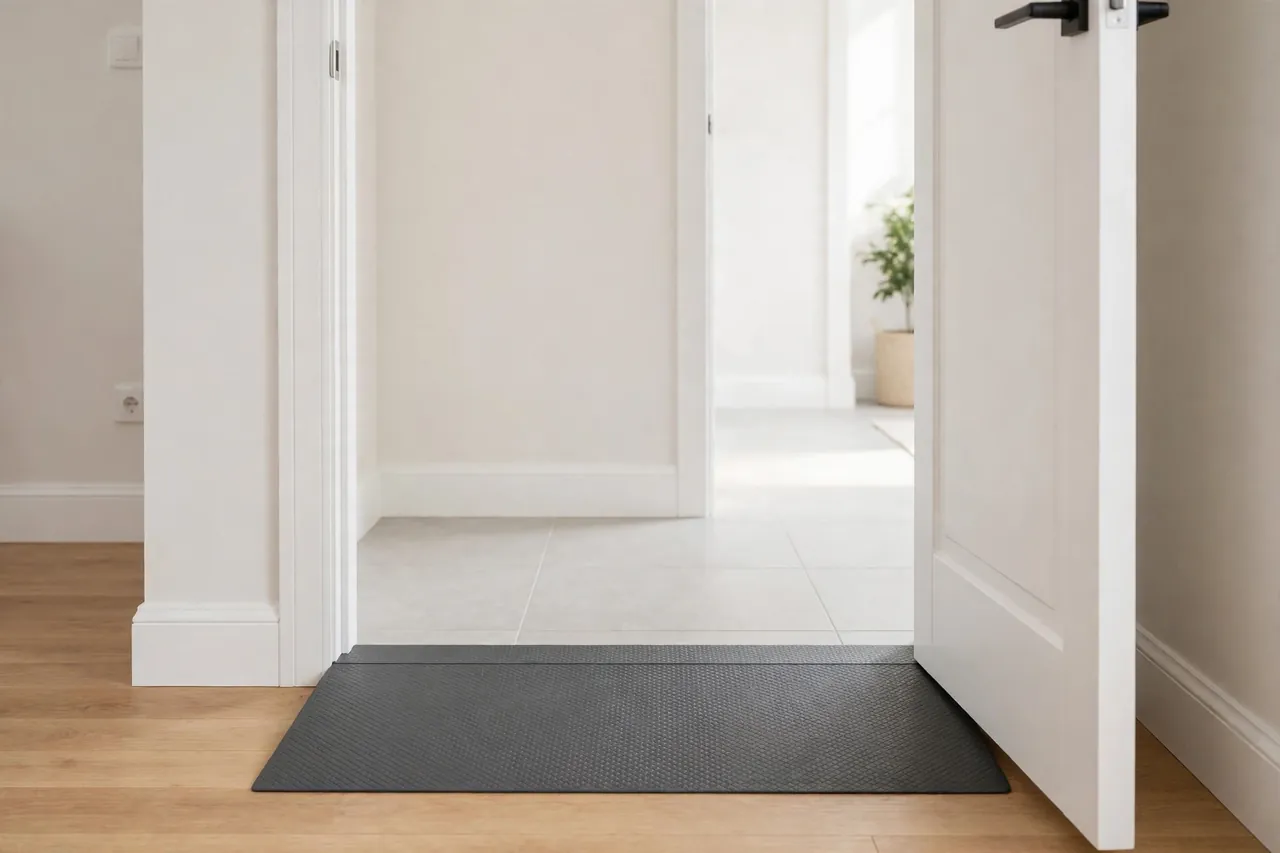
A printed transition ramp is a wedge modeled to your exact doorway: your height difference, your width, your angle. Printed in sections that join across the doorway, it smooths the step into a gentle slope that feet, brooms, and vacuum cleaners glide over.
Let us be plain about what this is, in this site’s honest-limits voice: this is a small cosmetic threshold ramp that smooths a small lip between two floor surfaces for everyday foot traffic and sweeping. It is NOT an accessibility or wheelchair ramp, and it is not load-rated for mobility devices, carts with heavy loads, or anything safety-critical — ramps for accessibility need properly rated manufactured products, designed and installed for that purpose. Within its honest job — taking the sting out of a small flooring lip — a printed wedge does beautifully.
What You Need
A doorway ramp prints as two to four interlocking wedge sections. Each section is a shallow print, modest in filament, big in effect.
Materials and tools
- A home 3D printer with a build area of roughly 200 mm in at least one direction
- PETG filament — tougher and more forgiving underfoot than PLA, and untroubled by damp mopping
- Accurate measurements of the height difference between your two floors
- Calipers or a depth gauge, a tape measure, and a long straight edge
- A broom and vacuum for testing the finished slope honestly
- Optional double-sided flooring tape or a thin bead of flexible adhesive for fixing, if your design uses it
- A file or sandpaper to feather the leading edge after printing
PETG is the right call underfoot. It flexes slightly rather than cracking when a heel lands on the thin edge, and it ignores the moisture that doorway floors collect. Choose a color that bridges your two floors — a mid gray or a tone between the two surfaces disappears better than a match to either side.
Suggested print settings
- Layer height: 0.20 mm to 0.28 mm; a ramp is a big simple wedge, and finer layers only add time.
- Walls: At least 4 perimeters, especially at the thin leading edge, which should print essentially solid.
- Infill: 50 percent or more, grid — the ramp takes heel loads across its whole surface and must not feel hollow or drum.
- Top and bottom layers: 5 or more on top; foot traffic will find any weakness, and a dense top skin wears best.
- Orientation: Print flat, top face up, exactly as it will sit — wedge geometry needs no cleverness.
- Supports: None. A wedge is the original support-free shape.
Print one section first and live-test it in the doorway for a day before printing the rest.
Design Considerations
A ramp is simple geometry, but four decisions separate a smooth threshold from a printed speed bump.
1. Measure the true height difference
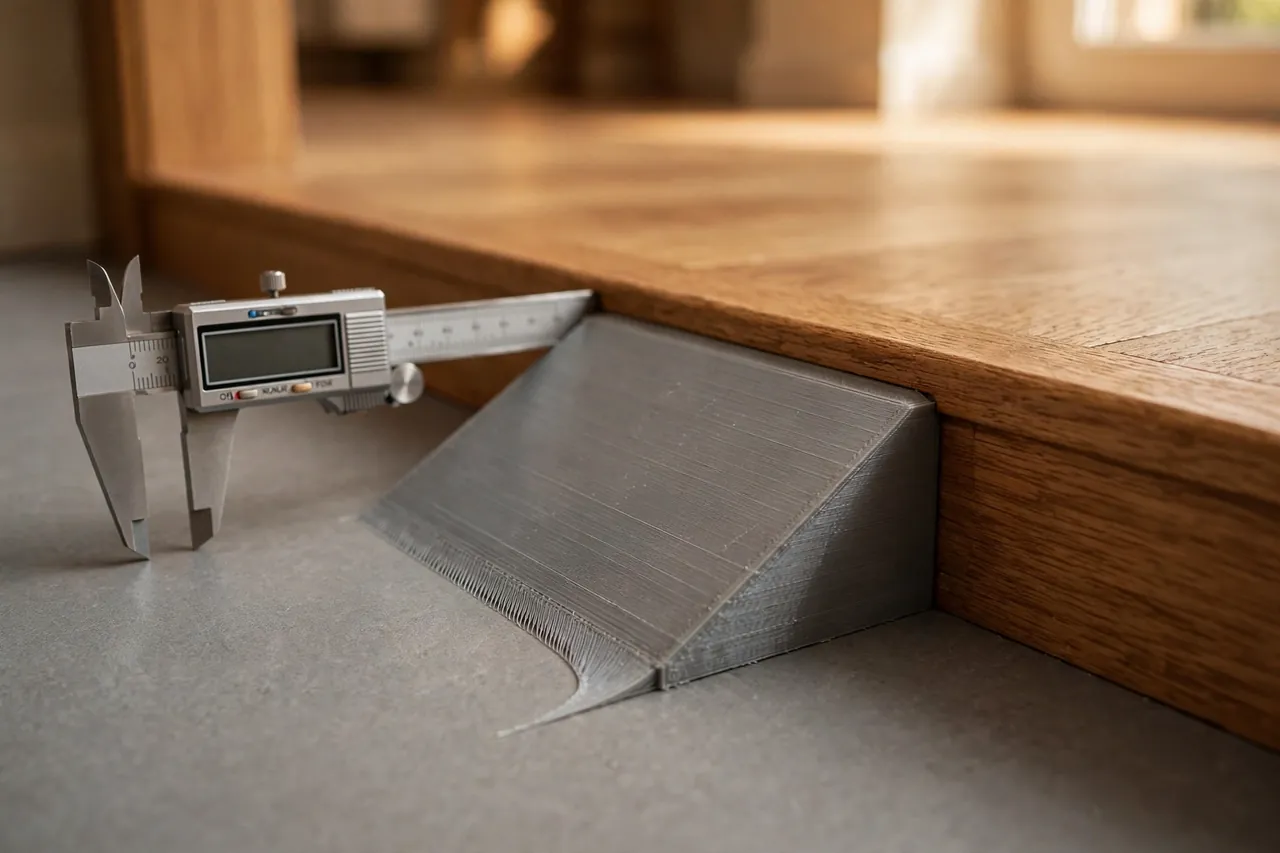
Measure the lip at several points across the doorway — floors slope, and the difference at the hinge side may not match the latch side. Design to the largest difference, and note any sideways tilt; a ramp can be modeled with a slight twist or stepped heights per section to follow a floor that is not level with itself. A straight edge laid across both floors, with the gap measured beneath it, gives the most honest numbers.
2. Keep the slope gentle
For comfortable foot traffic, aim for a slope length at least six to eight times the height: a 10 mm lip wants a ramp 60 to 80 mm long on the low side. Steeper wedges save floor space but feel like a ridge and catch heels. If the low side is a room where the ramp would intrude, split the difference — a shorter ramp each side of the higher floor’s edge — rather than one steep face. Comfort underfoot is the entire product here.
3. Feather the thin edge
The low edge of the wedge must taper to almost nothing — under 1 mm — or it becomes the new lip. Model a long, thin feather and support it in printing with generous walls so it survives.
4. Sections that join invisibly
A doorway is wider than a print bed, so model the ramp in sections with a simple overlap, tongue, or puzzle joint on the mating faces, and a consistent top profile so sections align flush. Number sections on their undersides as you print them. Where a door swings over the ramp, confirm the door’s bottom clearance across the whole arc before fixing anything down — a ramp that the door scrapes is a ramp in the wrong doorway, or one section too tall at the swing’s tightest point.
Step-by-Step: Printing and Assembly
- Measure the height difference across the doorway at three or more points, and the doorway’s clear width.
- Model one section with your slope, feathered edge, and joining feature on both sides.
- Print the test section at full density settings and check it for flatness off the bed.
- Test-fit the section in the doorway: it should sit without rocking, meet the high floor flush, and feather out invisibly on the low side.
- Walk it, sweep it, vacuum it. Bare feet and a broom are the honest inspectors; adjust the slope if either catches.
- Print the remaining sections, dry-joining them on the bench to confirm the top faces align.
- Do a final full-width dry fit in the doorway before any fixing — this is the last cheap moment to change anything.
Step-by-Step: Fitting the Transition Ramp
- Clean the doorway floor thoroughly. Grit under a ramp makes it rock, creak, and wear; start surgically clean.
- Lay the sections in order, joining them across the width and checking the top line with a straight edge.
- Check door clearance by swinging the door slowly through its full arc over the fitted ramp.
- Fix the sections with your chosen method — flooring tape along the underside edges suits renters and the cautious; a thin bead of flexible adhesive suits a permanent install.
- Press and weight the ramp along its length while any adhesive sets, keeping the feathered edges tight to the floor.
- Test underfoot in socks and shoes, from both directions, at a natural pace rather than a careful one.
- Sweep and vacuum across it both ways; bristles and cleaner heads should ride over without a thump.
- Recheck after a week of traffic — sections should not have crept, and edges should still sit flat.
If new flooring created the lip in the first place, you may also enjoy our related guide, “3D Printed Flooring Tapping Block and Pull Bar: Fit Laminate Without Chipped Edges,” which covers the fitting work upstream of this one.
Tips for Better Results
- Err toward a longer, gentler slope.
- Blend the color between floors. A ramp that matches neither side exactly reads as a deliberate bridge; a near-miss match to one side reads as a mistake.
- Keep sections under 200 mm. Smaller sections reprint cheaply and follow uneven floors better than one long rigid wedge.
Common Mistakes to Avoid
- Too steep a wedge. A short, tall ramp is just a smaller cliff with better marketing; length is comfort.
- Ignoring a sideways tilt. A ramp modeled for one height will rock or bridge on a doorway whose lip varies across its width.
- Skipping the door-swing check. Discovering the door scrapes after fixing the ramp down is the classic own goal of this project.
- Treating it as more than it is. This ramp is for feet and brooms over a small lip — never present it as an accessibility solution or roll heavy loads over it.
- A blunt leading edge. If the feather is missing, toes will find the edge on day one and every day after.
Care, Storage, and When to Choose an Alternative
Mop the ramp with the floors, and inspect the feathered edges monthly — they are the sacrificial part. Keep the model and one spare section with your flooring leftovers.
The alternative matters here, and honesty requires naming it clearly: for anything beyond a small cosmetic lip — a step a wheelchair, walker, stroller with a sleeping child, delivery cart, or any wheeled load must cross, or any height difference beyond roughly 15 to 20 mm — buy a properly rated manufactured transition or threshold ramp and install it to its maker’s specification. Rated products are tested for loads and slopes that a home print simply is not. The printed wedge’s kingdom is the small, annoying, everyday lip between two rooms — and there, it rules kindly.
FAQ
How big a height difference can this handle?
As a practical printed wedge for foot traffic, small lips are the sweet spot — roughly up to 12 to 15 mm with a long, gentle slope. Beyond that, the ramp gets long, sections multiply, and a manufactured metal or rubber transition is usually the better answer.
Will it survive heels and daily traffic?
A densely printed PETG wedge handles ordinary household foot traffic well, including heels, though stiletto points on the feather edge will mark it over time. Inspect edges monthly; the design’s virtue is that one worn section reprints in an hour.
Can the door still close over it?
Usually yes, since the ramp tops out at the height of the higher floor, which the door already clears. Always verify with the full swing test before fixing — doors sag, floors rise, and the tightest point of the arc is the only measurement that counts.
Does it work in a kitchen doorway?
Yes — PETG shrugs off mopping and splashes, as long as the fixing method tolerates moisture too.
Conclusion
A small lip between floors is a tiny defect you step over a dozen times a day, and smoothing it is pure quality-of-life: no stubbed toes, no broom thump, no vacuum bounce. A printed ramp sized to your doorway’s real measurements does the job neatly, in sections you can replace one at a time, in a color that bridges your two floors.
For the tiling side of doorway work, you may also enjoy our related guide, “3D Printed Tile Spacers and Leveling Clips for DIY Floor and Wall Tiling,” which helps the hard floors themselves go down level in the first place.
Measure your lip tonight, print one test section, and walk over it barefoot — the difference explains itself.