Introduction
A garden path does quiet, constant work: it keeps feet out of the mud, shows visitors where to walk, and gives a garden its structure.
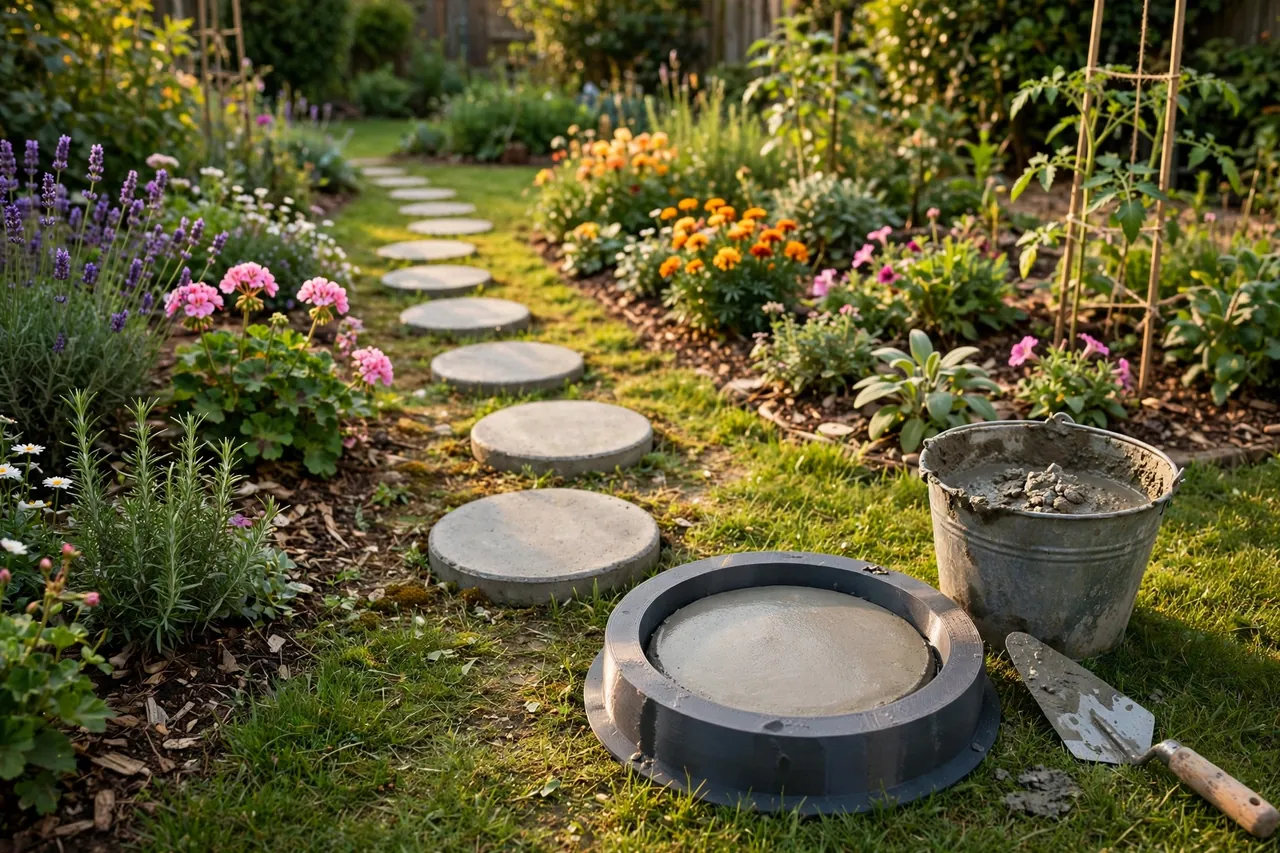
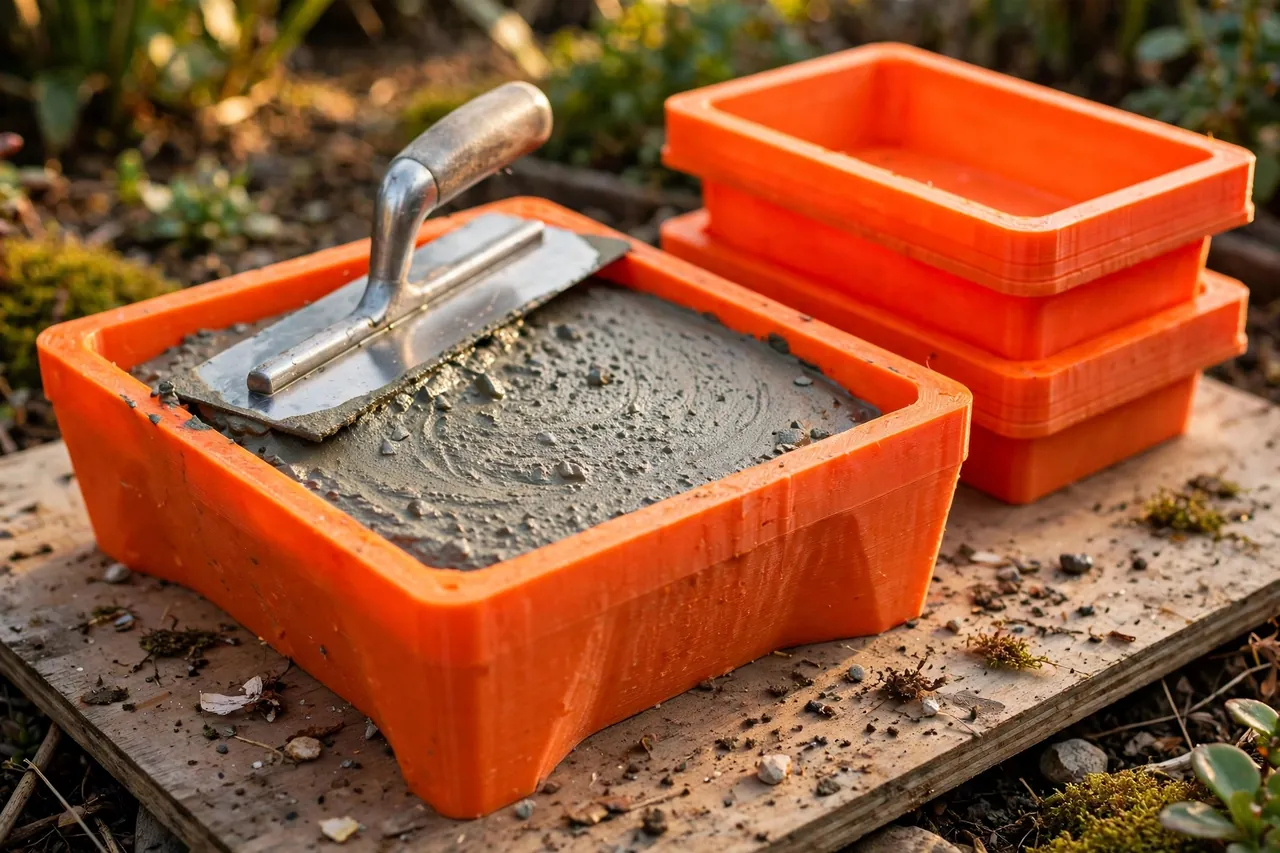
Casting your own stones solves the matching and cost problems — if you have a good mold. A flimsy mold bulges, a square mold locks onto the stone, and a one-size mold makes stones that suit nobody’s stride. This is where a printed mold earns its keep: you design the exact shape, size, and thickness your path needs, print a reusable form with properly tapered walls, and cast stone after identical stone.
The printed part here is the mold, not the stone — the finished path is honest cast concrete, with all the weight and durability that implies. The mold simply makes casting repeatable: same diameter, same thickness, same neat edge, every time.
This guide covers designing a mold that releases cleanly, printing it strongly enough for many castings, and the casting and laying process end to end. The stones are garden landscaping for foot traffic on prepared ground — a path, not a driveway, steps, or any surface vehicles or heavy loads will cross.
What You Need
A stepping stone mold is a large, simple ring or tray — one of the bigger prints in the home-improvement series, but a straightforward one.
Materials and tools
- A home 3D printer with a build area of roughly 220 mm in at least one direction, or a design split into joining sections
- PETG filament for the mold — it flexes for release and shrugs off water, weather, and concrete splashes
- Bagged concrete mix or a sand-and-cement mix, plus water and a mixing bucket or tub
- A trowel, a flat board larger than the mold to cast on, and a straight edge for leveling
- Mold release: a light coat of vegetable oil, petroleum jelly, or a commercial release spray
- A tape measure, a spade, and gravel or coarse sand for bedding the finished stones
- A spirit level, rubber mallet, and a spare bucket for washing tools
Print the mold in PETG rather than PLA: you will flex it at every release, wash it after every cast, and store it in a shed that freezes and bakes. PETG tolerates all of that. A brighter color than you think you need helps the mold stay visible in grass and not get tripped over or driven over by the mower.
Suggested print settings
- Layer height: 0.24 mm to 0.28 mm; a mold is a big utility print, and smooth-enough beats perfect.
- Walls: At least 5 to 6 perimeters — the wall is the mold, and it must resist concrete pressure without bulging.
- Infill: 40 to 60 percent in any solid base or rim sections; a ring mold’s strength lives in its walls.
- Top and bottom layers: 5 or more on any flat base sections, for a surface that releases and washes cleanly.
- Orientation: Print upright, exactly as it will sit when casting — no gymnastics, no supports.
- Supports: None for a tapered ring or open tray design.
Print one mold first, cast three stones from it, and judge the release and the wall stiffness before printing a second mold for batch work.
Design Considerations
Mold design is mostly the art of letting go: the stone must leave the mold cleanly, stone after stone.
1. Draft angle on every wall
Give every vertical wall a draft — a taper of about 3 to 5 degrees, wider at the top than the bottom. Concrete shrinks very slightly as it cures, but not enough to free a straight-walled stone; the draft is what lets the mold lift away or flex off. Decorative edges — a softened rim, a gentle scallop — are welcome, as long as the overall taper is preserved and there are no undercuts anywhere for concrete to lock into.
2. Size and thickness for a real stride
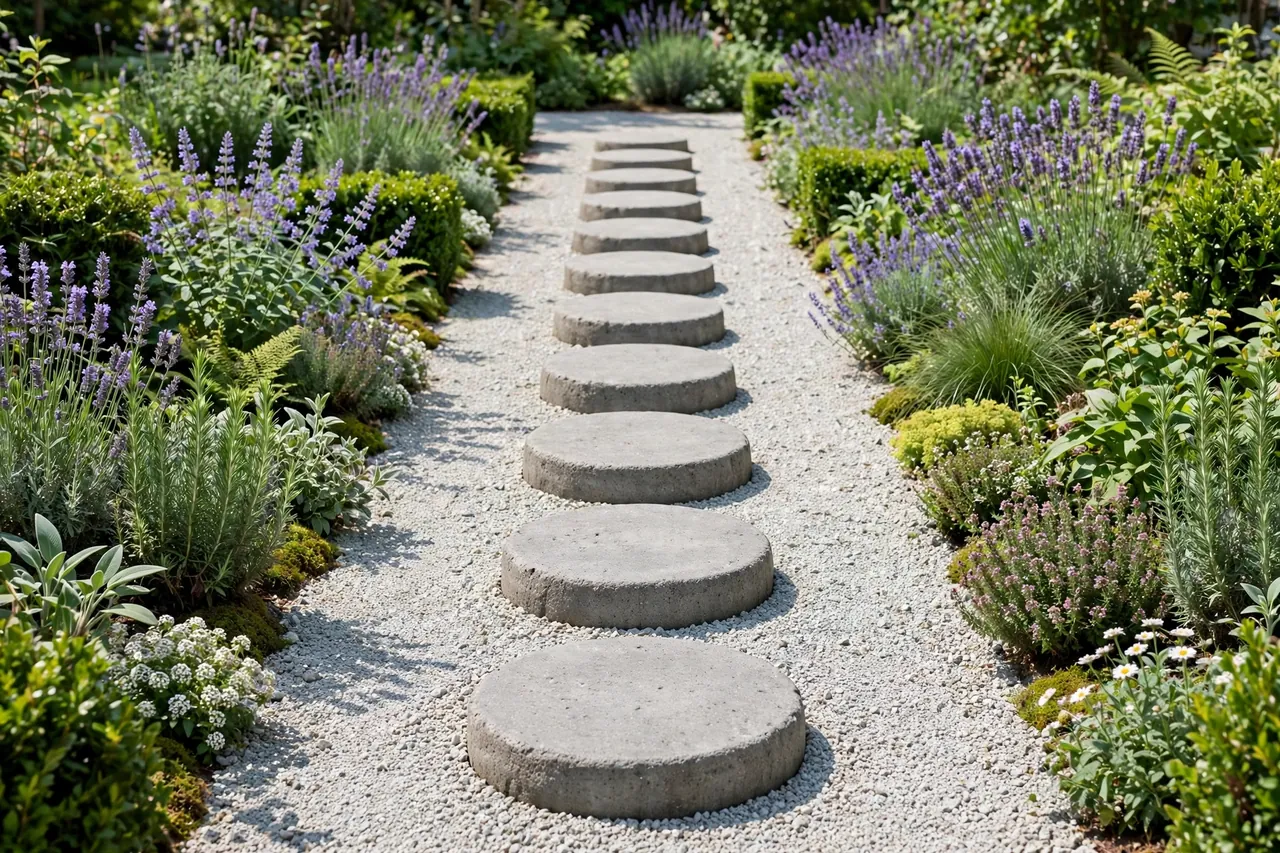
A comfortable stepping stone is roughly 300 to 400 mm across — big enough for a whole foot with margin, small enough to handle when cured. Thickness of 40 to 50 mm gives a stone that can be bedded firmly and will not crack underfoot on a well-prepared base. Space stones by your own stride: walk the route naturally and mark where your feet land, typically 550 to 650 mm center to center, and let the path follow the walker rather than the tape measure’s pride.
3. A rim that keeps the mold round and level
A thin ring mold flexes oval under concrete pressure. Add a rolled or flanged rim at the top — a 10 to 15 mm outward flange — which stiffens the ring dramatically, gives you a handle for lifting and tapping, and provides a level reference edge to strike the concrete off against.
Step-by-Step: Printing and Assembly
- Measure your printer and choose the stone diameter it can print in one piece, or design a two-half ring.
- Model the mold: drafted walls, stiffening flange, shallow detail only, no undercuts anywhere.
- Print in PETG at strong settings and let it cool completely before flexing it off the bed.
- Inspect the interior and sand any rough layer ridges smooth — every ridge will print itself into every stone.
- Test the release empty: set the mold on a board, flex it gently, and confirm it moves freely without cracking sounds.
- Join halves if applicable and check the inside joint line is flush; a step inside becomes a ridge on every stone.
- Apply a first coat of release agent and let it soak into the print’s micro-texture before the first cast.
Step-by-Step: Casting and Laying the Stones
- Set the mold on a flat board on level ground, coat the interior lightly with release agent, and re-coat every cast.
- Mix concrete to a stiff, workable consistency — like thick porridge — following the bag’s water guidance; sloppy mix makes weak, pitted stones.
- Fill the mold in two layers, tamping or vibrating each by tapping the board and poking out air pockets with a stick, especially at the edges.
- Strike the top level with a straight edge resting on the mold’s flange, then trowel lightly for your preferred finish.
- Let the stone cure in the mold for at least 24 hours, shaded and undisturbed — demolding green concrete chips edges.
- Release by flexing the mold wall gently around its circumference and lifting or easing it away; never pry against the young stone.
- Cure the stones fully — several days, kept damp if the weather is hot — before laying them underfoot.
- Lay each stone on a leveled bed of compacted gravel or coarse sand, top flush with the surrounding ground, and tap it home with a mallet over a board.
- Walk the path, adjust any stone that rocks by re-bedding it, and backfill around the edges so the stones sit in the garden, not on it.
For keeping the path’s tools in order between casting weekends, you may also enjoy our related guide, “Garden Tool Wall Rack: 3D Print Heavy Hooks for Shovels, Rakes and Brooms,” which gives the spades and trowels a proper home.
Tips for Better Results
- Cast in batches on a cool morning. Concrete and printers both prefer it, and you will too.
- Two molds double your pace without rushing cures — alternate filling and demolding days.
- Wash the mold immediately after each release; dried concrete residue is the enemy of the next clean release.
Common Mistakes to Avoid
- Straight walls with no draft. The mold and stone become one object, and someone loses — usually the stone’s edge.
- Demolding too early. Green edges crumble at a touch; the 24-hour wait is the cheapest quality control in the project.
- Overly wet concrete. It feels easier to place and cures weaker, with a dusty, pitted face — mix stiff and tamp well.
- Deep decorative detail. It locks, tears, and fouls; keep the mold’s art shallow and rounded.
- Laying stones on bare soil. They will tilt and sink unevenly within a season; a compacted gravel bed is what makes a path stay a path.
Care, Storage, and When to Choose an Alternative
Wash the mold after every casting session, let it dry, and store it flat in the shed, out of long direct sun. Inspect the flange and walls each spring; a PETG mold treated this way casts for years.
Choose bought stones or a different system honestly where the job demands it: a path that must carry wheelbarrows of soil all season, a slope that needs true steps, or a surface any vehicle might mount all call for heavier precast units, deeper bases, or professional work. The printed mold’s gift is the ordinary garden path — matched stones, your size, your shape, made at home for the price of concrete mix.
FAQ
How many stones can one mold cast?
With PETG walls, a drafted design, release agent every time, and a wash after each use, dozens of castings are realistic — the mold usually outlasts the path project and the gardener’s enthusiasm for more paths. Retire it if the walls crack or warp enough to change the stone’s shape.
What if my printer is too small for a full mold?
Print the ring in two halves with a flanged joint, or choose a smaller stone — a 250 mm stone still walks well on a narrow cottage path. What you cannot do is scale walls thinner to save space; stiffness is what keeps stones round.
How long before I can walk on the finished path?
Stones should cure several days before laying, and once bedded they can take foot traffic right away — the bedding, not the stone, is the fresh part. Give the path a final check after the first rain, which settles beds honestly and shows any stone that needs re-leveling.
Can I add color to the stones?
Yes — mix concrete pigment through the whole batch so the color cannot wear off, and note the ratio per bag so later stones match.
Conclusion
A path of your own cast stones is one of those projects visitors assume was expensive. In truth it costs concrete mix, a weekend or two, and one good printed mold — drafted to release, flanged to stay round, and sized to your stride. Every stone matches because every stone came from the same form, and the file waits patiently if the garden ever grows another path.
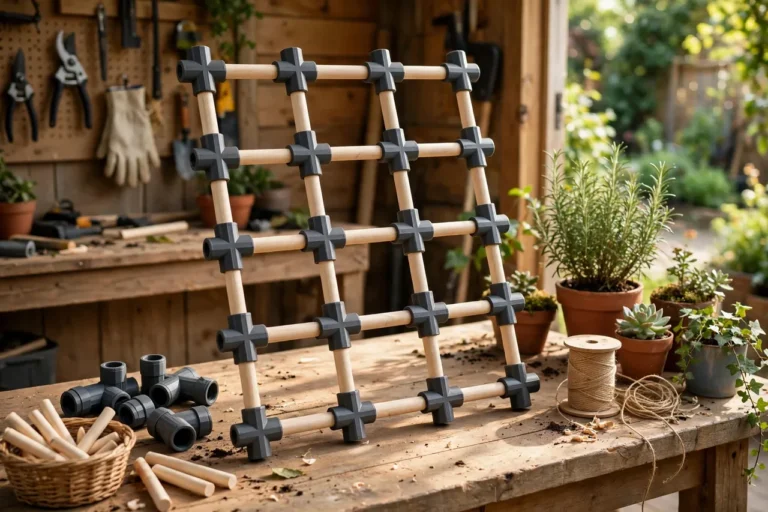
For the planting that frames the path, you may also enjoy our related guide, “3D Printed Garden Trellis Connectors: Build Frames and Supports Any Size,” and our related guide, “3D Printed Garden Hose Holder: A Heavy-Duty Wall Hanger for a Tidy Yard (holder only),” — together they cover most of what a tidy garden asks a printer for.
Sketch your path’s route this week, measure your stride on the actual ground, and print the mold that fits both.