Introduction
You can feel a door-bottom draft before you can see it: a cold stripe across your ankles as you pass the hallway, a bedroom that never quite warms up, dust lines on the floor where air has been streaming in for years. The gap under a door is necessary — doors need clearance to swing — but on interior doors to cold spaces, and especially on exterior doors with worn seals, that gap moves a surprising amount of air.
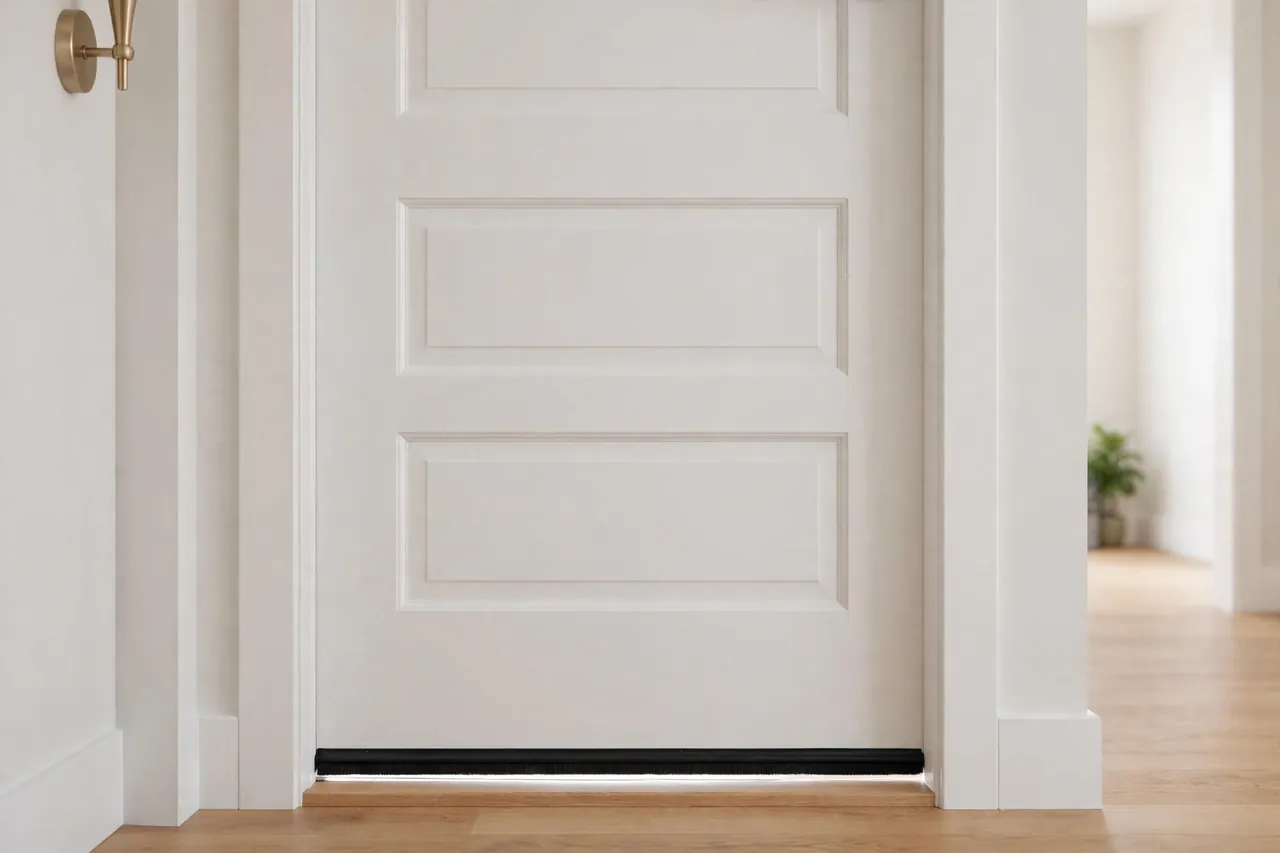
The classic draft excluder, a fabric sausage laid against the door, works only while nobody opens the door. The better answer is a seal that travels with the door: a soft tube or brush strip held along the door’s bottom edge.
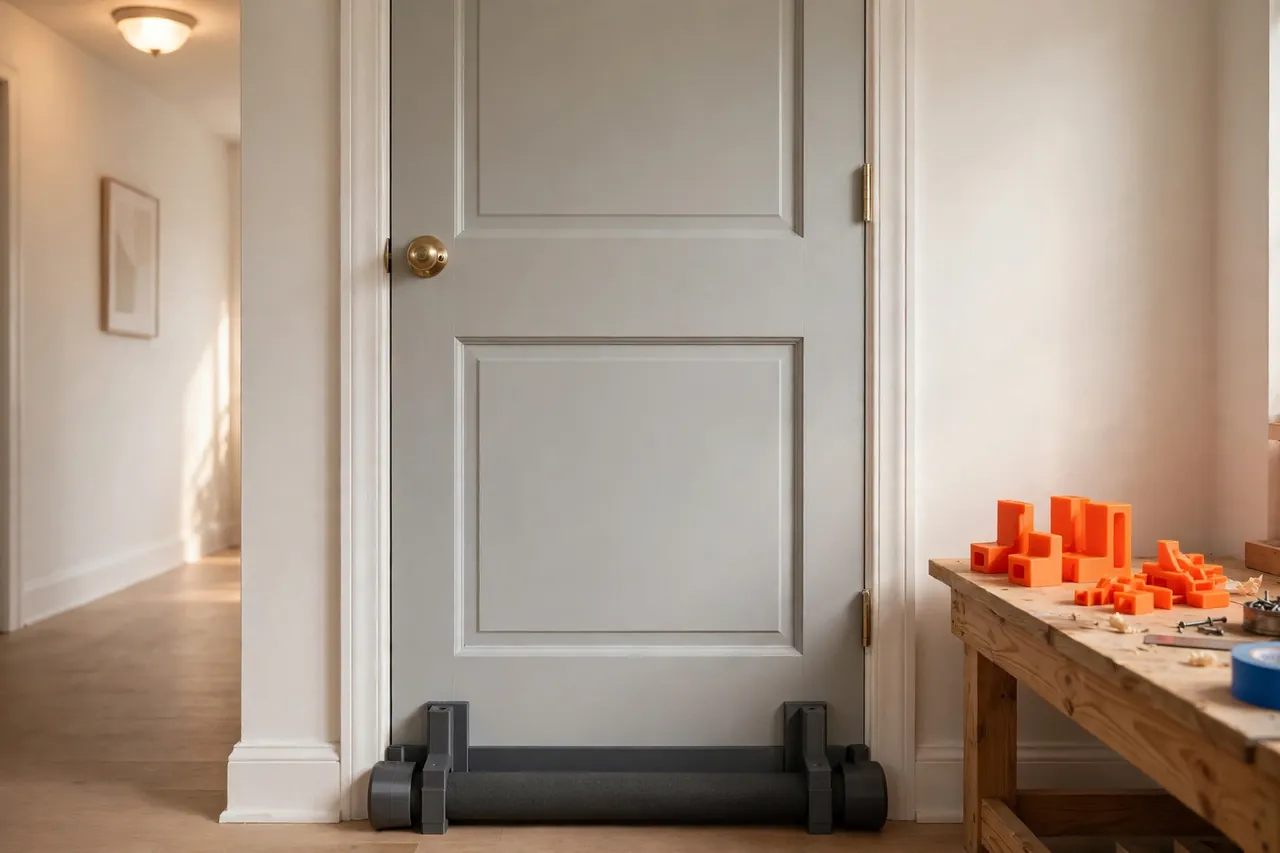
A printed kit adapts the idea to your doors. You print end caps that close and finish the seal tube, plus brackets that clip or slide onto your door’s bottom edge and hold the seal at exactly the right height. The seal material itself is ordinary foam tube or brush strip from any hardware store — the printed parts are the fittings that make it neat, removable, and sized to fit.
This guide covers measuring your door and gap, designing caps and brackets, and fitting a seal that closes the draft without dragging. The kit is a comfort and weather-sealing accessory for the door bottom only — it changes nothing about locks, hinges, or the door’s security, and it is not a fire, smoke, or safety seal of any kind.
What You Need
The printed parts are small: two end caps and two or three brackets per door. The seal tube does the long work between them.
Materials and tools
- A home 3D printer with a build area of roughly 120 mm in at least one direction
- PETG filament for brackets and caps — it flexes for clip-on fits and tolerates hallway knocks
- Foam draft tube, foam backer rod, or a brush strip, cut to your door’s width
- Your door’s thickness and under-door gap measurements
- Calipers, a tape measure, and a flashlight for checking the gap
- Optional thin screws or double-sided mounting tape rated for painted wood, if your bracket design uses them
- Scissors or a utility knife for trimming the seal material
Suggested print settings
- Layer height: 0.20 mm throughout; these are functional fittings, not display pieces.
- Walls: At least 4 perimeters on brackets — the clip arms are the part that flexes and holds.
- Infill: 40 to 60 percent, gyroid. End caps can be lighter; brackets should feel unyielding in the hand.
- Top and bottom layers: 4 or more, so cap faces close cleanly and bracket channels stay smooth.
- Orientation: Print brackets so their clip arms bend across layers, not along a layer line, or they will snap at the worst place.
- Supports: Design caps and brackets to print flat without supports; a small brim helps the tall bracket profile stay put.
Print one bracket first and clip it on and off the door twenty times. If it survives the bench test with its spring intact, print the kit.
Design Considerations
The kit has three jobs: hold the seal at the right height, finish its ends, and come off cleanly when the seal wears out.
1. Measure the gap, then choose the seal
Crouch down with a flashlight behind the door and measure the gap at several points along the width — floors and doors both wander, and the largest gap sets your seal size. Choose a foam tube or brush whose uncompressed size is a few millimeters larger than the largest gap, so it compresses lightly everywhere. The printed brackets then only need to hold the seal in line, not force it into place.
2. Brackets that grip the door, not the floor
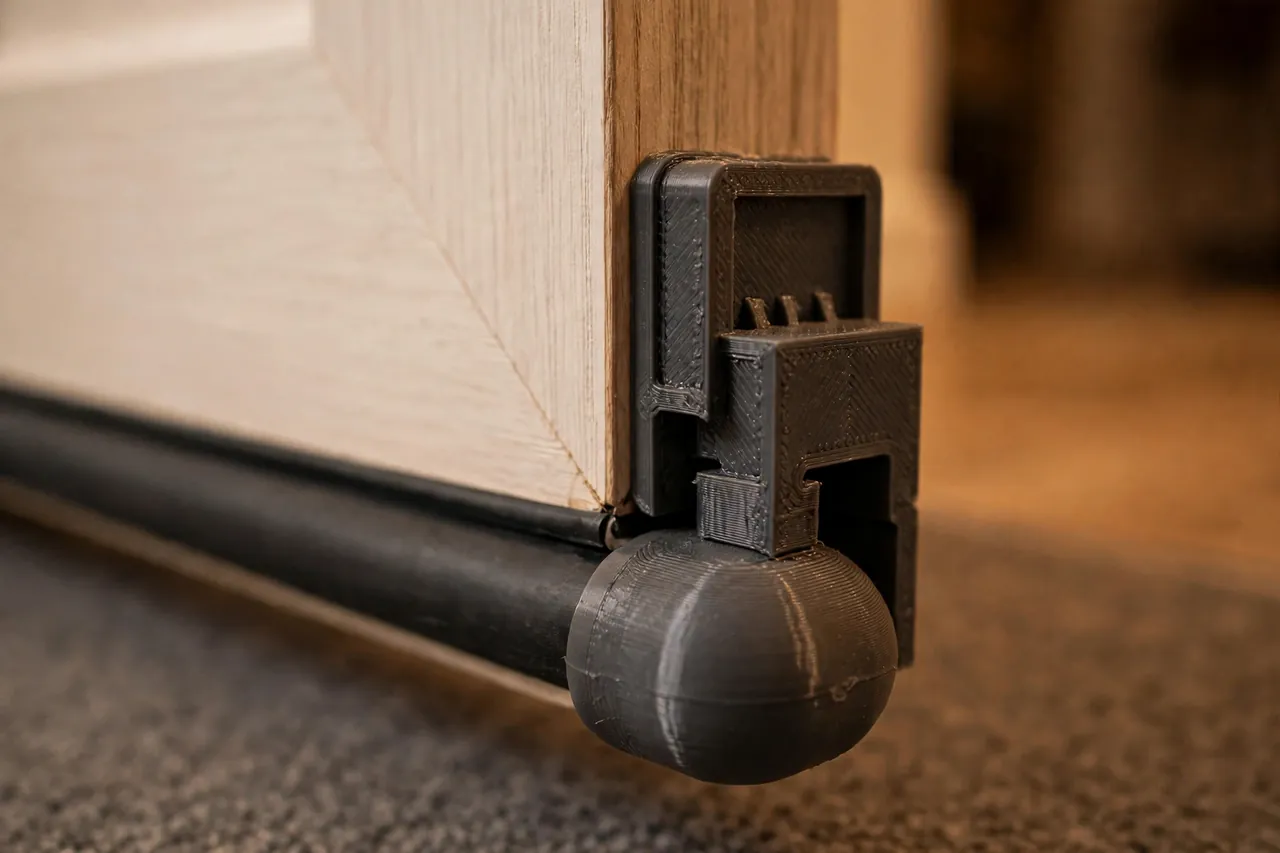
A good bracket wraps the door’s bottom edge in a U-channel sized to the door thickness with about 0.3 to 0.5 mm of slip clearance, plus a small spring lip that keeps it from sliding off. Below the channel, a ledge or cradle holds the seal tube. Two brackets suit most doors; add a third in the middle on wide or warped doors.
3. End caps that finish and locate
End caps close the foam tube so it does not fray, collect dust, or look cut-off, and they give the seal a defined length that registers against the door frame sides. Model the cap as a shallow cup matching your tube’s profile, with a short plug section that pushes into or over the tube end. Leave the cap’s outer face slightly domed or beveled so it glides past the frame when the door swings, rather than catching on the stop bead.
4. Clearance for the swing
The seal must kiss the floor or threshold along the whole swing, not just when the door is closed. An outward-opening door over a rising floor will drag a seal that was perfect at the latch position. Check the swing arc with a strip of card taped under the door before you finalize bracket height, and set the seal to the tightest point of the arc with only a light touch — a seal that drags hard wears itself and the floor, and makes the door feel broken.
Step-by-Step: Printing and Assembly
- Measure the door thickness at the bottom corners and the gap along the full width.
- Choose and cut your seal material to width, leaving it 5 mm long for final trimming.
- Model the bracket — U-channel, spring lip, seal cradle — and the end cap to match your seal’s profile.
- Print one bracket and one cap and test the bracket’s clip fit on the door edge.
- Assemble the kit on the bench: brackets onto the seal, caps on the ends, and check the whole unit holds together as one piece.
- Adjust the cradle height in the model if the seal sits too high or low against your gap measurements.
- Print the full kit for the door, plus a spare bracket — the middle bracket is the one that gets kicked.
Step-by-Step: Fitting the Draft Stopper
- Clip the assembled seal onto the door bottom, brackets evenly spaced, caps flush at both ends.
- Close the door slowly and watch the seal meet the floor or threshold along its whole length.
- Do the light test: darken the room, put a light on the other side, and look for bright lines — each one is a gap to fix.
- Adjust locally. A cap sitting high usually means the floor dips; lower that bracket a touch or add a slightly larger seal section there.
- Check the swing through the full arc for dragging, especially over rugs and threshold strips.
- Do the paper test: close the door on a strip of paper at several points; you should feel gentle, even resistance pulling it out.
For drafts at the window side of the same room, you may also enjoy our related guide, “3D Printed Window Latch Handles: Replace Cracked Latches and Keep the Draft Out,” which tackles the other common leak in an older room.
Tips for Better Results
- Seal the worst door first — usually the one to a garage, porch, or unheated hall — and feel the difference before kitting the rest.
- Color-match caps to the door. Brackets hide below the door edge; caps show, and matching paint makes the kit invisible.
- Keep a spare seal length in the house; the foam is the wear part, and swapping it into your printed fittings takes minutes.
Common Mistakes to Avoid
- Sizing the seal to the average gap. The largest gap is the leak; size to it, and let the foam compress elsewhere.
- A seal that drags hard. It feels sealed for a week, then wears a groove, strains the door closer, and looks shabby doing it.
- Brackets sized to nominal door thickness. Real doors vary by millimeters; measure yours, including paint buildup at the edge.
- Forgetting the swing arc. A perfect fit at the closed position can still plow the floor mid-swing on an uneven floor.
- Gluing the kit permanently. The seal is a consumable; a kit you cannot remove without damage will be removed with damage.
Care, Storage, and When to Choose an Alternative
Vacuum the seal when you vacuum the hallway, wipe the caps with the door, and check bracket grip each season.
Keep the framing honest: this kit improves comfort and cuts everyday drafts. Where a door needs a rated fire or smoke seal, an accessible threshold solution, or a security upgrade, use the properly rated manufactured product and a qualified installer — printed fittings are not rated for any of that. And for an exterior door in driving rain, a full manufactured threshold-and-sweep system handles water in ways a foam tube cannot. For the ordinary cold stripe under an ordinary door, though, printed caps and brackets turn hardware-store foam into a tidy, fitted, removable seal.
FAQ
Will the brackets mark or damage my door?
A well-fitted channel with a felt liner will not. The grip comes from the spring lip over the edge, not from clamping force on the faces. Check under the brackets at the first seasonal clean; if you see any witness mark, add felt — but most painted doors show nothing.
Does this work on carpeted floors?
A brush-strip seal works better than foam on carpet, since bristles glide and seal between pile where a tube drags. The same brackets and caps hold a brush strip; model the cradle to the strip’s backing size instead of a tube profile.
How much difference does one door seal really make?
On a door to an unheated space, a surprising amount — the under-door gap is often the single largest air leak in the room, and sealing it removes both the cold stripe and much of the dust line. It will not fix leaky windows too, but it is the cheapest big win in the room.
How often does the foam seal need replacing?
Usually every few years, depending on traffic and sunlight. The printed caps and brackets stay; only the foam swaps.
Conclusion
A draft stopper kit is the rare home improvement that pays you back in comfort the same evening: no cold stripe, no dust line, and a door that closes over a seal fitted to its own measurements. The printed caps and brackets are what turn a loose length of foam into a system — neat ends, even height, and removal in seconds when the foam eventually tires.
For the sliding cousin of this problem, you may also enjoy our related guide, “Sliding Door and Window Track Guides: 3D Print Replacement Guides and Stops,” and for doors that misbehave in the other direction, our related guide, “Door Stops That Work: 3D Print Hinge-Pin and Floor Door Stops for Every Room,” covers keeping them from swinging too far.
Measure the gap under your coldest door tonight — the light test takes two minutes, and the fix takes one print session.