Introduction
Hanging a picture should take five minutes. Instead, it often ends with three pencil marks, two holes in the wrong place, and a frame that still leans off level. The frame hides the worst hole — until you rearrange the room and find the evidence.
The tricky part is not driving a hook into the wall. It is transferring a position. The hanger sits on the back of the frame, hidden the moment you lift the frame toward the wall, so you end up measuring down from the top edge and guessing where the wire pulls tight.
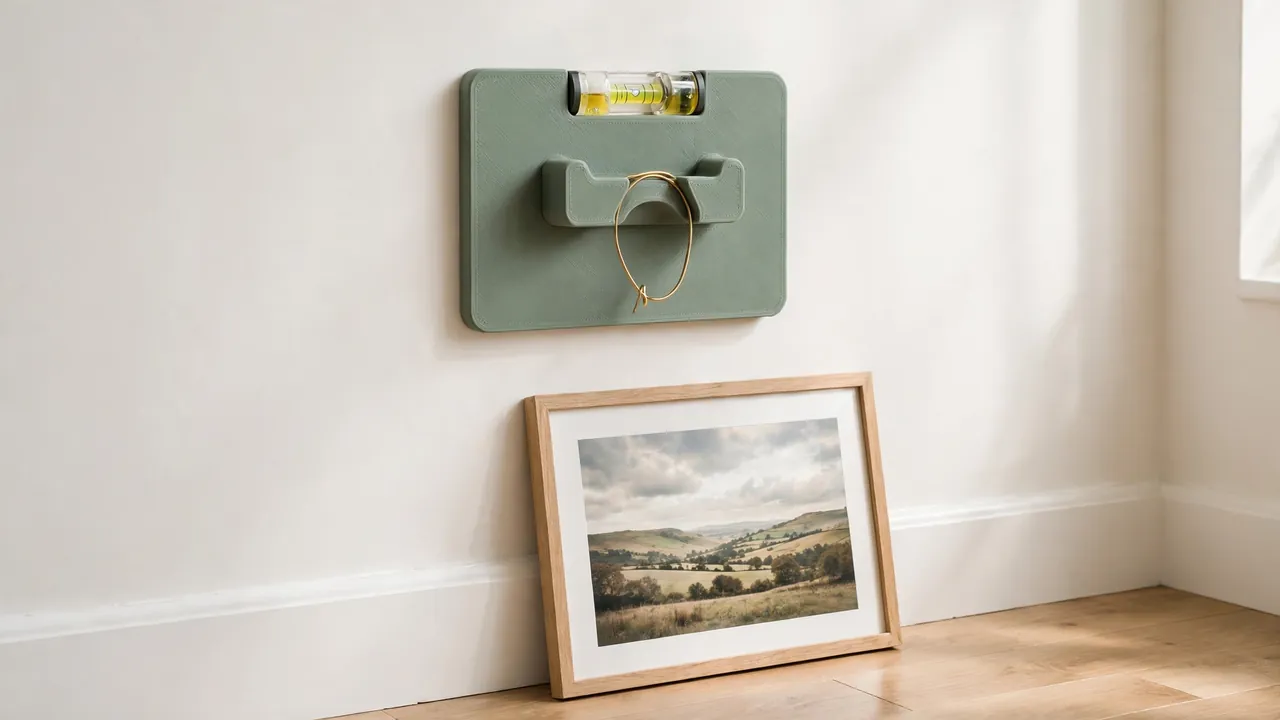
A 3D printed picture hanging jig solves that transfer problem simply. It hooks onto the frame’s wire or D-rings while the frame is in your hands, then presents that exact hanging point against the wall with a marking tip. Position it, check it is level, press to mark, and fit your hook on that mark — once.
This guide covers an original design you can size to your own frames, including a slot for a small spirit level vial, versions for single and double hangers, and a gallery-wall spacing variant. The jig is a marking aid only; choosing the right hook or anchor for your wall is a separate step.
What You Need
The jig is a small, flat print that fits most home printers and needs no exotic hardware beyond the level vial.
Materials and tools
- A home 3D printer with a build area of roughly 180 mm in one direction
- PETG filament for the keeper jig, or PLA for a first test version
- A small standard spirit level vial — the short replacement type
- The picture frame you want to hang, with its wire or D-rings fitted
- Wall hooks, picture pins, or anchors suited to your wall and the frame’s weight
- A tape measure, a pencil, and painter’s tape
- A hammer or drill, as your wall fixing requires
- Sandpaper or a small file for the marking tip
Buy the level vial before finalizing the design — vials sold as “standard” still vary by a few millimeters.
Suggested print settings
- Layer height: 0.20 mm; accuracy of the hooks and marking tip matters more than finish.
- Walls: At least 3 to 4 perimeters, so the hooks do not flex under a taut wire.
- Infill: 30 to 40 percent, grid or gyroid. Light loads, but the jig should not feel bendy.
- Top and bottom layers: 4 or more, for a flat back that sits flush on the wall.
- Orientation: Print flat, wall-facing side down, for the truest marking surface.
- Supports: None, if the hooks are angled to print cleanly.
Print a PLA test version first, try it on your most-hung frame size, then print a PETG keeper.
Design Considerations
Model the jig in any basic CAD program. At its simplest it is a flat vertical plate with hooks at the top, a marking point in line with those hooks, and a grip below.
1. The wire and D-ring cradle
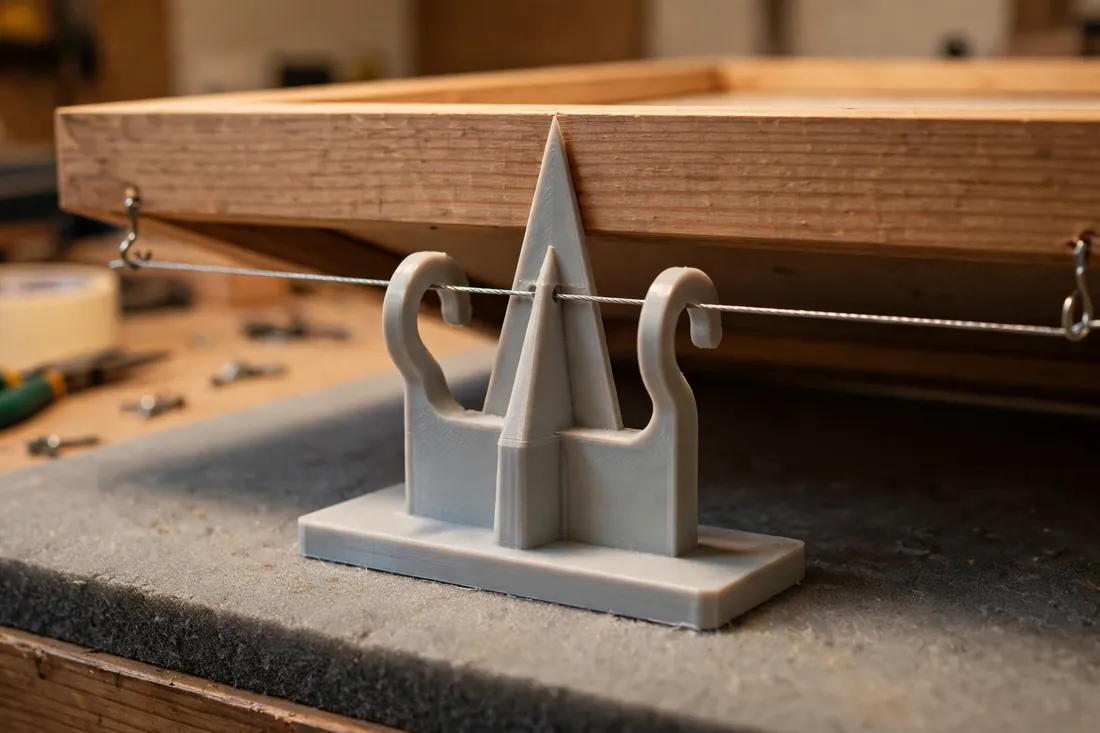
For wire-hung frames, use a wide, shallow hook or saddle near the top of the plate. The wire rests in it and pulls up into the same position it will take on the wall hook. For D-rings, use two smaller hooks spaced to catch both rings at once; a row of hook positions covers common ring spacings. Round the inside of each hook so the wire seats fully.
2. The level vial slot
Near the top of the plate, add an open slot sized for your small spirit level vial, its axis exactly parallel to the line between the hooks. A light press fit is ideal: firm enough not to rattle, loose enough to pop out and reuse. Calibrate after printing — hold the jig on the wire of a frame you know is level and check the bubble agrees. If it reads off, a sliver of tape under one end of the vial corrects it.
3. The marking point
In line with where the wall hook will sit, add a small, firm marking point. A sharp printed cone leaves a tiny dimple when you press the jig or tap it with your palm; a small through-hole instead lets you push a pencil tip to the wall. The cone is faster, the hole gentler on paint. Either way, the tip must sit at exactly the height where the wire or rings touch the hooks.
4. Single-hanger and double-hanger frames
Small frames hang from one central point, and a single-hook jig handles them perfectly. Larger frames with two D-rings and no wire need two marks at exactly the same height, which is where mistakes multiply. For those, widen the plate and fit two marking points, one behind each hook, on a common level line. Level once, mark both, and both hooks share the same reference.
5. The gallery-wall spacing variant
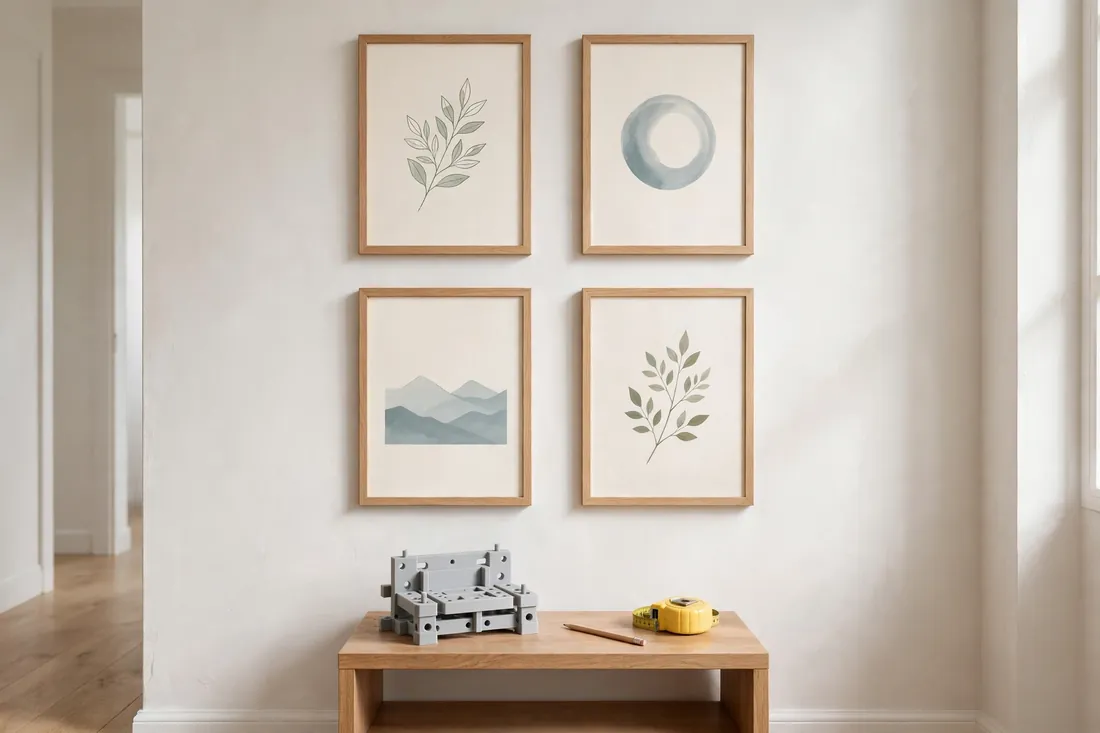
For gallery walls, add a spacing feature. One approach is a longer plate with evenly spaced marking holes — for example every 50 mm — leveled once to mark a whole row in a single placement. Another is a pair of side tabs that butt against the neighboring frame’s edge, setting a consistent gap, commonly 40 to 60 mm. It turns “evenly spaced” into a measurement you make once, at the design stage.
Step-by-Step: Printing and Assembly
- Measure your frames. Note the wire type or D-ring spacing on the frames you hang most often, and measure your level vial.
- Model the plate, roughly 140 to 180 mm tall, with cradle hooks, level slot, and marking point in line.
- Add a comfortable grip along the lower half, with rounded edges.
- Print a test version in PLA and clean up any stringing around the hooks and slot.
- Fit the level vial. Press it in and check it stays put when the jig is tipped and tapped.
- Test the cradle. Hook the jig onto a frame’s wire or rings, lift slightly, and confirm the wire seats fully and the jig hangs straight.
- Check the marking alignment against a frame hung at a known-good position; adjust if the mark lands high or low.
- Print the keeper in PETG once the test checks out, and refit the same vial.
Step-by-Step: Using the Jig to Hang a Picture
- Fit the frame’s hardware first. Attach the wire or D-rings and lift the frame briefly by its wire so it settles into its natural pulled shape.
- Hook the jig on. With the frame face-down on a soft surface or held by a helper, seat the wire in the cradle or engage both D-ring hooks.
- Decide the position. A common guide is eye level — roughly 145 cm from floor to the picture’s center — adjusted for furniture below. Mark the top edge with painter’s tape.
- Lift the frame by the jig — or the jig alone, if the frame is heavy — and place its back flat on the wall at your tape reference, wire taut as it will hang.
- Level it. Rotate the jig until the vial bubble sits centered. Because the jig hangs from the wire itself, leveling the jig levels the frame.
- Make the mark. Press the cone firmly, tap the jig lightly, or push a pencil through the hole. On a double-hanger jig, mark both points before moving it.
- Fit the wall hook on your mark, using the hook or anchor chosen for your wall and frame weight.
- Hang the frame and check. Step back, confirm it sits level, and nudge the wire slightly if a small correction is needed.
- For a gallery wall, hang the first frame, then use the spacing variant or side tabs to mark each next position from it.
Work through the first frame slowly. After that, the rest becomes quick, calm work — with one hole per frame.
Tips for Better Results
- Let the wire pull taut every time. A slack wire changes the hanging point.
- Use painter’s tape as a preview. Tape the frame’s outline on the wall first; moving tape is free, moving holes is not.
- Keep one jig per hardware style. A wire jig and a D-ring jig in different colors remove guesswork.
- Hang the largest piece first in a group and work outward.
Common Mistakes to Avoid
- Marking with the wire slack. The classic error the jig exists to prevent — always reproduce the wire’s loaded position.
- Trusting the vial slot without a test. A skewed slot makes every frame consistently crooked. Calibrate once.
- Pressing so hard the plate flexes. A firm press or light tap is enough; bending the jig shifts the point.
- Guessing the wall fixing. The jig gives you the position, not the strength. Match hooks and anchors to your wall and frame weight.
- Rushing gallery spacing. Tape the whole layout before fitting the first hook, or errors compound across the wall.
Care, Storage, and When to Choose an Alternative
Rinse off wall dust, check the marking cone for wear, and store the jig flat or hung from a peg. Keep PLA away from hot windowsills. If the cone wears blunt, a few strokes with a file restore it; if the hooks crack, reprint in PETG.
Sometimes another method suits better. Very heavy frames and mirrors deserve two-person handling and fixings chosen with extra care — use the jig for marking, but take the hanging slowly. Where no holes are allowed, adhesive strips are the answer, though the jig still helps you decide positions. For a single tiny frame, a tape measure and pencil may be quicker.
FAQ
Does the jig work for both wire-hung frames and D-rings?
Yes, with the right cradle. A wide saddle suits wire, because the wire settles into its natural hanging position. Two smaller hooks suit D-rings, since both rings must be held at the same height. Many makers print one of each style.
How accurate is the mark, really?
Within a millimeter or so in normal use, provided the wire is taut and the plate sits flat. That beats measuring down from the frame’s top edge, where wire stretch and hidden hardware add millimeters of guesswork.
Can I use the jig for a heavy frame or a large mirror?
Yes, to mark the position — the best way to use it for heavy pieces. Support the frame’s weight with a helper or rest it on furniture while the jig locates the mark, rather than letting it hang from the printed hooks alone. Then choose fixings rated for the full weight.
What if my level vial does not fit the slot in the design?
Measure your vial and remodel just the slot, leaving the hooks and marking point untouched. Vial sizes vary between suppliers, which is why the slot is made to measure. A wrap of tape around the vial snugs up a loose fit.
Conclusion
Extra holes are not a skill problem. They are a transfer problem: the hanging point hides on the back of the frame at exactly the moment you need it. A simple printed jig bridges that gap, carrying the wire or rings to the wall, keeping everything level, and leaving one clean mark.
Print one to match your frames, drop in a level vial, and the next picture goes up straight, first time, with the wall left just as clean as you found it.
When the pictures are up and you turn to the window wall, you may also enjoy our related guide, “3D Printed Curtain Rod Brackets and End Caps for a Clean, Sturdy Window Upgrade,” which brings the same measure-once, print-to-fit approach to hanging curtains neatly.