Introduction
Plain curtain rods do their job and look unfinished doing it. The rod goes up, the curtains hang well, and then the eye lands on a bare cut end or a cheap plastic cap that yellowed years ago. Replacement finials should fix that, except the decorative sets in stores fit only their own rods, cost more than the rod did, and come in three finishes, none of which match your room.
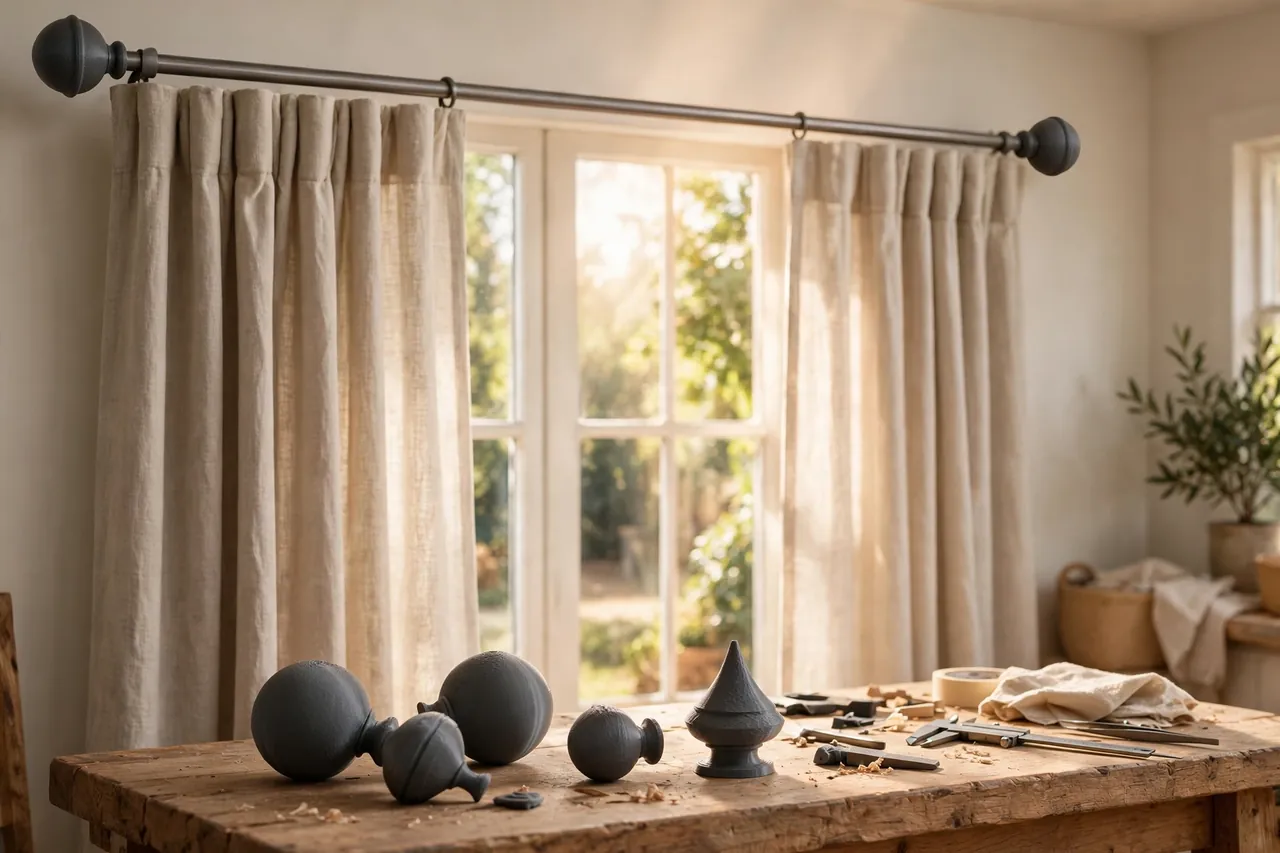
3D printed curtain rod finials remove the guesswork. You measure the rod ends you actually own, print a socket that fits each one, and put whatever decorative shape you like on the outside — a ball, a faceted gem, a simple tapered cap, or a shape that echoes hardware elsewhere in the room. One lost or broken finial also stops being a problem: you reprint its twin.
This guide covers designing, printing, and fitting finials for the rods in your home. A finial is a decorative end cap only — it stops curtains sliding off the end and finishes the look. The rod’s brackets carry the weight, and nothing in this project changes that.
What You Need
Finials are small prints, often under an hour each, so this is an easy project to iterate until the style feels right.
Materials and tools
- A home 3D printer with a build area of roughly 100 mm in at least one direction
- PLA filament for the widest colour choice, or PETG if the window gets strong sun
- The actual curtain rod, removed or measurable in place, plus calipers
- A small set screw or a dab of removable adhesive putty, optional, for loose fits
- Fine sandpaper, 240 grit or finer, for smoothing visible surfaces
- A primer and paint, optional, if you want a metallic or matched finish
- A step ladder for fitting, and a soft cloth to protect the rod finish
PLA is the natural choice indoors: it prints crisply, comes in every colour, and takes paint beautifully. Choose PETG for a south-facing window where the finial will bake in direct sun for hours, because a dark PLA part can soften enough to sag on its socket. Either way, this is a light decorative part, so strength demands are modest.
Suggested print settings
- Layer height: 0.16 to 0.20 mm — finer layers make curved shapes look far less printed.
- Walls: 3 perimeters are enough for a decorative cap with a solid socket.
- Infill: 15 to 25 percent, gyroid or grid; the socket area matters more than the core.
- Top and bottom layers: 4 or more so curved tops close cleanly without gaps.
- Orientation: Print socket-down on a flat base where the design allows, so the show face prints last and cleanest.
- Supports: Choose shapes that need none, or use a small brim and light supports inside a hollow underside only.
Print one test finial first, in a cheap colour, and check the socket fit on the real rod before printing the matched pair.
Design Considerations
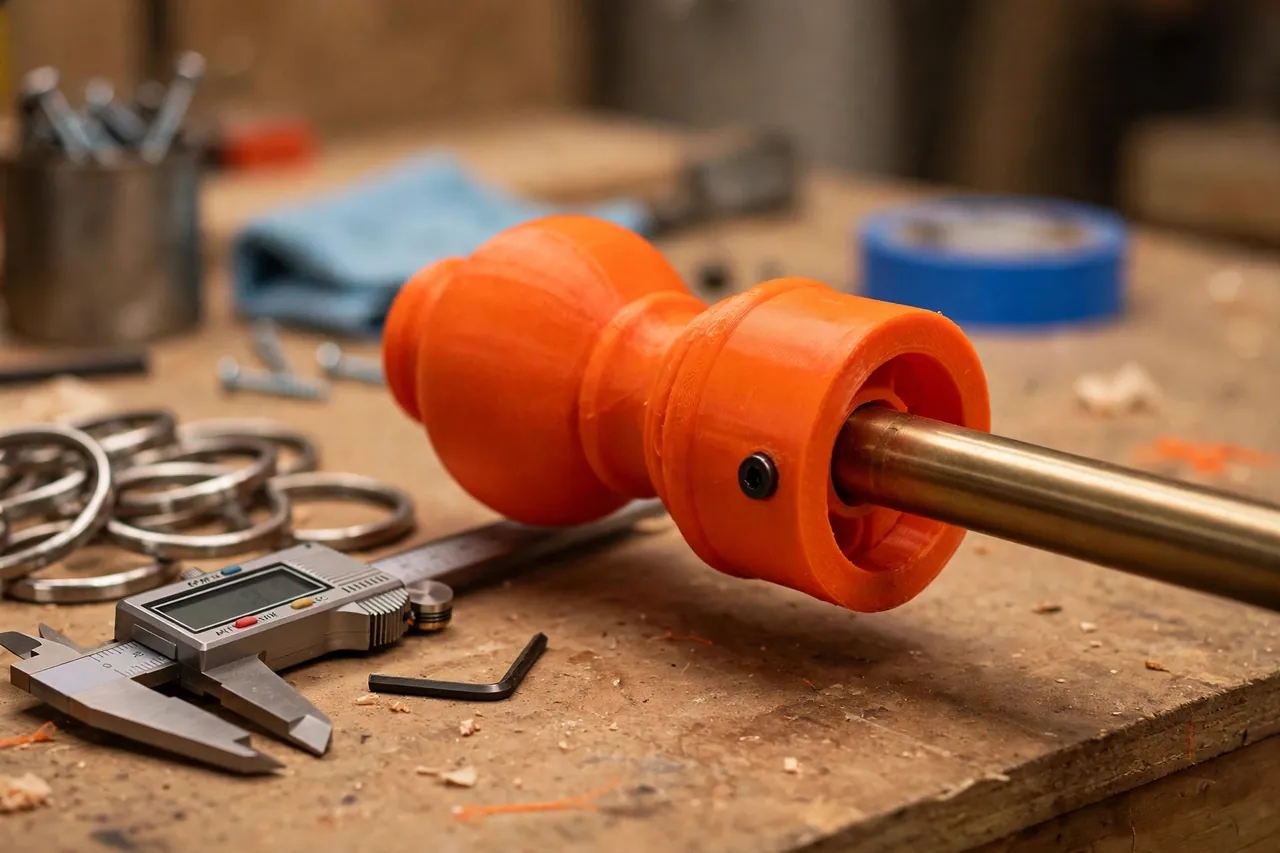
You can model a finial in any basic CAD program. Think of it as two parts in one: a hidden socket that fits the rod, and a visible shape that can be anything the socket can carry.
1. Measure both rod ends
Start with the socket, because fit is everything. Measure the outside diameter of each rod end with calipers. On telescoping rods the outer tube and inner tube differ, sometimes by 3 mm or more, so design two socket sizes and mirror the same outer shape onto both. Aim for a slip fit with about 0.3 to 0.4 mm of clearance. The finial should push on firmly, stay put when curtains brush it, and still pull off for cleaning. A socket depth of 25 to 35 mm gives enough grip without needing glue.
2. Pick a shape that prints kindly
Classic shapes print best: balls, eggs, tapered cones, stacked discs, and faceted forms with flat-ish sides. Avoid thin spikes, delicate scrollwork, and sharp points — they snap during fitting, look fragile at curtain height, and collect dust in their details. A finial between 35 and 60 mm across reads well from across a room without overwhelming a slim rod. Add a short collar between socket and shape: it hides the rod end completely and gives the design a finished, deliberate shoulder.
3. Add a gentle locking method
Friction alone works until someone draws the curtains briskly a hundred times. Two quiet upgrades help. A small hole in the underside of the socket accepts a short set screw that bears on the rod — invisible from the room and fully reversible. Or line the socket with a thin ring of felt or a smear of removable putty for a snug, silent fit. Never use permanent glue if you might repaint or change curtains later; the whole point of printing your own is that the pair can evolve.
Step-by-Step: Printing and Assembly
- Measure both rod ends with calipers and write the two diameters down separately.
- Model the socket first, sized to each measurement plus clearance, with a collar and your chosen outer shape.
- Print a single test finial and push it onto the larger rod end to check fit and proportions in place.
- Adjust once. Too tight? Add 0.2 mm. Too plain or too bulky? Now is the cheap moment to reshape the profile.
- Print the pair — remembering the two socket sizes if your rod telescopes — at fine layer height.
- Clean up. Remove any brim, sand the show surfaces lightly, and clear the socket so no stringing blocks the rod.
- Finish if painting: prime, sand between coats, and let paint harden fully before fitting.
- Add set screws or felt rings if your test fit suggested the finials need help staying put.
Step-by-Step: Using the Finials on Your Rod
- Take the curtains’ weight off the end by sliding them toward the middle of the rod.
- Remove the old end caps — most pull off or unscrew — and wipe the rod ends clean.
- Test each finial on its own end. Left and right may differ; fit the matching socket to each side.
- Push the finial on steadily, supporting the rod with your other hand so you do not stress the brackets.
- Seat it fully against the collar and check the gap is even all the way around.
- Tighten the set screw gently, if fitted, until the finial resists a light twist — snug, not forced.
- Draw the curtains to the end and let the rings rest against the finial to confirm it stops them cleanly.
- Step back and view from the doorway, the angle guests see, and adjust or swap shapes while the ladder is still out.
Tips for Better Results
- Print a style sampler. Three small candidate shapes cost little filament and make choosing at the window far easier than choosing on screen.
- Keep pairs truly paired. Print both finials in the same session with the same settings so colour and surface match exactly.
- Go slightly larger than taste suggests. Finials read smaller from floor level; a shape that looks bold on the bench looks right at height.
- Save the file with the rod measurements in its name. Future replacements then take minutes, not a fresh measuring session.
Common Mistakes to Avoid
- Assuming both rod ends are equal. Telescoping rods catch everyone once. Measure both.
- Designing delicate, spiky shapes. They print poorly, snap in fitting, and look fussy from a distance.
- Skipping the collar. A shape that starts exactly at the rod end shows every gap and looks like a cork in a bottle.
- Gluing finials on permanently. Curtains come down for washing; finials need to come off too.
Care, Storage, and When to Choose an Alternative
Dust finials with the curtains during regular cleaning, and pop them off once in a while to clear the socket of dust and cobwebs. If you repaint a pair, store the originals in a labelled bag — tastes change back. Keep spare printed shapes out of direct heat so PLA stays true.
Sometimes a manufactured finial is the better buy. Heavy cast-metal finials on a formal rod, or a matched set for a very large bay where the rod is extra thick, can be worth purchasing as a set with the rod itself. But for the common case — plain rods, odd sizes, one broken cap, or a room that needs a specific colour — printing your own is faster, cheaper, and a far better fit.
FAQ
Will printed finials stay on when curtains are drawn daily?
Yes, with a properly sized socket. A 0.3 to 0.4 mm clearance fit over a 25 mm or deeper socket holds well against curtain rings. If your household draws curtains briskly, add the underside set screw described above and the question disappears entirely.
Can I match a finial I already own on the other end?
Closely, yes. Measure the existing finial’s main dimensions, model the same profile, and print in a matching colour or paint both a fresh pair. Most people simply print a new matched pair — it is quicker than imitating an old design exactly, and both ends then age together.
What diameter rods can this work for?
Any diameter you can measure. The socket is parametric in practice: change one number and reprint. Very slim rods under 14 mm need a slightly longer socket for grip, and very thick rods may need the finial printed in two sessions on a small printer, but neither is a real obstacle.
Is it cheaper to print or to buy finials?
Printing wins on cost for most households, especially across several windows: a pair uses a few dozen grams of filament. The real saving is fit and matching, though — no returned orders, no almost-right finish, and replacements forever from a saved file.
Conclusion
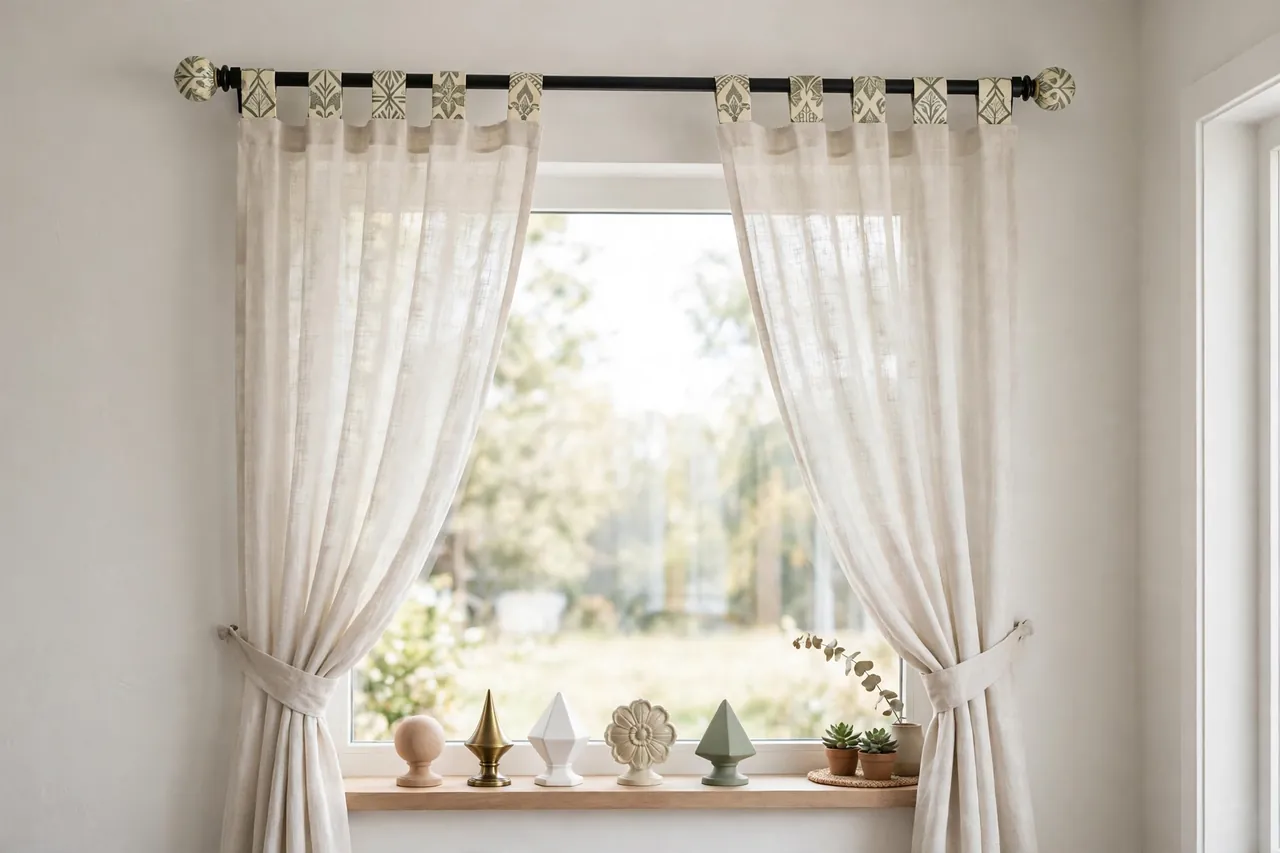
A plain rod with considered finials looks like a deliberate choice instead of an unfinished job, and the difference costs an evening of printing. Because the socket is sized to your rod and the shape is chosen for your room, printed finials succeed exactly where shop-bought sets compromise.
Start with one window, live with the shape for a week, and then roll the design out to the rest of the house. If your rods themselves need attention first, you may also enjoy our related guide, “3D Printed Curtain Rod Brackets and End Caps for a Clean, Sturdy Window Upgrade,” which covers the brackets that carry the rod these finials finish.
The same made-to-match thinking works elsewhere in the room: our guide “3D Printed Curtain Tieback Hooks: Simple Holdbacks That Match Your Rods” completes the window dressing, while “Custom Drawer Pulls and Cabinet Knobs: 3D Print Matching Replacement Hardware for Old Furniture” shows how to echo the same shapes and finishes on the furniture below.