Introduction
Small parts are the most dangerous cuts on a table saw. A piece too short to hold safely, too narrow to keep clear of the blade, and too easy to kick back is a combination every woodworker dreads — and yet small parts are exactly what repairs demand: drawer dividers, inlay pieces, spacers, and trim offcuts.
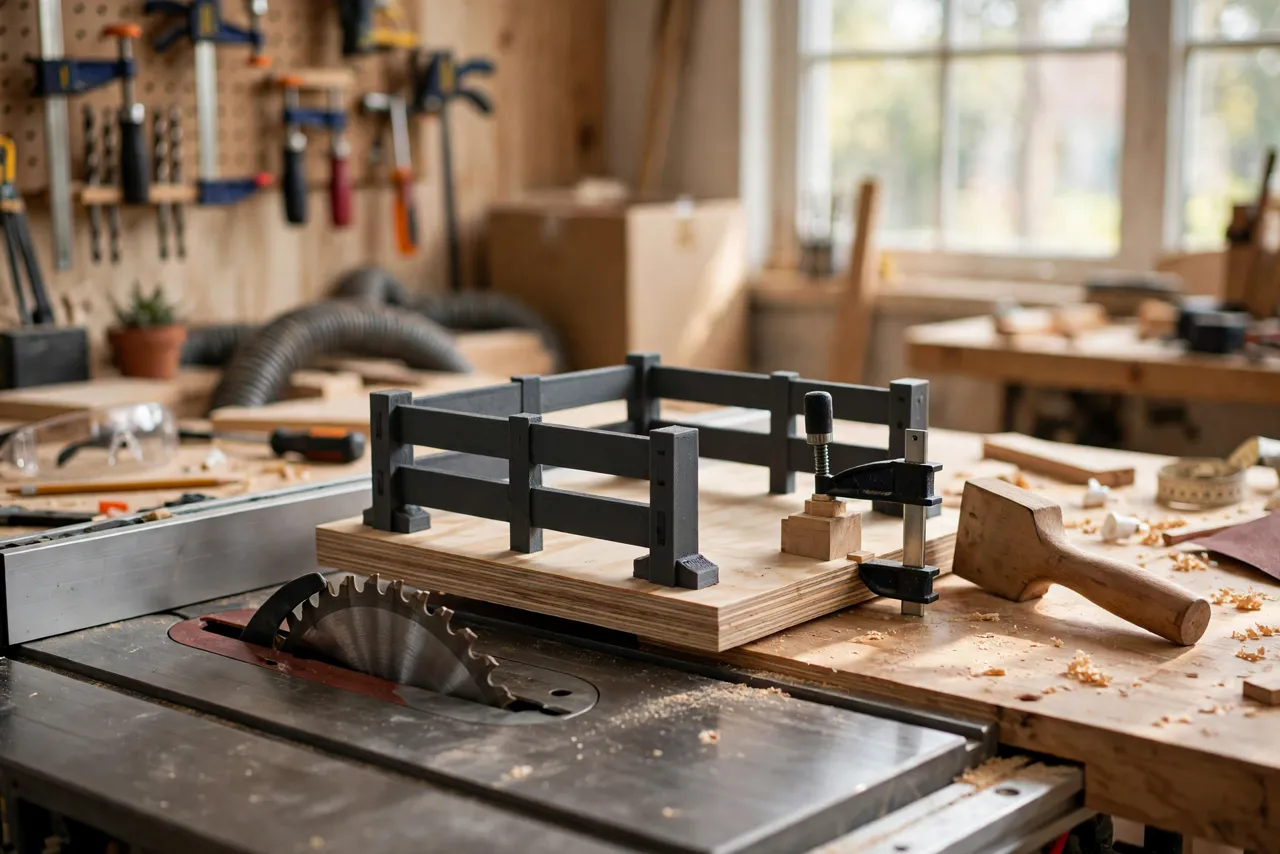
The answer is not braver fingers. It is a sled that holds the work, carries it past the blade, and keeps your hands on a handle far from the cut. A small-parts crosscut sled does that job, and 3D printed parts make it far better than a plain plywood box: printed fences, stop blocks, and hold-down clamps give you repeatable lengths and a firm grip on pieces too small to hold by hand.
A word of honest framing first. The printed parts on this sled are guides, stops, and light-duty hold-downs — they position and grip small, light workpieces. They are not structural parts of the saw, they do not replace the blade guard where it can be used, and they do not make an unsafe cut safe. If a cut feels wrong, stop and rethink it. Test every new sled on scrap, and choose a manufactured sled or a different tool when the job demands it.
What You Need
The sled base itself is plywood or MDF — flat, stable, and easy to cut. The printed parts add the precision.
Materials and tools
- A piece of flat 12 mm plywood or MDF for the sled base, roughly 300 by 250 mm
- A hardwood or aluminum miter bar to fit your saw’s miter slot
- PETG filament for the printed parts; it handles clamping force and workshop warmth better than PLA
- Screws and T-nuts or threaded inserts for attaching printed parts to the base
- A push stick or push block, safety glasses, and hearing protection
- A square, a pencil, and a drill for mounting holes
The hold-down thinking here overlaps with “3D Printed Push Block Set for Cleaner, More Controlled Cuts on the Table Saw and Router Table,” which covers keeping hands clear of the blade on other table saw operations.
Suggested print settings
- Layer height: 0.20 mm.
- Walls: 4 to 5 perimeters — fences and clamps take real force.
- Infill: 40 to 60 percent, grid or gyroid, for parts that will be clamped and screwed down.
- Top and bottom layers: 5 or more.
- Orientation: Print fences on their side so layer lines do not become the weak direction under clamping load; print clamps flat.
- Supports: Only where the design needs them; keep overhangs minimal.
Print one test set and check every fit before final assembly.
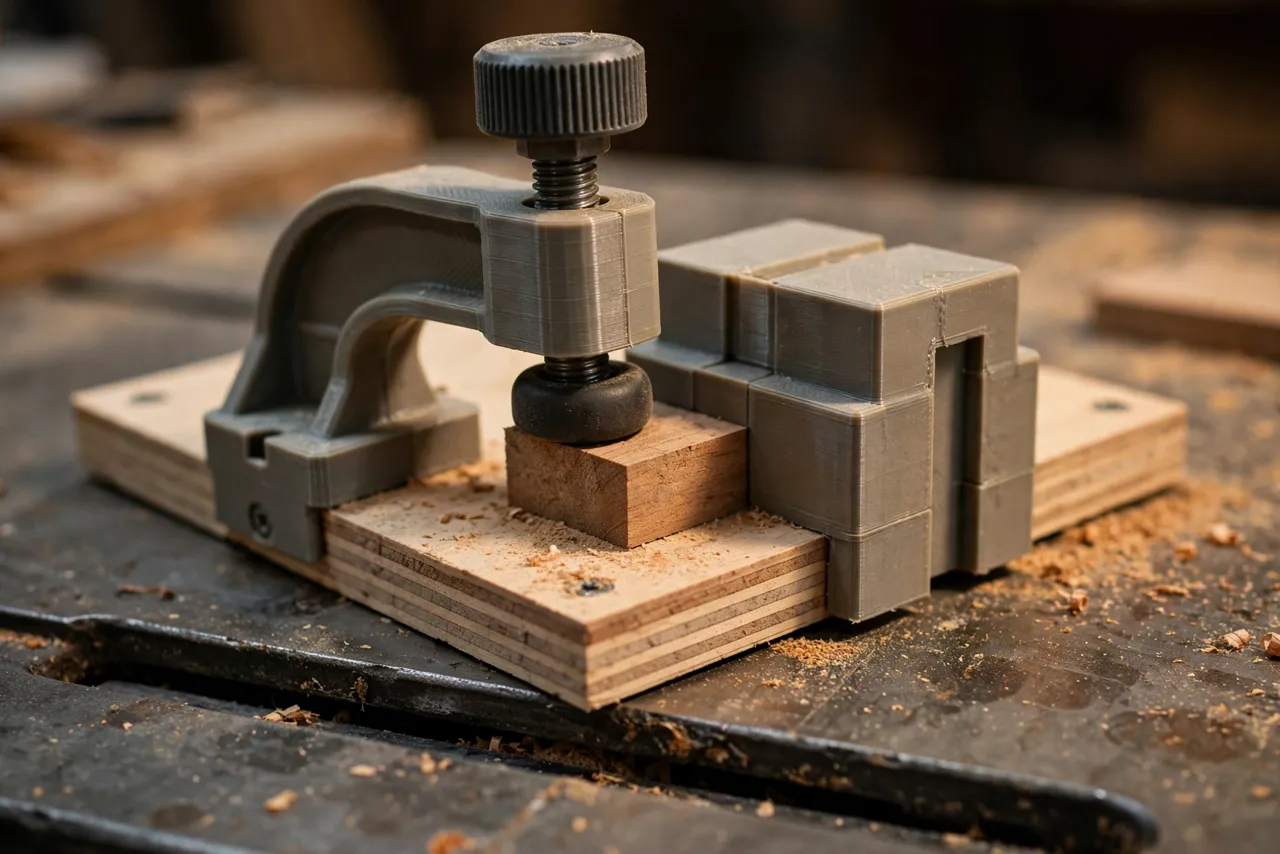
Design Considerations
A small-parts sled is a system: base, fence, stop, and hold-down, each with a job.
1. The base and miter bar
The base must be flat and must slide smoothly in the miter slot without rocking. Fit the miter bar snugly — adjustable bars with side screws are ideal — and screw it from below so no screw head rides on the saw table. Cut the blade slot by raising the blade slowly through the base on the first pass, with the saw’s guard and splitter arrangements respected.
2. The rear fence
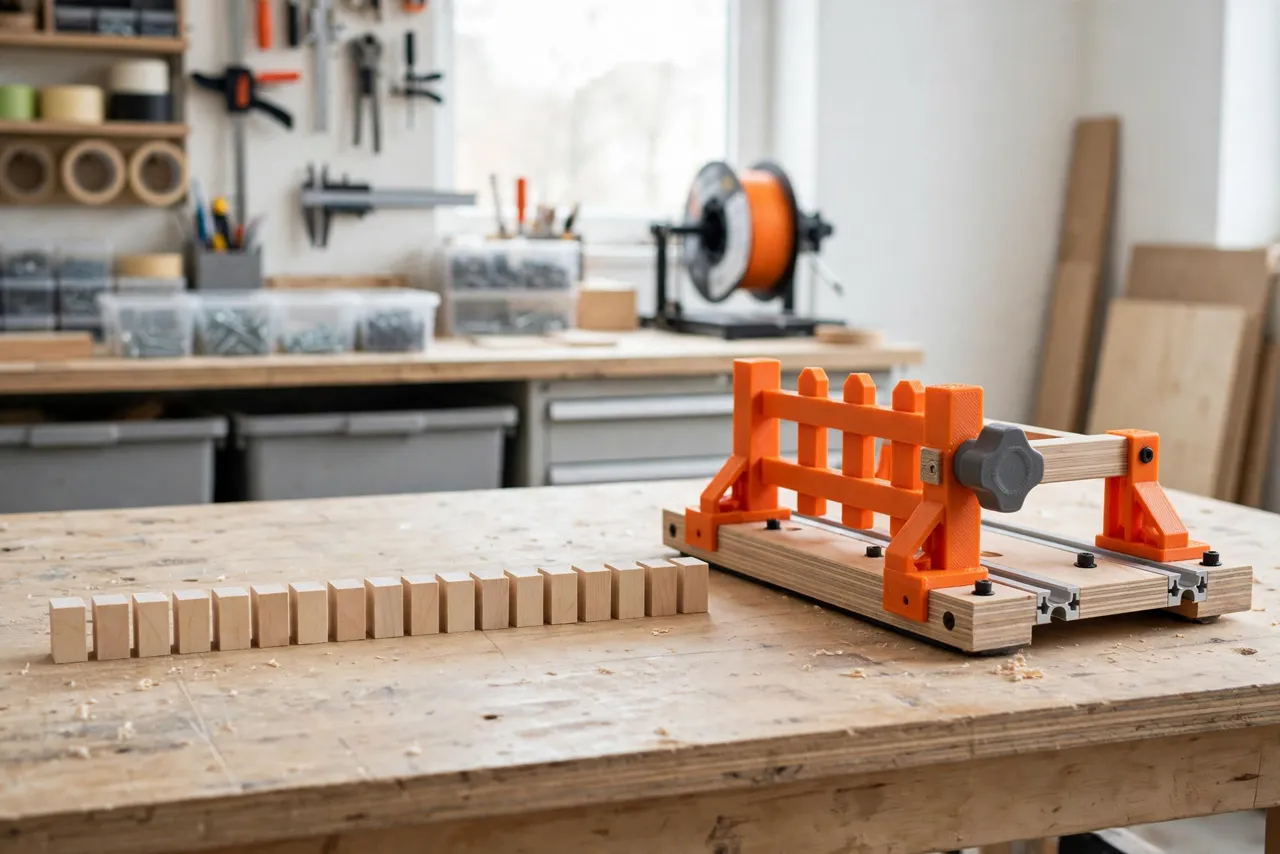
The rear fence is the reference everything registers against. It must be square to the blade path, tall enough to support small pieces, and rigid. A printed fence works for light work if it is thick-walled and screwed to a plywood backing strip; for the stiffest result, use a plywood fence with printed brackets and stops mounted to it.
3. The stop block
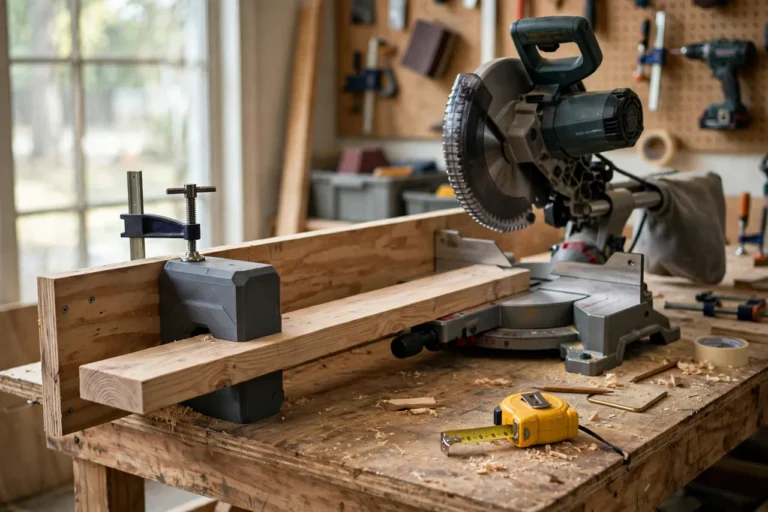
A sliding stop block on the fence sets repeatable lengths. Add a printed flip stop or a simple clamp-on block with a thumb screw, so you can set a length once and cut a dozen identical pieces. Include a small scale or index marks if you cut the same lengths often.
4. The hold-down
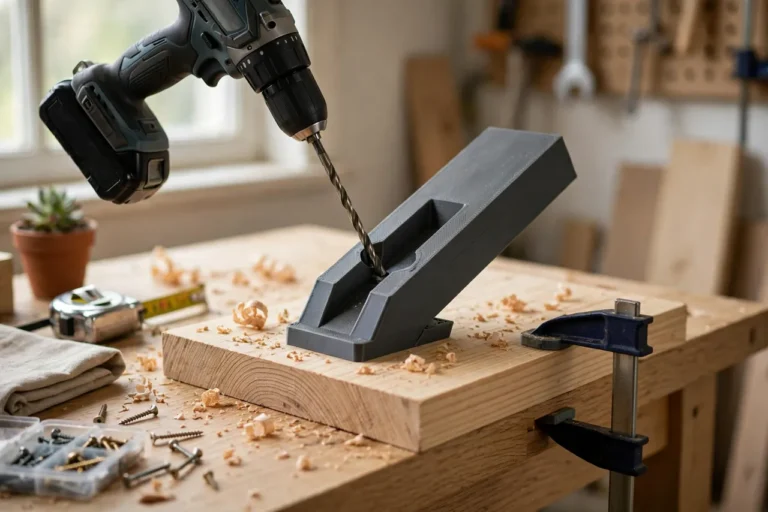
This is the part that earns the sled its keep. A printed toggle-style or screw-down hold-down presses the small piece against the base and fence so it cannot lift, twist, or kick back. Size the hold-down foot to the pieces you cut most, and add a soft pad — cork or rubber — so it grips without denting softwood.
Step-by-Step: Printing and Assembly
- Measure your miter slot and cut or buy a bar to fit it snugly.
- Cut the base to size and square one edge carefully — it will register against the fence.
- Mount the miter bar from below, checking the base slides smoothly the full length of the slot.
- Print the fence brackets, stop block, and hold-down in PETG with the settings above.
- Attach the fence and square it to the blade path using a square against a test cut, adjusting before final tightening.
- Fit the stop block to the fence and the hold-down where it can reach the smallest pieces you plan to cut.
- Cut the blade slot by raising the blade slowly through the base, hands well clear, guard in place where possible.
- Test on scrap before cutting any real part: check squareness, stop accuracy, and hold-down grip.
Step-by-Step: Using the Sled for Small Parts
- Set the stop to the length you need and lock it.
- Place the workpiece against the fence and the stop, checking it sits flat on the base.
- Engage the hold-down firmly — the piece should not move when you tug it.
- Check your hands’ path. Both hands stay on the sled handle and the push stick, never near the blade line.
- Make the cut with a steady, unhurried push, keeping the sled flat on the table throughout.
- Wait for the blade to stop before reaching for the cut piece or the offcut.
- Repeat without changing the stop for identical pieces, re-checking the first few against each other.
Never cut a piece so small that the hold-down cannot grip it, or so short that it can drop into the blade slot. When a piece gets below a safe size, cut it from a longer board and trim to length, or use a different method entirely.
Tips for Better Results
- Cut a zero-clearance kerf line into the fence so you can see exactly where the blade will cut.
- Keep a dedicated sled for small parts. A big general sled is clumsy for tiny work; a small, light sled is easier to control.
- Label your stop settings for lengths you cut often, with a paint pen on the fence.
- Clean the base and table before each session — a chip under the sled changes the cut.
- Replace a cracked printed part immediately. Printed parts are cheap; a failed hold-down mid-cut is not.
Common Mistakes to Avoid
- Holding small pieces by hand near the blade. That is the exact hazard the sled exists to remove.
- Skipping the hold-down for “just one quick cut.” Quick cuts cause a disproportionate share of accidents.
- Using a sled that rocks or binds in the slot. A binding sled can jerk mid-cut; fix the bar fit first.
- Reaching for the offcut while the blade spins. Wait for a full stop, every time.
- Cutting pieces too small for the setup. Respect the minimum size your hold-down can grip safely.
Care, Storage, and When to Choose an Alternative
Brush off dust, store the sled flat and hung where it will not warp, and inspect printed parts for cracks before each use. Reprint any part that shows wear — the cost is trivial against the protection it provides.
A manufactured small-parts sled, a band saw with a fence, or a miter saw with a stop may suit heavier or more frequent small-part work better. For occasional repair-sized pieces in a home workshop, a printed-parts sled is accurate, inexpensive, and — used with discipline — far safer than freehand cutting.
FAQ
Can I cut any size piece on this sled?
No. It is designed for small, light pieces that the hold-down can grip fully and that clear the blade slot safely. Larger stock belongs on a full-size sled or another saw setup.
Is PETG strong enough for a hold-down?
For light-duty small parts, yes, with thick walls and solid infill. The hold-down grips and positions; it does not restrain a large workpiece under heavy cutting force. If a part flexes or cracks, reprint thicker or switch methods.
Do I still need the blade guard?
Use the guard whenever the sled design allows it. The sled improves control; it does not replace guarding, and you should never remove a guard to accommodate a jig without a clear, safer alternative.
My cuts are not square. What went wrong?
Usually the fence is not square to the blade path, or the base rocks in the slot. Re-square the fence with a test cut and check the miter bar fit before blaming the blade.
Conclusion
Tiny pieces deserve more care than big boards, not less. A small-parts crosscut sled with printed fences, stops, and hold-downs gives those pieces the grip and repeatability they need, while keeping your hands where they belong — on the handle, far from the blade.
Build one, test it on scrap, and the small fiddly cuts that used to feel risky will become the most controlled cuts in your workshop.
If you cut a lot of repeat lengths, you may also enjoy our related guide, “3D Printed Miter Saw Length Stop System: Repeatable Cuts Without a Tape,” which brings the same stop-block thinking to the miter saw.