Introduction
Every workshop has one: a coffee tin, jam jar, or drawer corner full of mystery nuts and bolts. They came off something, once. Now, when you actually need a match — a missing bolt for a flat-pack shelf, a nut for a mower handle — you end up tipping the whole lot onto the bench and trying each one by hand.
The frustration is the guessing. Two bolts can look identical and still have different threads. An M6 and a 1/4-inch bolt start threading together, then bind. Force them, and you damage both parts.
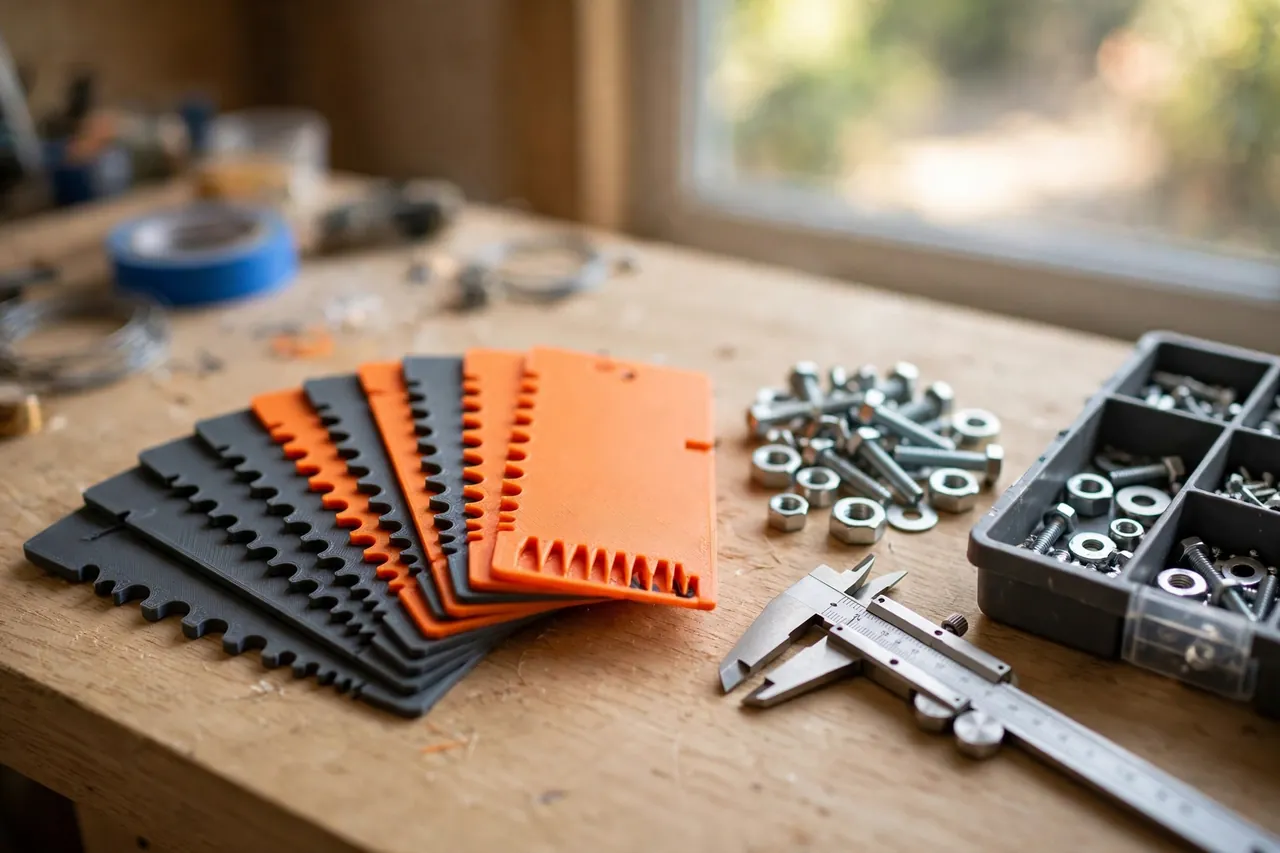
A 3D printed thread gauge set solves this in seconds. Instead of loose sample bolts, you print a set of labeled gauge studs and sockets covering the sizes you actually own. Hold a mystery nut against the studs until one threads on smoothly by hand, read the size, and you are done. No squinting at thread pitch, no trial and error.
This guide covers designing, printing, and using your own set for common metric and imperial workshop hardware. Think of the gauges as identification aids only — they tell you what a fastener is. They are never a substitute for a real steel bolt where strength matters.
What You Need
The set is a group of small, flat cards or short studs that print quickly and use very little filament. You can print a starter set in an afternoon.
Materials and tools
- A home 3D printer with a build area of roughly 120 mm in at least one direction
- PLA filament for crisp threads, or PETG for a tougher set that lives in a toolbox
- A handful of known, labeled nuts and bolts in the sizes you want to cover, for test fitting
- Calipers or a ruler to measure bolt diameters before you model
- A small metal ring, split ring, or zip tie to keep the finished set together
- A fine marker or paint pen to highlight the size markings
- Sandpaper or a small file for cleaning up thread edges
PLA prints threads a little crisper, which makes test fits easier to read. PETG is tougher if the set will rattle around in a toolbox or hot garage.
Suggested print settings
- Layer height: 0.12 to 0.16 mm — fine layers matter, because thread detail is the whole point.
- Walls: At least 4 perimeters, so the thread studs are solid and do not flex.
- Infill: 60 to 100 percent. These parts are small; solid is stronger and barely costs more time.
- Top and bottom layers: 4 or more, so the flat card faces stay smooth for labeling.
- Orientation: Print studs upright or cards flat as designed; avoid laying threads sideways where layers will stair-step the profile.
- Supports: A good design needs none. Chamfered thread starts help fasteners engage cleanly.
Print one test gauge first, in the size you use most, before committing to the full set.
Design Considerations
You can model a thread gauge set in any basic CAD program. Each gauge needs two things: an accurate thread form, and a label you can still read after a year in a drawer.
1. Choose your sizes honestly
Do not try to cover every thread ever made. Start with what your home actually uses — for most households, metric M4, M5, M6, M8, and M10 in standard coarse pitch, plus 1/4-20, 5/16-18, and 3/8-16 if you own older furniture or garden equipment. Ten to fourteen gauges cover nearly every mystery fastener you will meet.
2. Male studs and female sockets
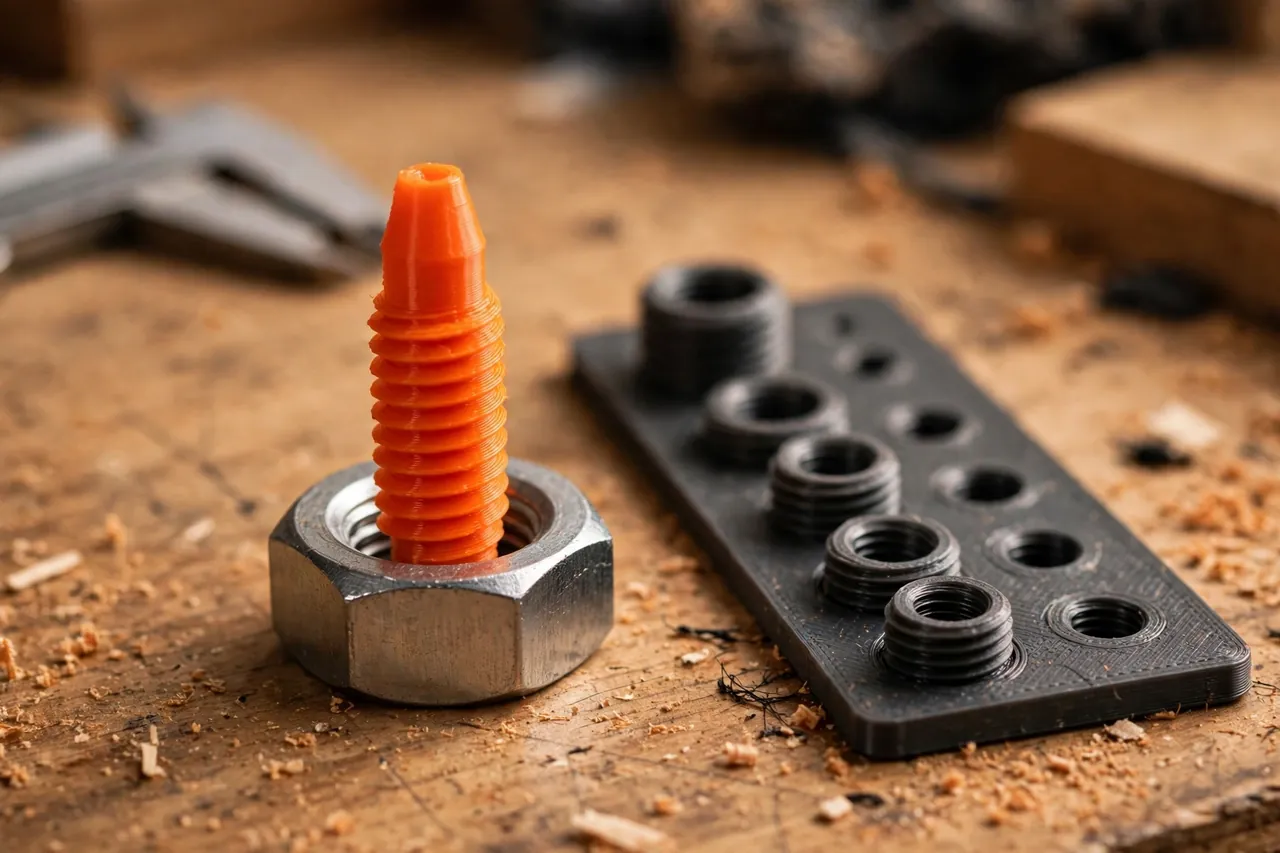
A useful set has both forms. The male stud — a short printed bolt on a flat handle — tests nuts: the right nut spins on smoothly with fingertip pressure alone. The female socket — a threaded hole in a card — tests bolts the same way. Model both with a generous lead-in chamfer so the fastener starts easily, and keep the threaded section about 10 to 15 mm long. That is enough engagement to judge a true fit without the fastener wobbling.
3. Clearance makes or breaks accuracy
Printed threads never match a CAD model’s exact dimensions. Plastic shrinks, layers add width, and every printer is slightly different. Build in about 0.2 to 0.3 mm of extra clearance on the thread profile, then calibrate with real hardware: your known M6 nut should spin onto the M6 stud freely, with no forcing and no sloppy rattle. If it binds, open the clearance slightly and reprint that one gauge. This calibration step matters more than any setting — a gauge that reads tight will misidentify good fasteners as the wrong size.
4. Labels you can read at a glance
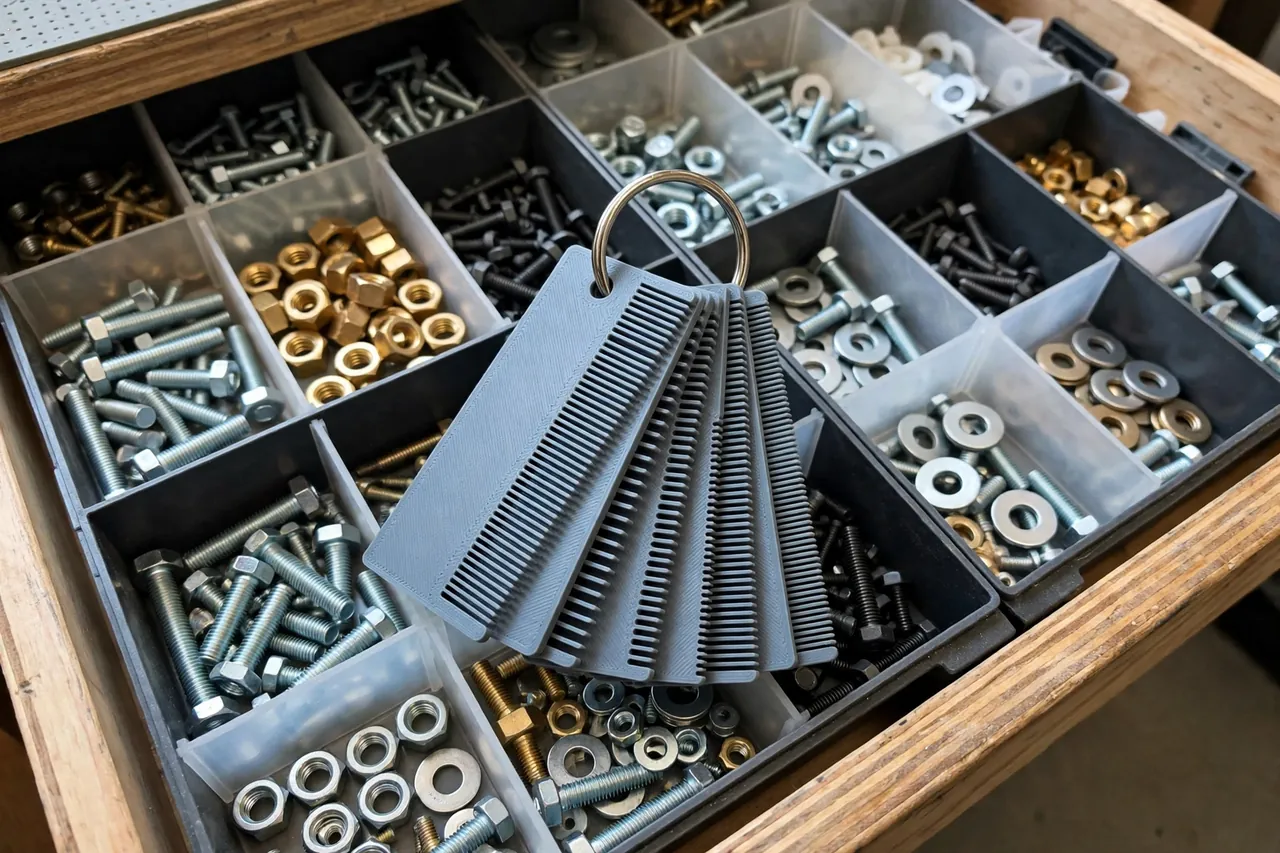
Model the size into the handle as raised or recessed lettering at least 5 mm tall, and add a code for pitch where it varies. Run a contrasting paint pen over raised letters so they stay legible, and keep the set in size order on its ring.
Step-by-Step: Printing and Assembly
- List your sizes. Walk your home and note the hardware you actually repair — furniture bolts, bike fittings, mower and tool fasteners.
- Measure known samples. Confirm diameters with calipers and count a known bolt’s threads against a labeled nut you trust.
- Model one gauge. Start with your most common size, with the clearance described above and a clear, large label.
- Print and test that gauge. Your known nut and bolt should both fit smoothly by hand. Adjust clearance before modeling the rest.
- Print the full set. Use the same settings throughout so every gauge reads consistently.
- Clean each thread. Brush out stringing and lightly clear the lead-in chamfer; never force a fastener to clean a thread for you.
- Highlight the labels and thread the set onto its ring in size order, smallest to largest.
Step-by-Step: Using the Thread Gauge Set
- Start with diameter. Hold the mystery fastener against gauge handles or measure it, to narrow the field to two or three candidates.
- Try the closest male stud first if you are identifying a nut. Spin the nut on with fingertips only.
- Judge the fit honestly. The right thread runs on smoothly for the full length, with a small, even amount of play. Tight, gritty, or loosening-then-binding all mean wrong size or wrong pitch.
- Check pitch, not just diameter. If a nut starts well then binds after two turns, the diameter is right but the pitch is not — try the fine-pitch gauge if your set has one.
- Test bolts in the female sockets the same way: fingertip pressure only, full engagement, no wobble.
- Never force anything. A printed gauge is a measuring aid. If you need a wrench, you have the wrong gauge or a damaged fastener.
- Write the size down on the project or parts list straight away, and sort the fastener into a labeled tray rather than back into the mystery tin.
Tips for Better Results
- Calibrate against labeled hardware-store samples. Buy one new, bagged nut and bolt in each size as your permanent reference set.
- Print in two colors. One color for metric, another for imperial — it prevents the classic M6 versus 1/4-inch mix-up at a glance.
- Pair the gauges with sorting trays. Identified hardware deserves a labeled home, which is why our guide, “3D Printed Screw and Fastener Sorting Trays with Lids for Small Hardware,” pairs so well with this set.
Common Mistakes to Avoid
- Forcing a tight fit. Forcing damages the printed thread and teaches you the wrong size. A correct fit is always fingertip-easy.
- Skipping the calibration print. One test gauge saves you reprinting a whole set that reads consistently wrong.
- Printing threads too coarse. Thick layers round off the thread profile. Stay at 0.16 mm or finer for these parts.
- Covering too many sizes at once. A bloated set is slow to use. Start with your real sizes and grow it as needed.
- Using a gauge as a real fastener. Printed threads identify hardware; they must never hold a joint, a load, or anything that matters if it fails.
Care, Storage, and When to Choose an Alternative
Store the set flat or on its ring in a drawer, away from heat and direct sun. Brush dust out of the female sockets now and then, and reprint any gauge whose threads get chewed up — each one takes only a few minutes.
For professional or high-volume work, a steel thread gauge or a hardware-store sizing board is faster and effectively indestructible, and machinists measuring worn or damaged threads need metal gauges and pitch wires for true precision. For home repairs, though, a calibrated printed set is accurate enough to identify standard fasteners reliably — and because you printed it, it covers exactly your sizes, in exactly your order.
FAQ
Can printed threads really match metal threads accurately enough?
Yes, for identification. You are not measuring to thousandths; you are asking a simple question — does this known-good nut spin freely on this gauge? With a calibrated clearance and a smooth full-length fit as your test, printed gauges separate standard sizes and pitches dependably.
Should I include fine-pitch gauges?
Only if you own hardware that uses them. Fine pitches turn up on some bikes, camera gear, and machinery. If a nut of the right diameter binds after a turn or two on your coarse gauge, that is your cue to print the fine-pitch version for that size.
What if a fastener fits no gauge in my set?
It may be an unusual pitch, a damaged thread, or a size from older or imported equipment. Clean the threads, check for damage under good light, and measure carefully. A hardware store’s sizing board is a good free second opinion.
How long does a full set take to print?
A typical set of twelve small gauges prints in about two to four hours total and uses surprisingly little filament.
Conclusion
Mystery hardware is only mysterious because nothing in the tin is labeled. A small set of printed gauges turns guessing into a ten-second test: spin, feel for a smooth full fit, read the size, move on. It is one of the cheapest, fastest prints in this whole series, and one of the most used.
Print a calibration gauge, dial in your clearance, then finish the set in an evening. Clip it together, park it beside your sorting trays, and let the mystery tin stay empty from now on.
For the storage side of the same tidy-up, you may also enjoy our related guide, “Workshop Small-Parts Organizer: 3D Printed Stackable Bins and Screw Sorters for Your Workbench,” and when a fastener tries to escape mid-repair, “Magnetic Parts Dish Holder: 3D Print a Bench and Ladder Mount for Screws, Bolts and Bits” will quickly become the other bench habit you wonder how you lived without.