Introduction
A jointer is a wonderful machine, and it is also a large, expensive machine that many home workshops simply do not have room for. Without one, rough lumber presents a familiar problem: boards with bowed, wavy, or waney edges that refuse to glue into a flat panel. Run a crooked edge against a table saw fence and the saw just copies the curve.
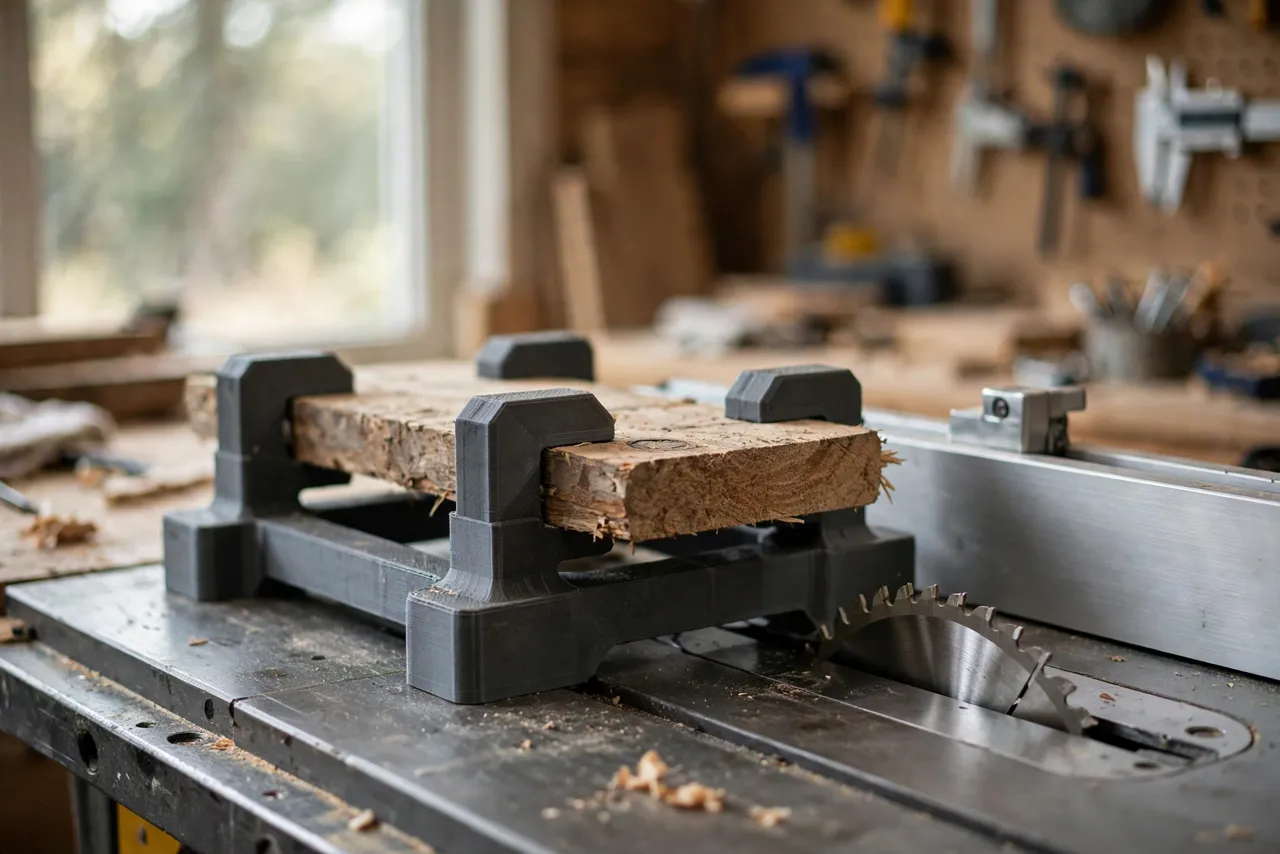
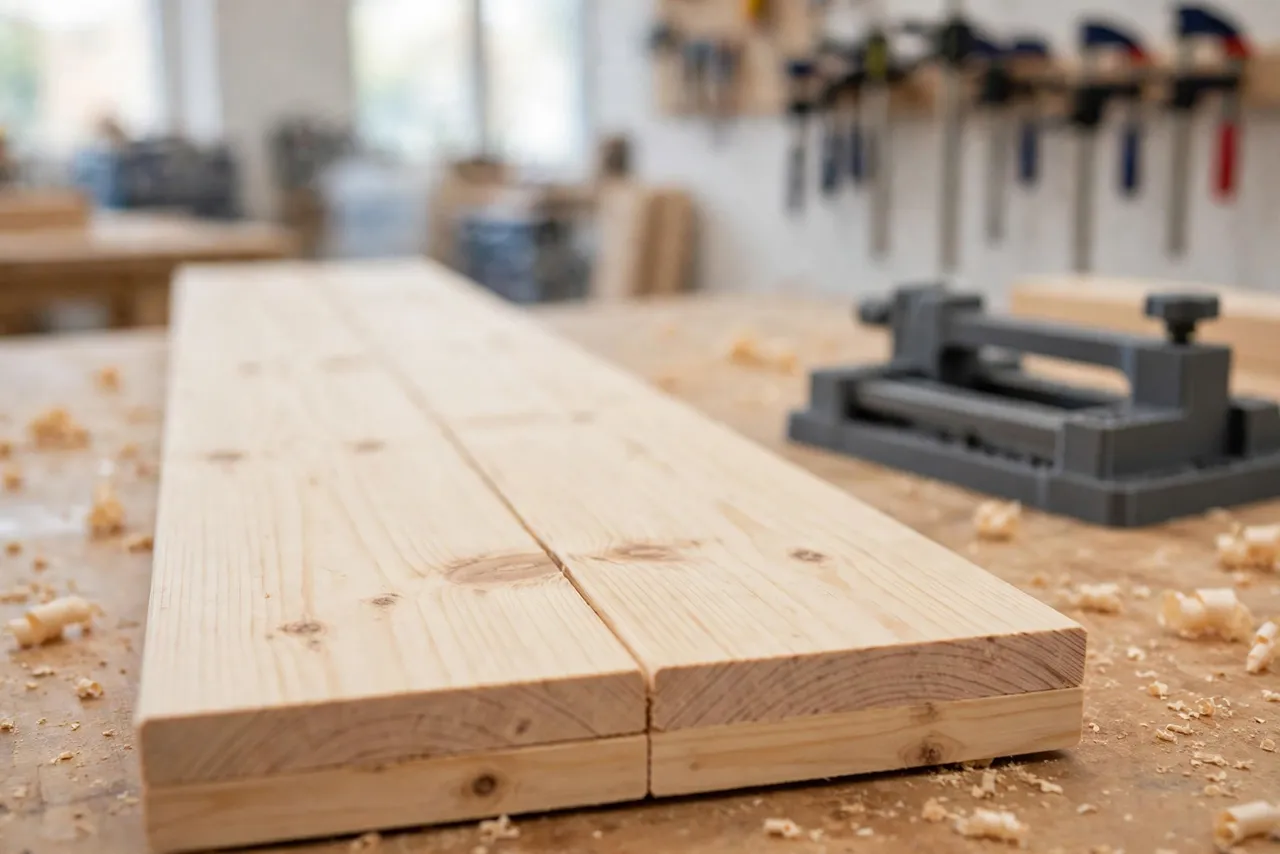
A table saw jointing sled solves this by changing what the fence references. Instead of the crooked edge, the saw follows the sled’s straight reference edge, while the board itself is clamped to the sled. One pass trims the board to a straight line. Flip it, reference the new edge against the fence, and the second edge comes out parallel.
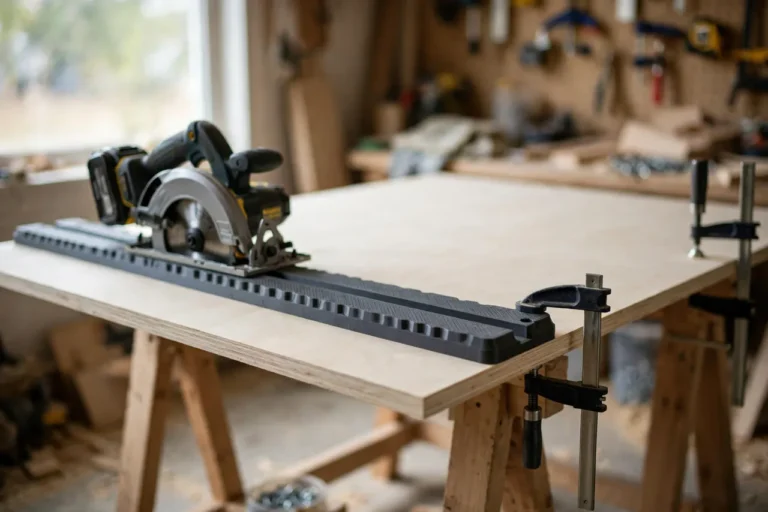
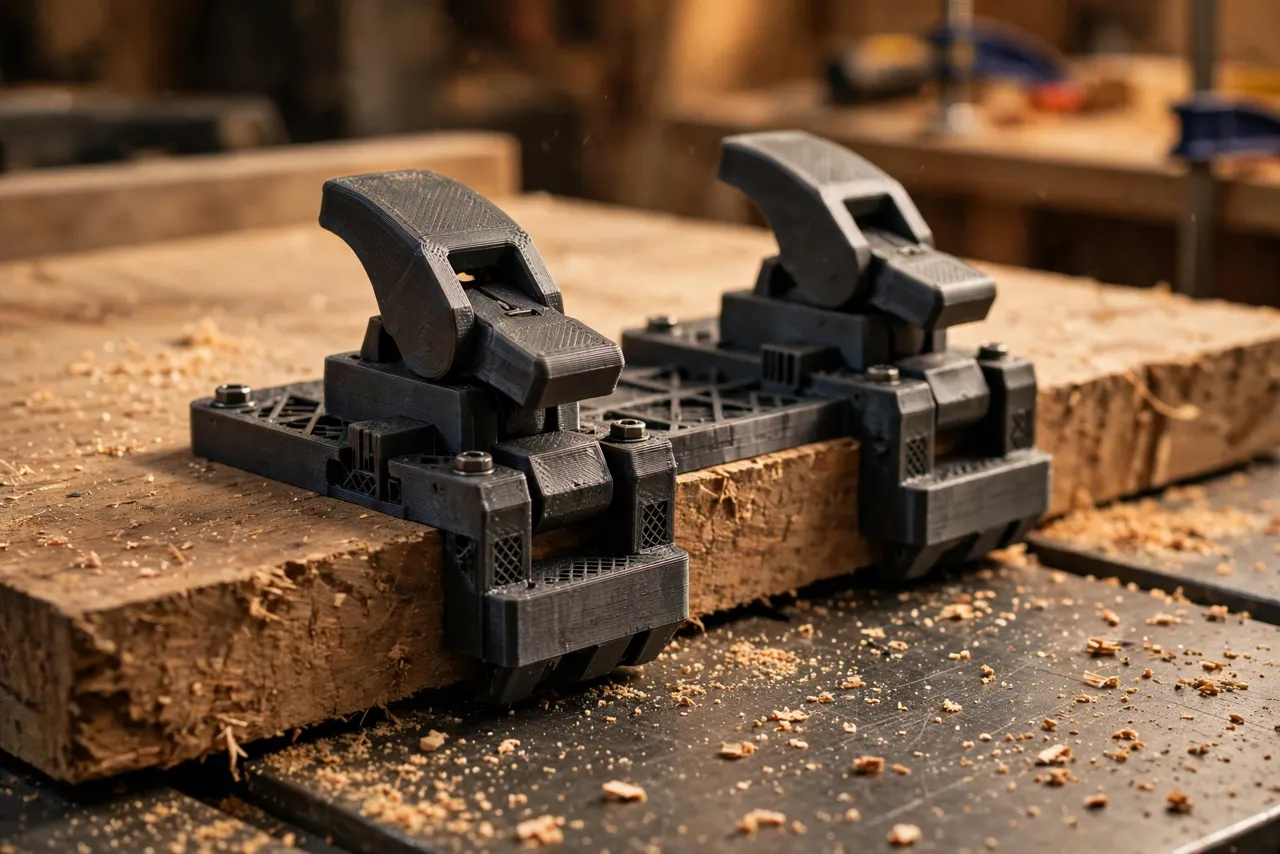
This guide covers a 3D printed version: printed fence sections, clamps, and runners that bolt to a straight plywood or MDF sled base. The printed parts are guides and holders only — they do not carry cutting loads, and the sled base does the real work of staying straight.
What You Need
The sled is a hybrid: a flat sheet base plus printed fittings. Keep the base dead straight, and the printed parts just hold the board to it.
Materials and tools
- A sheet of flat 12 mm or 18 mm plywood or MDF for the sled base, roughly 900 mm long and 300 mm wide
- PETG filament for the printed fittings, or PLA for a first test version
- A table saw with a miter slot, plus a straight rip blade in good condition
- A straightedge at least as long as your boards, a tape measure, and a pencil
- Two or three small clamps or printed toggle clamps, screws, and washers
- Sandpaper, a square, and scrap boards for testing
PETG is the better keeper for parts that see clamping pressure and vibration. PLA is fine for proving the layout, but replace it before heavy use.
Suggested print settings
- Layer height: 0.20 mm for strength and accuracy.
- Walls: 4 to 5 perimeters — clamp bodies and runner mounts take real force.
- Infill: 50 percent or more, grid or gyroid. Light infill will crush under a clamp.
- Top and bottom layers: 5 or more, for flat mounting faces.
- Orientation: Print clamp bodies on their side where the clamping load runs across layers, not between them, if your design allows.
- Supports: Only where overhangs demand them; keep mounting faces support-free.
Print one fitting first and test its fit on the sled base before printing the full set.
Design Considerations
You can model these fittings in any basic CAD program. The sled itself is simple: a base, a straight reference edge, a miter runner, and hold-downs.
1. The sled base and reference edge
The base must be flat and its fence-side edge dead straight — check it with a straightedge and a light behind it. Any bow in the base becomes a bow in your boards. Joint the base edge itself first if needed: run it against the saw fence once with a straight factory edge as a guide, or buy pre-cut sheet with a true edge. Attach a hardwood strip along the reference edge if you want a tougher wearing surface.
2. The miter runner
A printed or hardwood runner rides in the table saw’s miter slot and keeps the sled tracking straight. Size it for a smooth sliding fit — about 0.2 mm of clearance — and make it long, at least 400 mm, so the sled cannot skew at the start or end of a cut. Some makers use two short runners; one long runner tracks better. Wax the runner lightly so it slides without sticking.
3. Hold-downs and clamps
The board must not move during the cut, and it must not be bowed flat by clamping — that just springs back after the cut. Use two or three hold-downs spread along the board, pressing down near the board’s high spots while shims support the low spots. Printed toggle-style clamps work well for repeated boards; simple printed bridge clamps with a bolt and pad suit one-off boards. Keep all clamp parts clear of the blade path, with generous margin.
4. Sizing for board length
A sled handles boards up to roughly its own length minus the clamp zones. For boards longer than the sled, joint in two passes from opposite ends, overlapping in the middle, and check with a straightedge. For very short boards, keep hands well clear and use push blocks — never joint stock shorter than your saw’s safe minimum with bare hands near the blade.
Step-by-Step: Building the Sled
- Cut the base to size and verify its reference edge with a straightedge.
- Fit the runner to your miter slot, sanding for a smooth sliding fit.
- Mount the runner square to the reference edge, using screws from below and checking squareness with a square.
- Print the hold-downs and bolt them to the base through slotted holes, so they adjust along the sled’s length.
- Add a blade guard zone marker — a painted or taped line on the base showing where the blade will pass, so clamps never sit in that lane.
- Test the sled empty. Slide it through the saw with the blade lowered and confirm it runs true without binding.
- Adjust if needed. A runner that sticks or a base that rocks must be fixed before any board goes on it.
Take your time here. A sled built carefully once serves for years of panels and tabletops.
Step-by-Step: Jointing a Board Edge
- Inspect the board. Mark the worst bow, cup, or twist, and choose the edge to joint first — usually the more concave one.
- Place the board on the sled with the edge to trim overhanging the reference edge by a few millimeters, no more than the blade can comfortably remove in one pass.
- Shim the low spots. Slide thin shims under hollow sections so clamping does not flatten the bow temporarily.
- Clamp at two or three points, firm but not crushing, and confirm the board cannot rock or slide.
- Set the blade height just above the board thickness, and set the fence well clear — the sled, not the fence, guides this cut.
- Make the pass steadily, with push blocks, keeping hands clear of the blade path and the sled’s rear.
- Check with a straightedge. A true edge shows no light gap along its length. If a slight bow remains, repeat with a light pass.
- Rip the second edge against the fence, using the new straight edge as the reference, to make the board parallel.
- Dry-fit the joint. Two jointed edges pressed together should show no gap along the seam.
Work slowly on the first board. By the second, the routine feels automatic — and that consistency is what keeps a whole panel flat.
Tips for Better Results
- Take light passes. Removing 2 to 3 mm per pass beats hogging off 10 mm and inviting burning or kickback.
- Keep the blade sharp. A dull blade burns edges and pushes the sled off line.
- Support long boards at the outfeed so their weight cannot tip the sled mid-cut.
- Mark the show face on every board so glue-ups reference the same side.
- Check the base edge regularly. A nicked or bowed reference edge quietly ruins every board after it.
Common Mistakes to Avoid
- Clamping a bow flat. The board springs back after the cut, and the edge is crooked again. Shim instead.
- Putting a clamp in the blade lane. Mark the lane clearly and check before every pass.
- Using the fence as well as the sled. The two guides fight each other; for a jointing pass, the sled alone guides the cut.
- Rushing the outfeed. Letting a board drop at the end of the cut can score the fresh edge.
- Jointing stock that is too short or too thin for safe table saw work. Use another method for tiny pieces.
Care, Storage, and When to Choose an Alternative
Brush off dust, store the sled flat on a level surface — never leaning where it can warp — and re-check the reference edge every few months. Replace worn printed clamps rather than trusting a cracked one.
Sometimes another tool is better. A real jointer is faster for high volumes and handles face jointing as well as edges. A hand plane suits short boards and quiet work. For home panels and tabletops in ordinary lengths, a printed-fitting sled is cheap, accurate enough, and far easier to store than a jointer.
FAQ
Can a printed sled really joint an edge straight?
Yes, within the limits of the sled base. The printed parts only hold the board; the straightness comes from the base edge and the miter slot. If the base is true and the board is shimmed rather than forced flat, the cut is straight.
Is PLA strong enough, or do I need PETG?
For light hold-downs, PLA works and is great for testing fit. PETG is the better keeper because it handles clamping pressure, vibration, and warm workshops better. Either way, generous walls and infill matter more than the name on the spool.
What is the longest board I can joint on a sled?
Roughly the sled’s length minus the clamp zones — for a 900 mm sled, boards up to about 750 mm are comfortable. Longer boards can be jointed in overlapping passes from each end, then checked with a straightedge.
My jointed edge still has a gap in the middle. What went wrong?
Usually the board was clamped flat instead of shimmed, or the sled base itself has a slight bow. Re-check the base with a straightedge, shim the hollow, and take a light finishing pass.
Conclusion
A wavy board edge is usually not a lumber problem you have to live with. It is a reference problem, and that is exactly what a jointing sled solves. With a flat base, a true runner, and printed hold-downs, a table saw straightens edges well enough for gap-free glue-ups.
Build one to fit your saw, keep it flat, and the next panel starts with edges you can trust.
If you enjoy table saw jigs, you may also like “3D Printed Featherboard for Safer, Straighter Cuts on the Table Saw and Router Table” and “3D Printed Table Saw Alignment Gauge: Check Blade and Fence Parallel in Minutes,” which pair naturally with this sled for a complete table saw setup.