Introduction
A drawer box that is a few millimetres out of square does not look broken. It just never slides quite right. It binds on one side, gaps unevenly at the front, and wears its slides out faster than it should. The frustrating part is that the error usually happens during glue-up, when four joints are wet, clamps are pulling in different directions, and you are racing the glue’s open time.
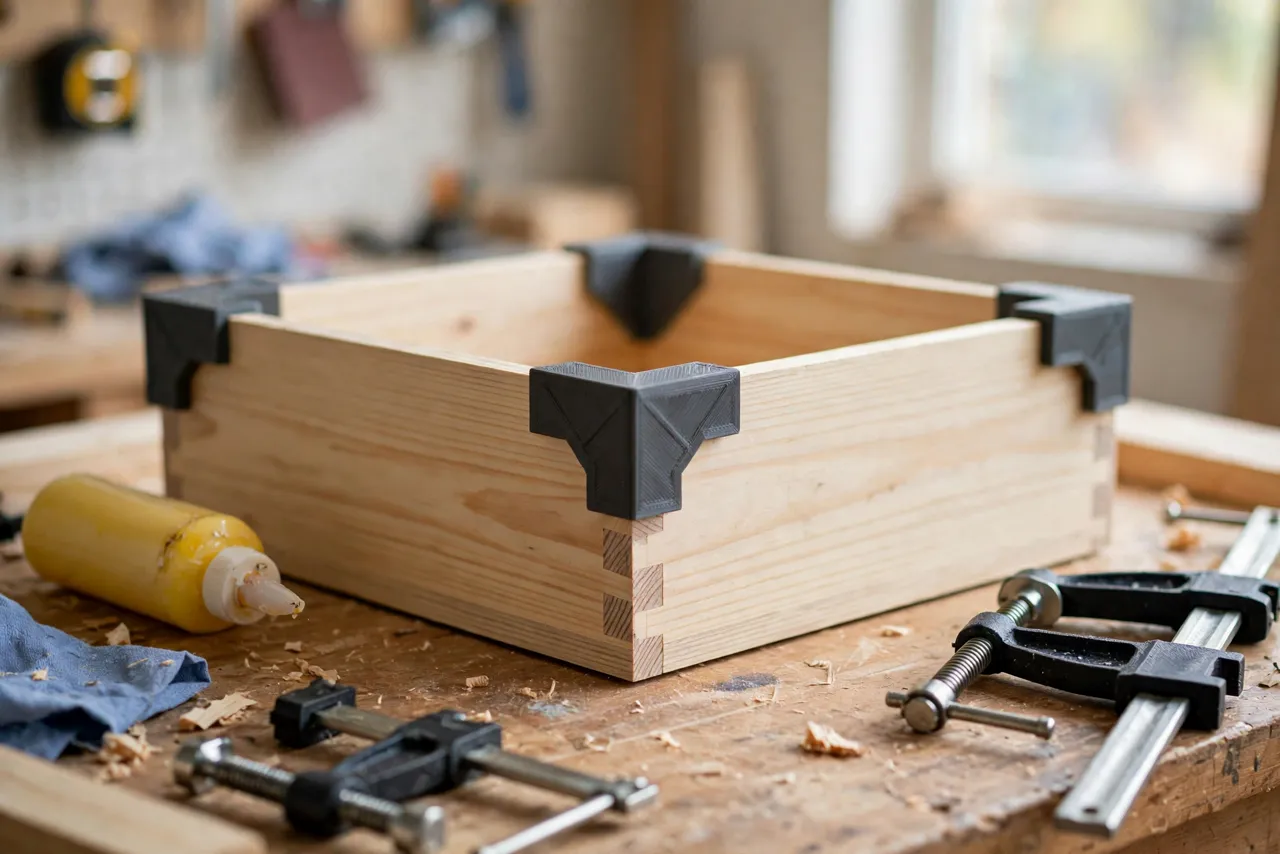
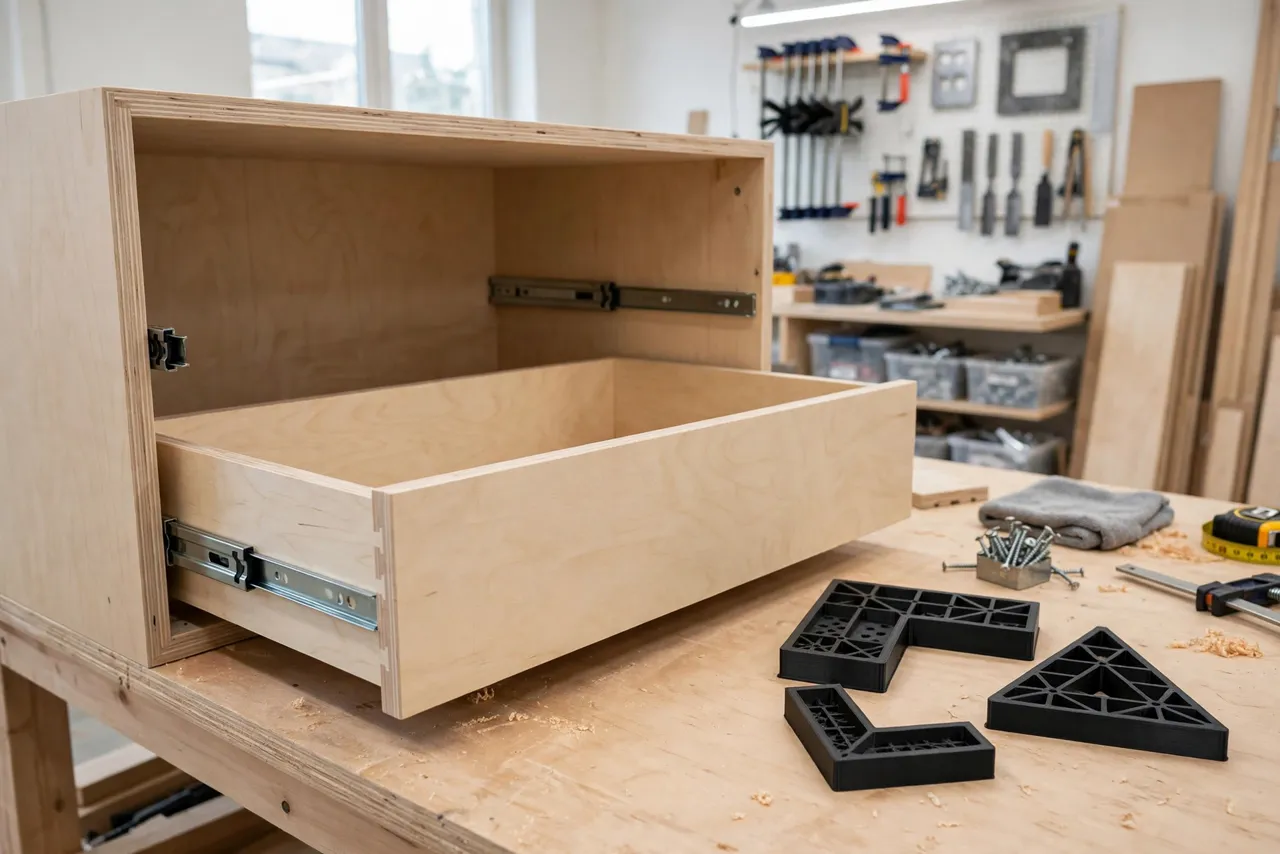
A 3D printed drawer box assembly squaring jig solves the timing problem. It is a set of rigid right-angle corners — printed squares that drop into the inside corners of the box while the glue is wet and hold each corner at exactly 90 degrees until the glue grabs. You do not measure diagonals under pressure; the jigs hold square for you while you clamp.
This guide covers designing, printing, and using your own set. The jigs are assembly aids only — they do not carry load in the finished drawer, and they do not replace checking the finished box against its cabinet opening.
What You Need
A set of four corner jigs fits easily on most printers, and you can print them one at a time if your bed is small. You need the drawer box parts and your usual glue-up clamps.
Materials and tools
- A home 3D printer and PETG filament for rigid corners that do not flex under clamp pressure
- Drawer box sides, front, and back, cut to size, plus wood glue
- Bar clamps or band clamps for the glue-up, and a tape measure for diagonal checks
- A combination square for verifying the printed jigs themselves
- Wax paper or painter’s tape to keep glue off the jigs
- Sandpaper or a small file for cleanup
PETG is the better choice here because the jigs sit inside a clamped, glue-wet box and need to hold their angle under pressure. PLA works for light boxes, but PETG resists creep during a long glue-up.
Suggested print settings
- Layer height: 0.20 mm for square, clean corner faces.
- Walls: 4 or more perimeters — the corner faces do the real work.
- Infill: 40 to 60 percent, grid or gyroid, so the jig does not flex when clamped.
- Top and bottom layers: 5 or more.
- Orientation: Print flat, with the corner’s inside faces vertical and clean.
- Supports: None for a simple L-shaped corner design.
Print one jig first and verify it is square with a combination square before printing the other three.
Design Considerations
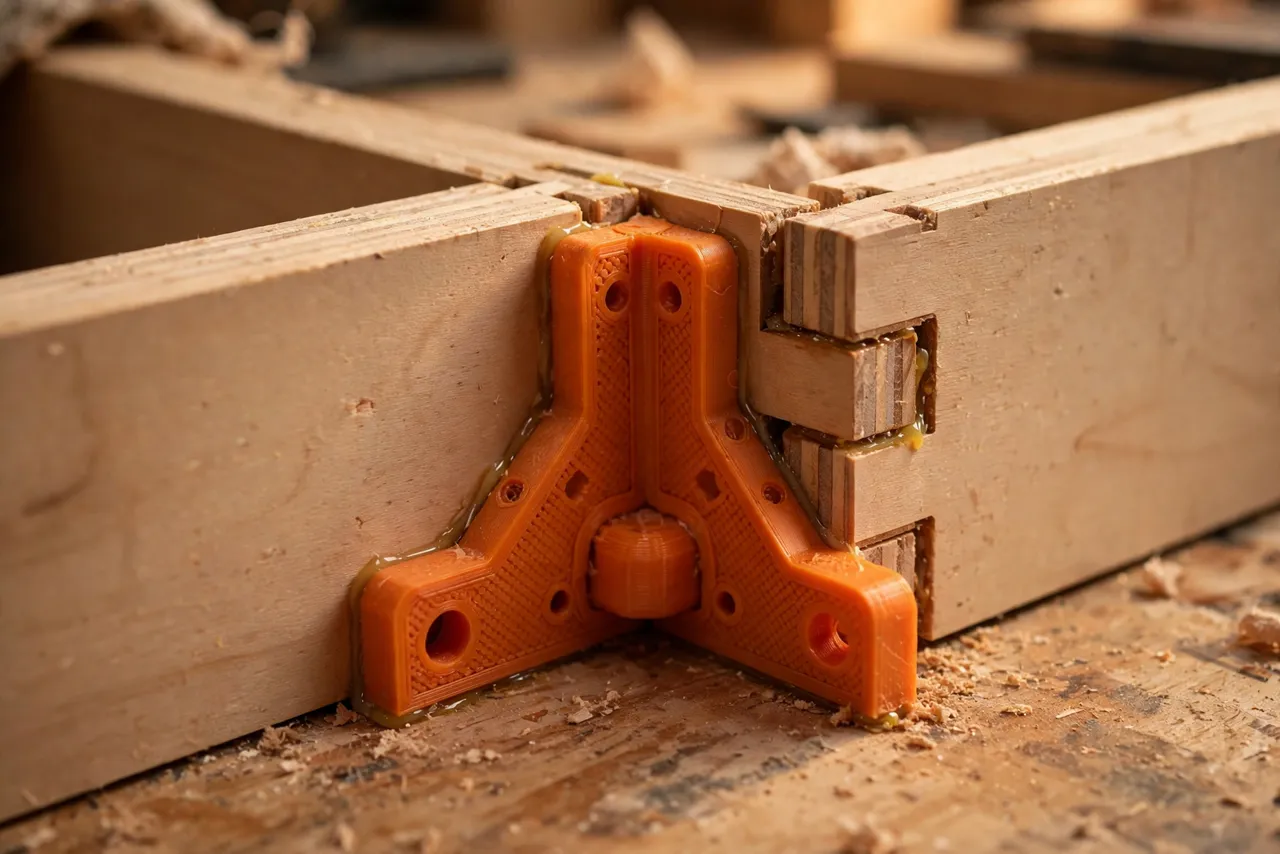
A squaring jig is a rigid L shape with two flat faces at exactly 90 degrees. Simple as that sounds, the details decide whether it actually squares a box.
1. True squareness
The two inside faces must meet at exactly 90 degrees. A jig that is 89 or 91 degrees holds every corner consistently wrong, which is worse than no jig because it feels trustworthy. Verify each printed jig against a known-good square, and sand or reprint any that are off. Print orientation matters: faces printed against the bed tend to be flattest, so design accordingly.
2. Size and reach
Corner jigs for drawer boxes are typically 80 to 120 mm per leg — long enough to register firmly against both box sides, short enough to fit inside small drawers. If you build both small and large drawers, print two sets: a compact set for small boxes and a larger set for deep drawers. A jig that is too short rocks in the corner; one that is too long will not fit.
3. Glue protection
Glue will get on the jigs. Design them to survive it: smooth faces that release dried glue easily, and no tight crevices where glue can lock the jig into the corner. Wrapping the jig faces in painter’s tape before glue-up is cheap insurance, and wax paper between jig and joint works too.
4. Clamping clearance
The jig must leave room for clamps. Add a cutout or a stepped profile on the outer corner so a bar clamp or band clamp can pass without pushing the jig out of position. Some makers add a small handle or finger tab on top so the jig can be lifted out after the glue grabs without disturbing the joint.
Step-by-Step: Printing and Assembly
- Decide your jig size from the smallest drawer box you build regularly.
- Model the L-shaped corner with two flat inside faces, a stiffening rib, and a finger tab.
- Print one jig and verify squareness with a combination square on both faces.
- Print three more from the same file, verifying each one — printers drift, and one bad jig ruins a box.
- Clean up the faces by lightly sanding until both sit flat against a straightedge.
- Test-fit the set in a dry-assembled box (no glue) and check that all four corners seat fully.
- Label the set and store the four together so a mismatched jig never sneaks in.
If a jig measures off-square, do not try to bend it true. Reprint it. Squareness is the entire product.
Step-by-Step: Using the Jig
- Dry-fit the box first. Assemble without glue, check the fit in the cabinet opening, and confirm the parts are the right sizes.
- Apply glue to the joints and assemble the box loosely.
- Drop a jig into each inside corner, pressing both faces flat against the box sides. Wrap jig faces in tape first if you have not already.
- Clamp the box — band clamp around the outside, or bar clamps across opposite sides — snug but not so tight that joints squeeze dry.
- Check the diagonals. Measure from corner to corner across the top of the box; equal diagonals confirm square. The jigs should make this a confirmation, not a correction.
- Adjust if needed by easing one clamp and nudging the box while the glue is still open. The jigs resist movement, so adjustments are small — that is the point.
- Leave the jigs in place until the glue grabs firmly, per your glue’s instructions, then lift them out by their tabs.
- Let the box cure fully before sanding, fitting slides, or loading it.
Do not rush removal. Pulling jigs out of a still-wet joint can drag a corner out of square after all your careful work.
Tips for Better Results
- Use all four jigs, not two. Two opposite corners can still let the box parallelogram; four corners lock the shape.
- Check the box in its opening before the glue cures. A box that is square but oversized still will not slide.
- Protect the jigs from glue every time. Dried glue on a jig face changes its angle for the next box.
- Keep a dedicated set per common box size. A set that fits most of your drawers gets used; a set that fits none gathers dust.
- Pair with slide fitting. A square box makes slide installation far easier — our related guide, “Drawer Slide Jig: 3D Print an Installation Guide for Perfectly Level Drawer Slides,” covers that next step.
Common Mistakes to Avoid
- Trusting an unverified jig. Always check printed jigs against a real square before the first glue-up.
- Gluing the jig into the box. Tape or wax paper is not optional on first use.
- Over-clamping. Excess pressure squeezes glue out of the joint and can bow thin drawer sides, jig or not.
- Removing jigs too early. Wait for a real grab, not just surface tack.
- Skipping the dry fit. Discovering a wrong-sized part during a wet glue-up wastes the whole assembly.
- Mixing jigs from different prints. One slightly different jig in a set of four defeats the set. Keep sets together and labeled.
Care, Storage, and When to Choose an Alternative
Scrape dried glue off the faces, store the set together in a bag or box, and keep PLA versions away from heat. If a jig gets dropped and chipped on a working face, sand it flat and recheck squareness — or reprint it. A chipped face is a changed angle.
Sometimes a commercial assembly square or a set of machined corner clamps is the better buy. If you build cabinets professionally, glue up daily, or need squares large enough for full carcass assembly, metal squares hold tighter tolerances and survive heavier clamping. For home drawer repair and occasional box building, a printed set is accurate enough — and you can print a size that fits your smallest drawer, which store-bought squares often cannot.
FAQ
How do I know the box is really square, not just jig-square?
Measure the diagonals. Equal diagonal measurements across the top (and bottom, for deep boxes) prove squareness independently of the jigs. If diagonals differ, something is off — a jig, a part length, or a clamp pulling unevenly.
Can I use these jigs for cabinet carcasses too?
For small carcasses, yes, if the jigs are large enough to register firmly. For full-size cabinets, print larger squares or use the jigs alongside a commercial square — the principle is identical, but the scale changes the rigidity you need.
The glue grabbed before I could adjust. What now?
If the box is only slightly out, you may be able to plane or sand the drawer front to fit, but a badly racked box usually needs to be broken down and reglued. Next time, dry-fit first and work faster with the jigs pre-positioned.
Will the jigs work with dovetail or box joints?
Yes. The jigs register against the inside faces of the box, not the joint type, so they work with butt joints, rabbets, dovetails, and box joints alike — as long as the inside faces are flat where the jig sits.
Conclusion
Square drawers are not a matter of luck or frantic diagonal measuring during glue-up. They are a matter of holding four corners at 90 degrees while the glue does its job, and a printed set of corner jigs does exactly that, for the price of a little filament.
Print a set, verify it against a real square, and keep it with your clamps. And for the wider workshop habit of repeatable setups, our related guide, “Assembly Squares: 3D Print Large Clamping Squares for Square Cabinets and Boxes Every Time,” covers the larger cousins of these jigs for bigger assemblies.